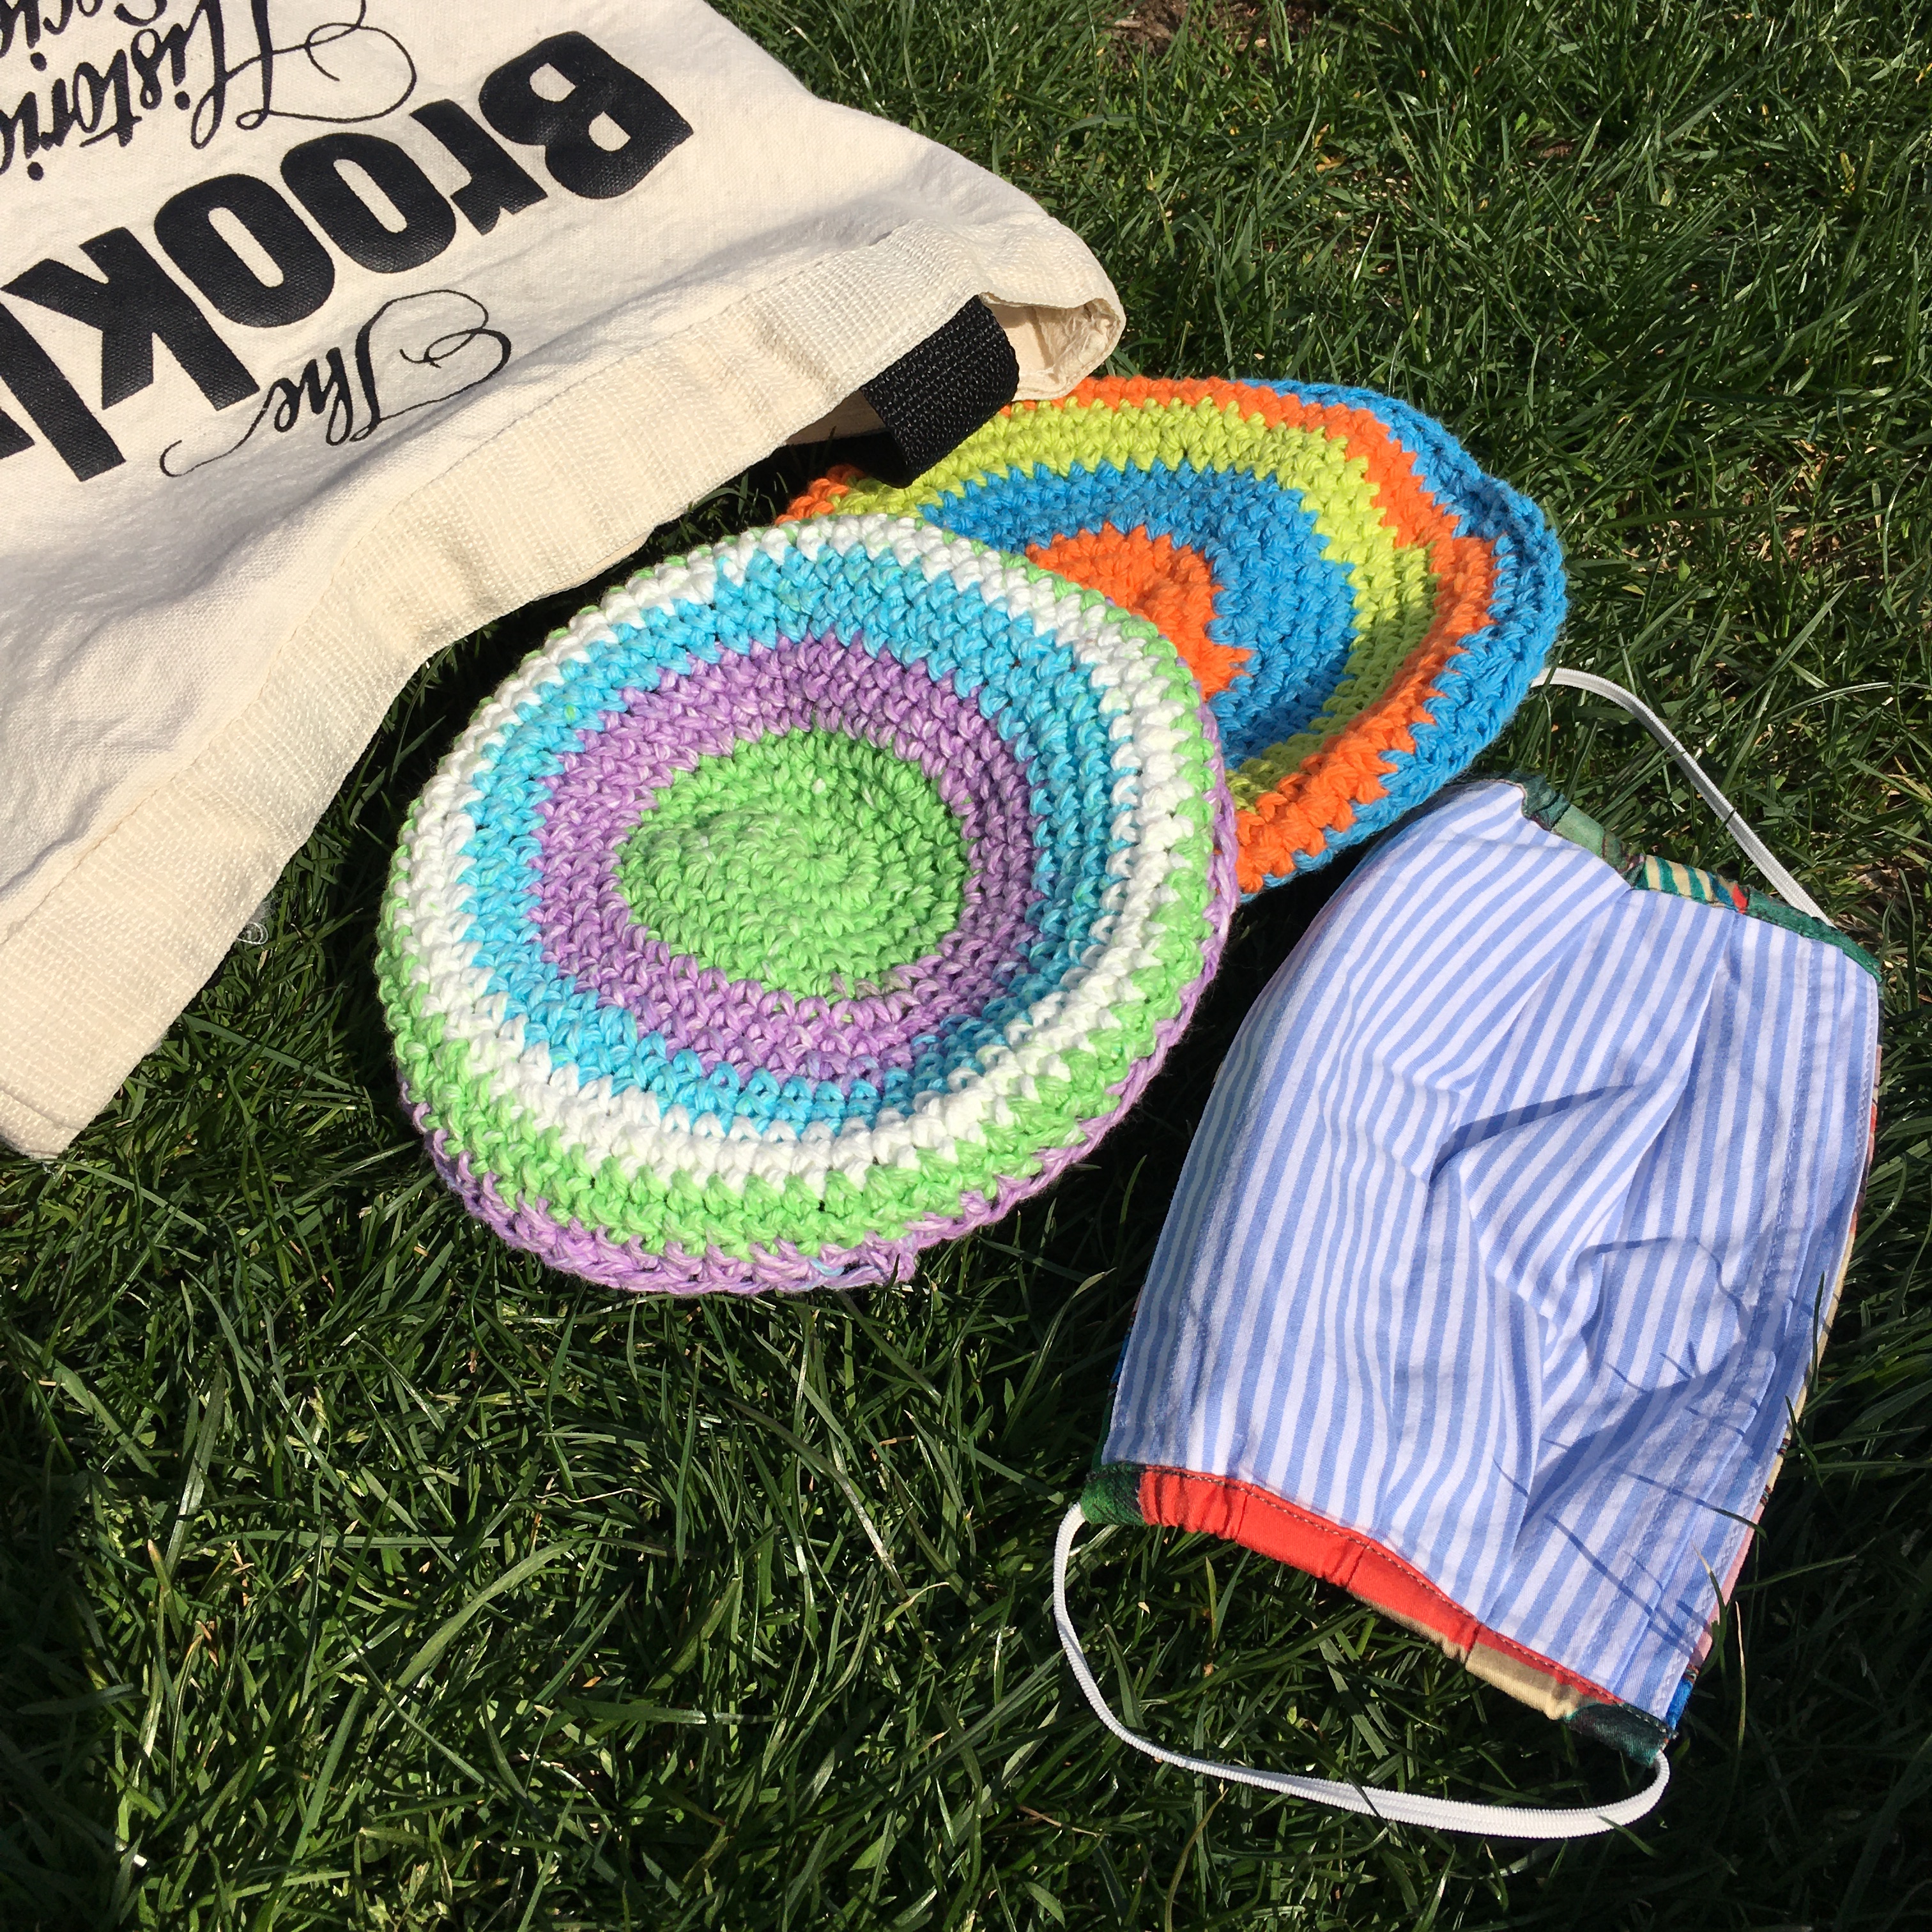
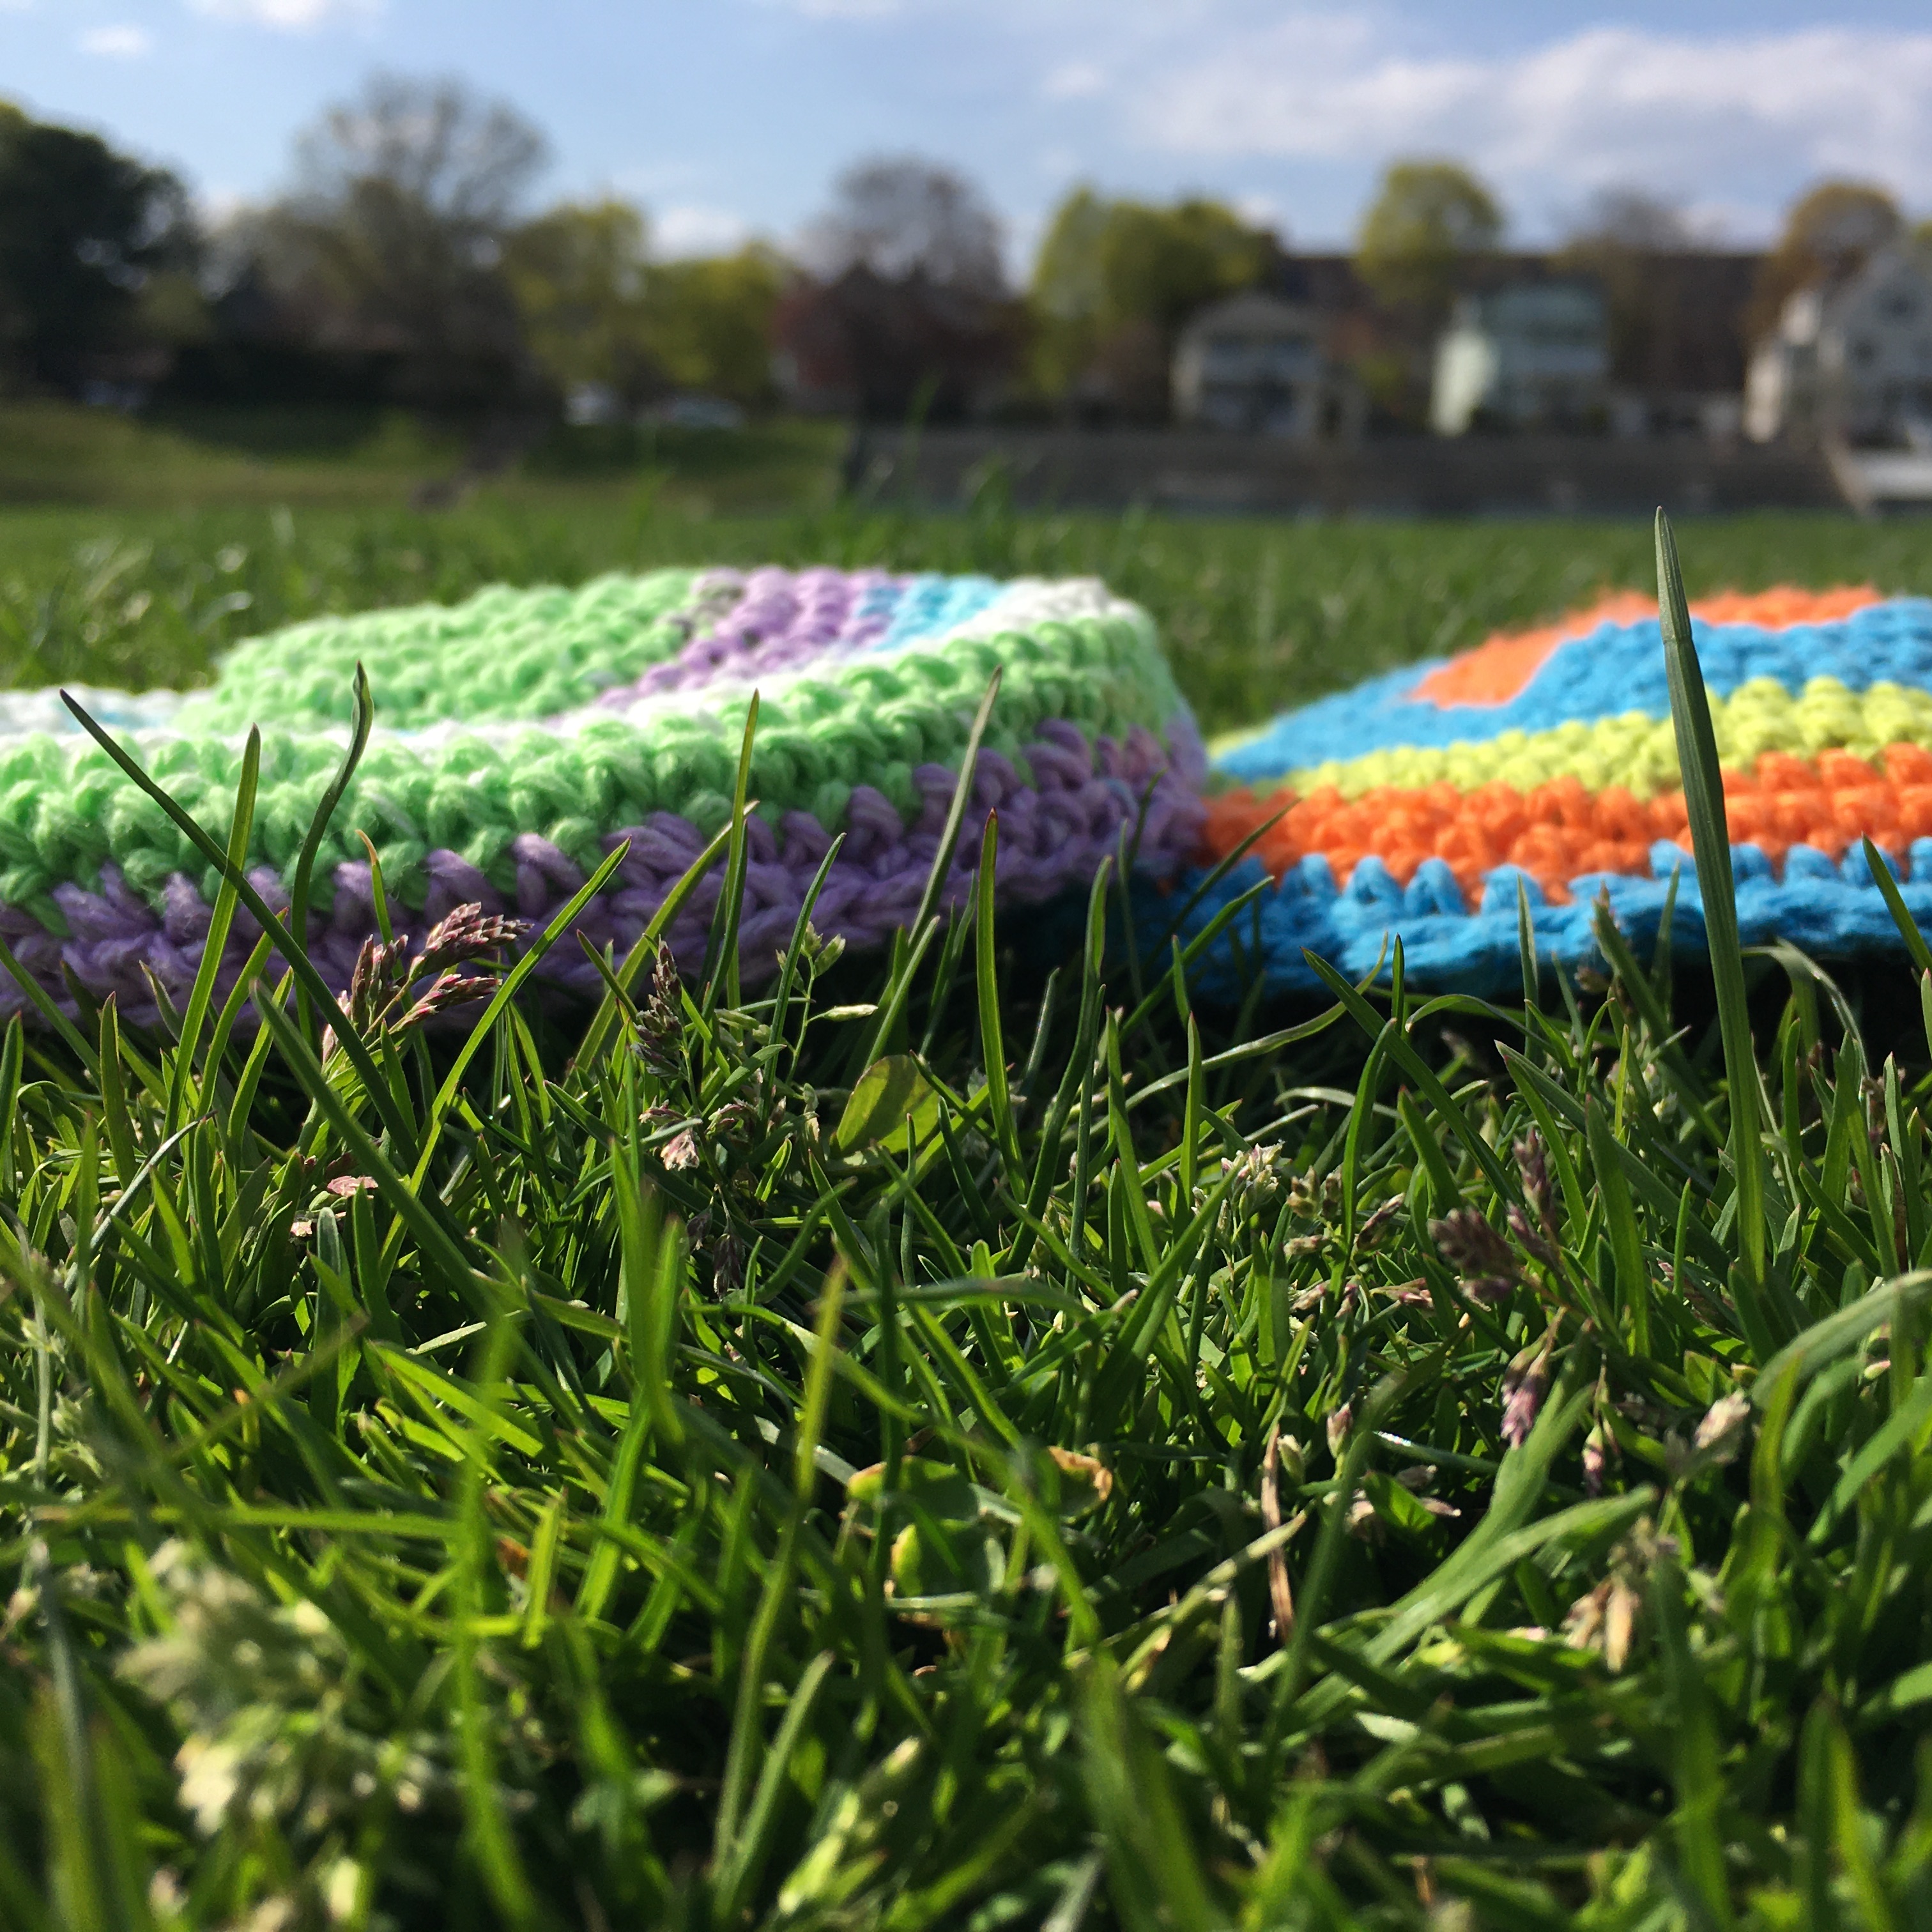
My friend Janet is a crochet wonder! She made these foldable, flyable, crocheted Frisbees for me to celebrate the publication of my book FLIP! How the Frisbee Took Flight (out *this* week)! You can tuck one in your pocket and take it to the park or fling it around your house–it won’t dent your walls or a human person.
When it comes to crochet, I’m a true novice. But if you’re interested in stitching a yarn flying disc, I found this super sweet video with clear, easy instructions by Jayda InStitches. Let me know if you give it a twirl!
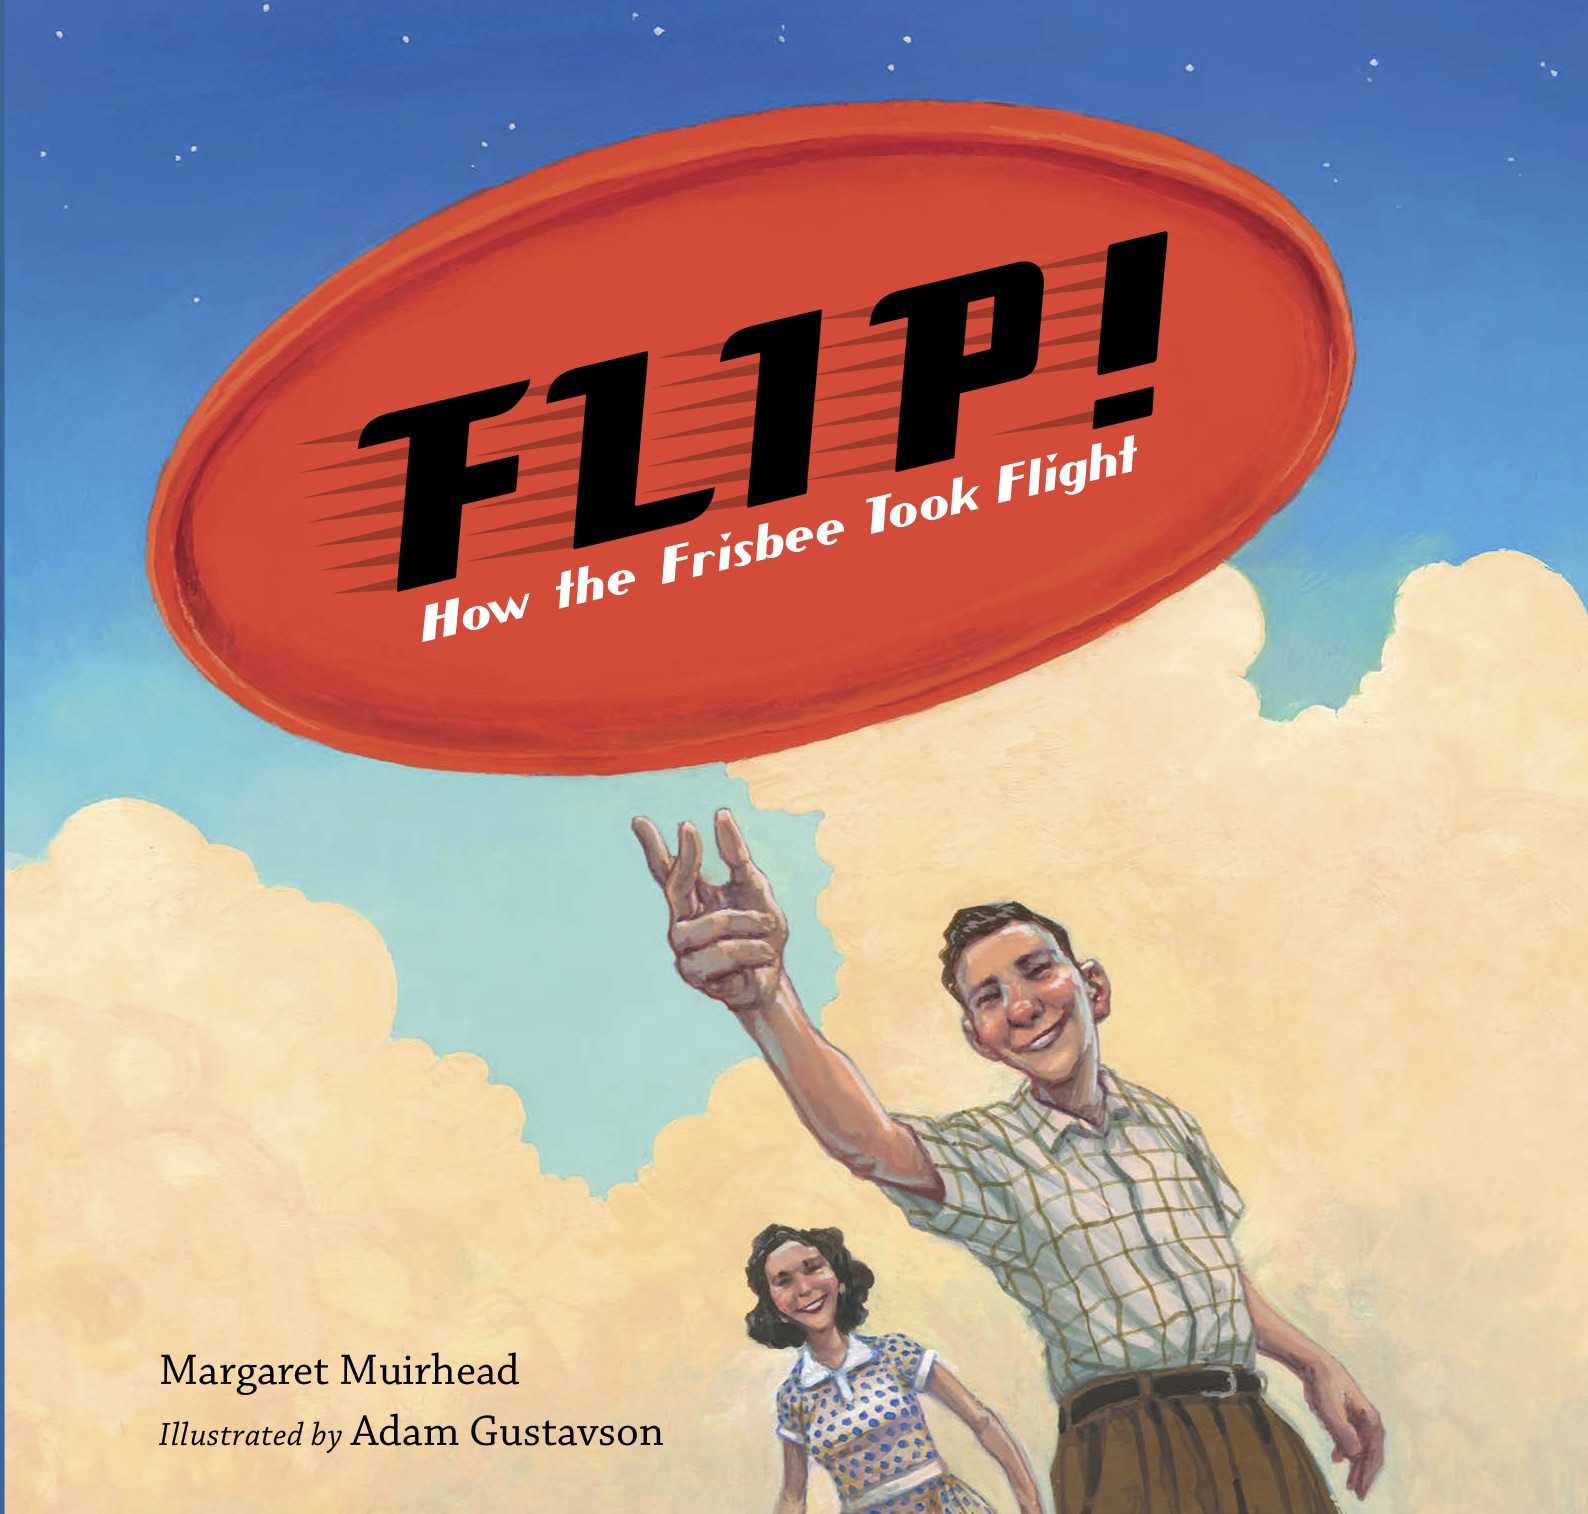
Check out www.margaretmuirhead.com for more information about Flip! You can order your copy at Indiebound, Target, Barnes & Noble, Amazon or at your favorite neighborhood book shop.
Here’s another activity to celebrate my new picture book, Flip! How the Frisbee Took Flight, and this one is a goodie. In fact, it’s one of the funnest projects I’ve done. And yes, I know, “funnest” is not a word–but it best expresses how satisfying it is to make a giant flying disc.
I’m sorry I didn’t photo-document the process better. The whole thing felt like a wild experiment with an uncertain outcome. But . . . it worked! I recommend trying this one at home.
MATERIALS:
1 hula hoop (I used child’s size hoop.)
1 yard of cotton or nylon fabric (or enough to cover the hoop).
Iron
Scissors or pinking shears
Hot glue gun
INSTRUCTIONS:
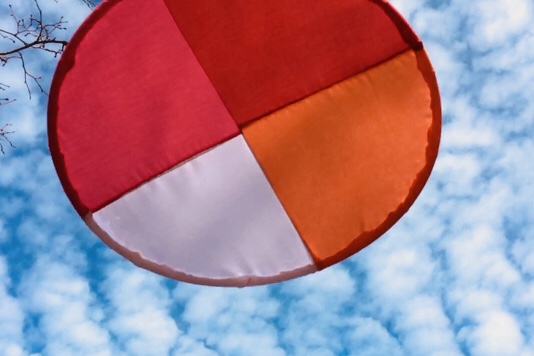
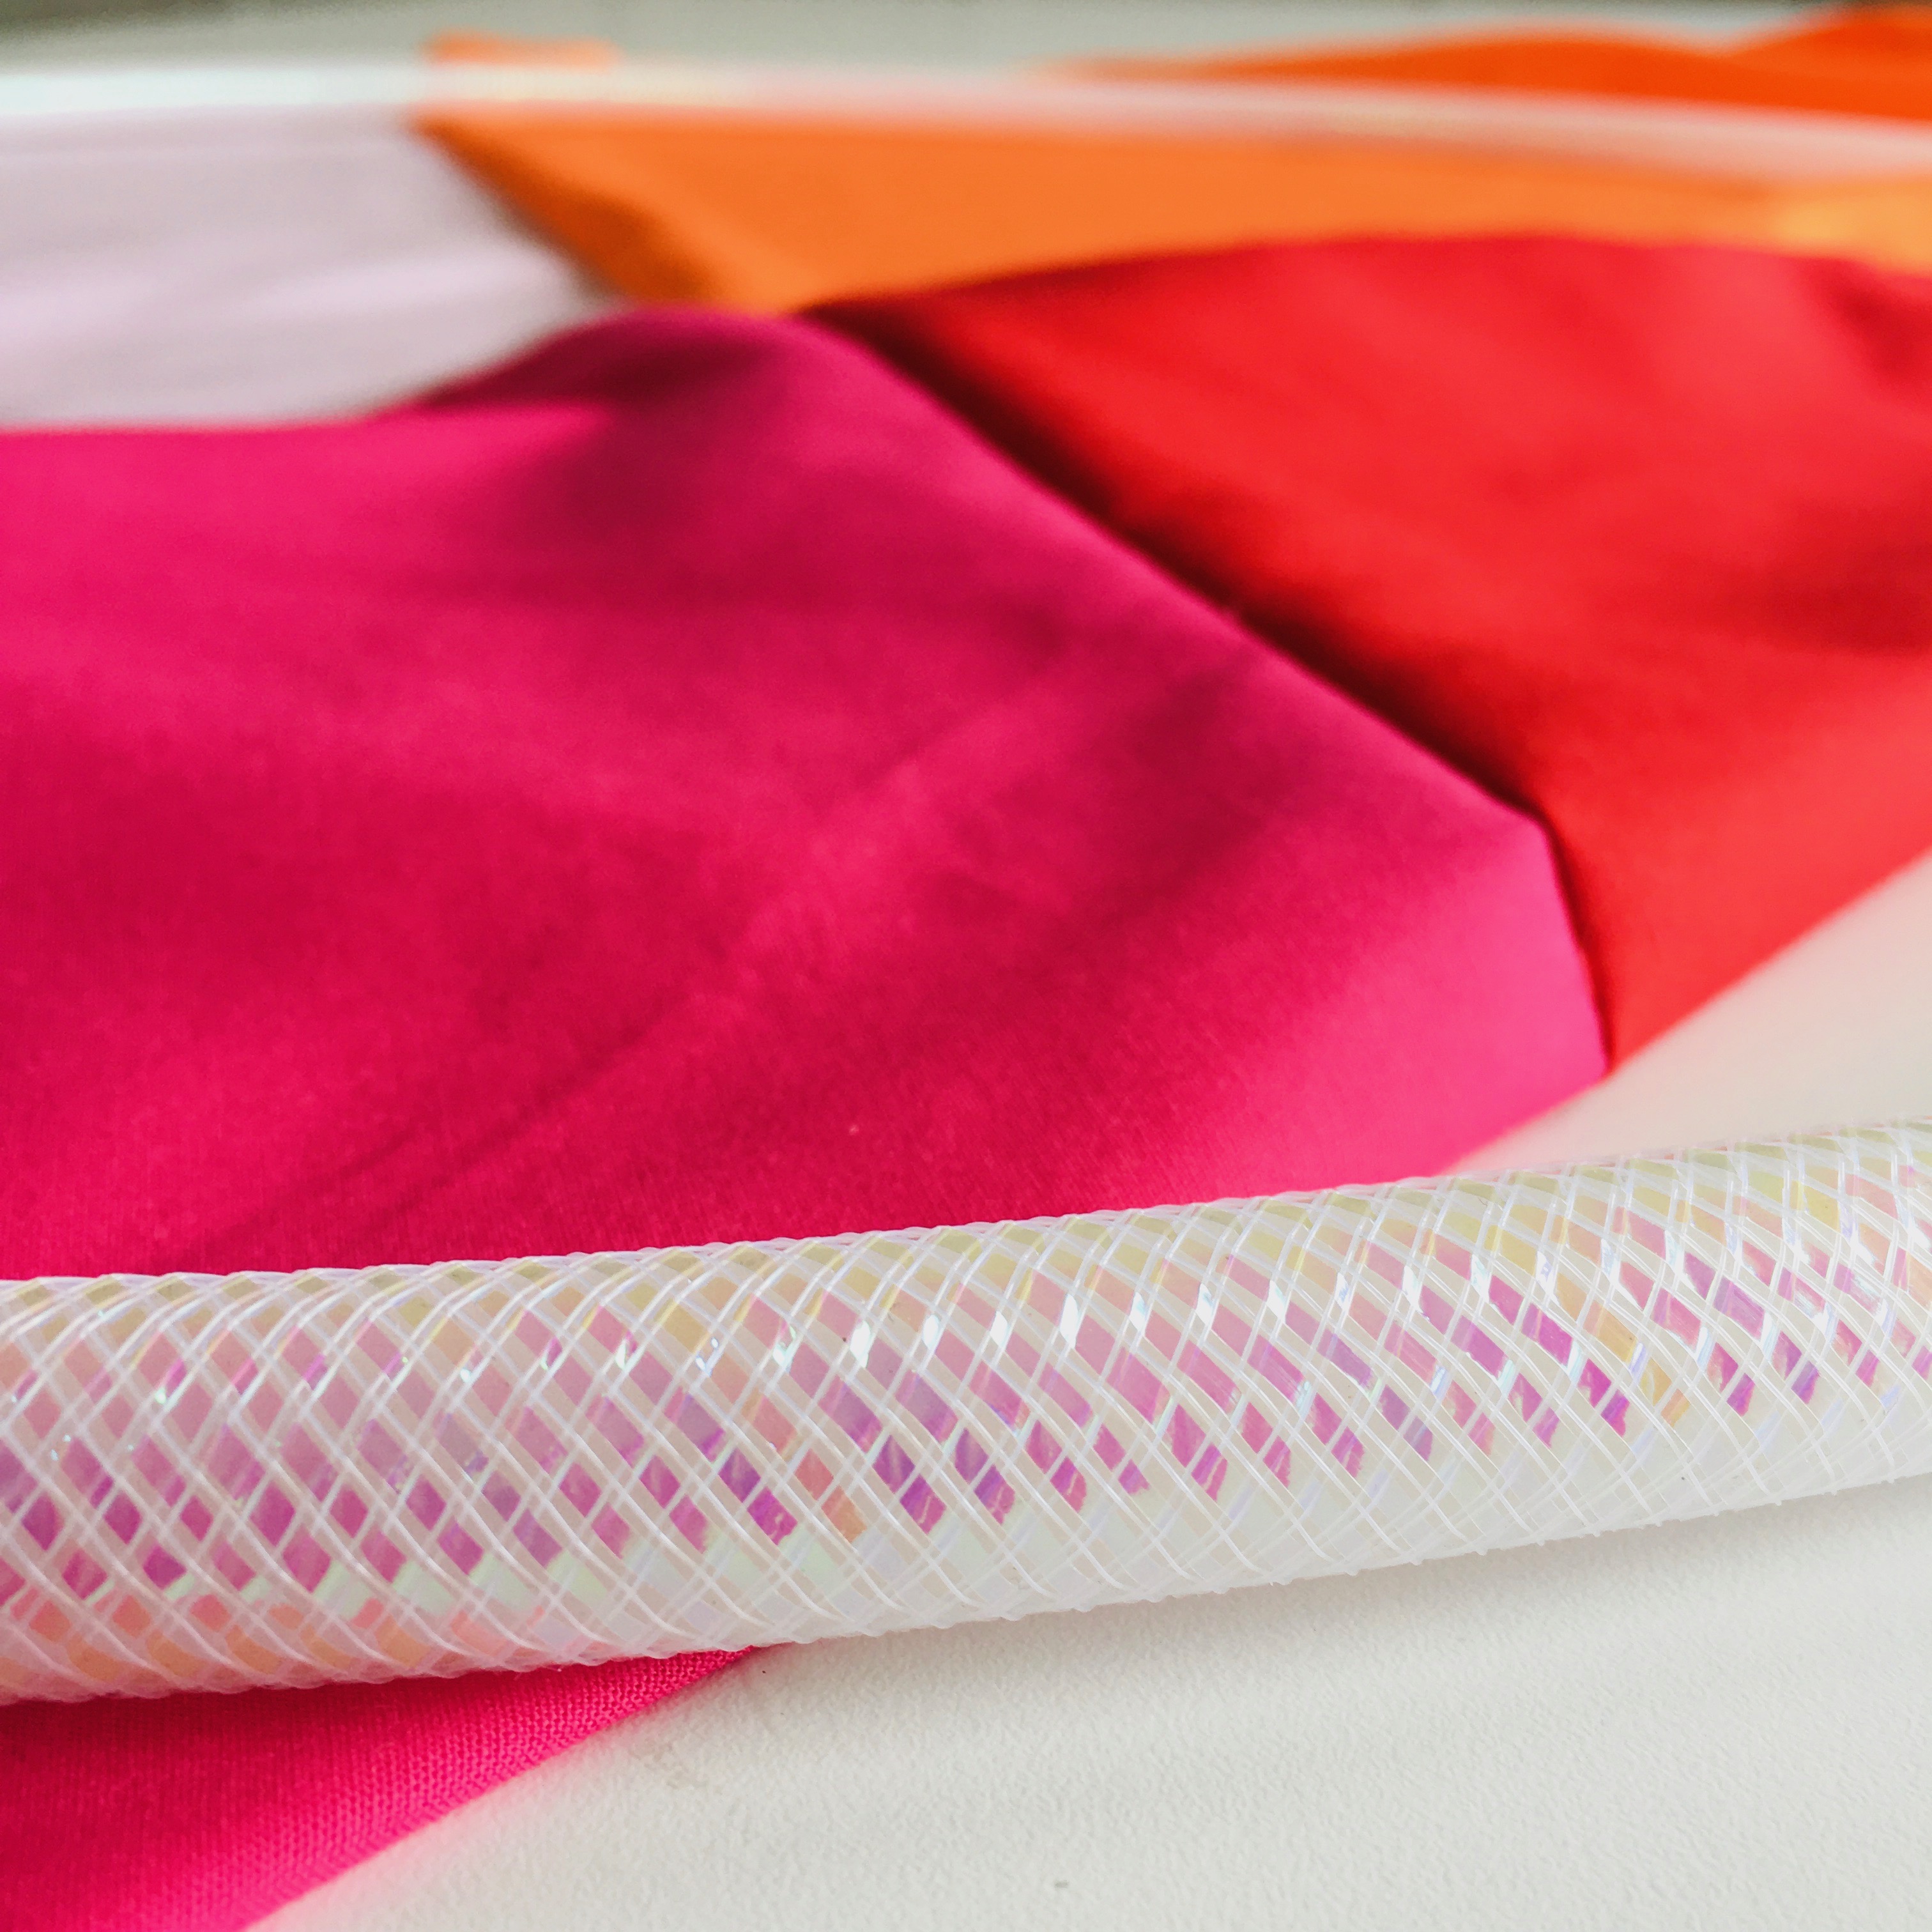
Iron your fabric so it’s wrinkle free. I used cotton because that’s what I had on hand. I also tried to make it look a splashy by sewing together four colors but that’s optional and an extra step.
Lay out your fabric on a large working surface and place the hoop on top. If necessary, trim fabric so there’s about 5″ inches of fabric outside the circumference of the hoop.
With a hot glue gun, squeeze drops of glue on a 5-6″ segment of the hoop.
Fold the fabric over the glue and shape to the curve of the hoop.
Repeat adding glue to a segment of the hoop and folding the fabric over it. Make sure to pull the fabric taut as you go.
Once it’s all glued, trim off the extra fabric. Tuck the remaining fabric in. (I added glue here and there to make sure the fabric ends were tucked in well.
That’s it. Take it outside and give it a spin!
Check out www.margaretmuirhead.com for more information about Flip! You can order your copy at Indiebound, Target, Barnes & Noble, Amazon or at your favorite neighborhood book shop.
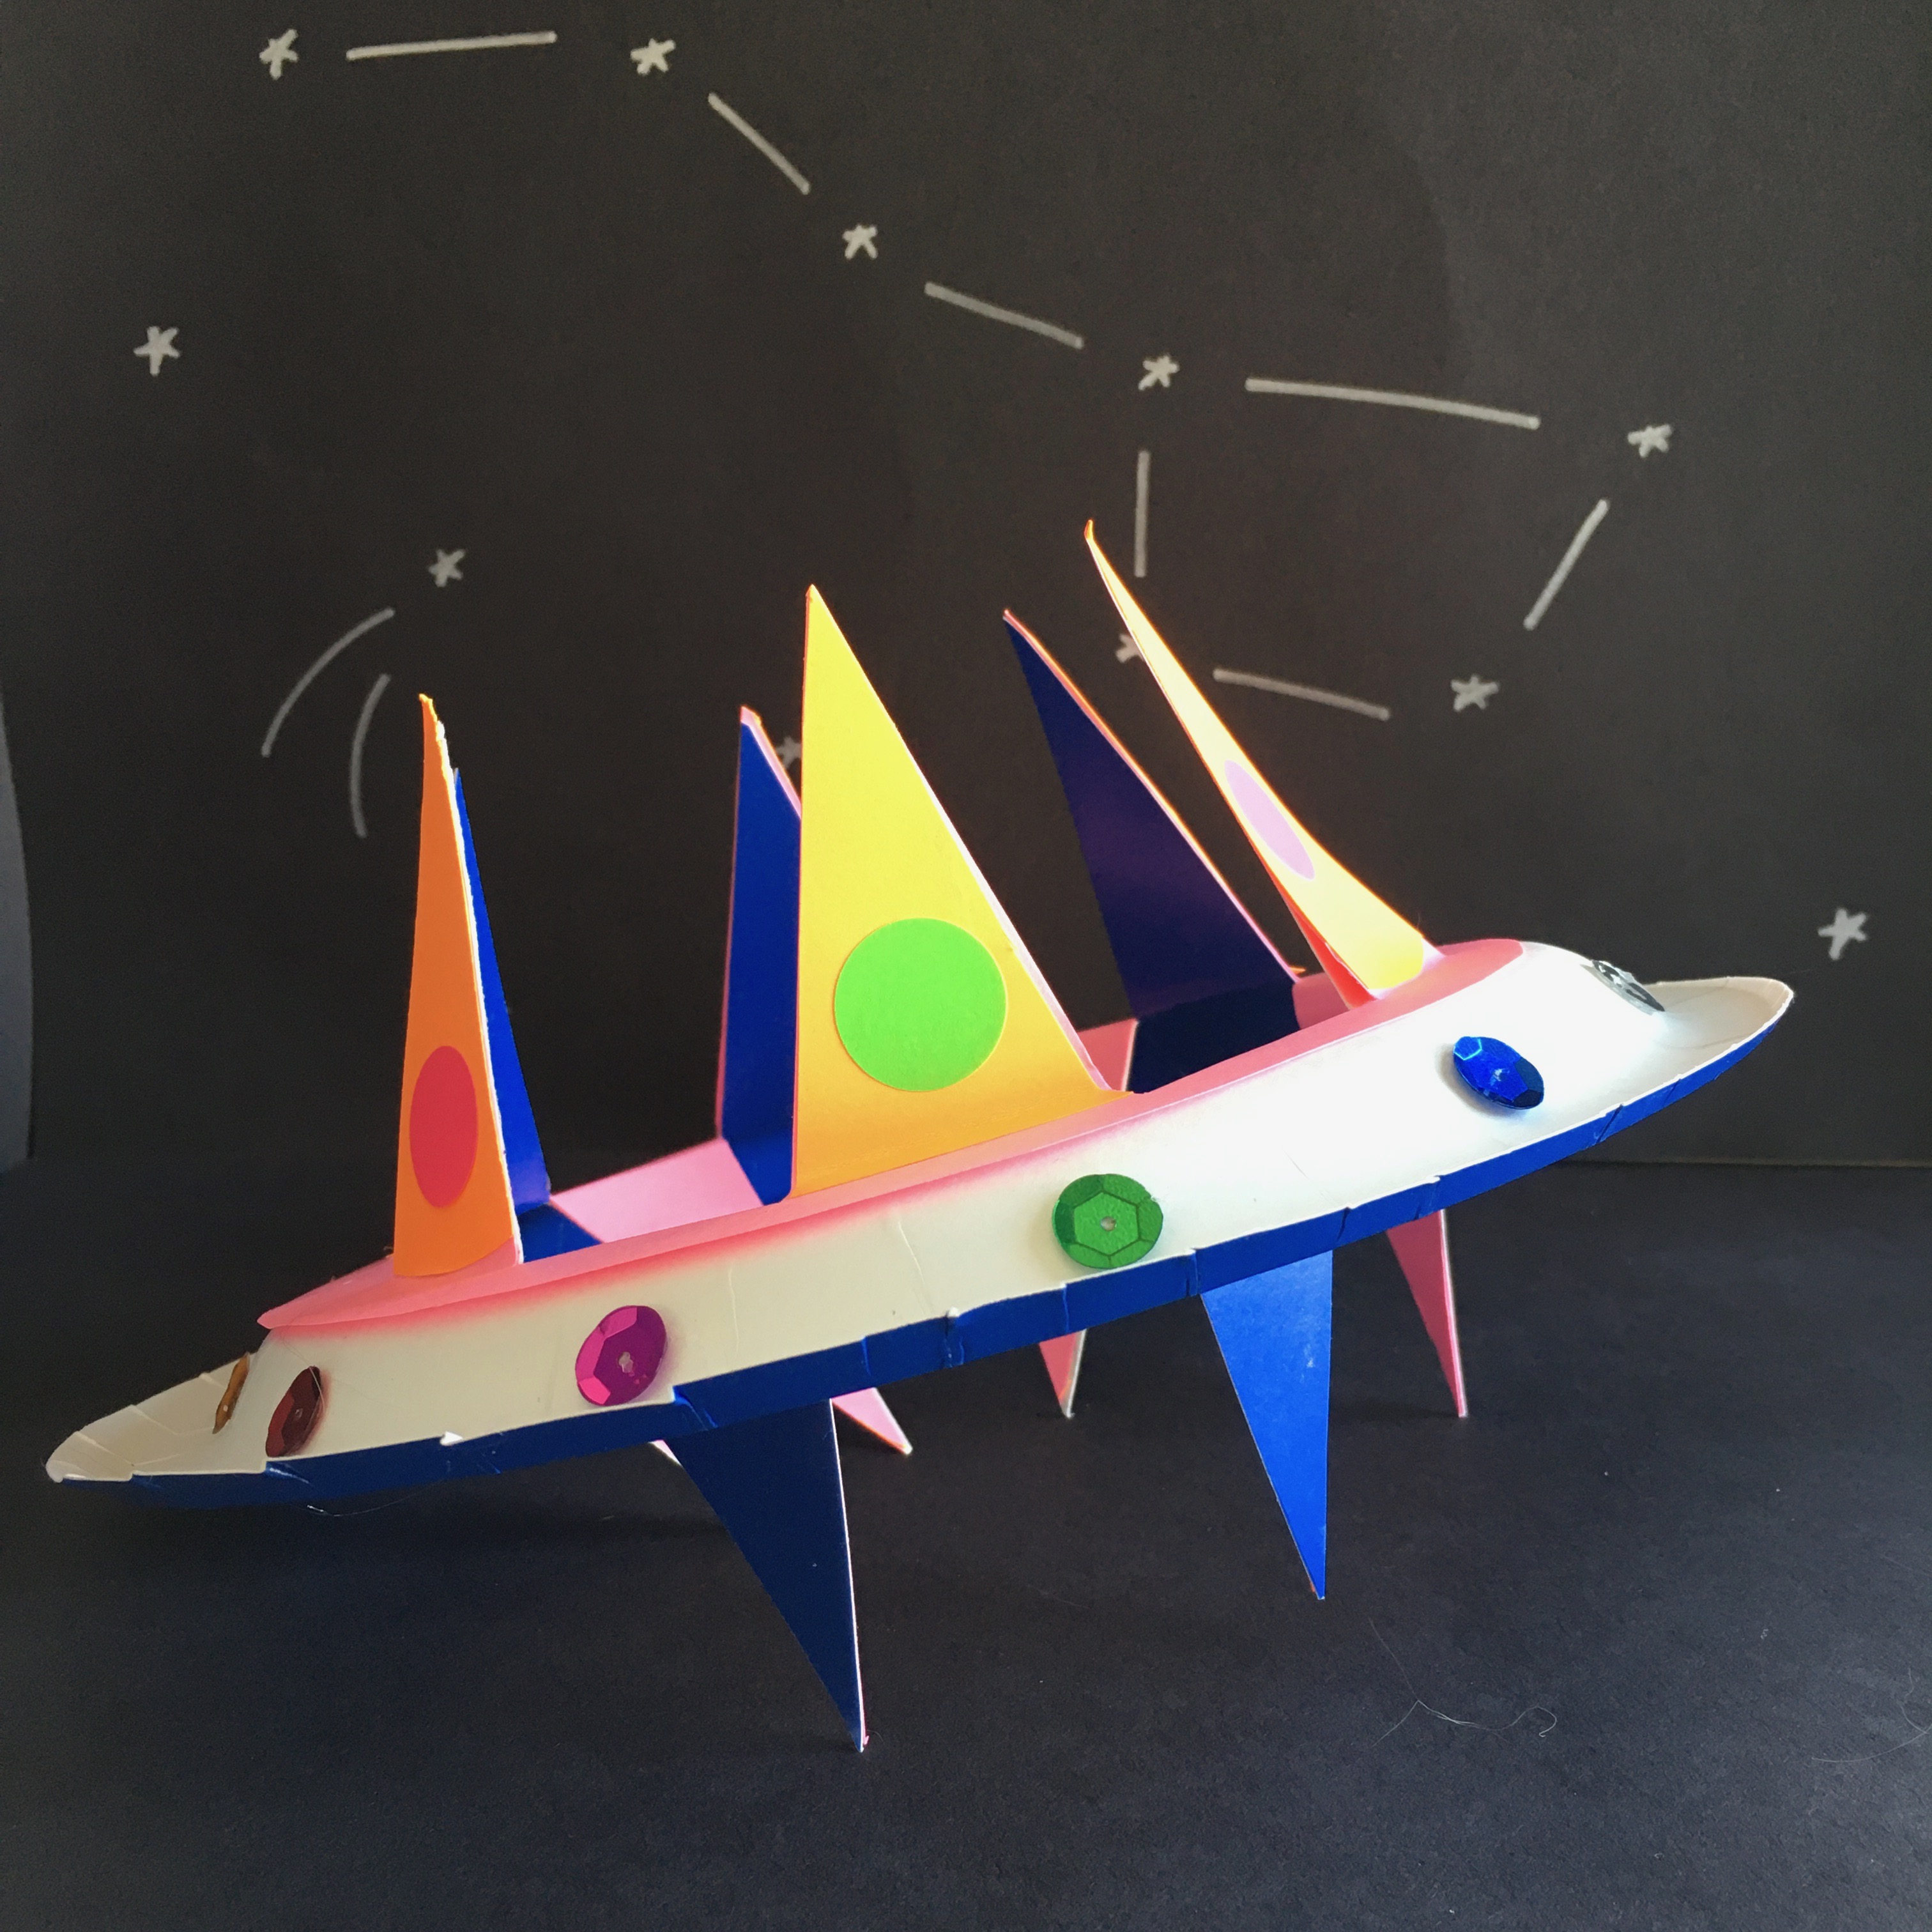
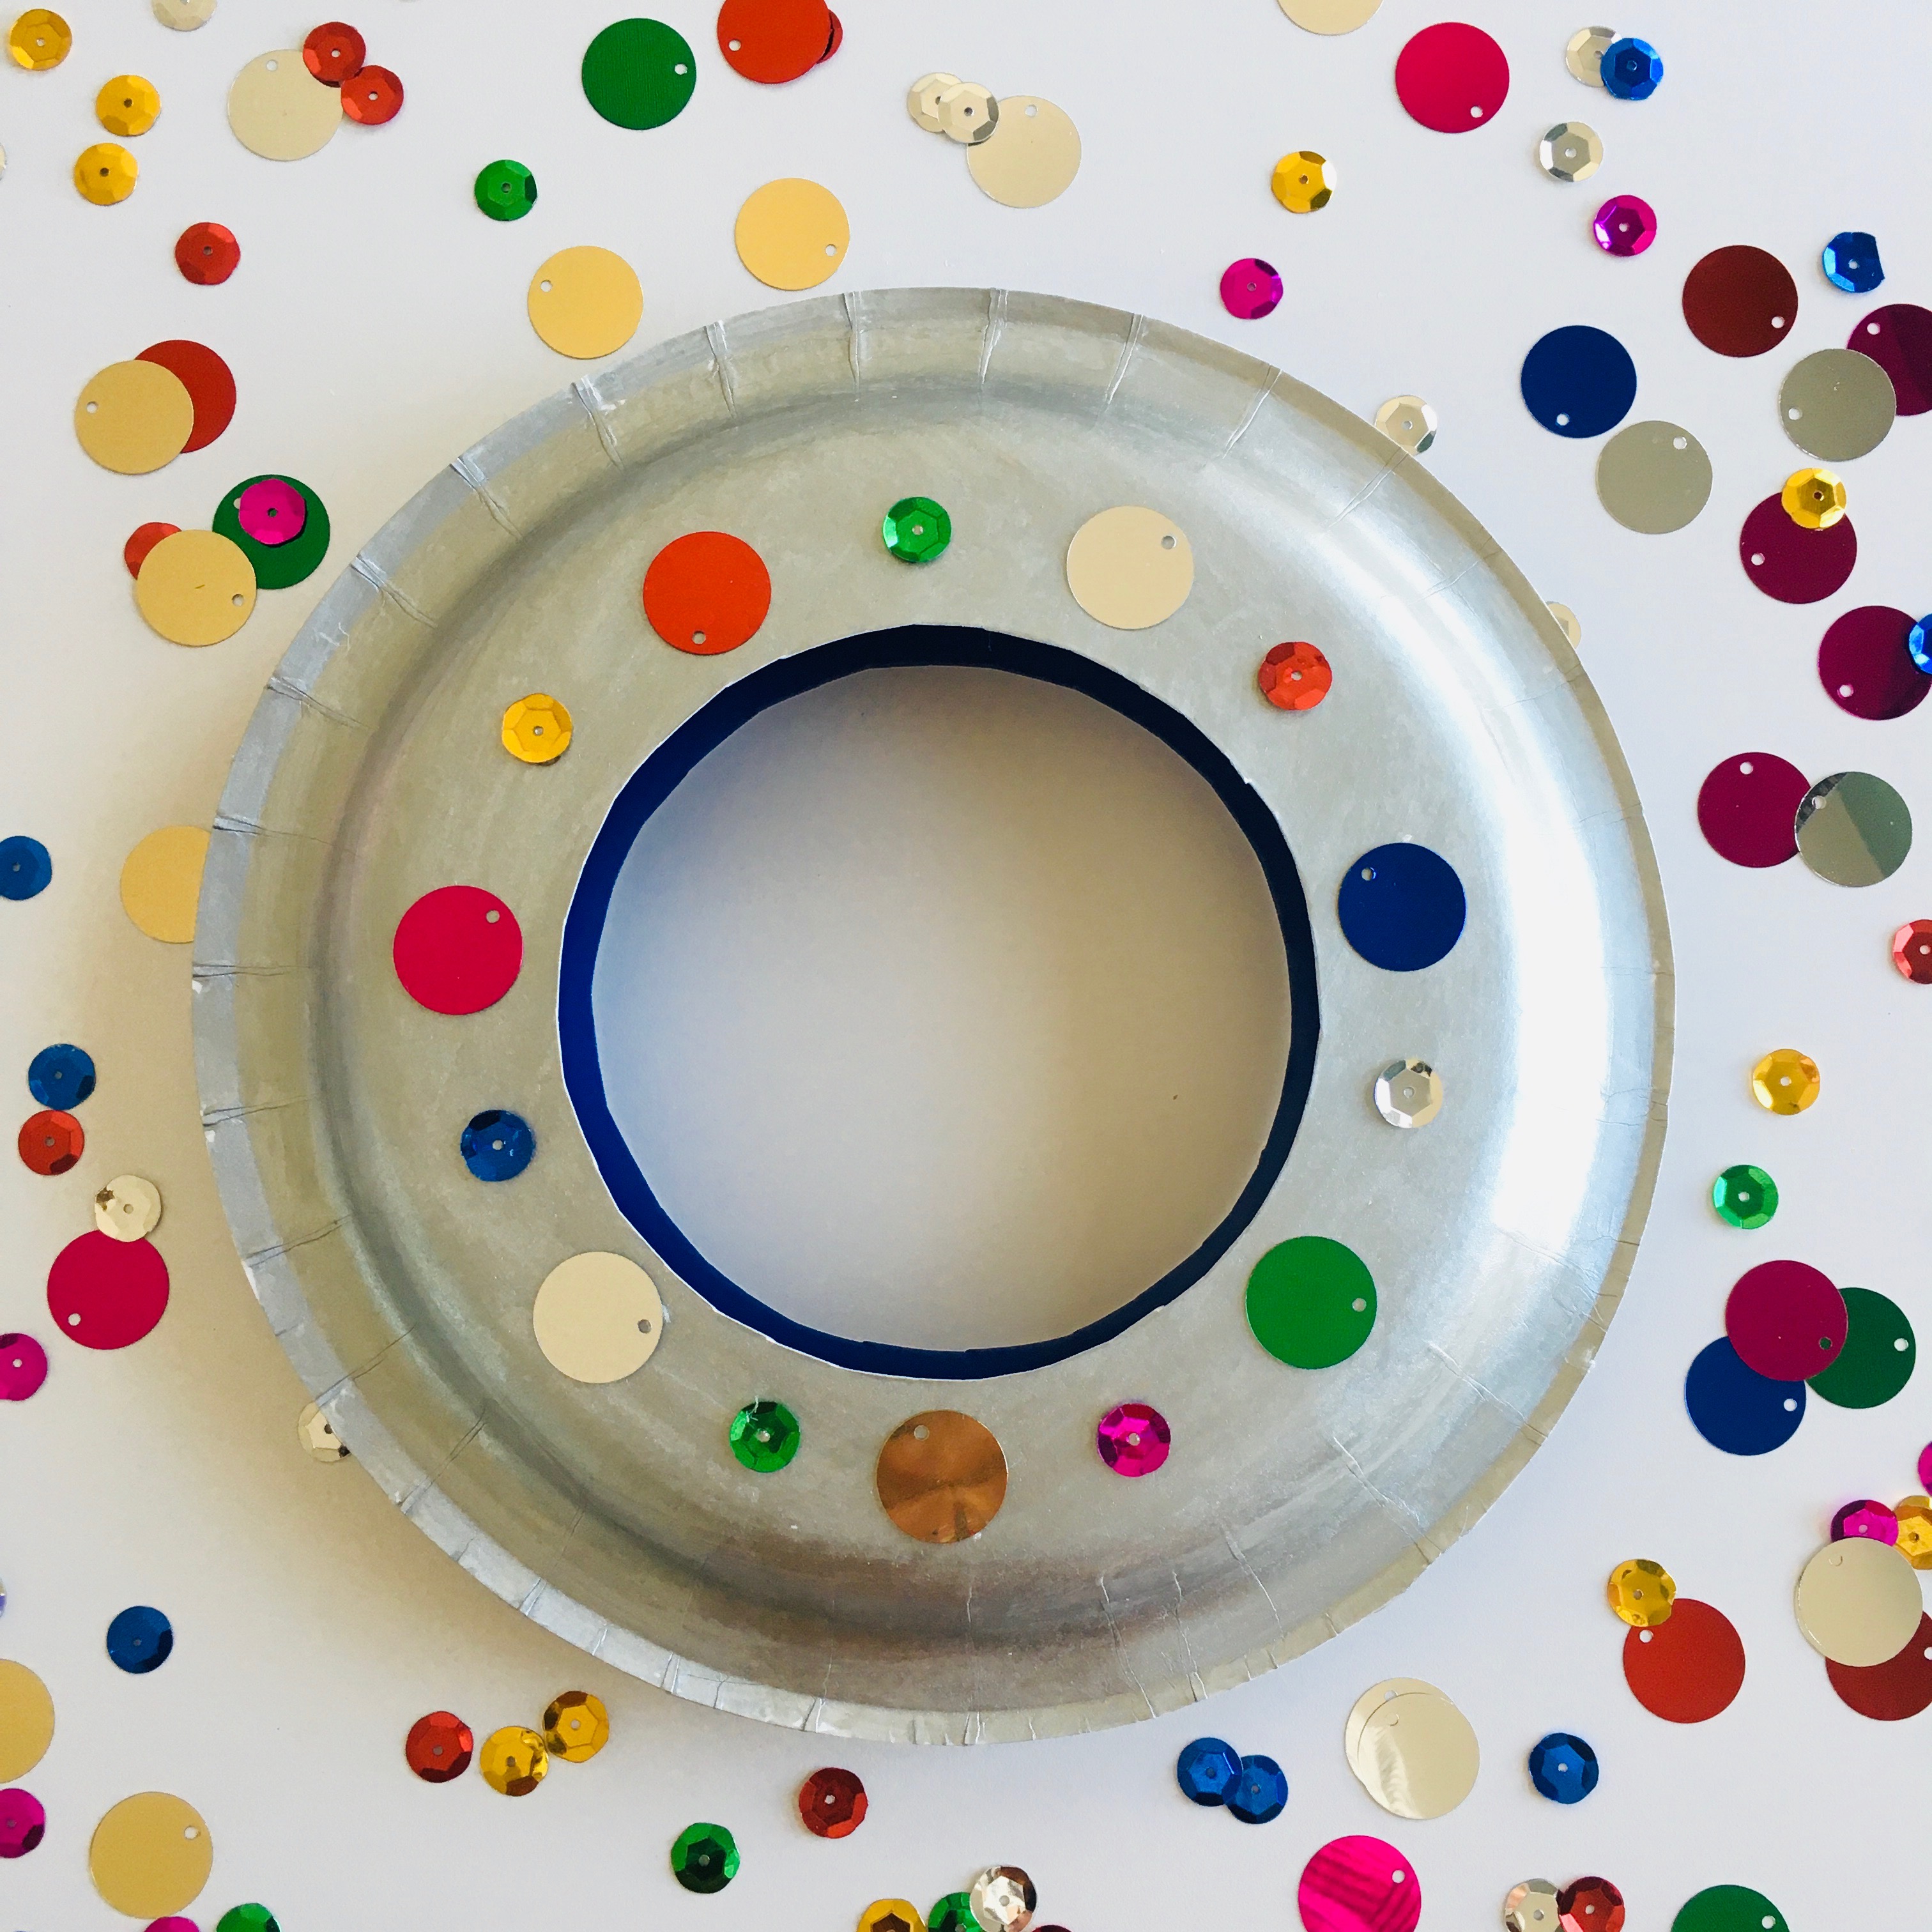
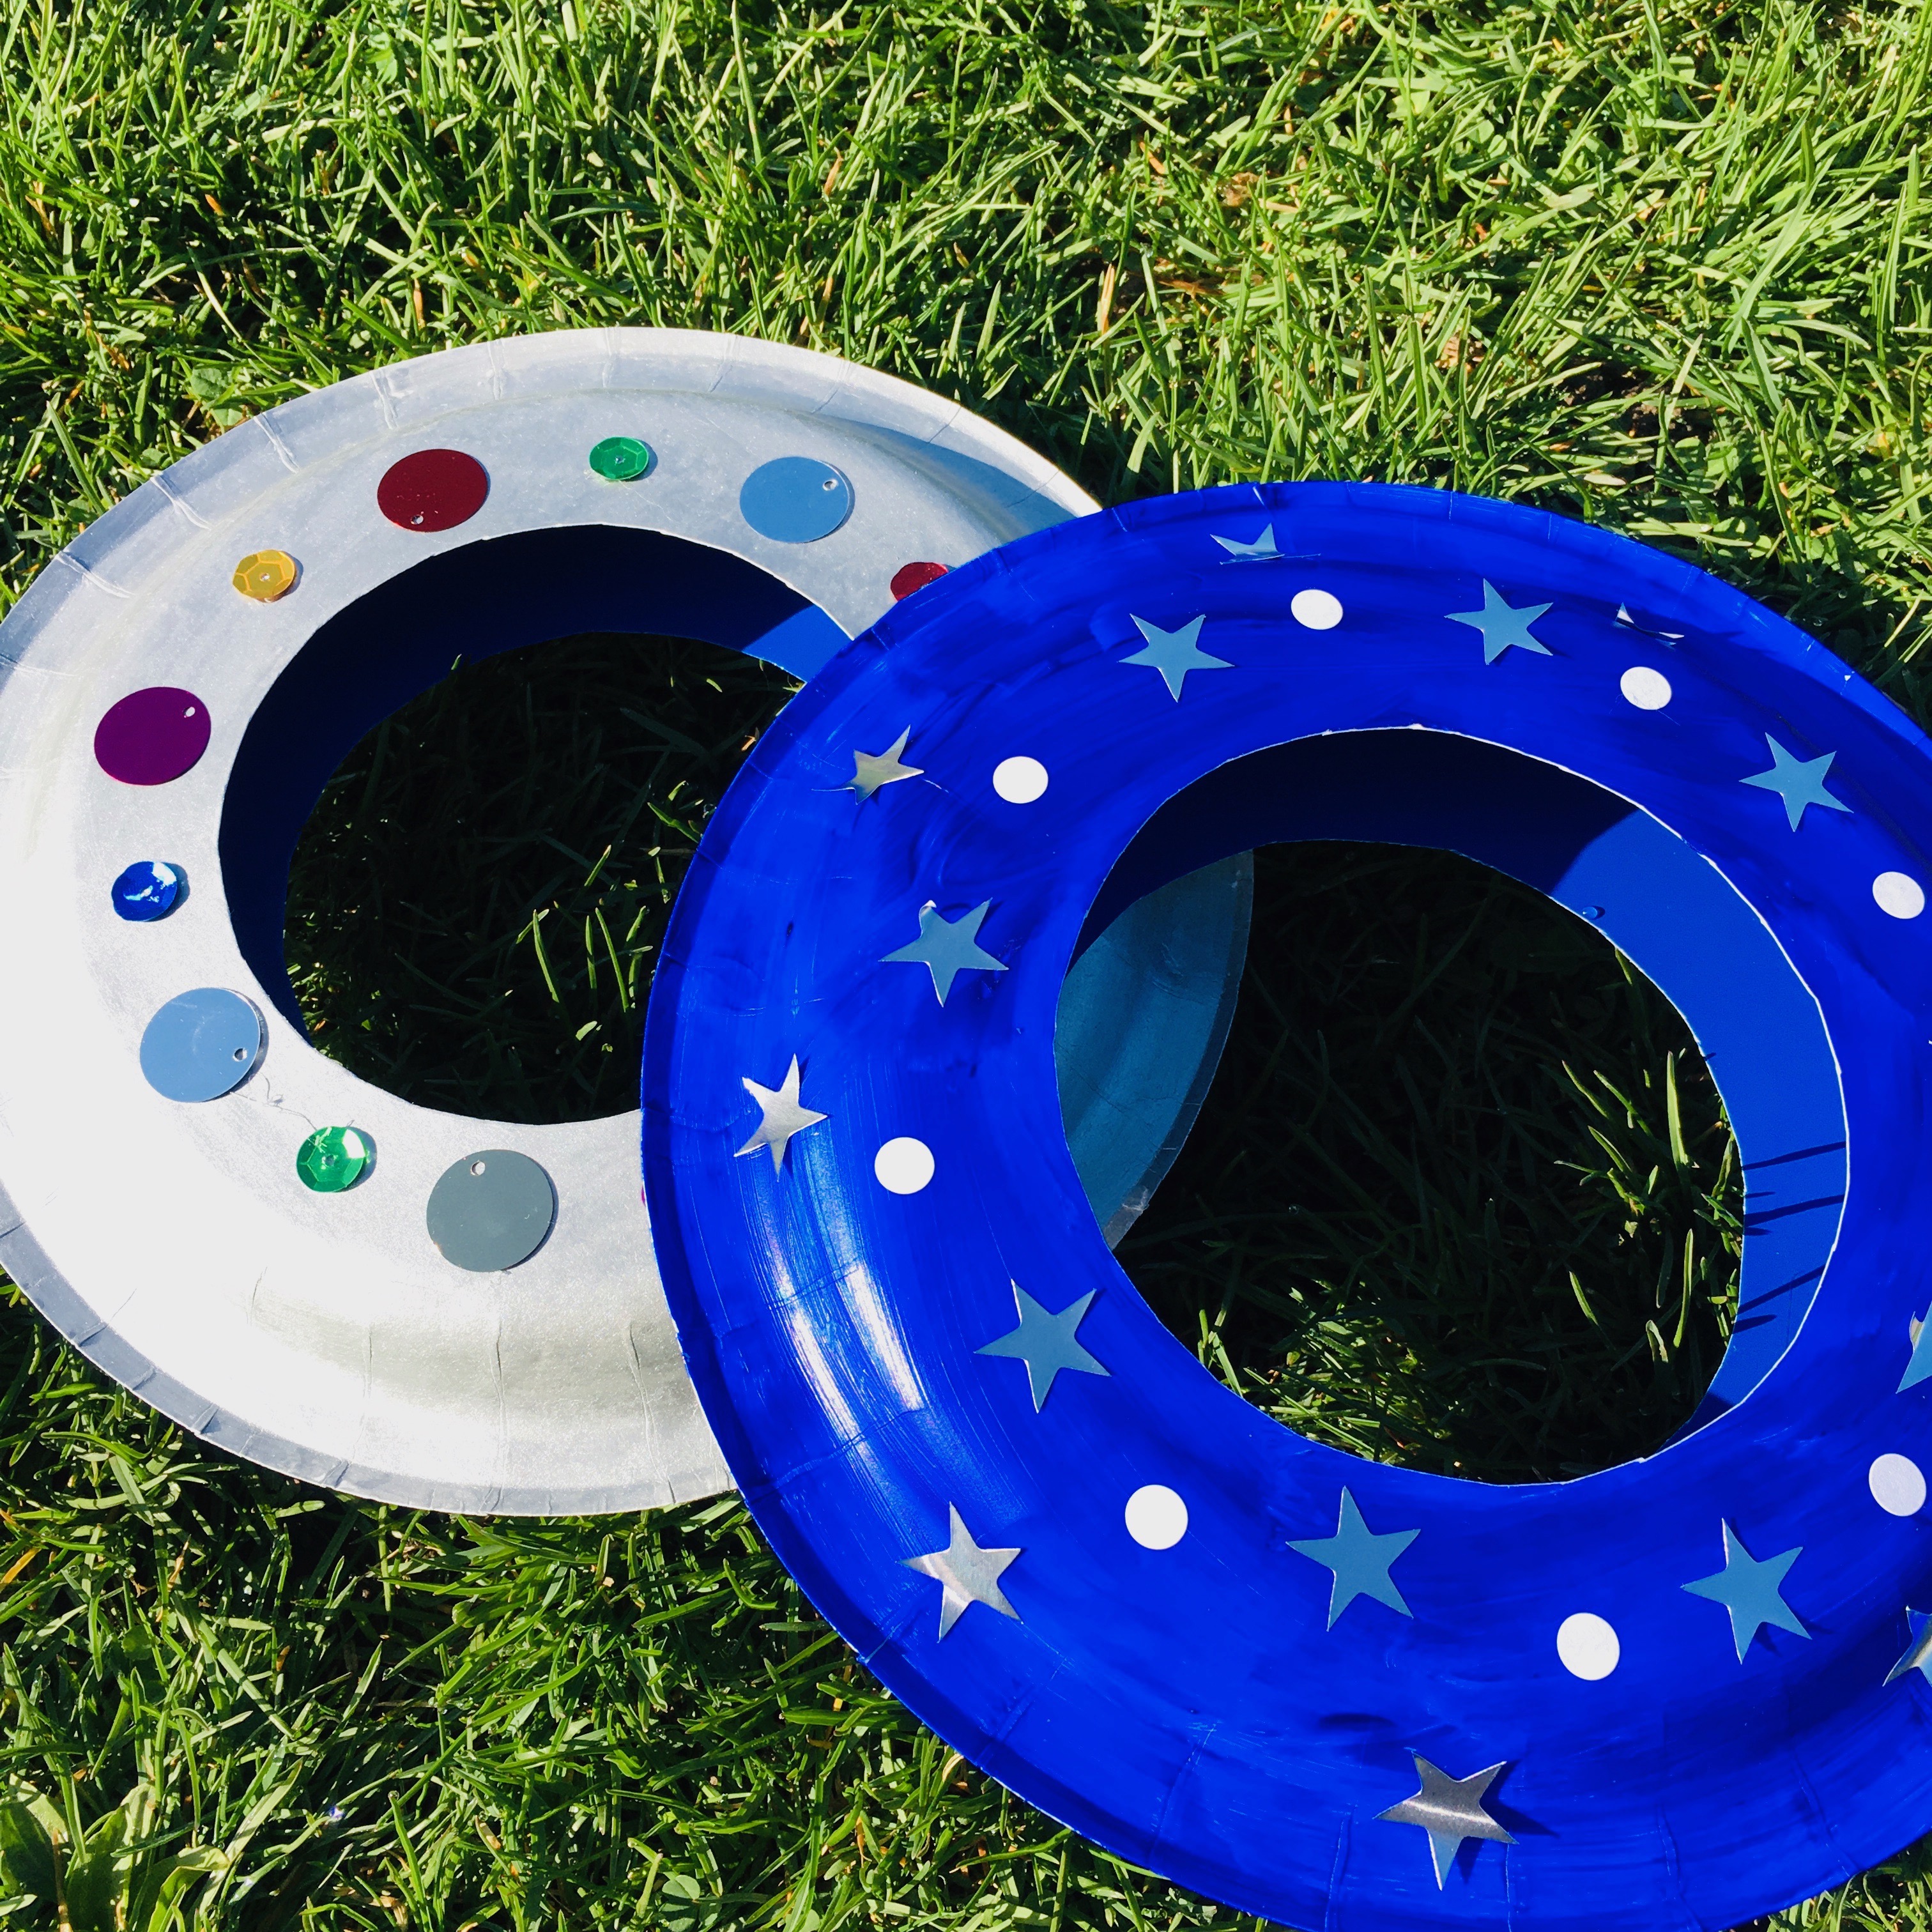
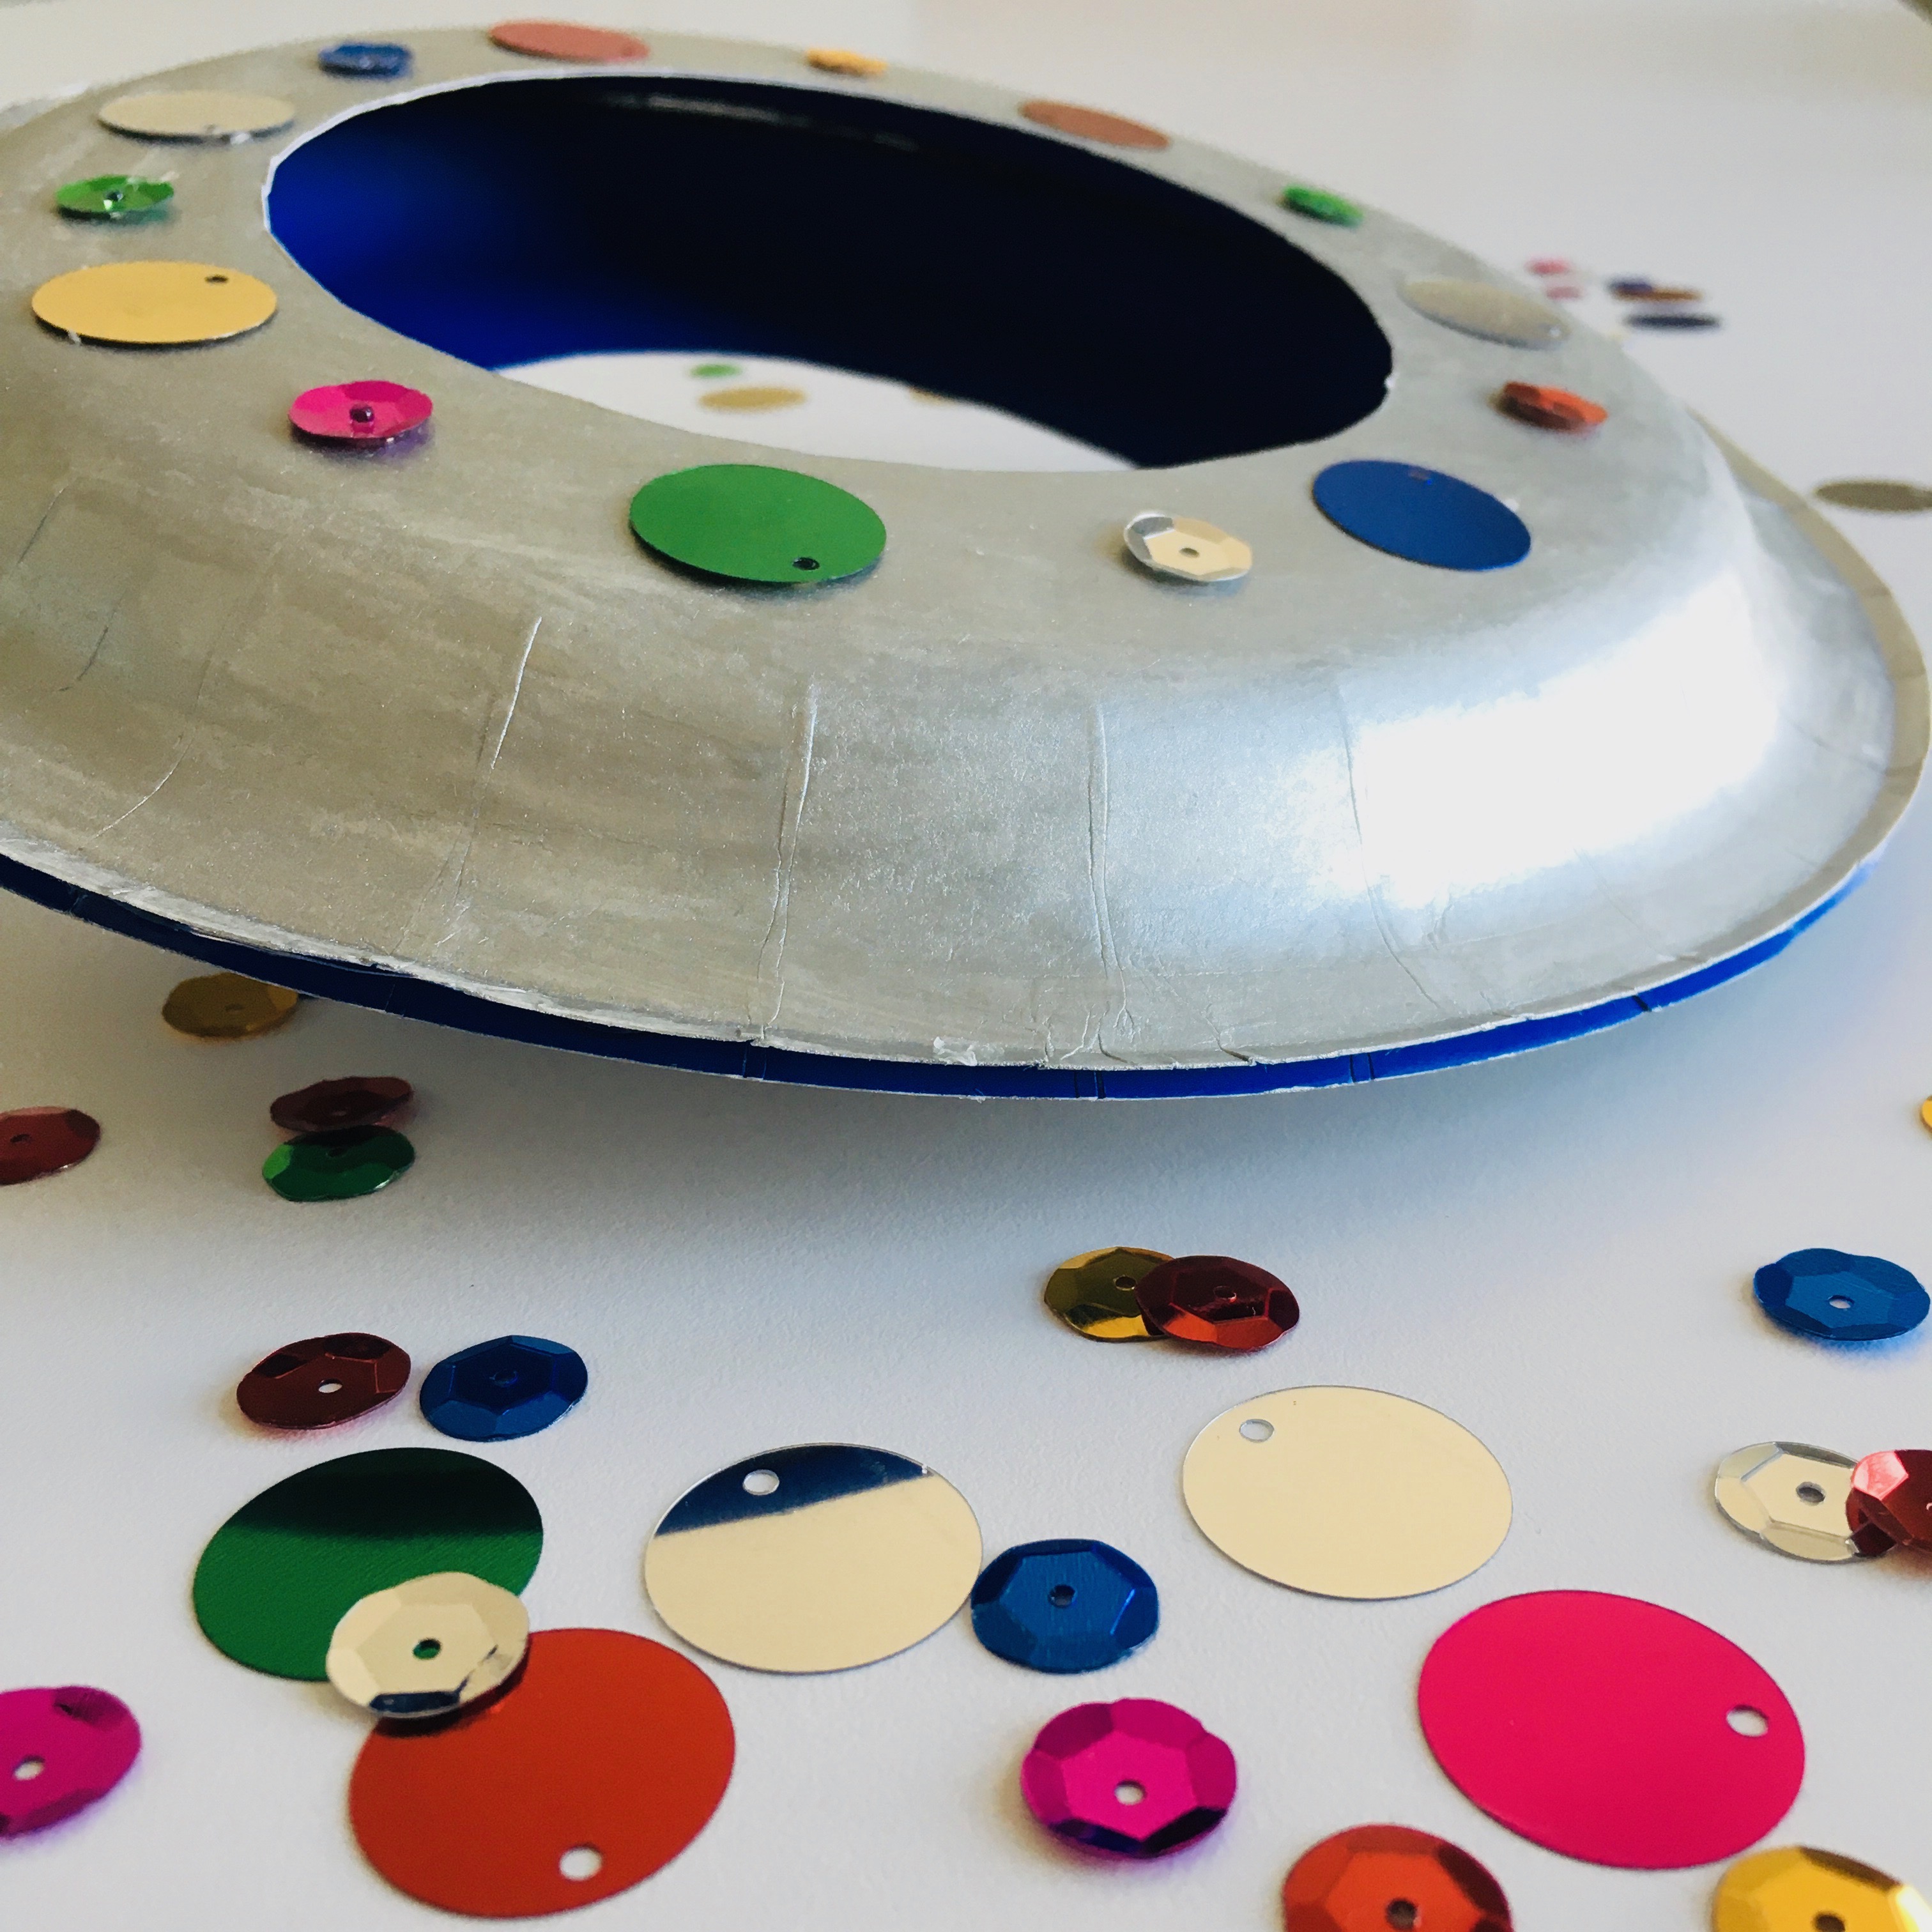
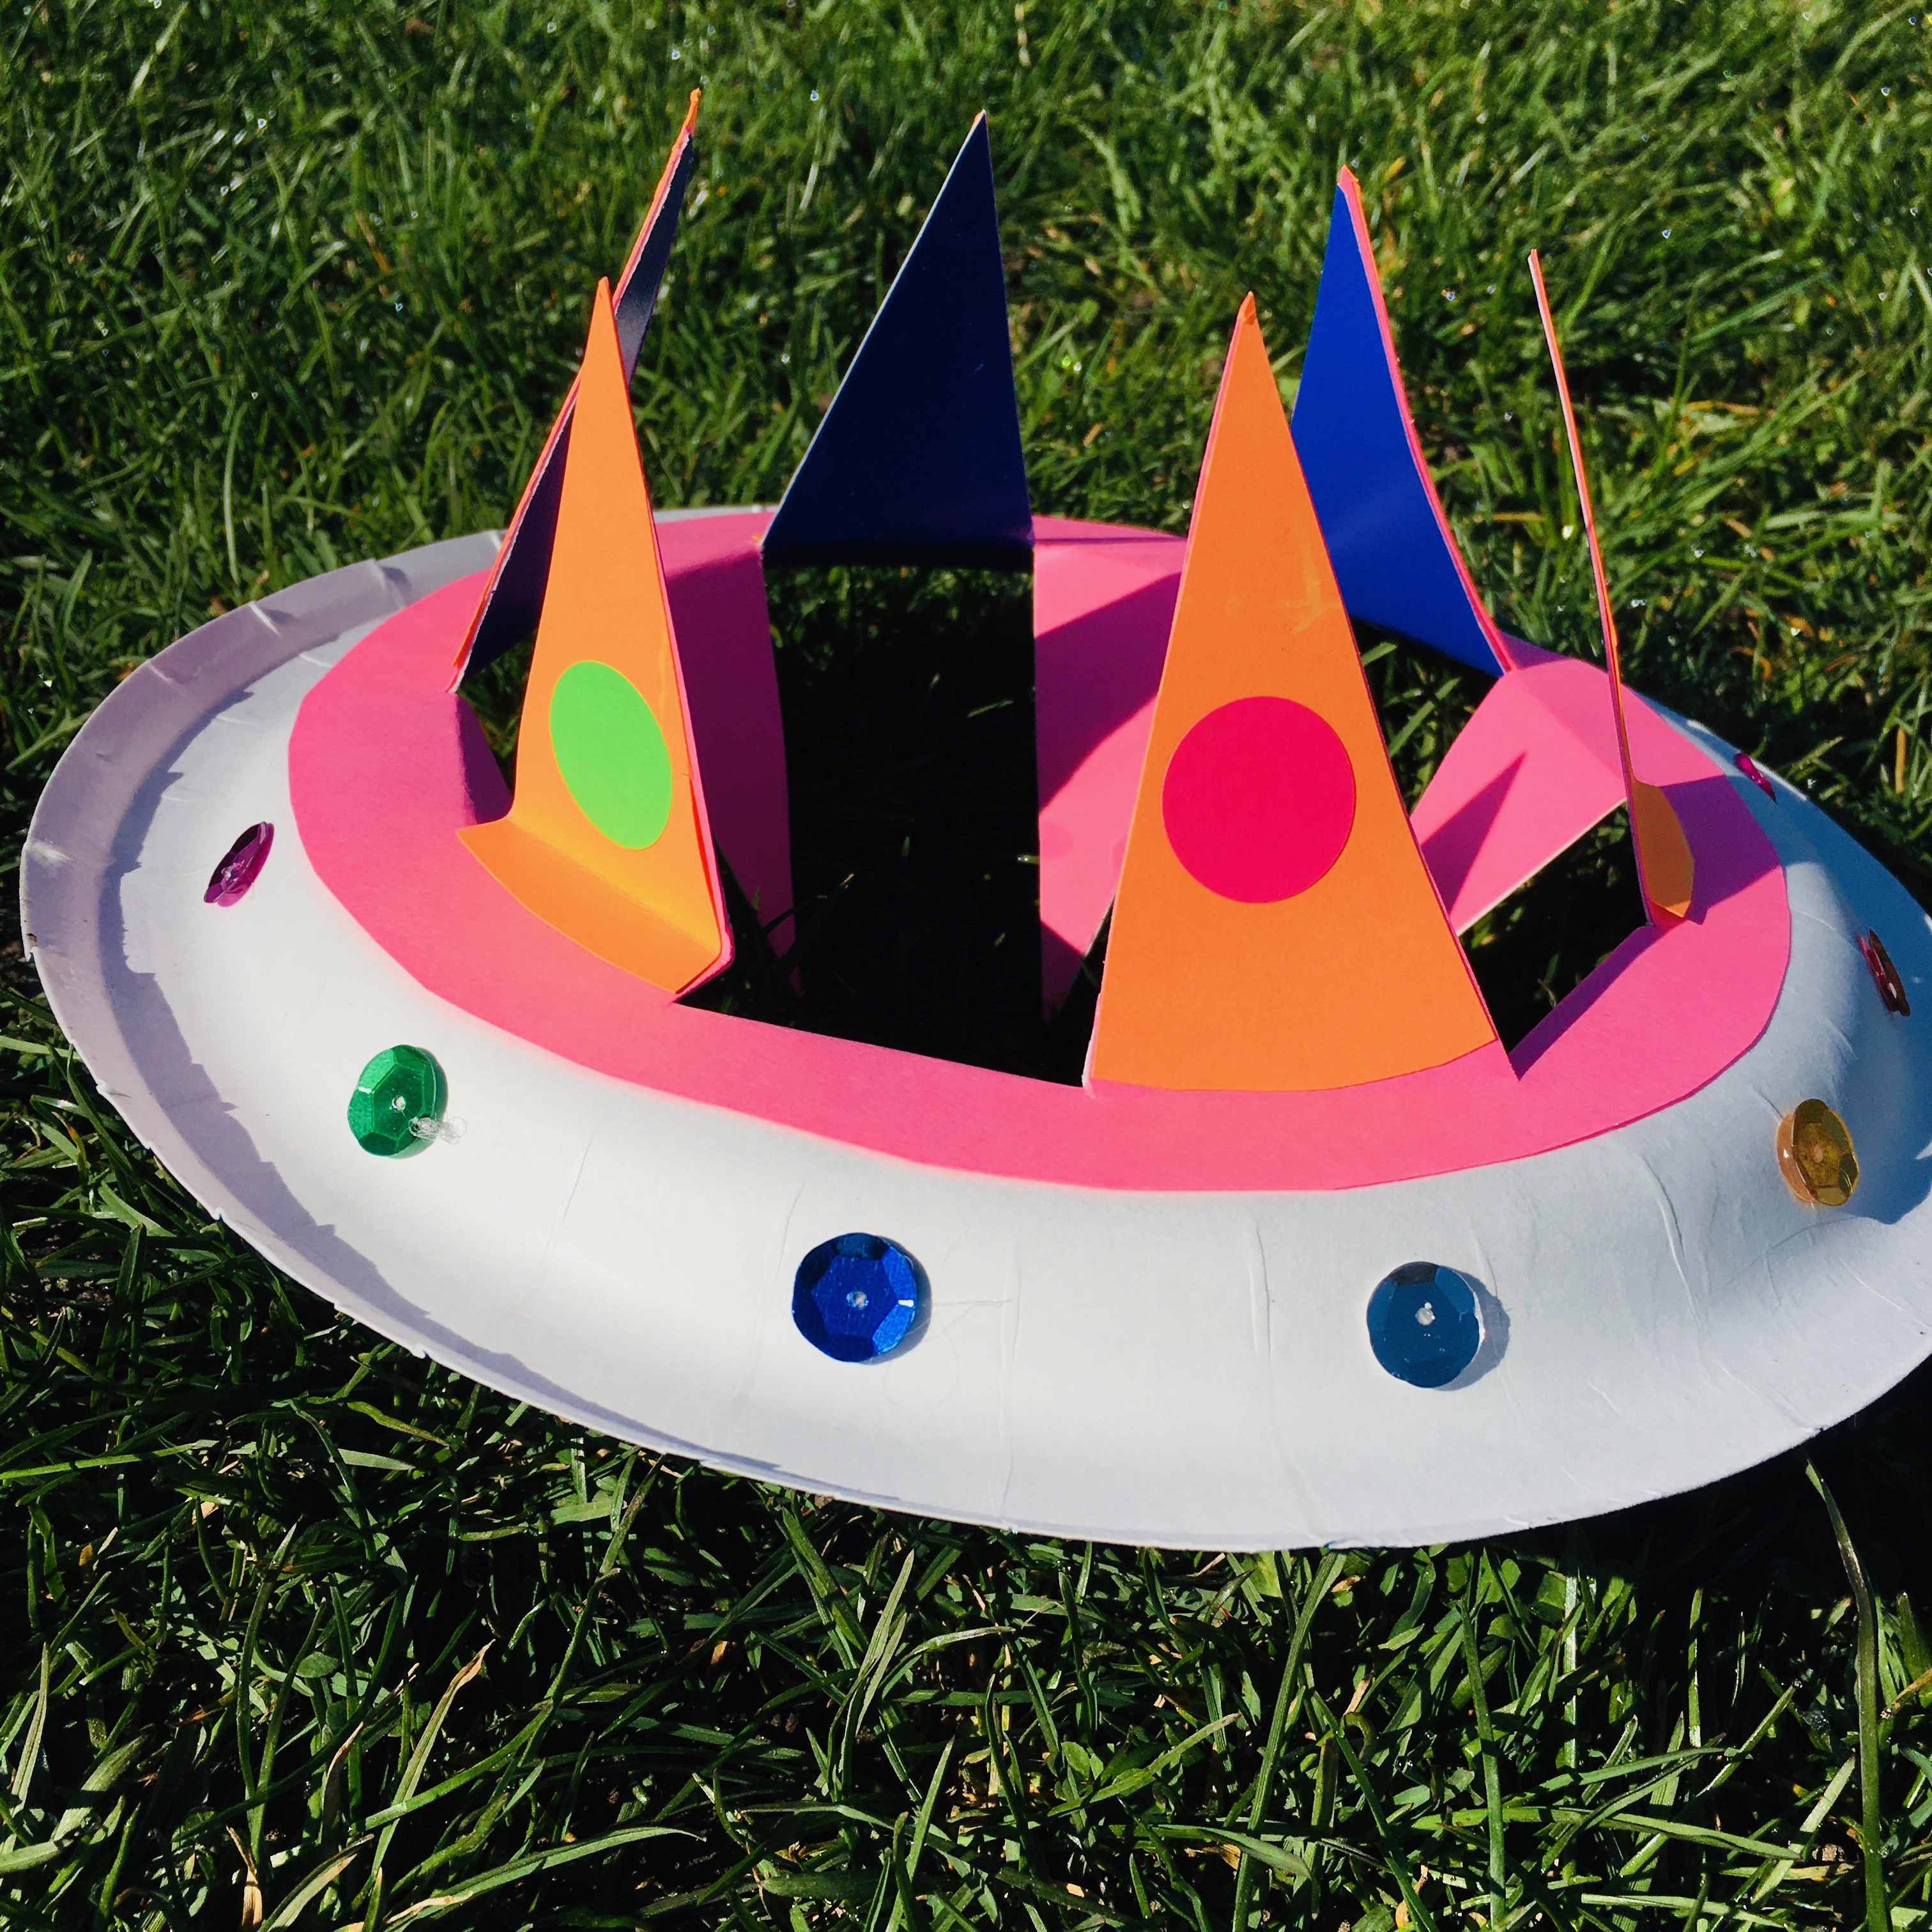
Is it an Unidentified Flying Object from outer space? Or is it a very cool do-it-yourself Frisbee? This craft is geared to kids in preschool through grades 1 and 2. It’s simple, satisfying, and the best part is watching your saucer soar! All you really need is a paper plate (or two). This is a great hands-on activity for families, teachers and librarians to pair with my nonfiction picture book, FLIP! How the Frisbee Took Flight. Give it a whirl!
INSTRUCTIONS: Watch this short video to learn how to make this simple, satisfying toy!
Check out www.margaretmuirhead.com for more information about Flip! You can order your copy at Indiebound, Target, Barnes & Noble, Amazon or at your favorite neighborhood book shop.
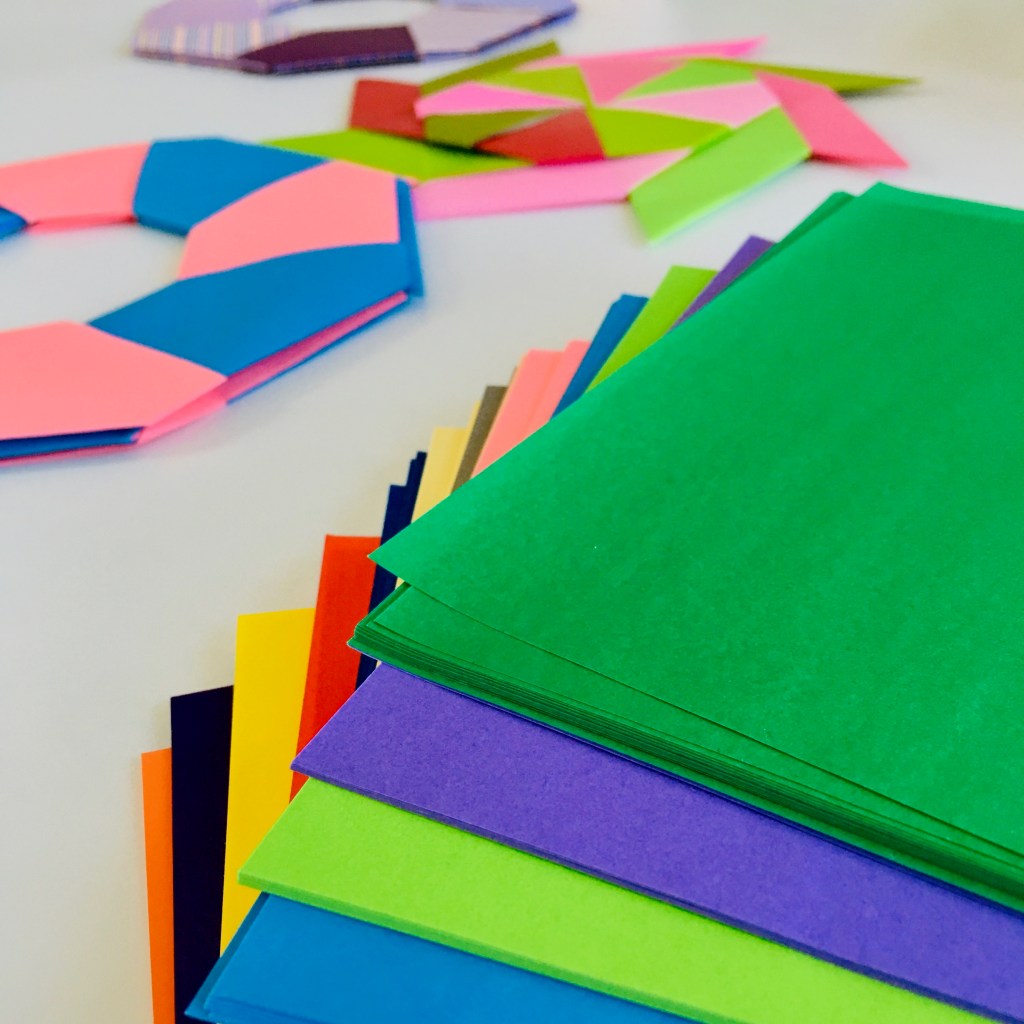
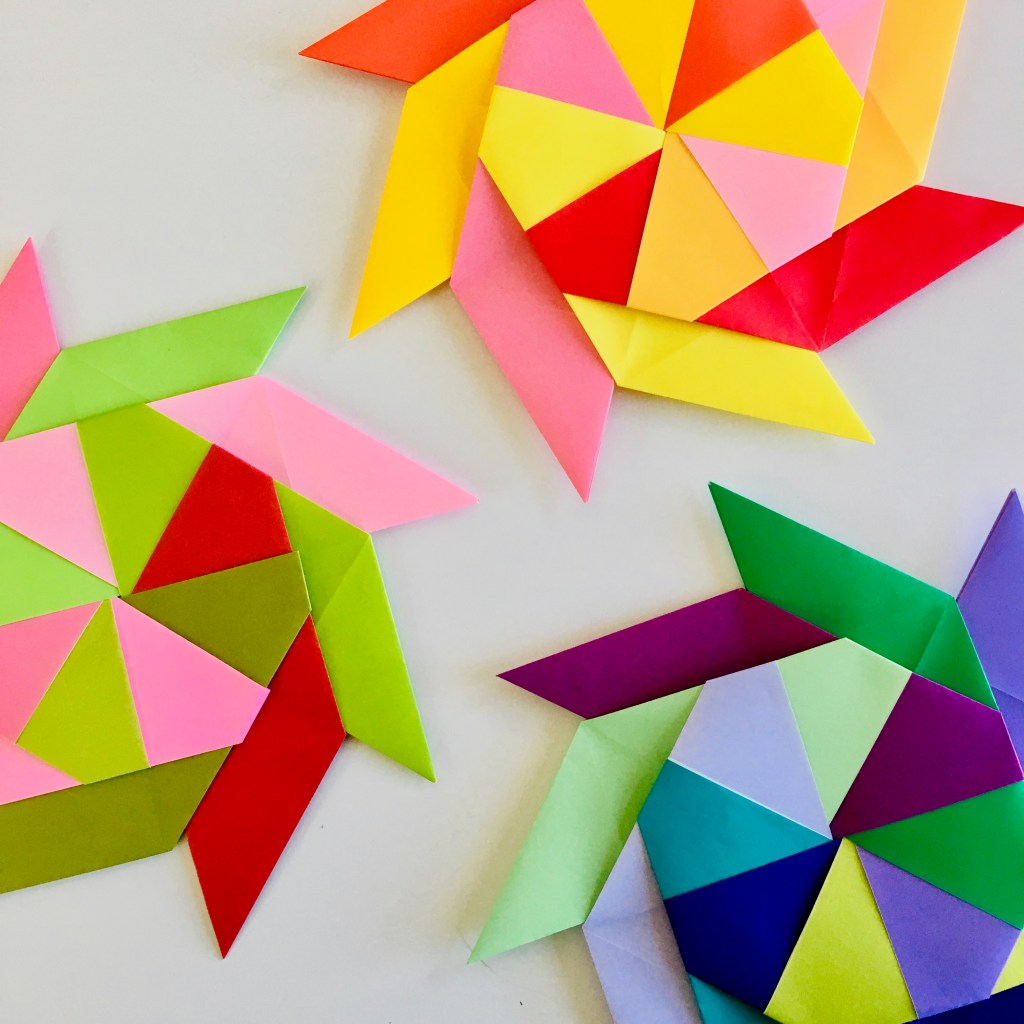
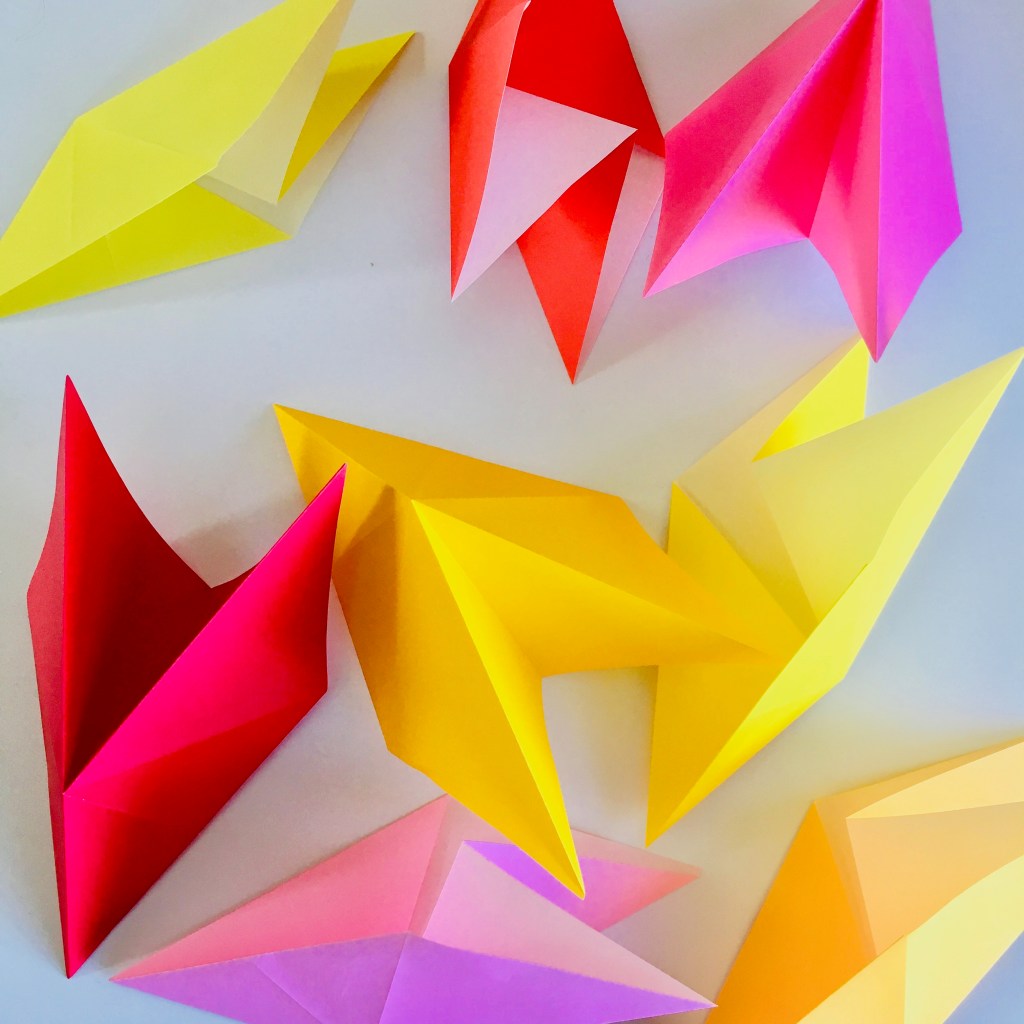
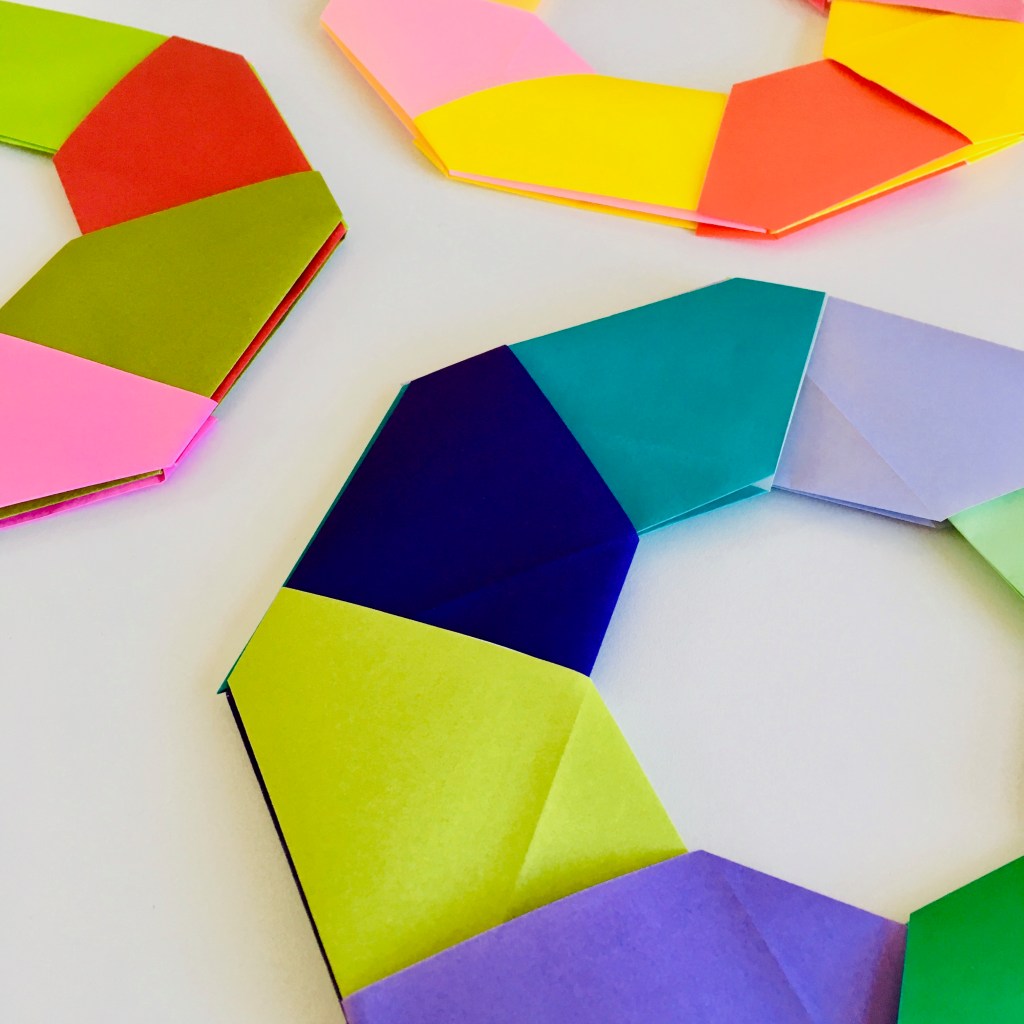
Once kids get a hang of folding these Origami Flyers, they won't be able to stop! The good news is flinging these flyers won't damage your walls or furniture and they pair perfectly with my upcoming nonfiction picture book, FLIP! How the Frisbee Took Flight.
Materials:
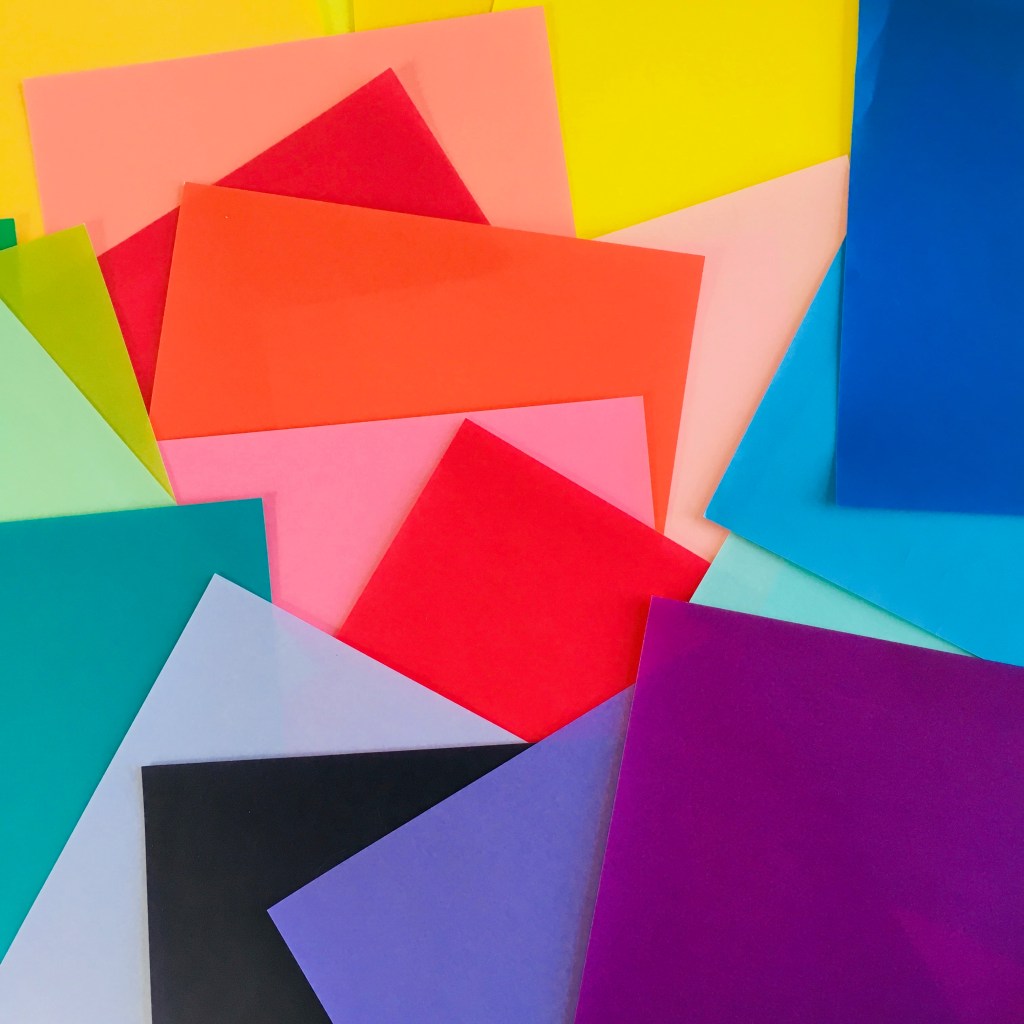
The list couldn't be simpler! Origami paper. To make one origami flyer, you will need 8 pieces--4 in one color, 4 in another. I recommend a happy medium--about 15 cm x 15 cm. That's big enough for kids new to origami, but not so large as to be too floppy to fly.
Instructions:
Watch these 2 short videos, and follow the folds!
Check out www.margaretmuirhead.com for more information about Flip! You can pre-order your copy at Indiebound, Target, Barnes & Noble, Amazon or at your favorite neighborhood book shop.
The Book Giveaway is closed. Our winner is Josie Clark-Trippodo! Congratulations, Josie! Enjoy this beautiful book.
“Be a tree. Stand tall. Stretch your branches to the sun.” Maria Gianferrari’s beautiful picture book begins with a simple metaphor that extends and expands, connecting the ecology of trees to a message about interconnectedness and our human responsibility to care for, build and sustain our communities. The illustrations by Felicita Salas are delightful. On a page with text that reads: “Your skin is bark; dead on the outside, protecting what’s within,” Salas adds a detail of matching tattoos–a heart inked on a grandfather’s forearm with a twin heart carved into the trunk of a tree.
To mark the publication of BE A TREE, I wanted to create a variation of that perennial school project, the Family Tree–but one that would celebrate the circles of community that kids experience in their lives instead of ancestry. Not all children know or live with biological relatives–but all of them have important people who matter to them. So, introducing . . . the TREE RINGS PROJECT!
Block printing with organic materials (because: trees) is a perfect pair for this project, filled with texture and messiness. Who doesn’t love a puddle of glue, paint, and the surprise of lifting up a print you made to see the result? If it’s too glue-y for you, you can also create a Tree Rings Project using markers and crayons with concentric circle shapes to trace.
Tree Rings Project
MATERIALS
Flat piece of cardboard (you can cut out a side of a cardboard box)
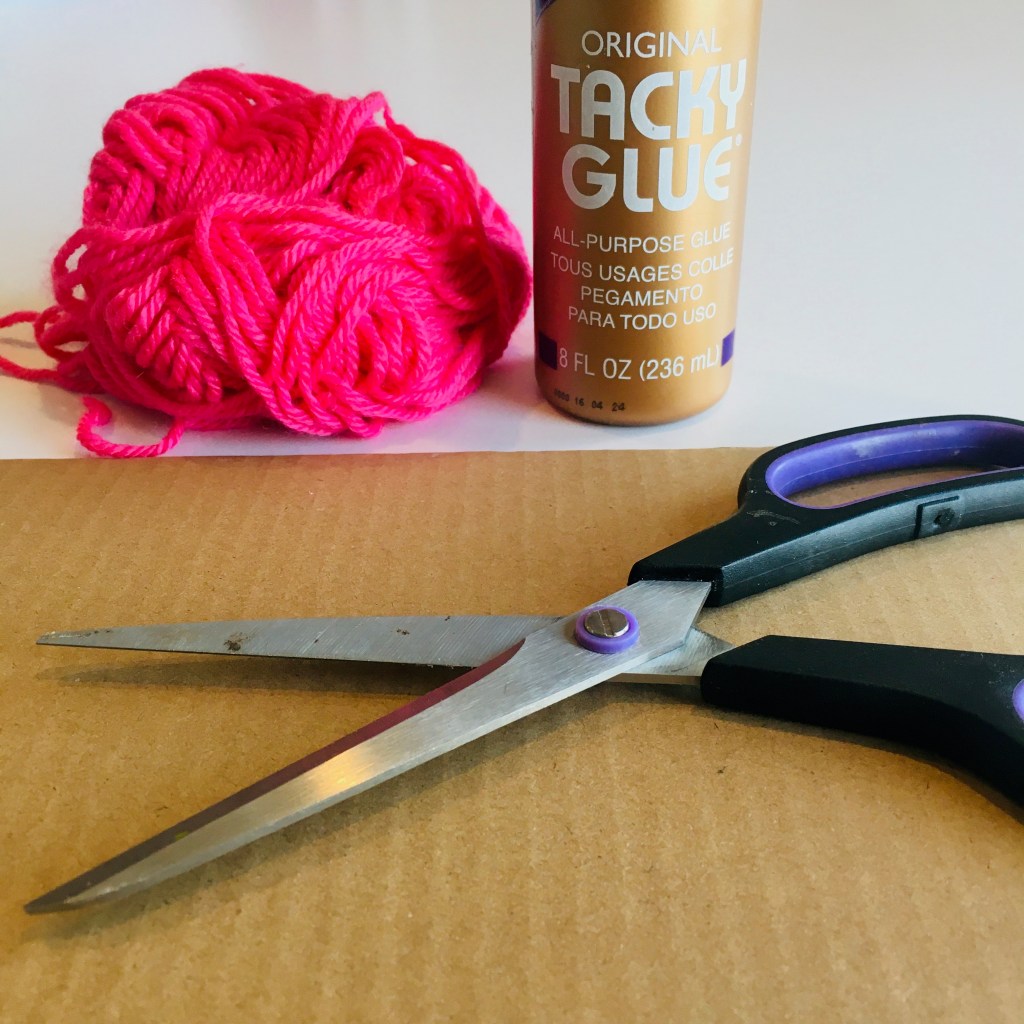
Yarn
White glue
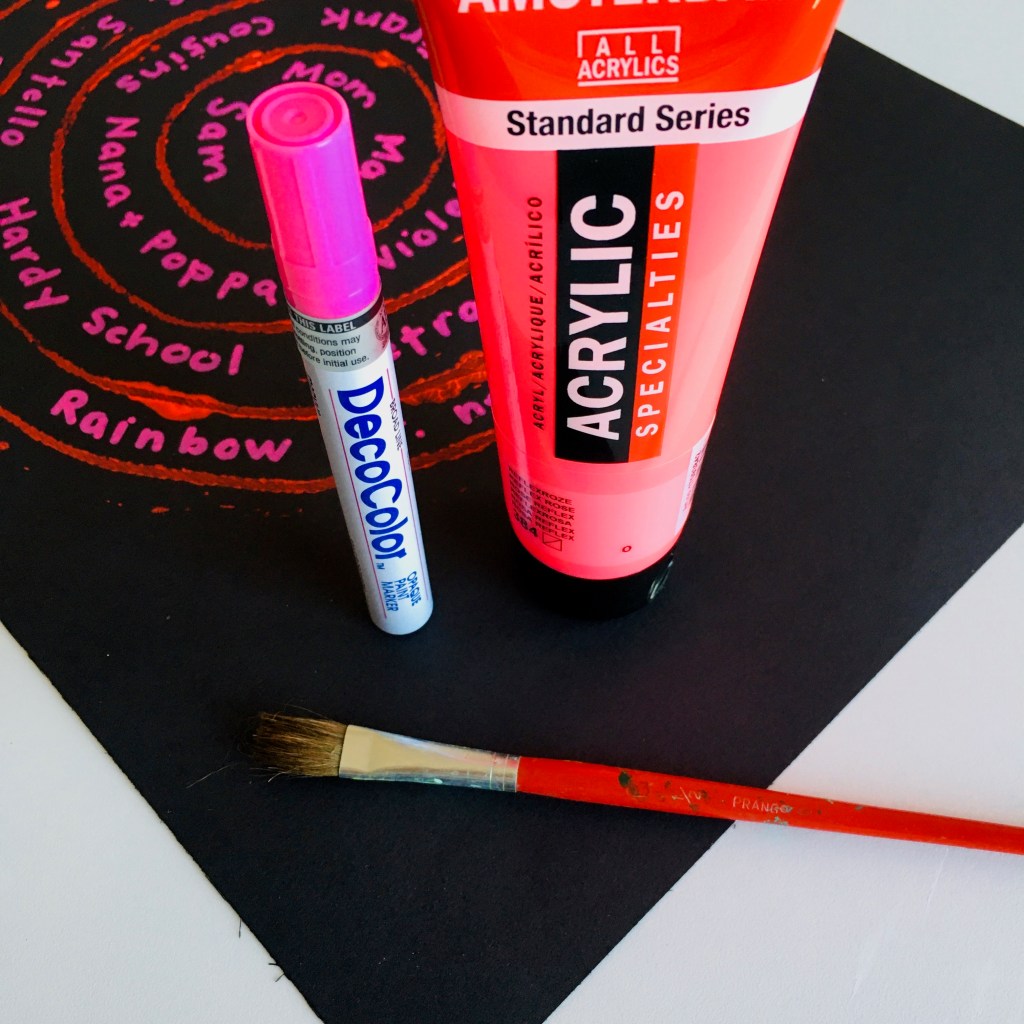
Tempera or acrylic paint
Scissors
Brayer (printmaking roller) or paintbrush
Paper (I used 50% recycled construction paper)
INSTRUCTIONS
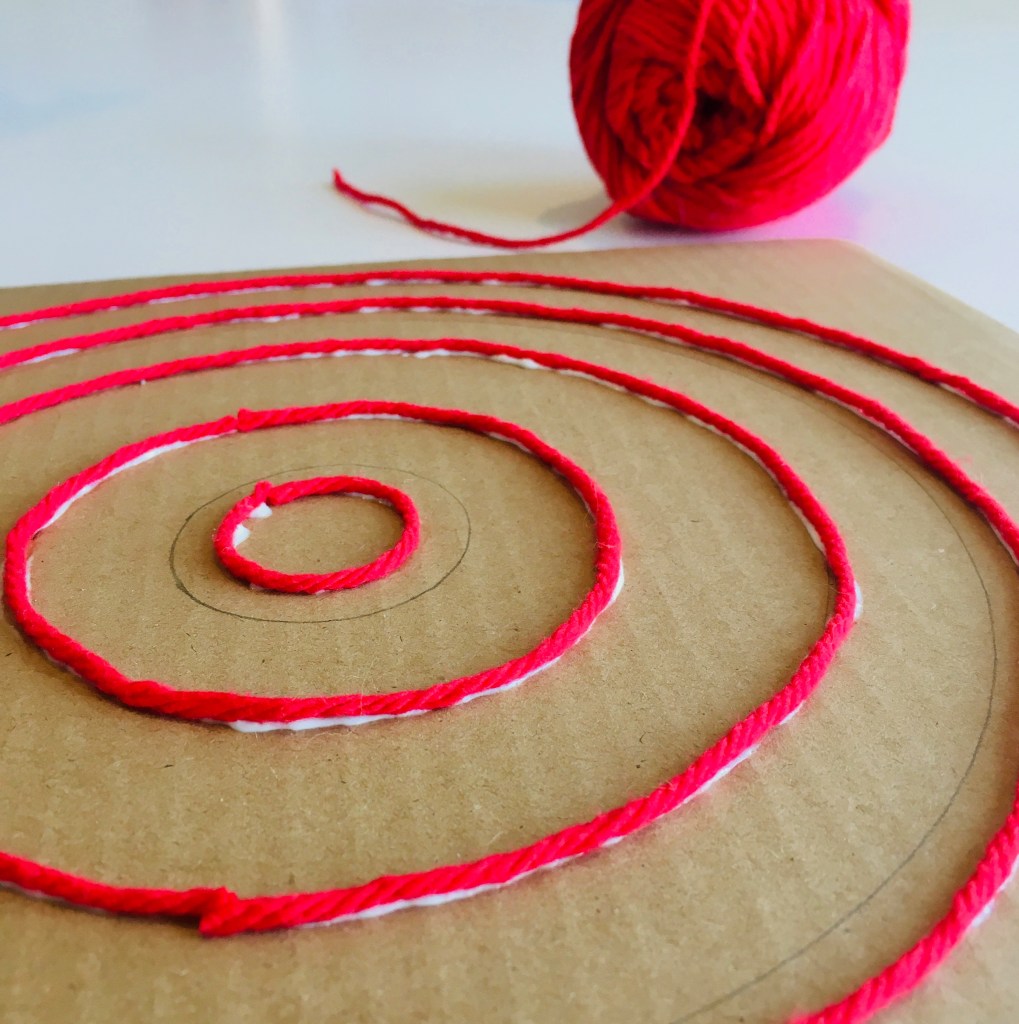
Trace or draw concentric circles on cardboard. We had fun running around the house gathering cups, bowls and other round objects to trace. Your circles can be lopsided–the rings of a tree certainly are!
Cut pieces of yarn that fit your circles.
Now for the gluey, messy bit: squeeze a line of glue along your traced circles. Or, for smaller hands, pour a puddle of glue and use a popsicle stick to spread it on thick!
Lay the yarn on your circles and let dry.
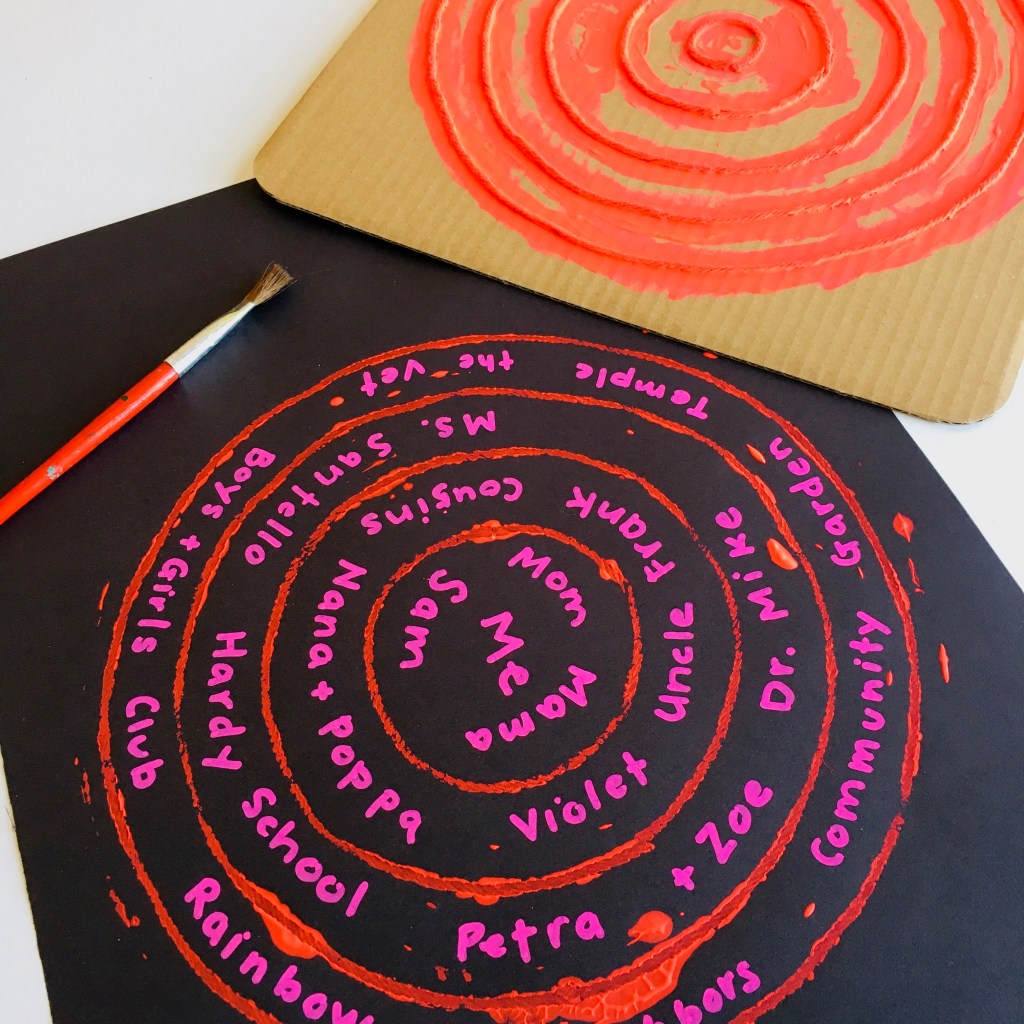
Painting time! Once your block is dry, use a paintbrush or brayer to spread paint over the yarn.
Turn it upside down on paper; press evenly.
Lift carefully: you printed your tree rings!
Now for Step 8, the most important part . . . start at the middle of your tree ring and think about the place where you feel the most comfortable. It might be home or maybe school. In this central place, jot down the people there that help you grow strong. People you can count on and who can count on you. Move out to your next tree ring. This ring can represent another comfortable place–a grandparent’s house, a neighbor’s house, your after-school group. Who are your “people” there? Add them to your tree ring. Move your way out, considering other places and groups that help you or that you would like to help–the local animal rescue group or a community garden, for example. And voila! You’ve made your circles of community–your personal Tree Rings!
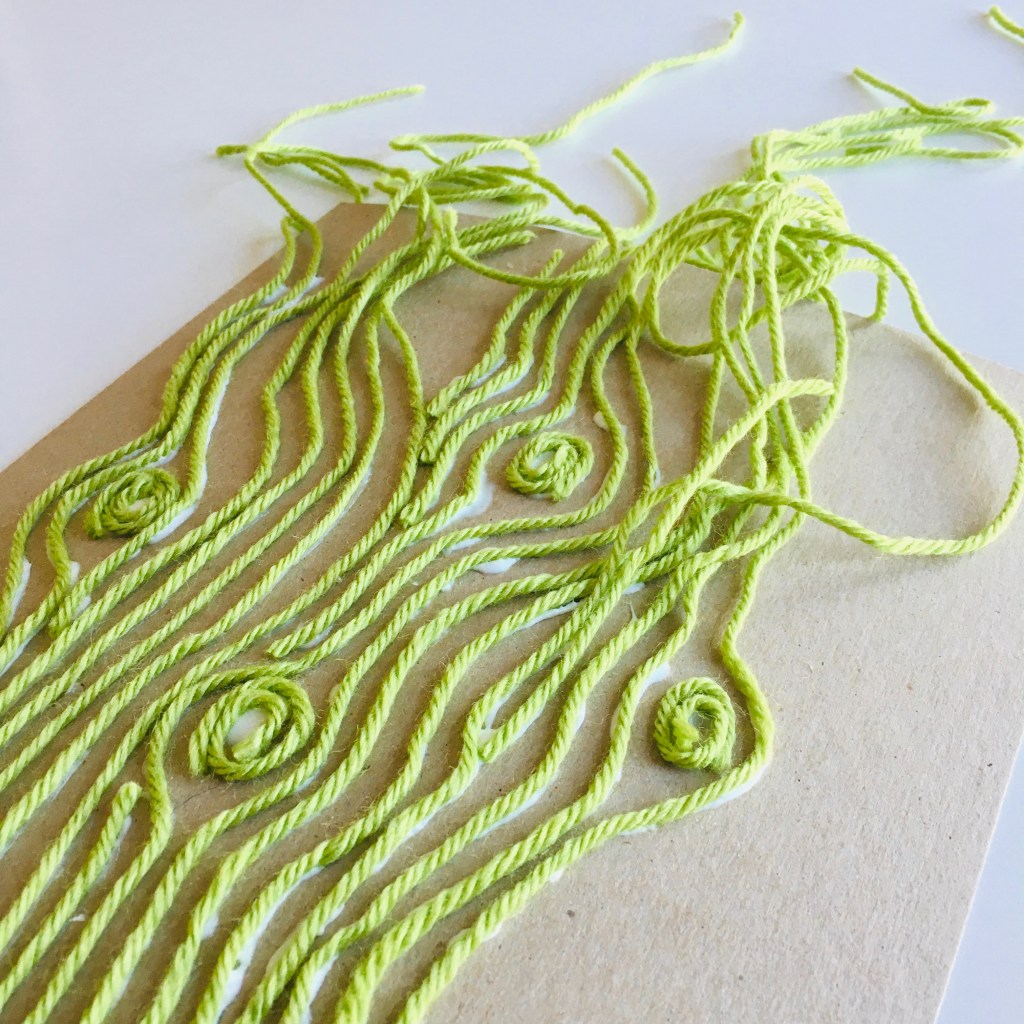
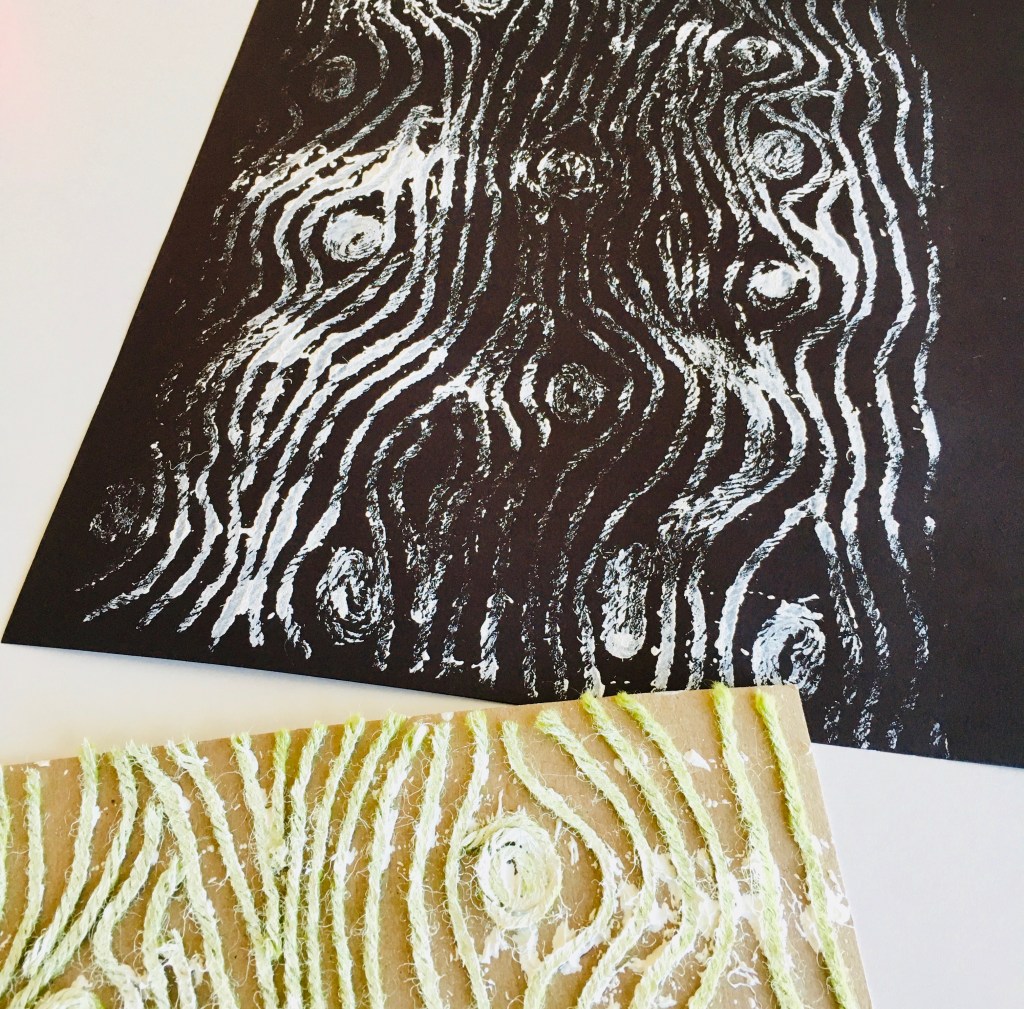
* Teens and grown-ups who don’t want to be left out of the fun but want more of a challenge: try creating a block print of wood grain. My attempt is pictured above and below. I free-handed the design, starting with interspersed spirals (knots of wood) and then adding lines of yarn (wood grain) around them.
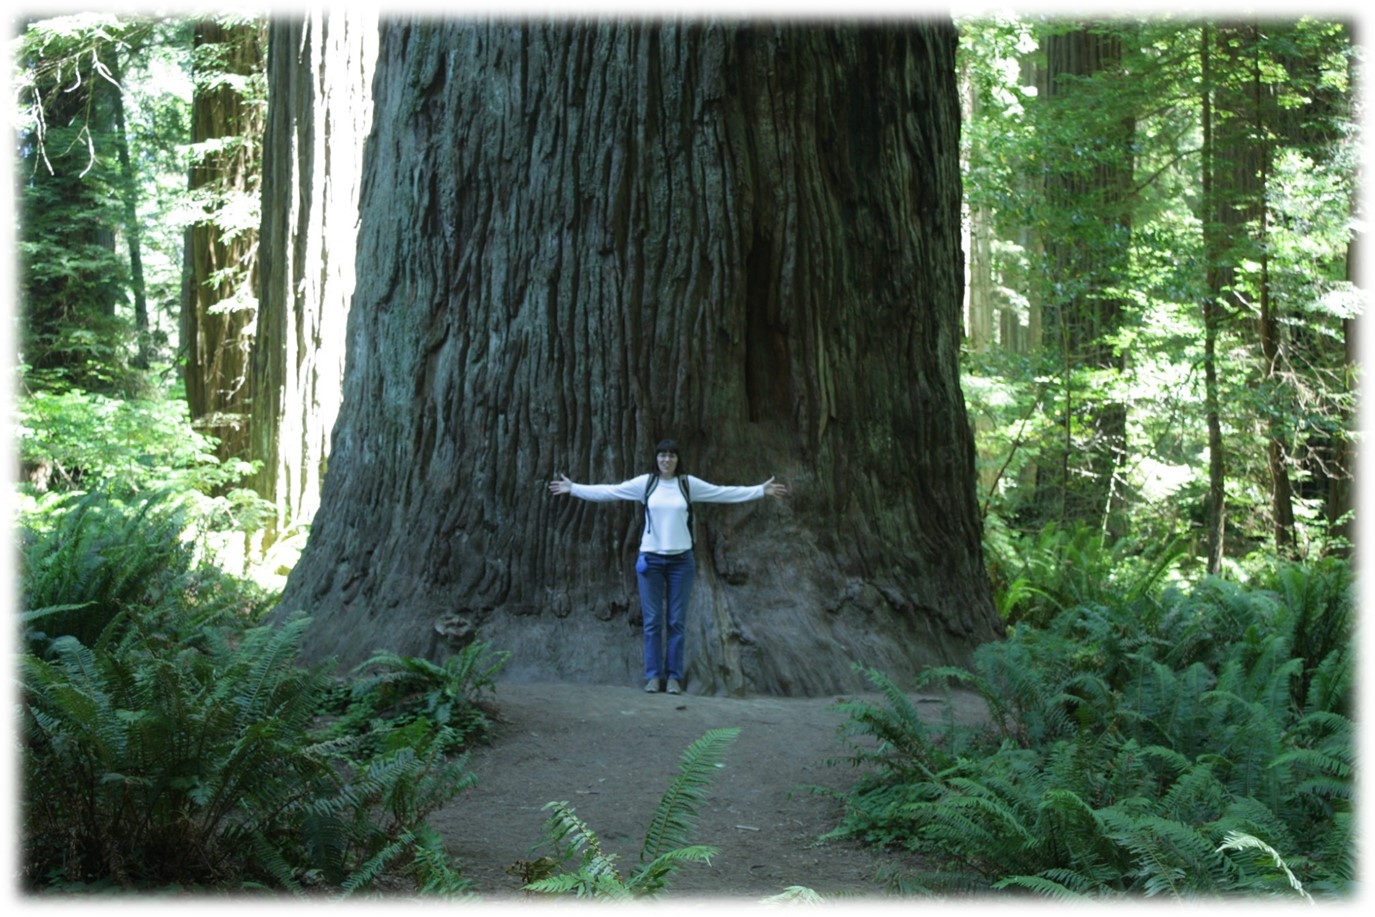
To learn more about author Maria Gianferrari (pictured below “being a tree”), go to mariagianferrari.com. You can find illustrator Felicita Sala at felicitasala.com.