The book giveaway is now closed. Thank you for participating!
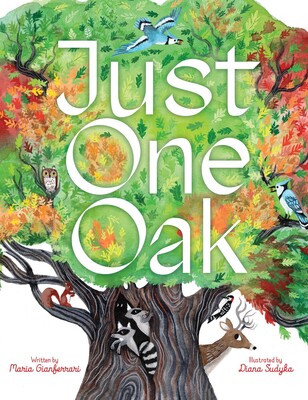
Just one oak
from the tip
of its crown
down to the ground
with roots all around
sustains so very
many creatures,
from the teeny tiny . . .
to the big and mighty.
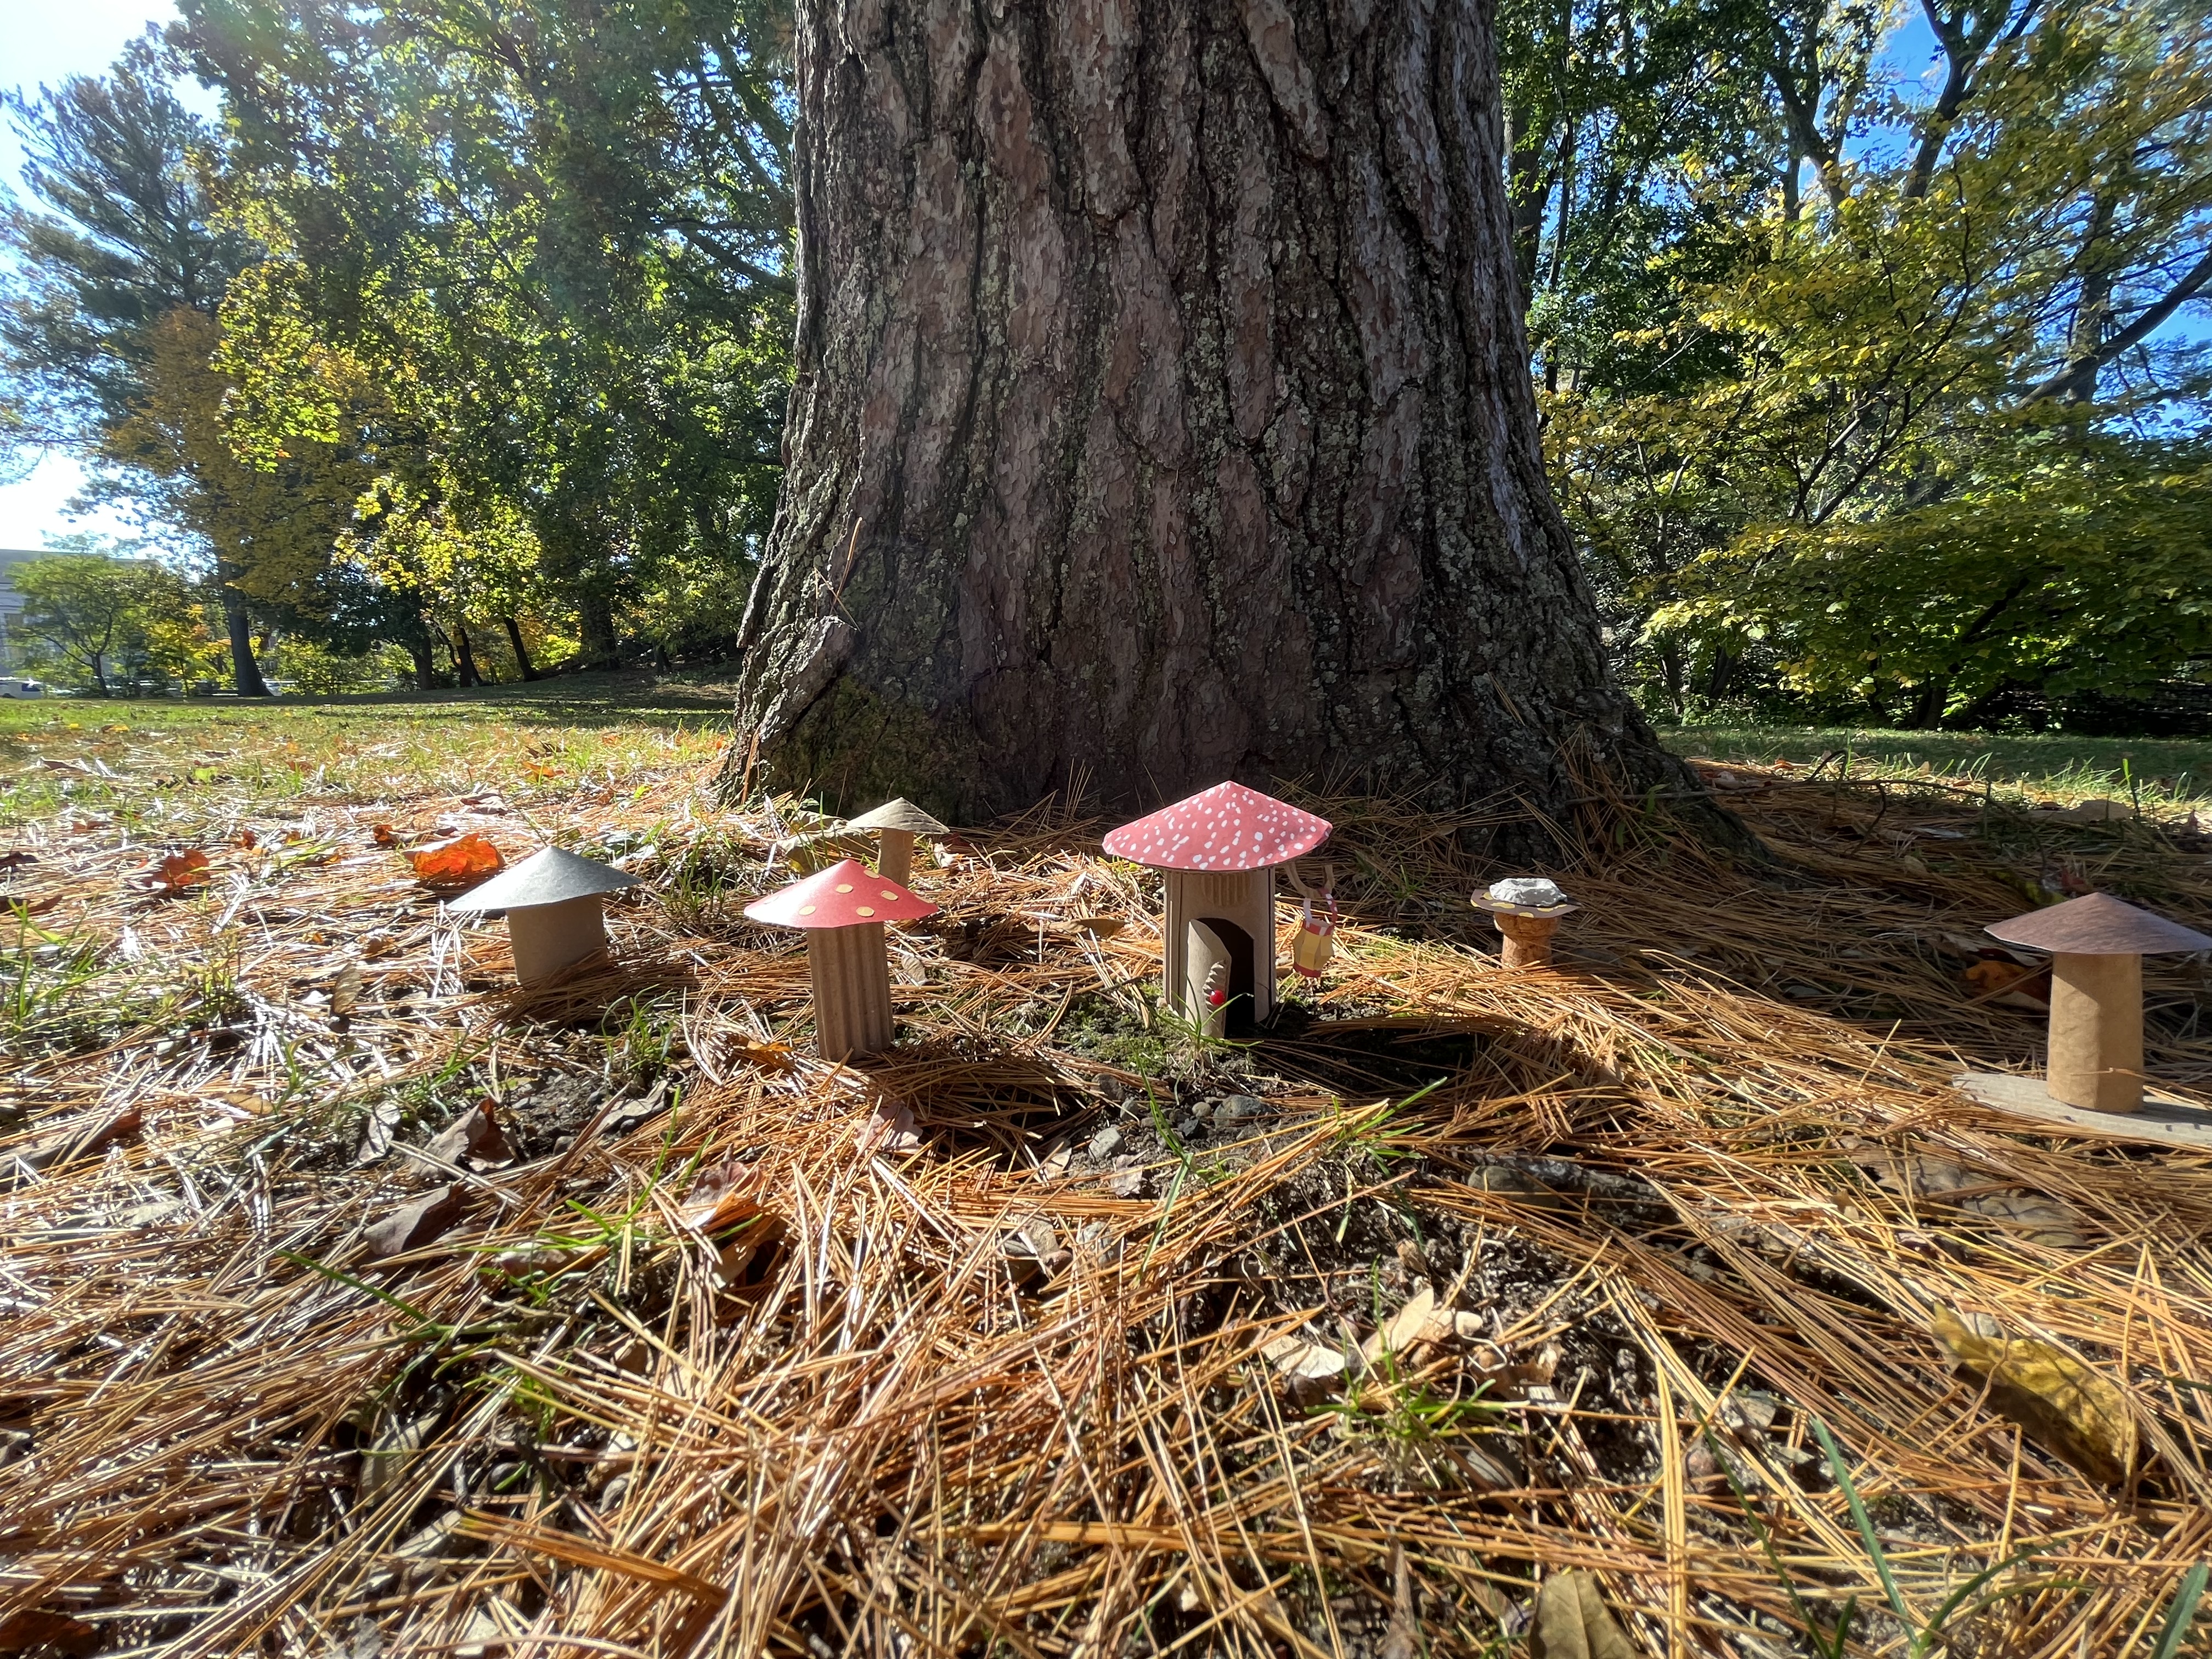
On the school grounds where I work are three amazing hundred-year-old trees. (Two hundred years, maybe?) The children play around the foot of these trees, looking for insects (or fairies), balancing their small feet on the exposed roots. The trees are benevolent giants, looking over us all.
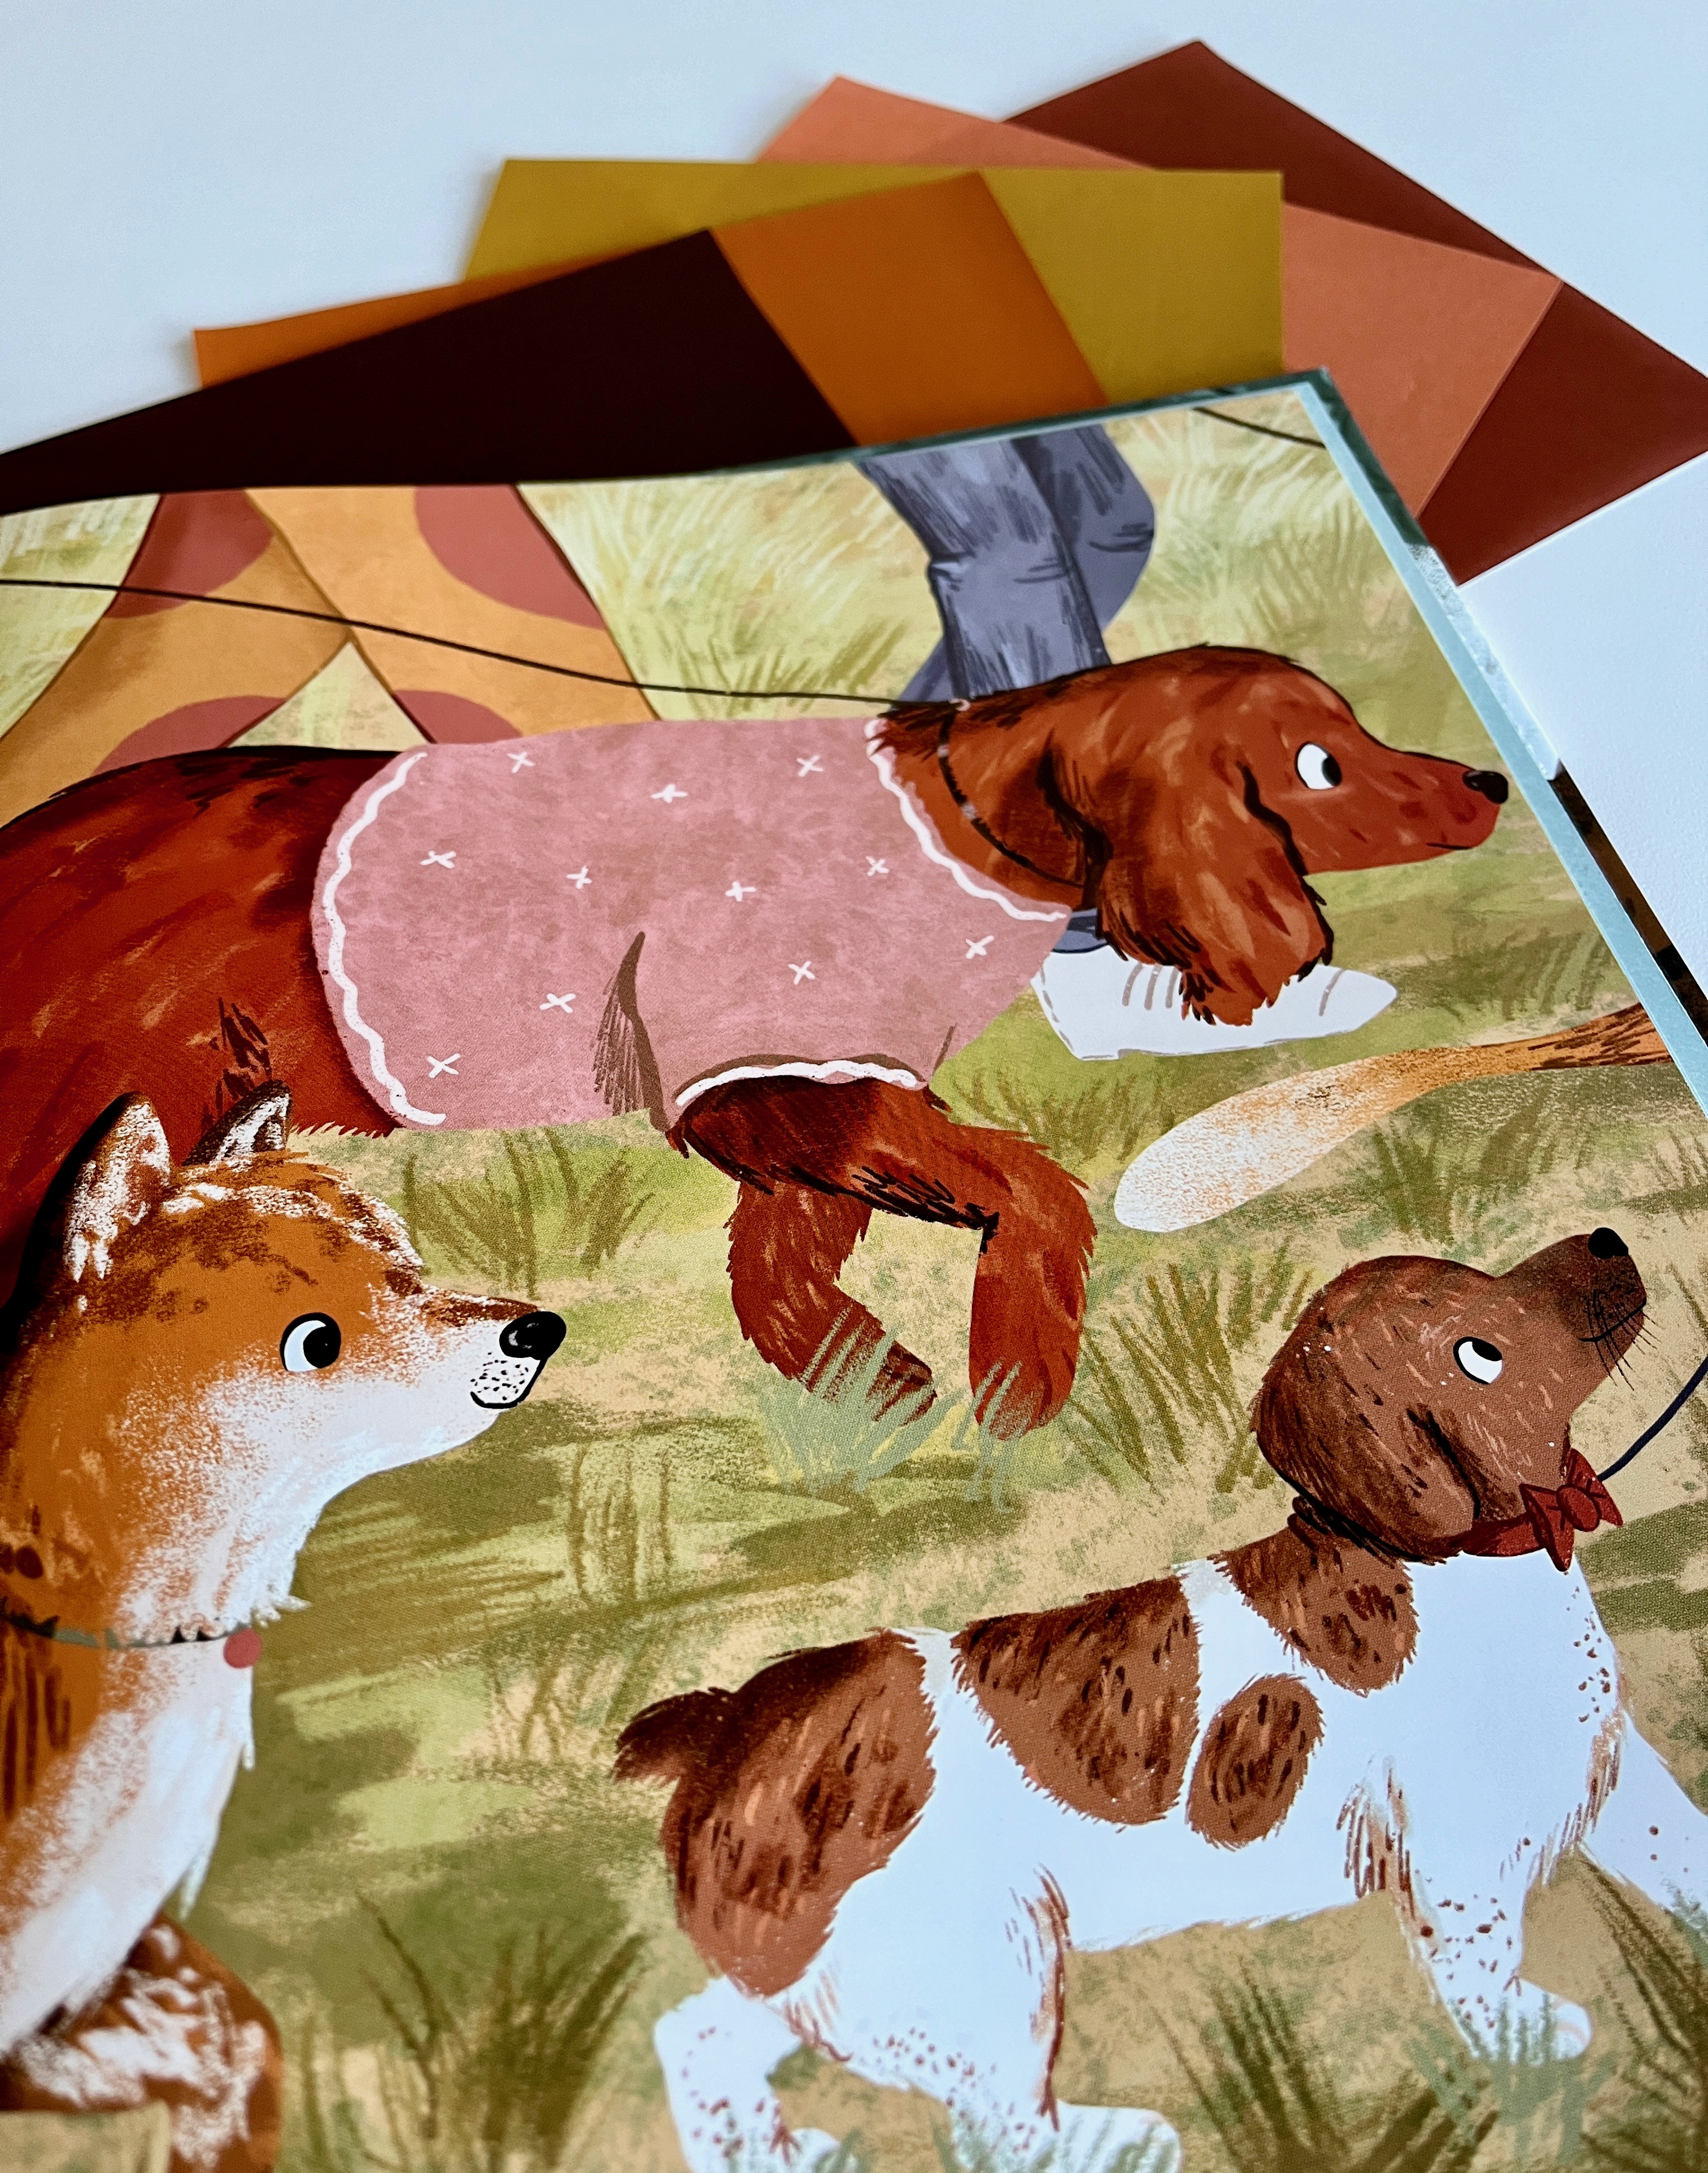
Just One Oak, a nonfiction picture book by Maria Gianferrari, recognizes and celebrates the many ways even a single oak tree nourishes so many forms of life around it. Gianferrari’s verse gives the broad strokes, while her informative sidebars please the deeply curious. Dana Sudyka’s illustrations are both playful and accurate, with the oak tree’s “many creatures” labeled and rendered with precision.
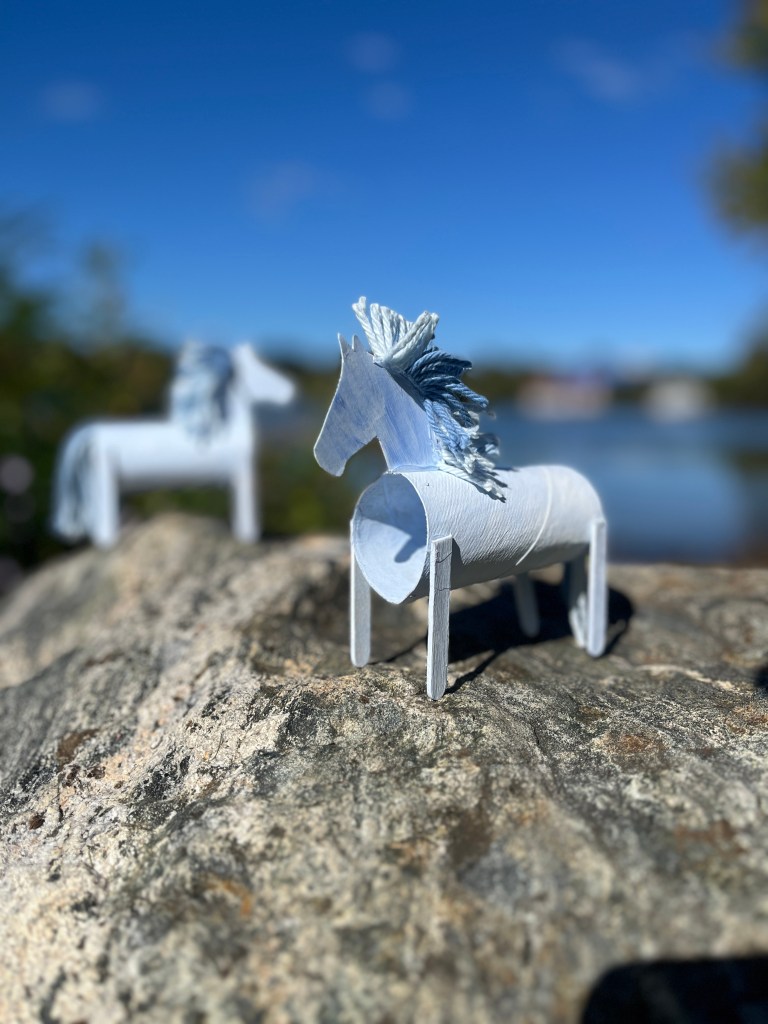
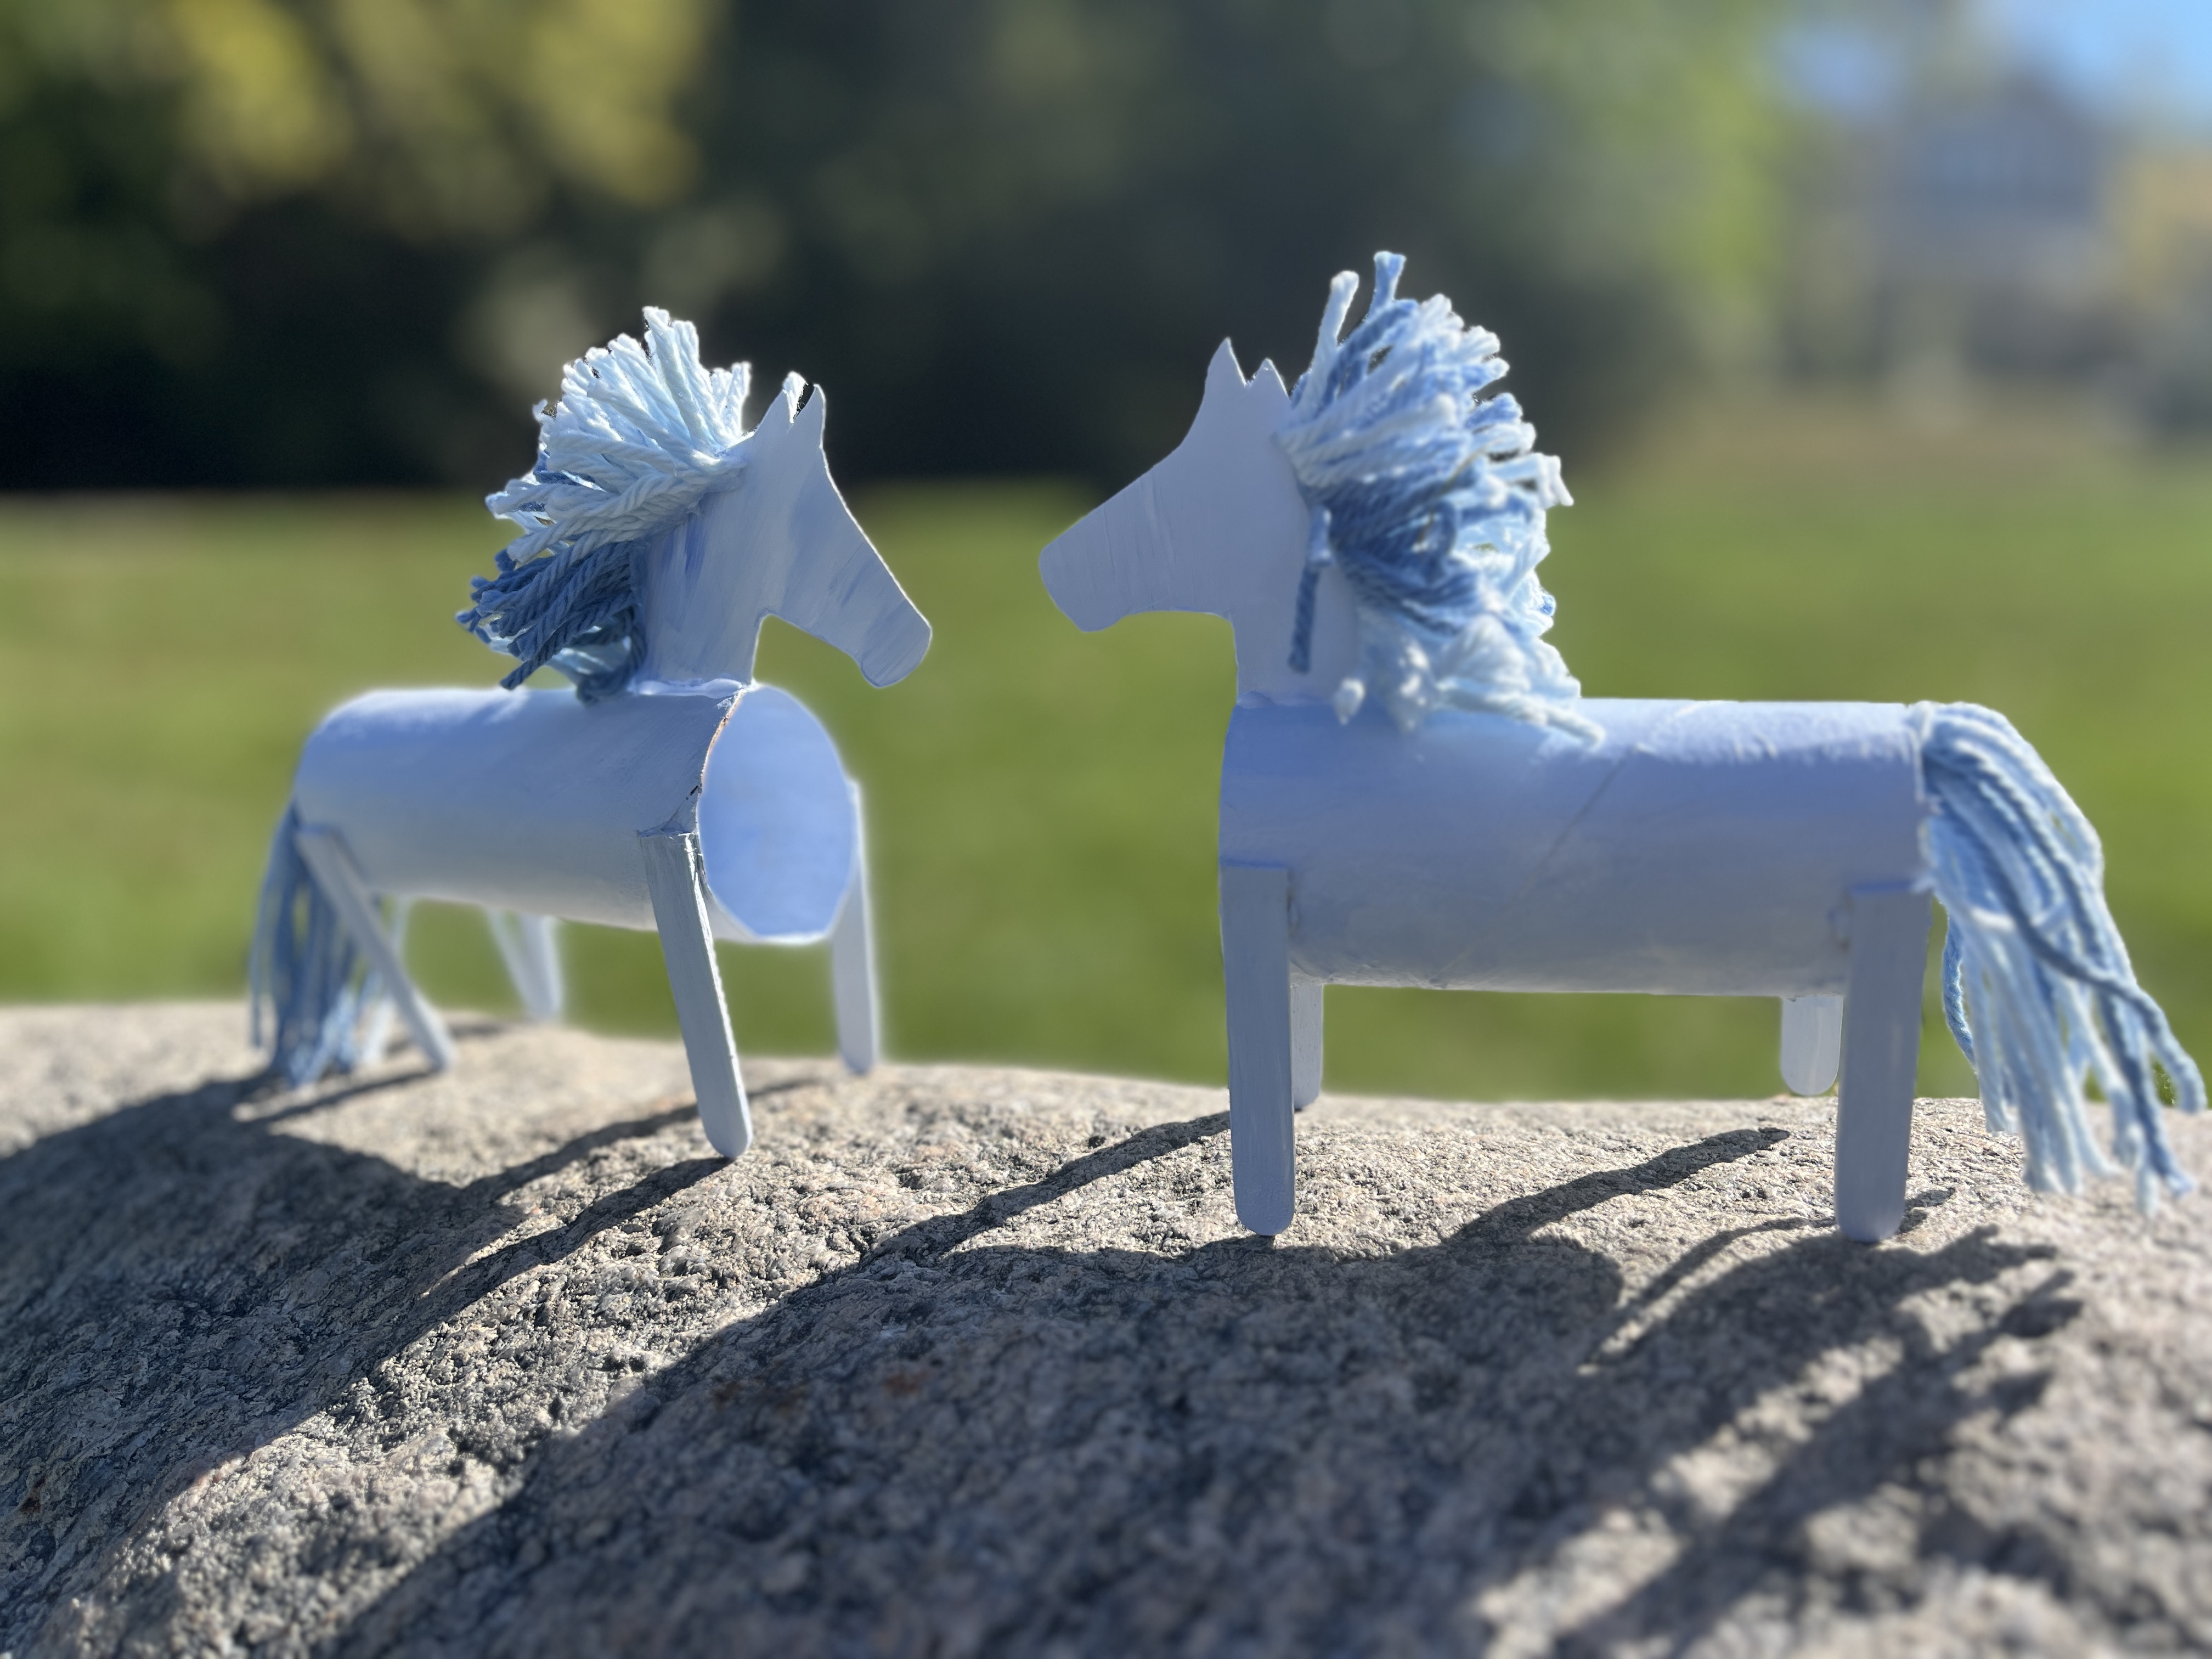
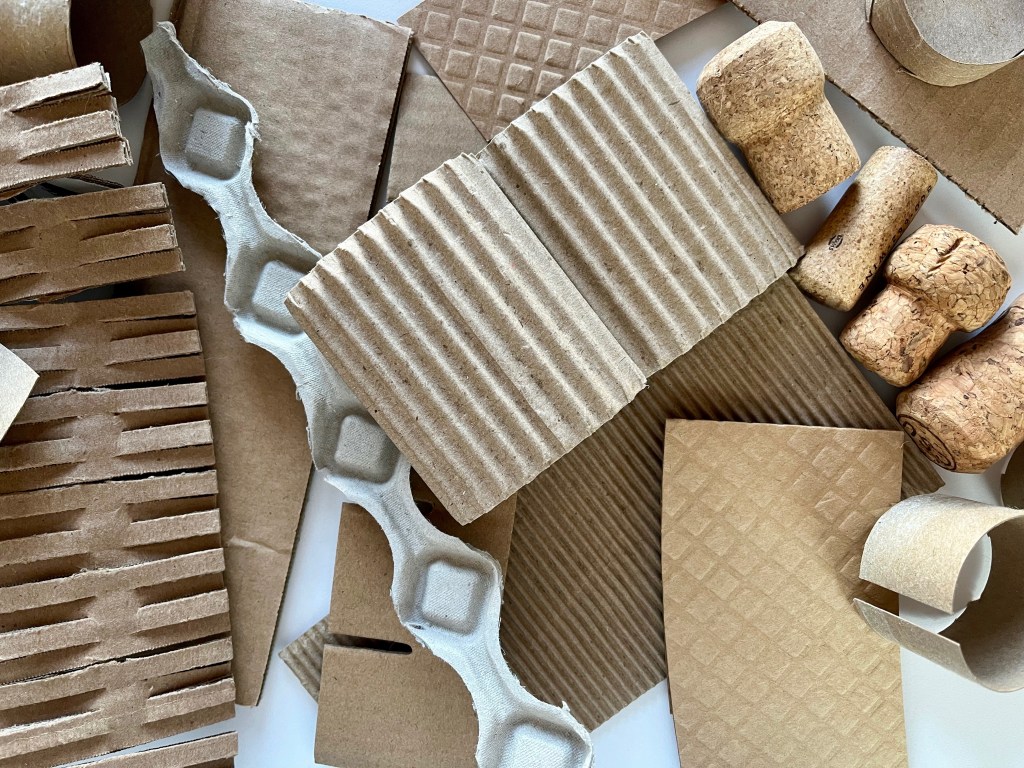
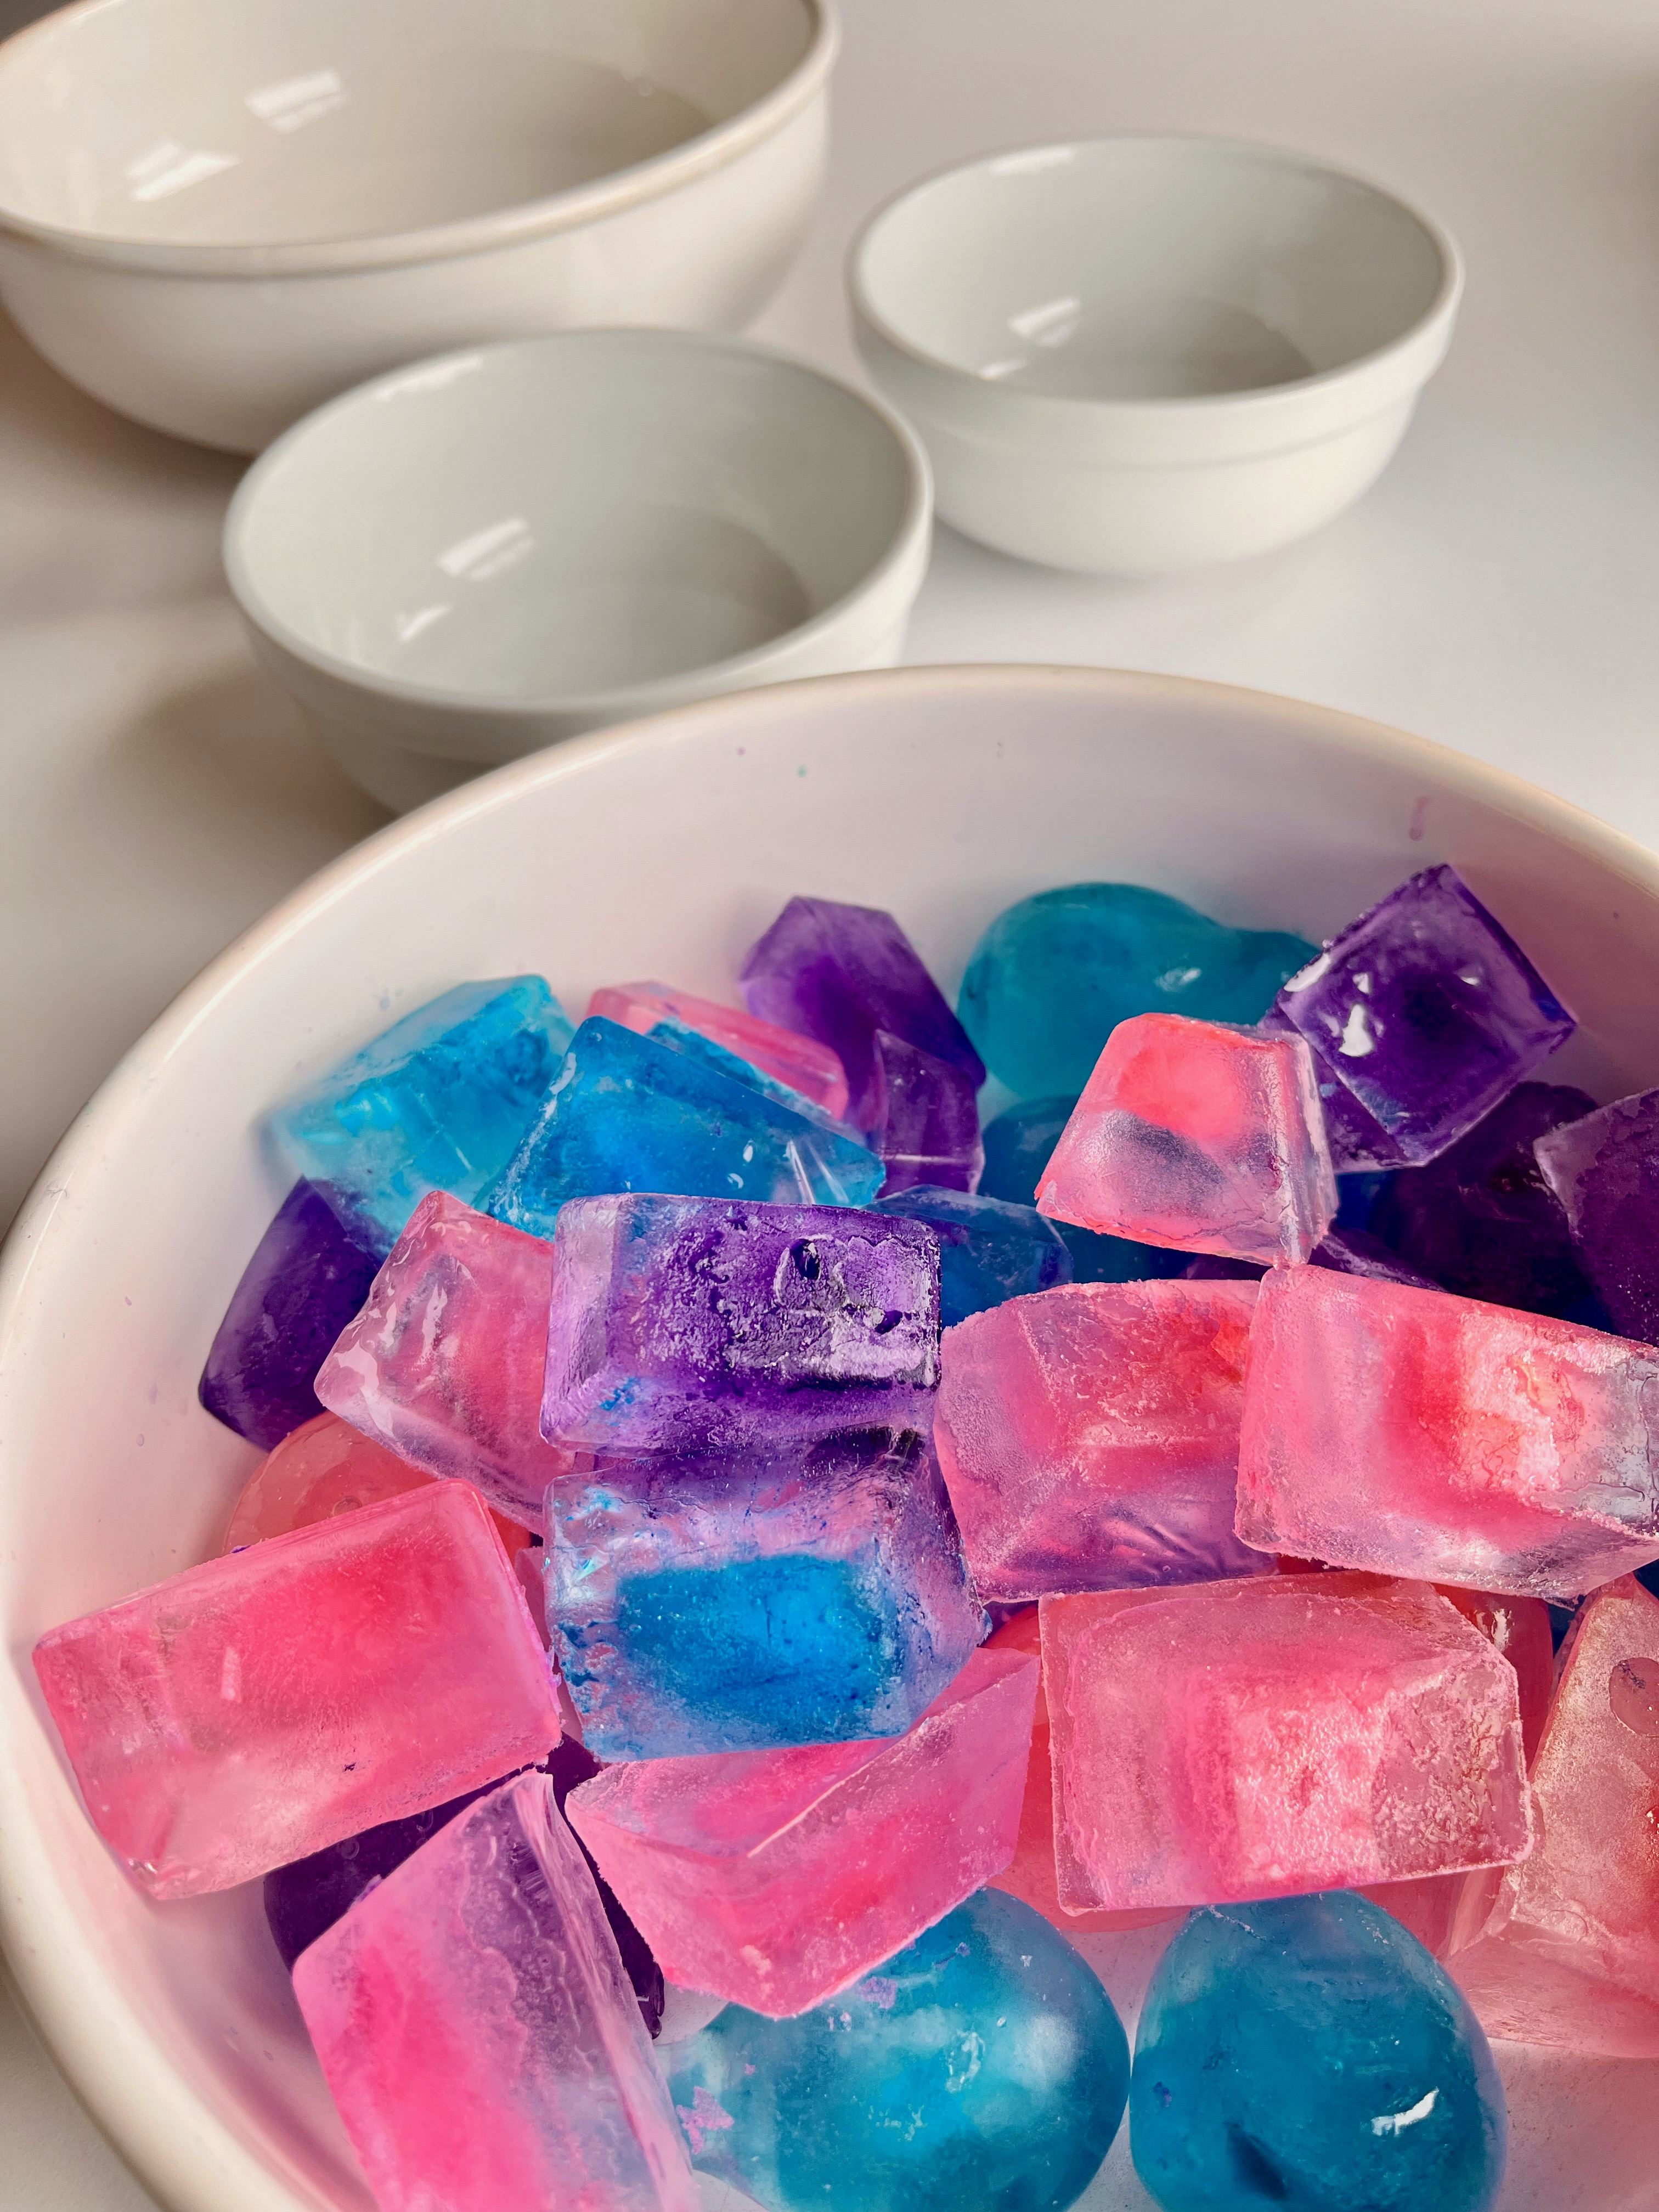
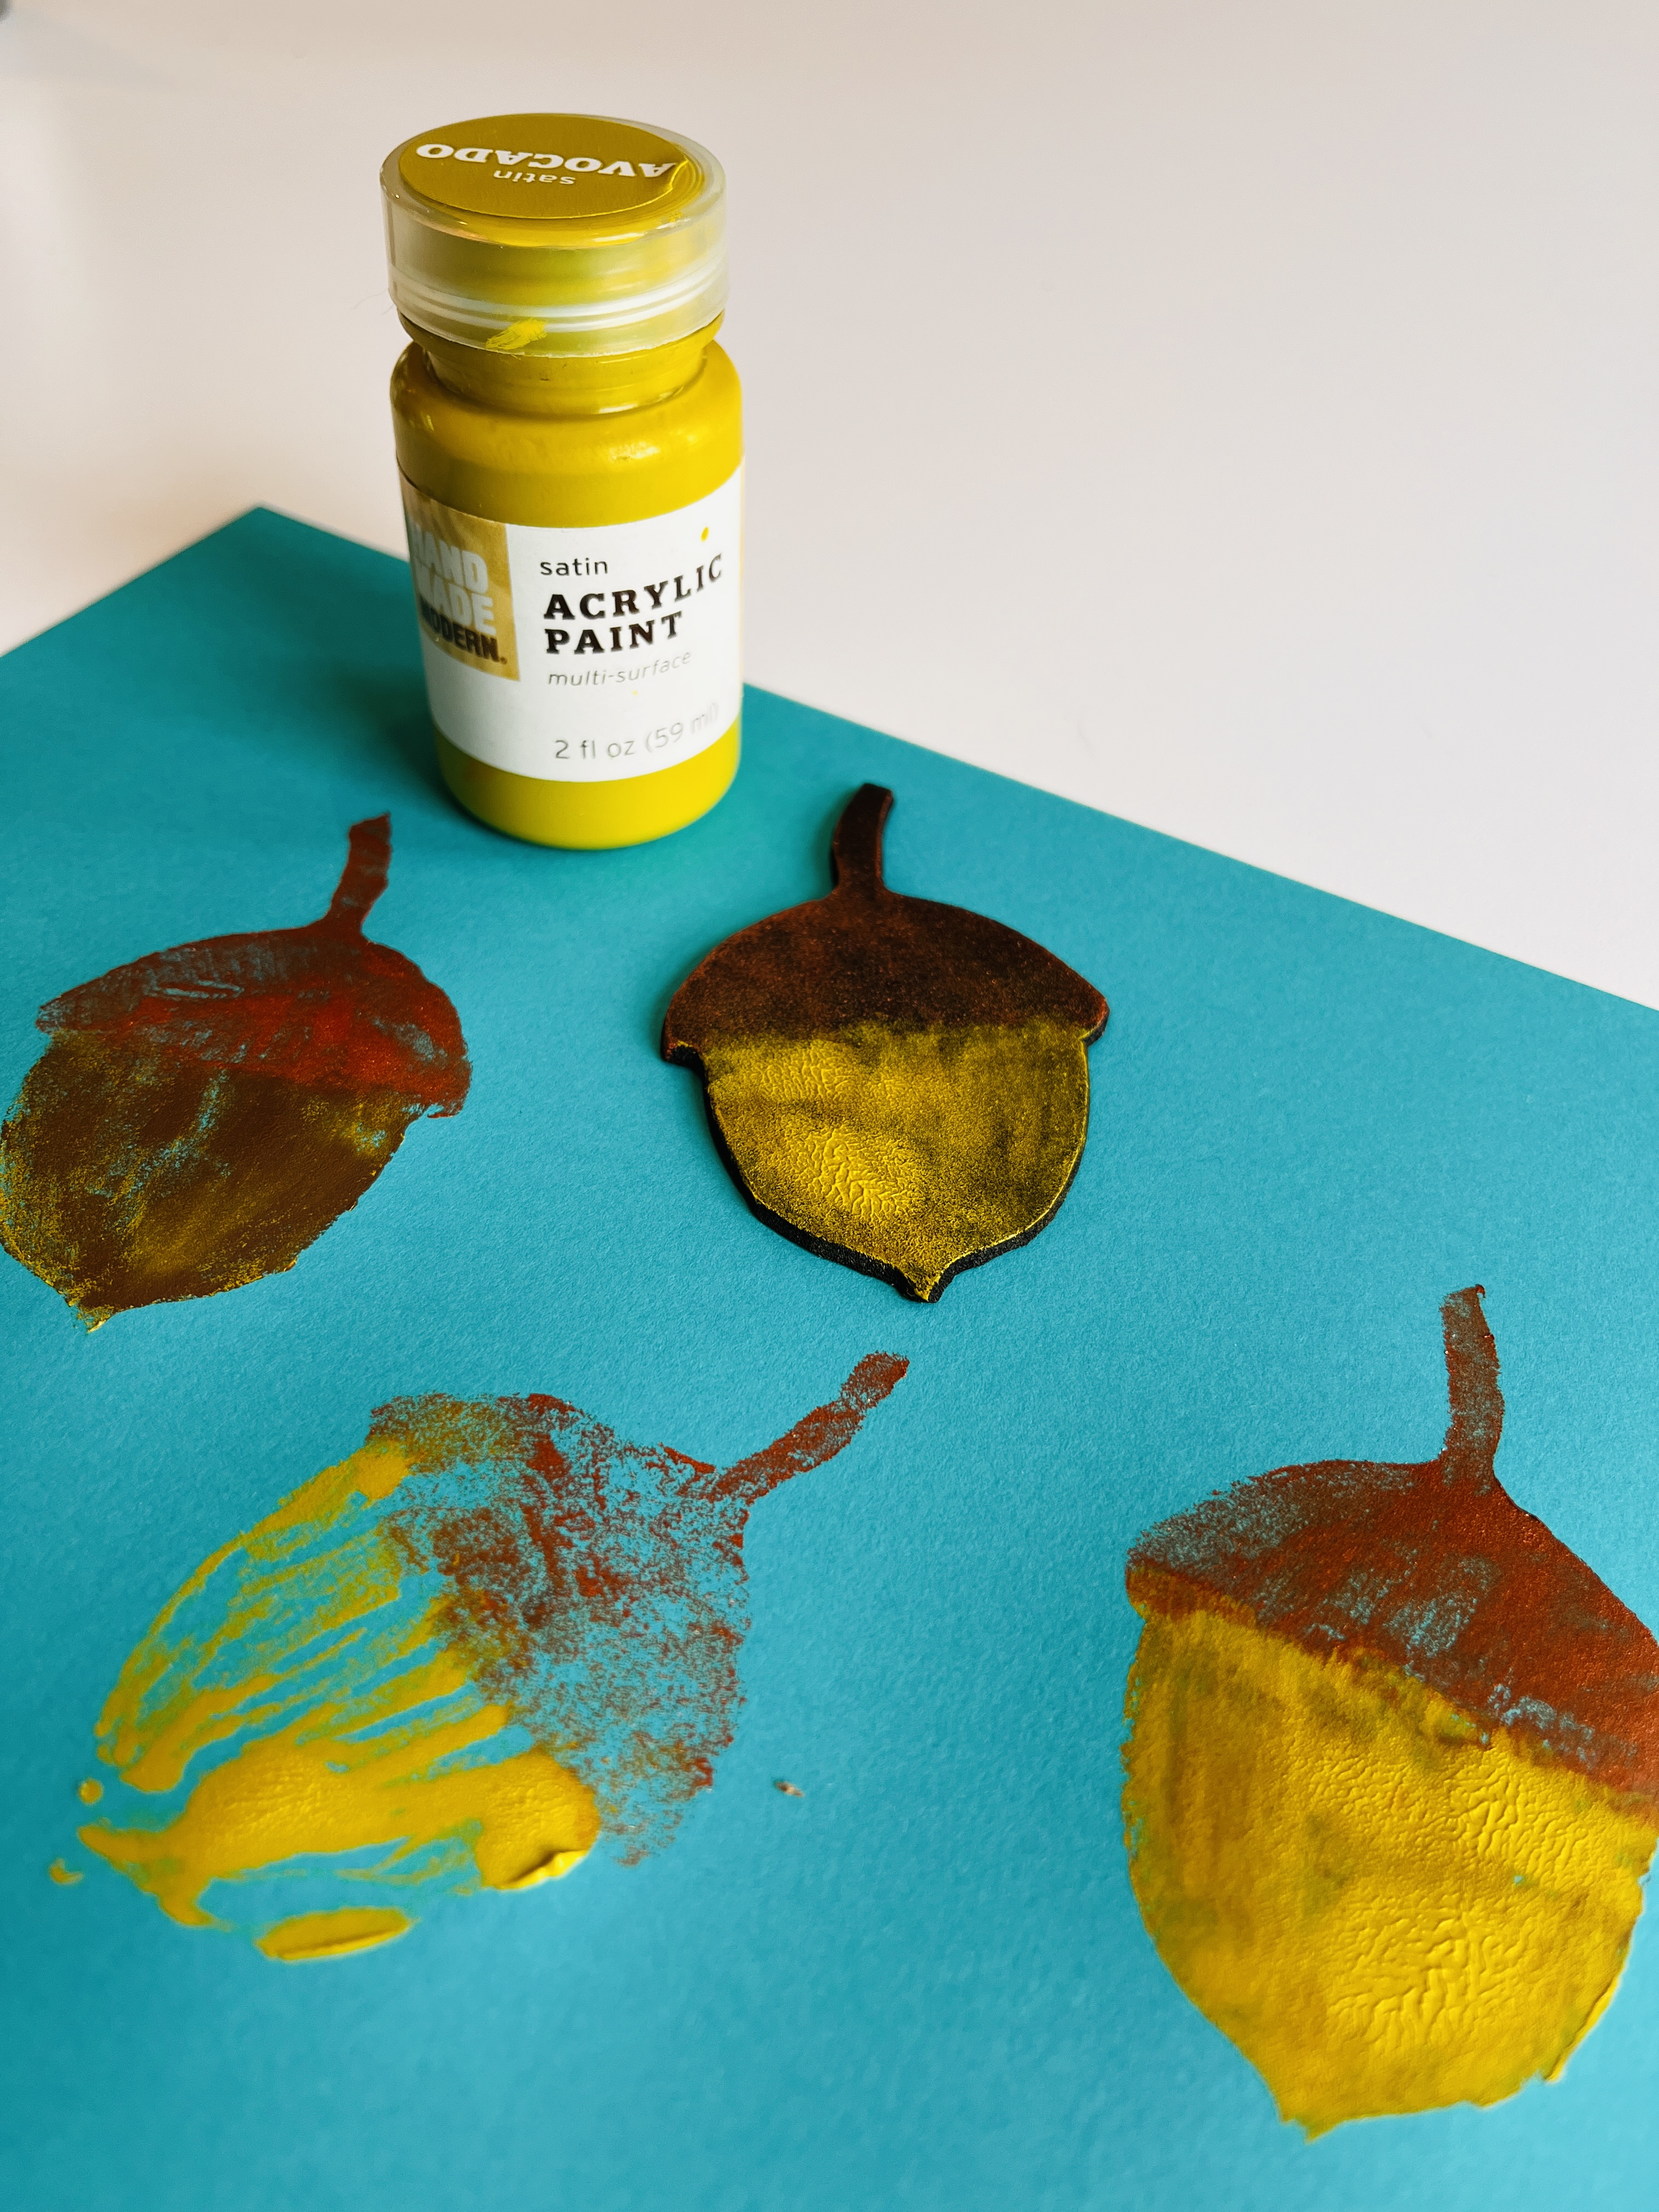
To mark the publication of this lovely book and the arrival of spring, I decided to use recycled cardboard and craft foam to create stamps. Hand-printing is imperfect–a product of experimentation and serendipity. This craft is meant for kids–but adults will like it too.
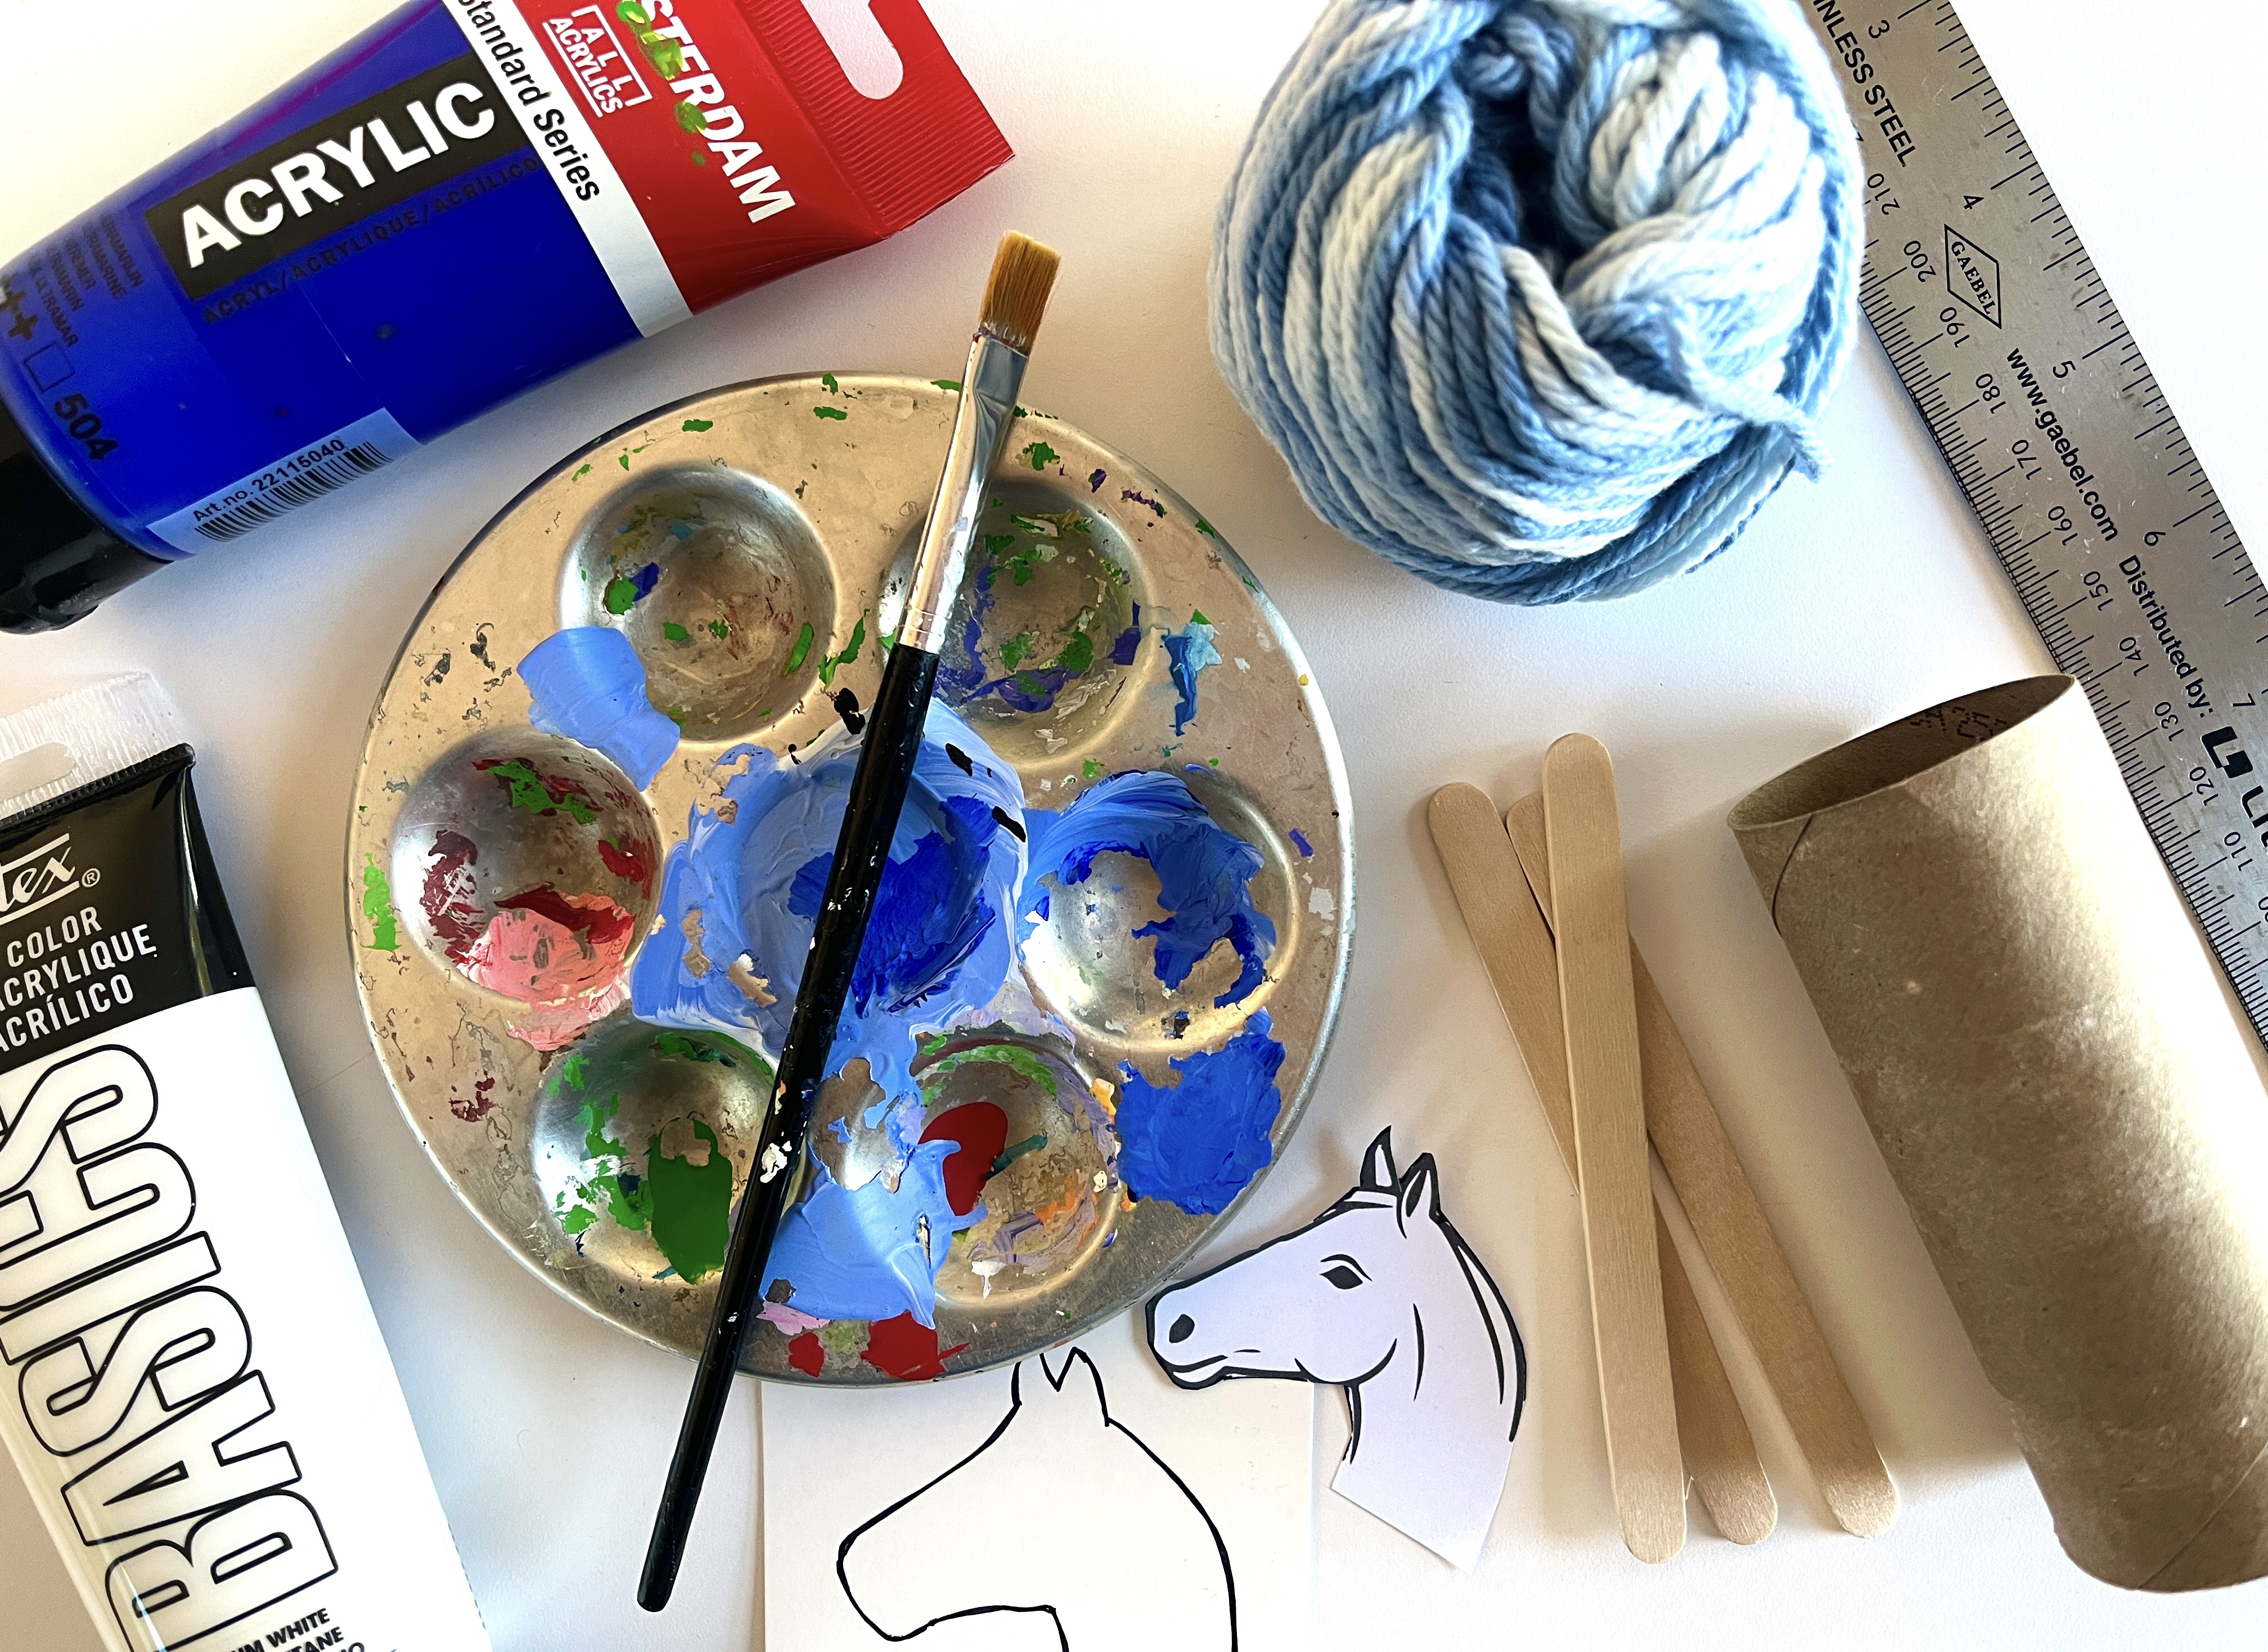
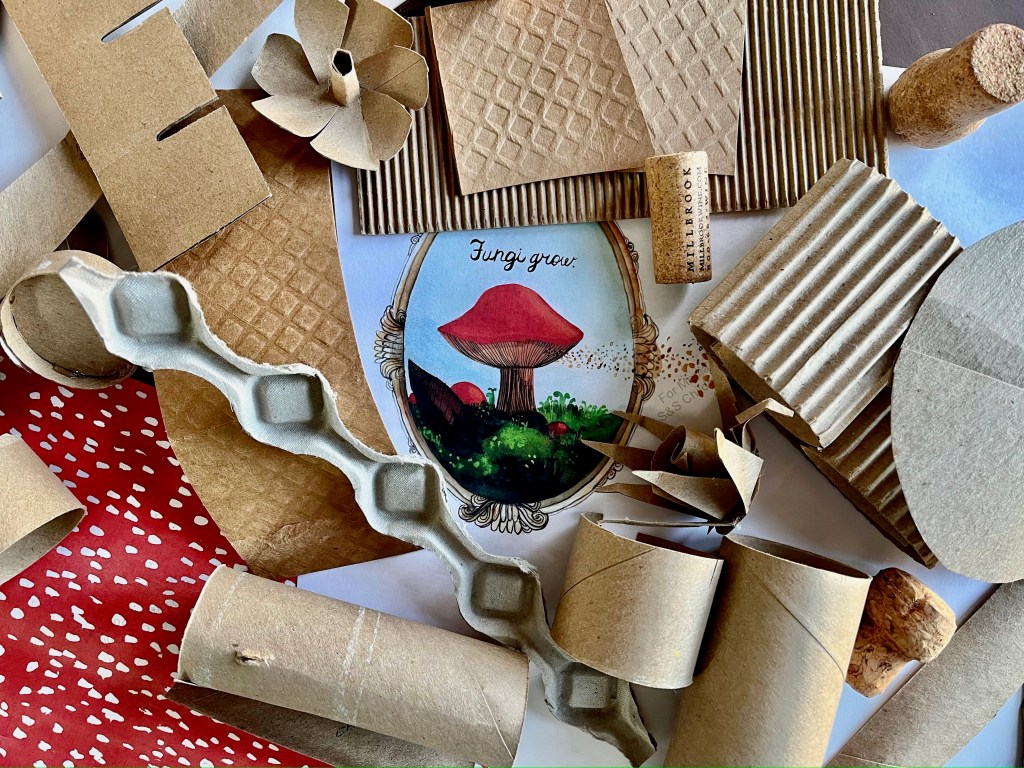
Materials:
- Flat cardboard
- Toilet paper rolls
- Craft foam
- Craft paint (or other water-based paint)
- Scissors
- Cardstock or construction paper
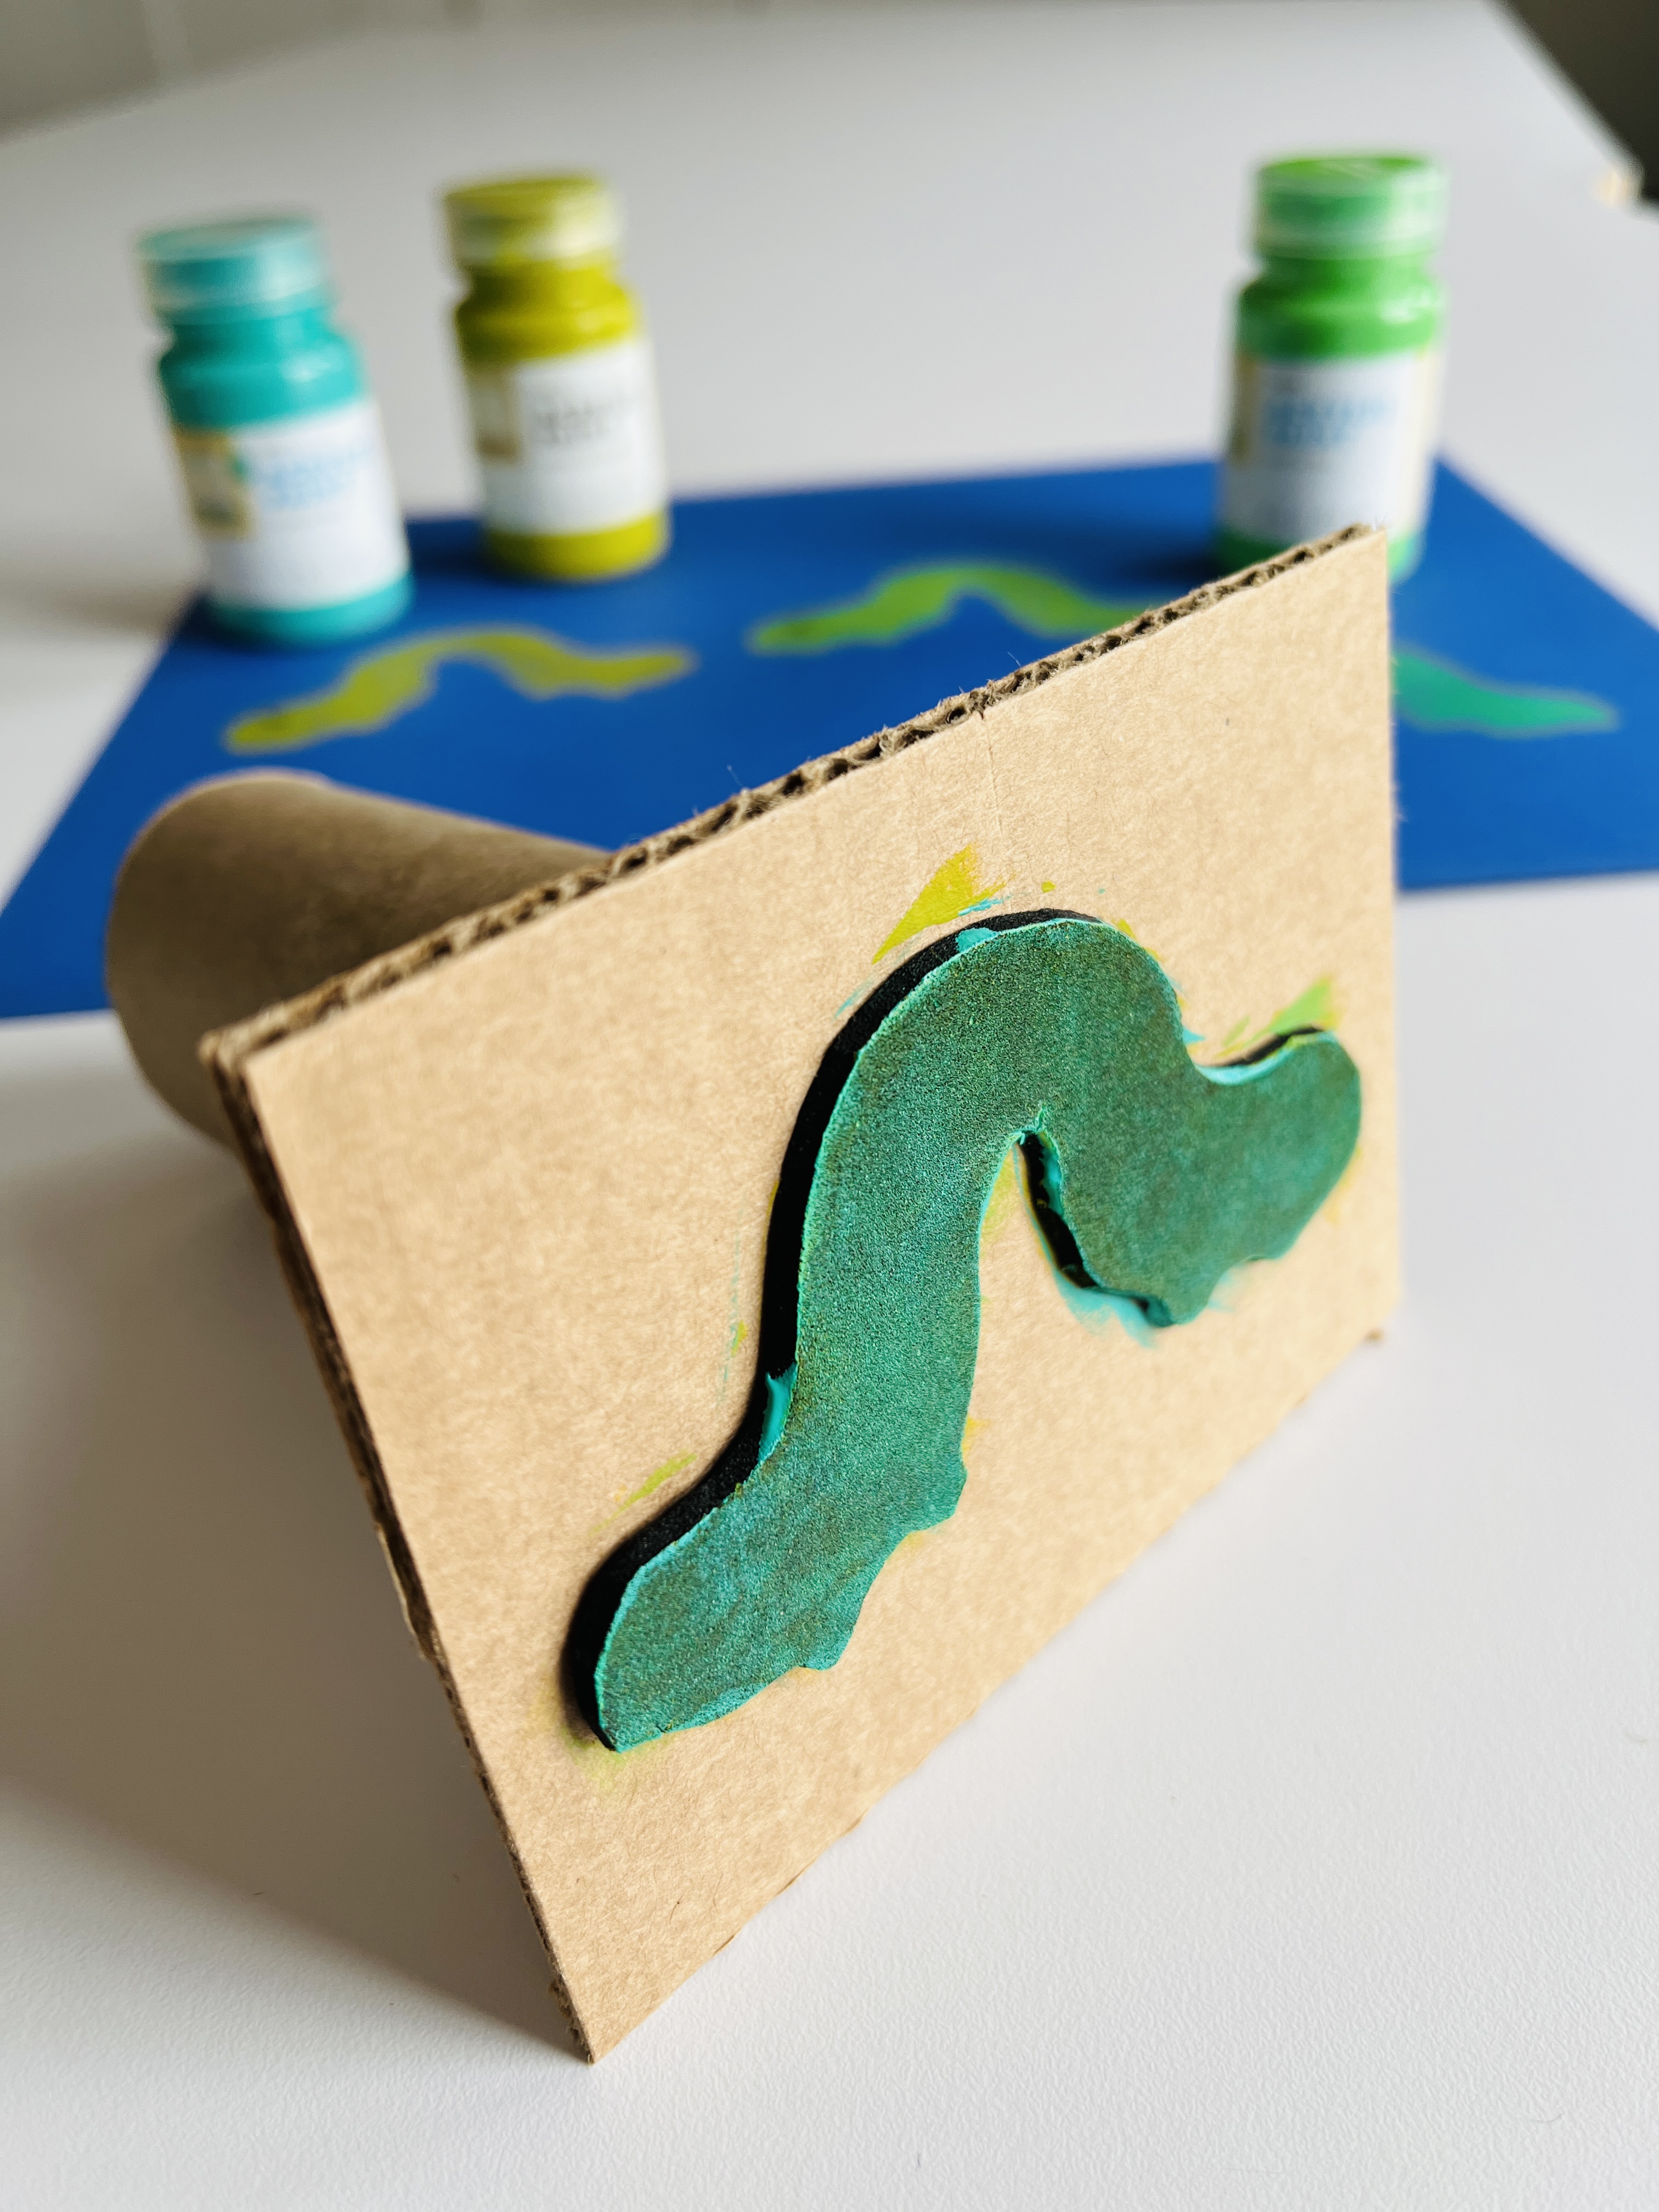
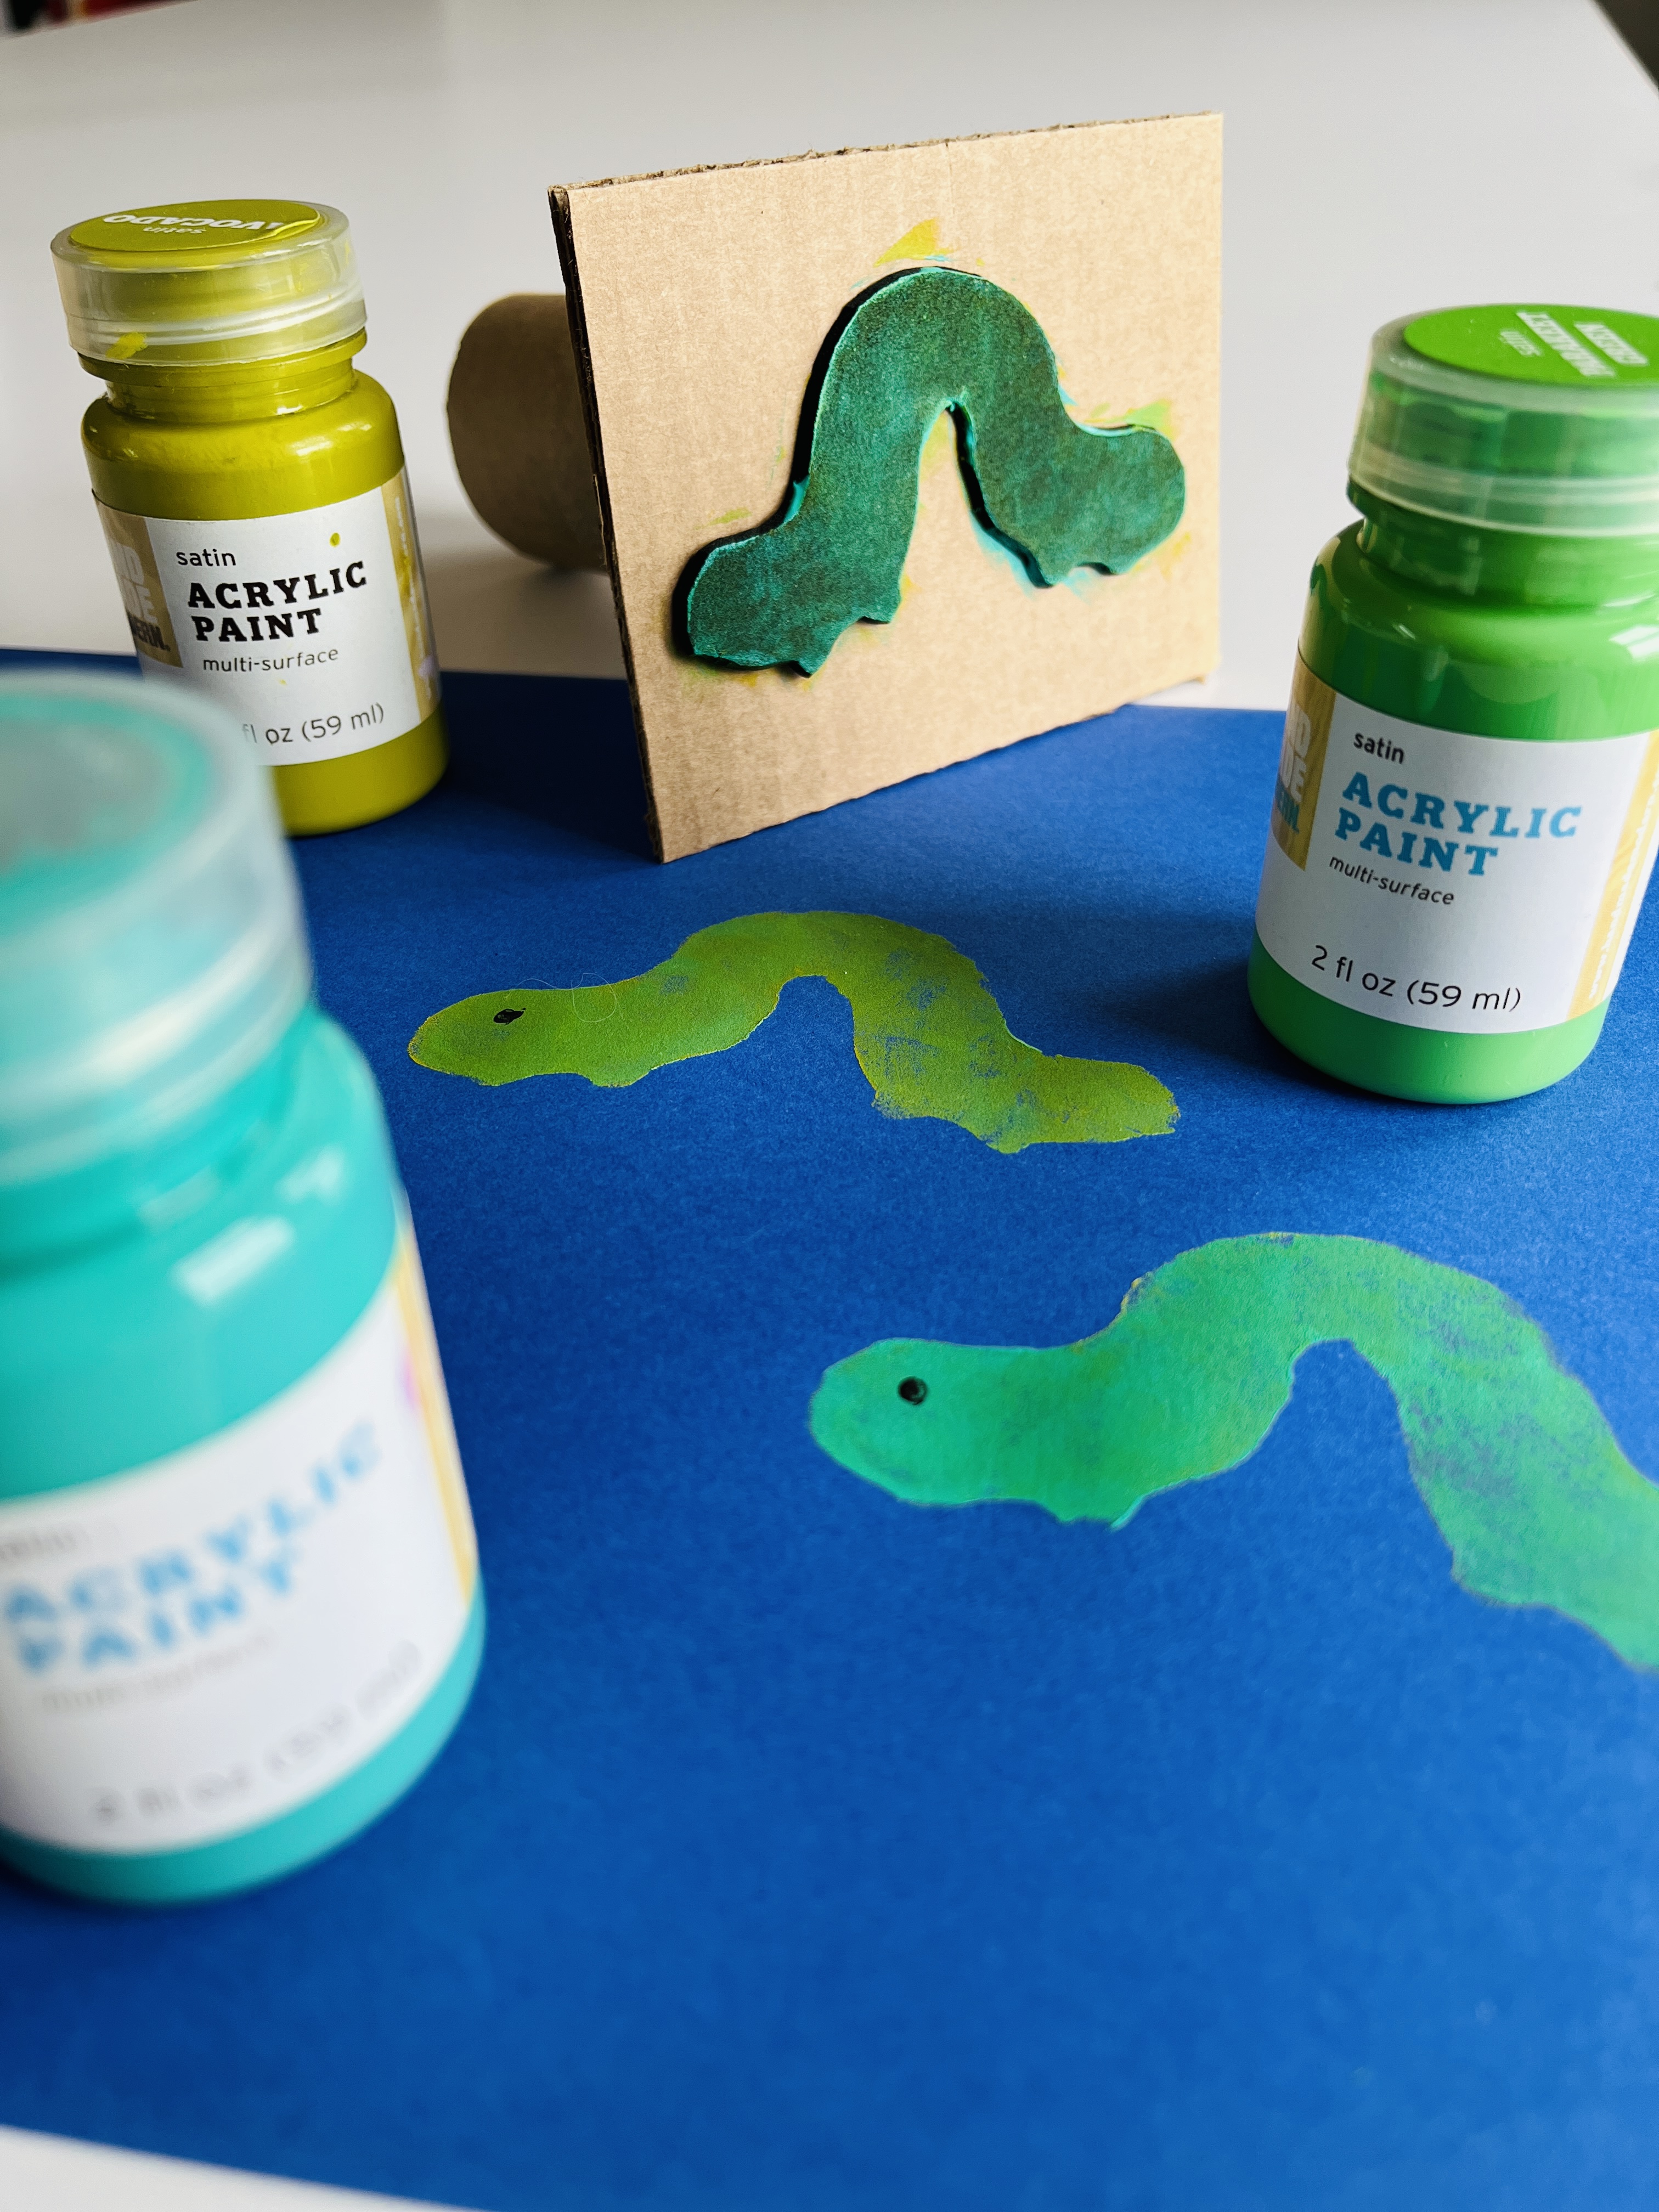
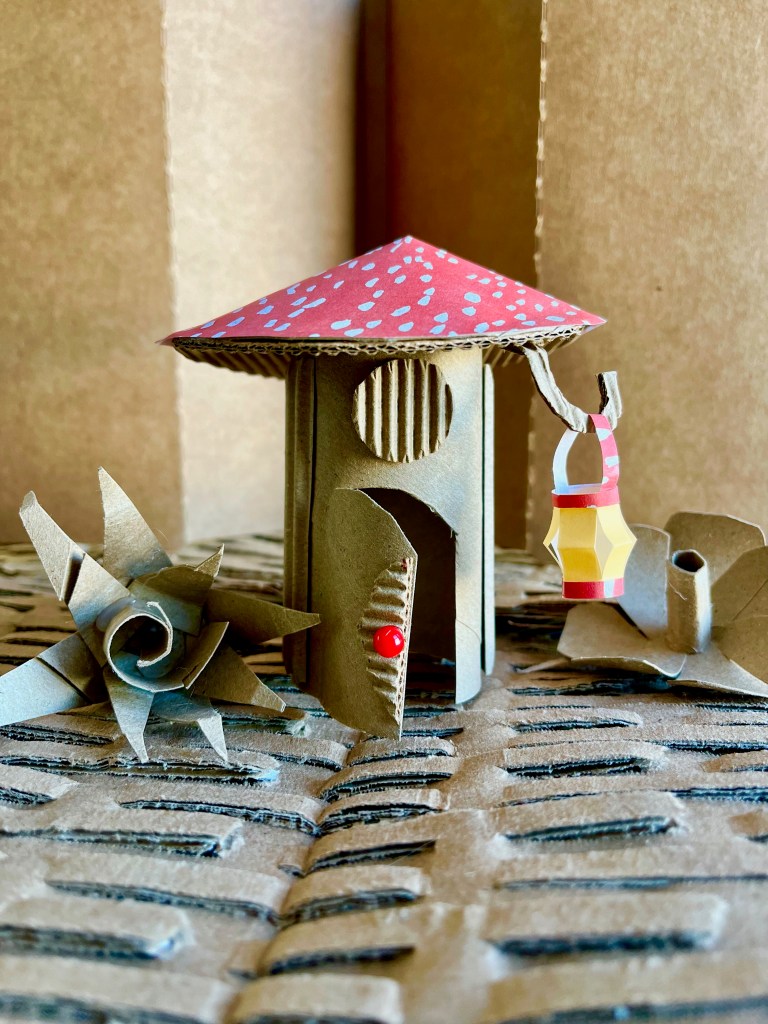
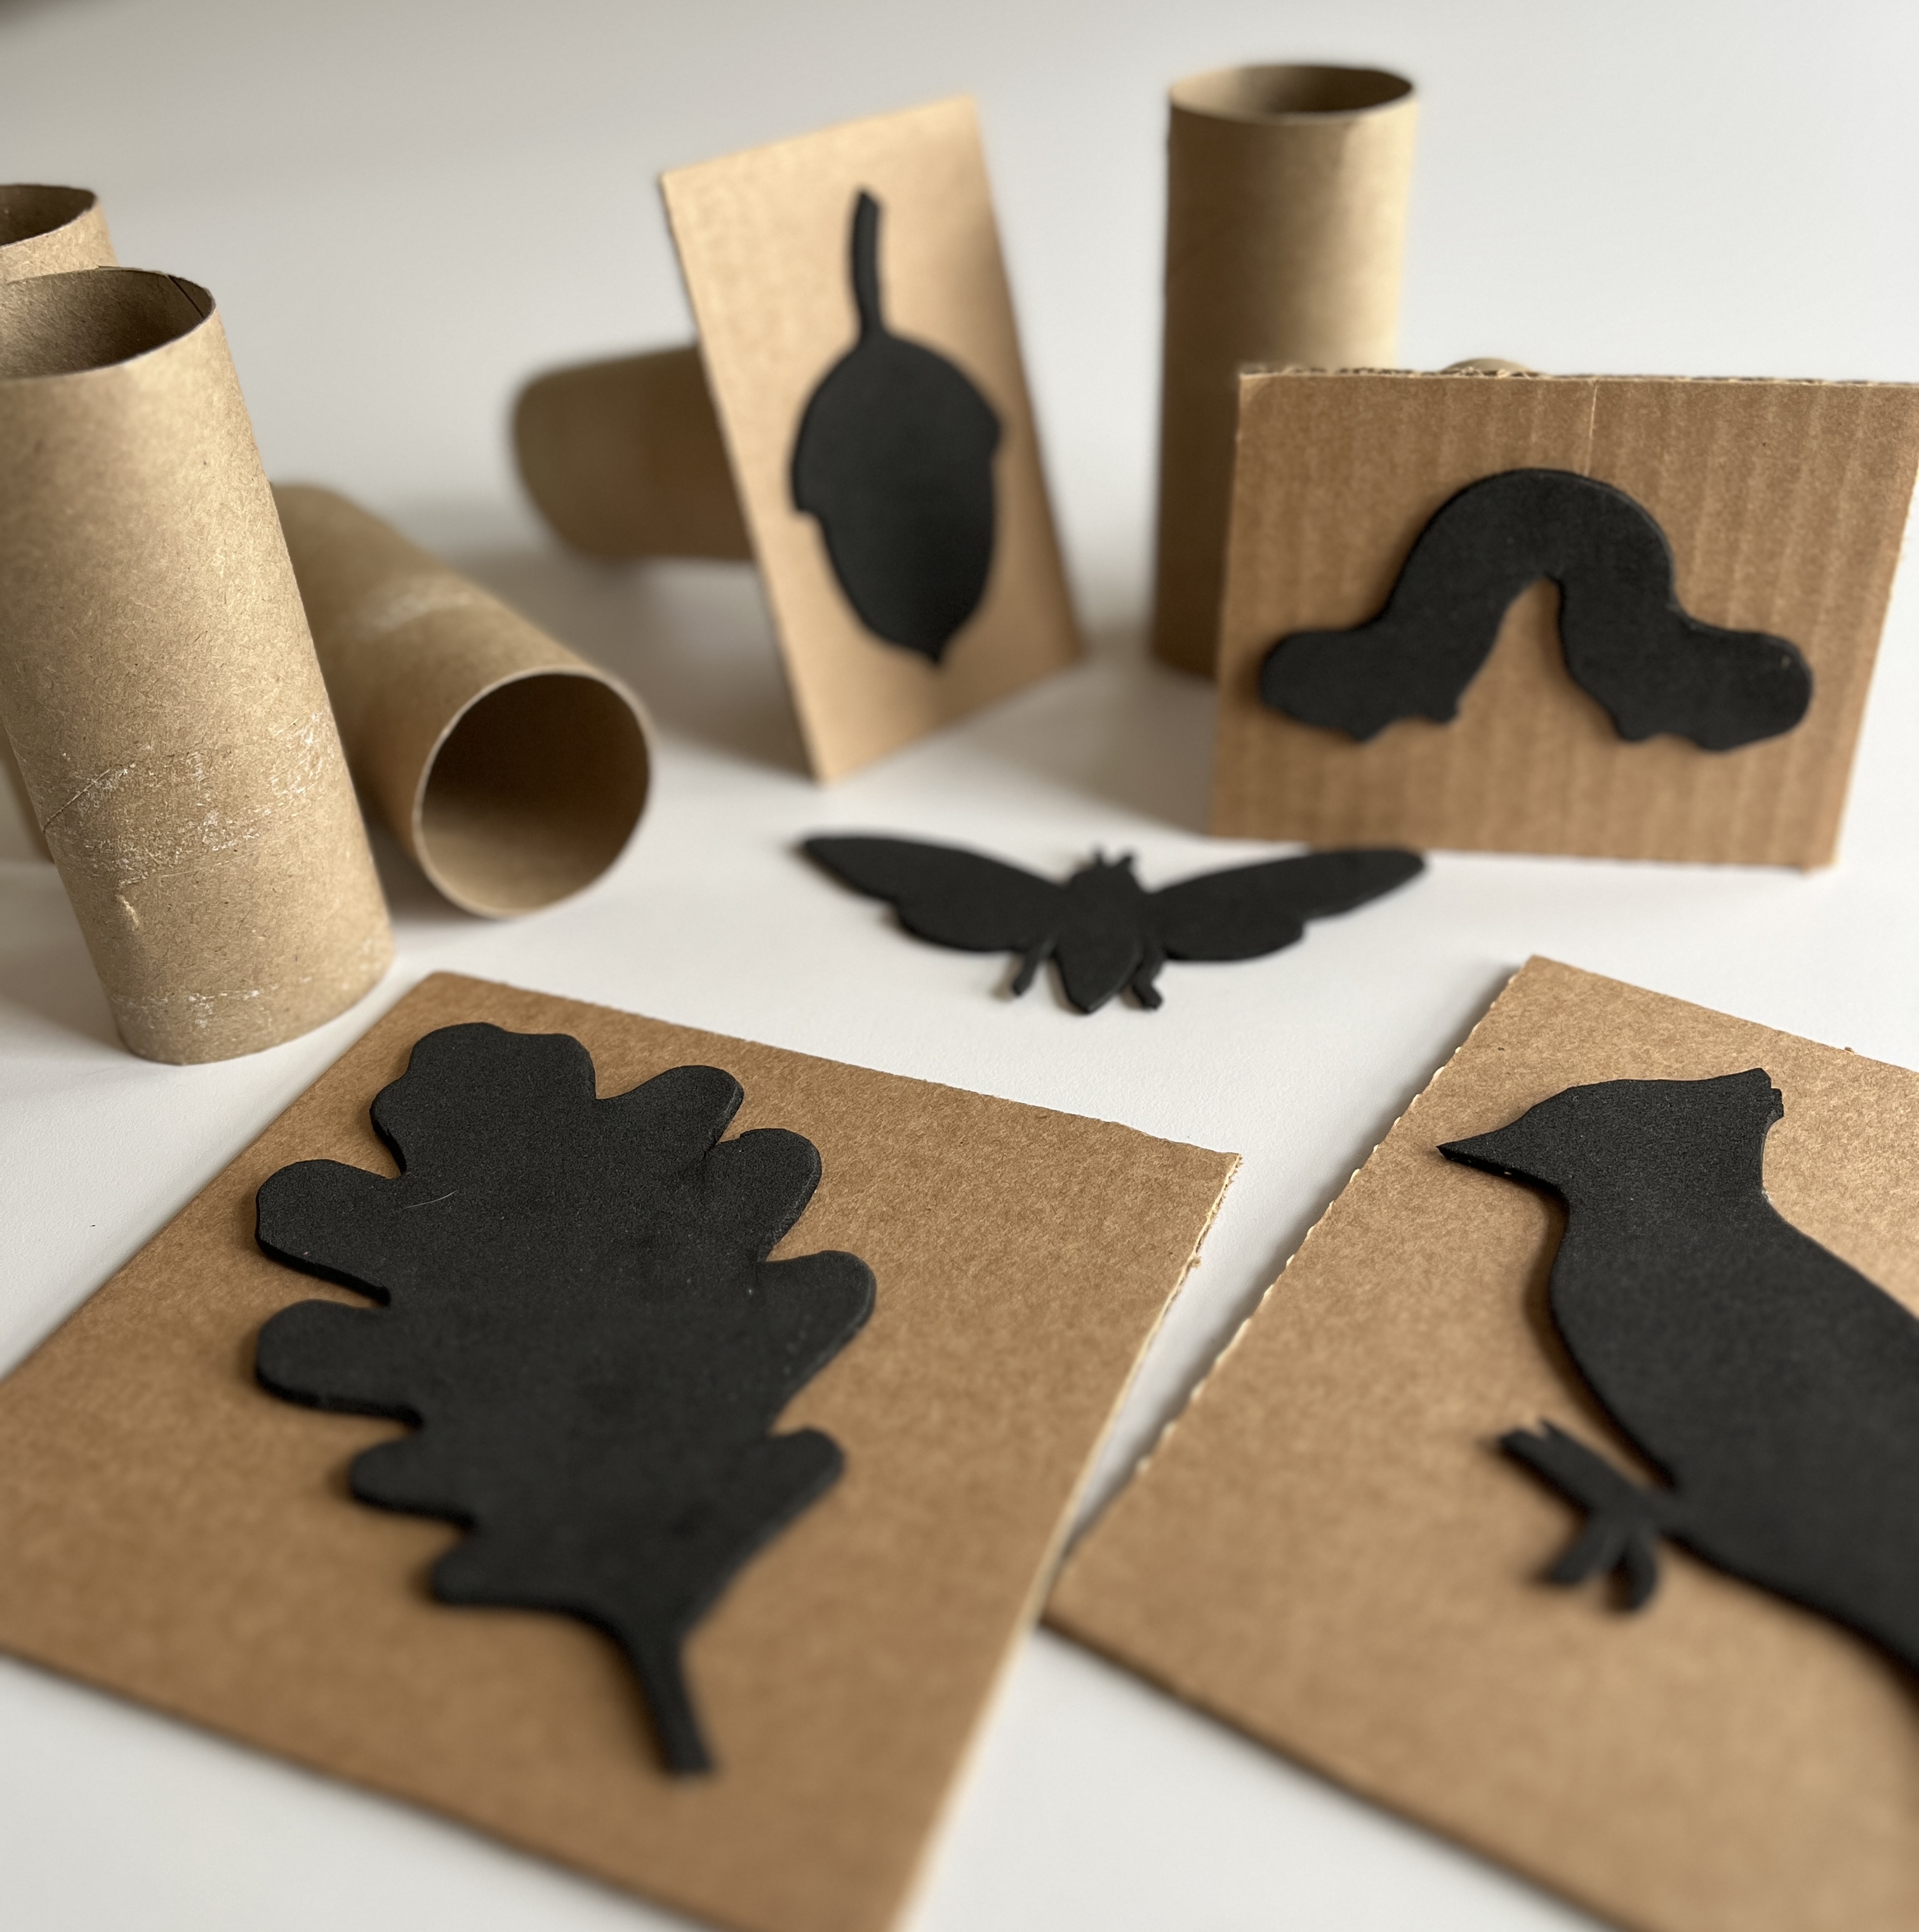
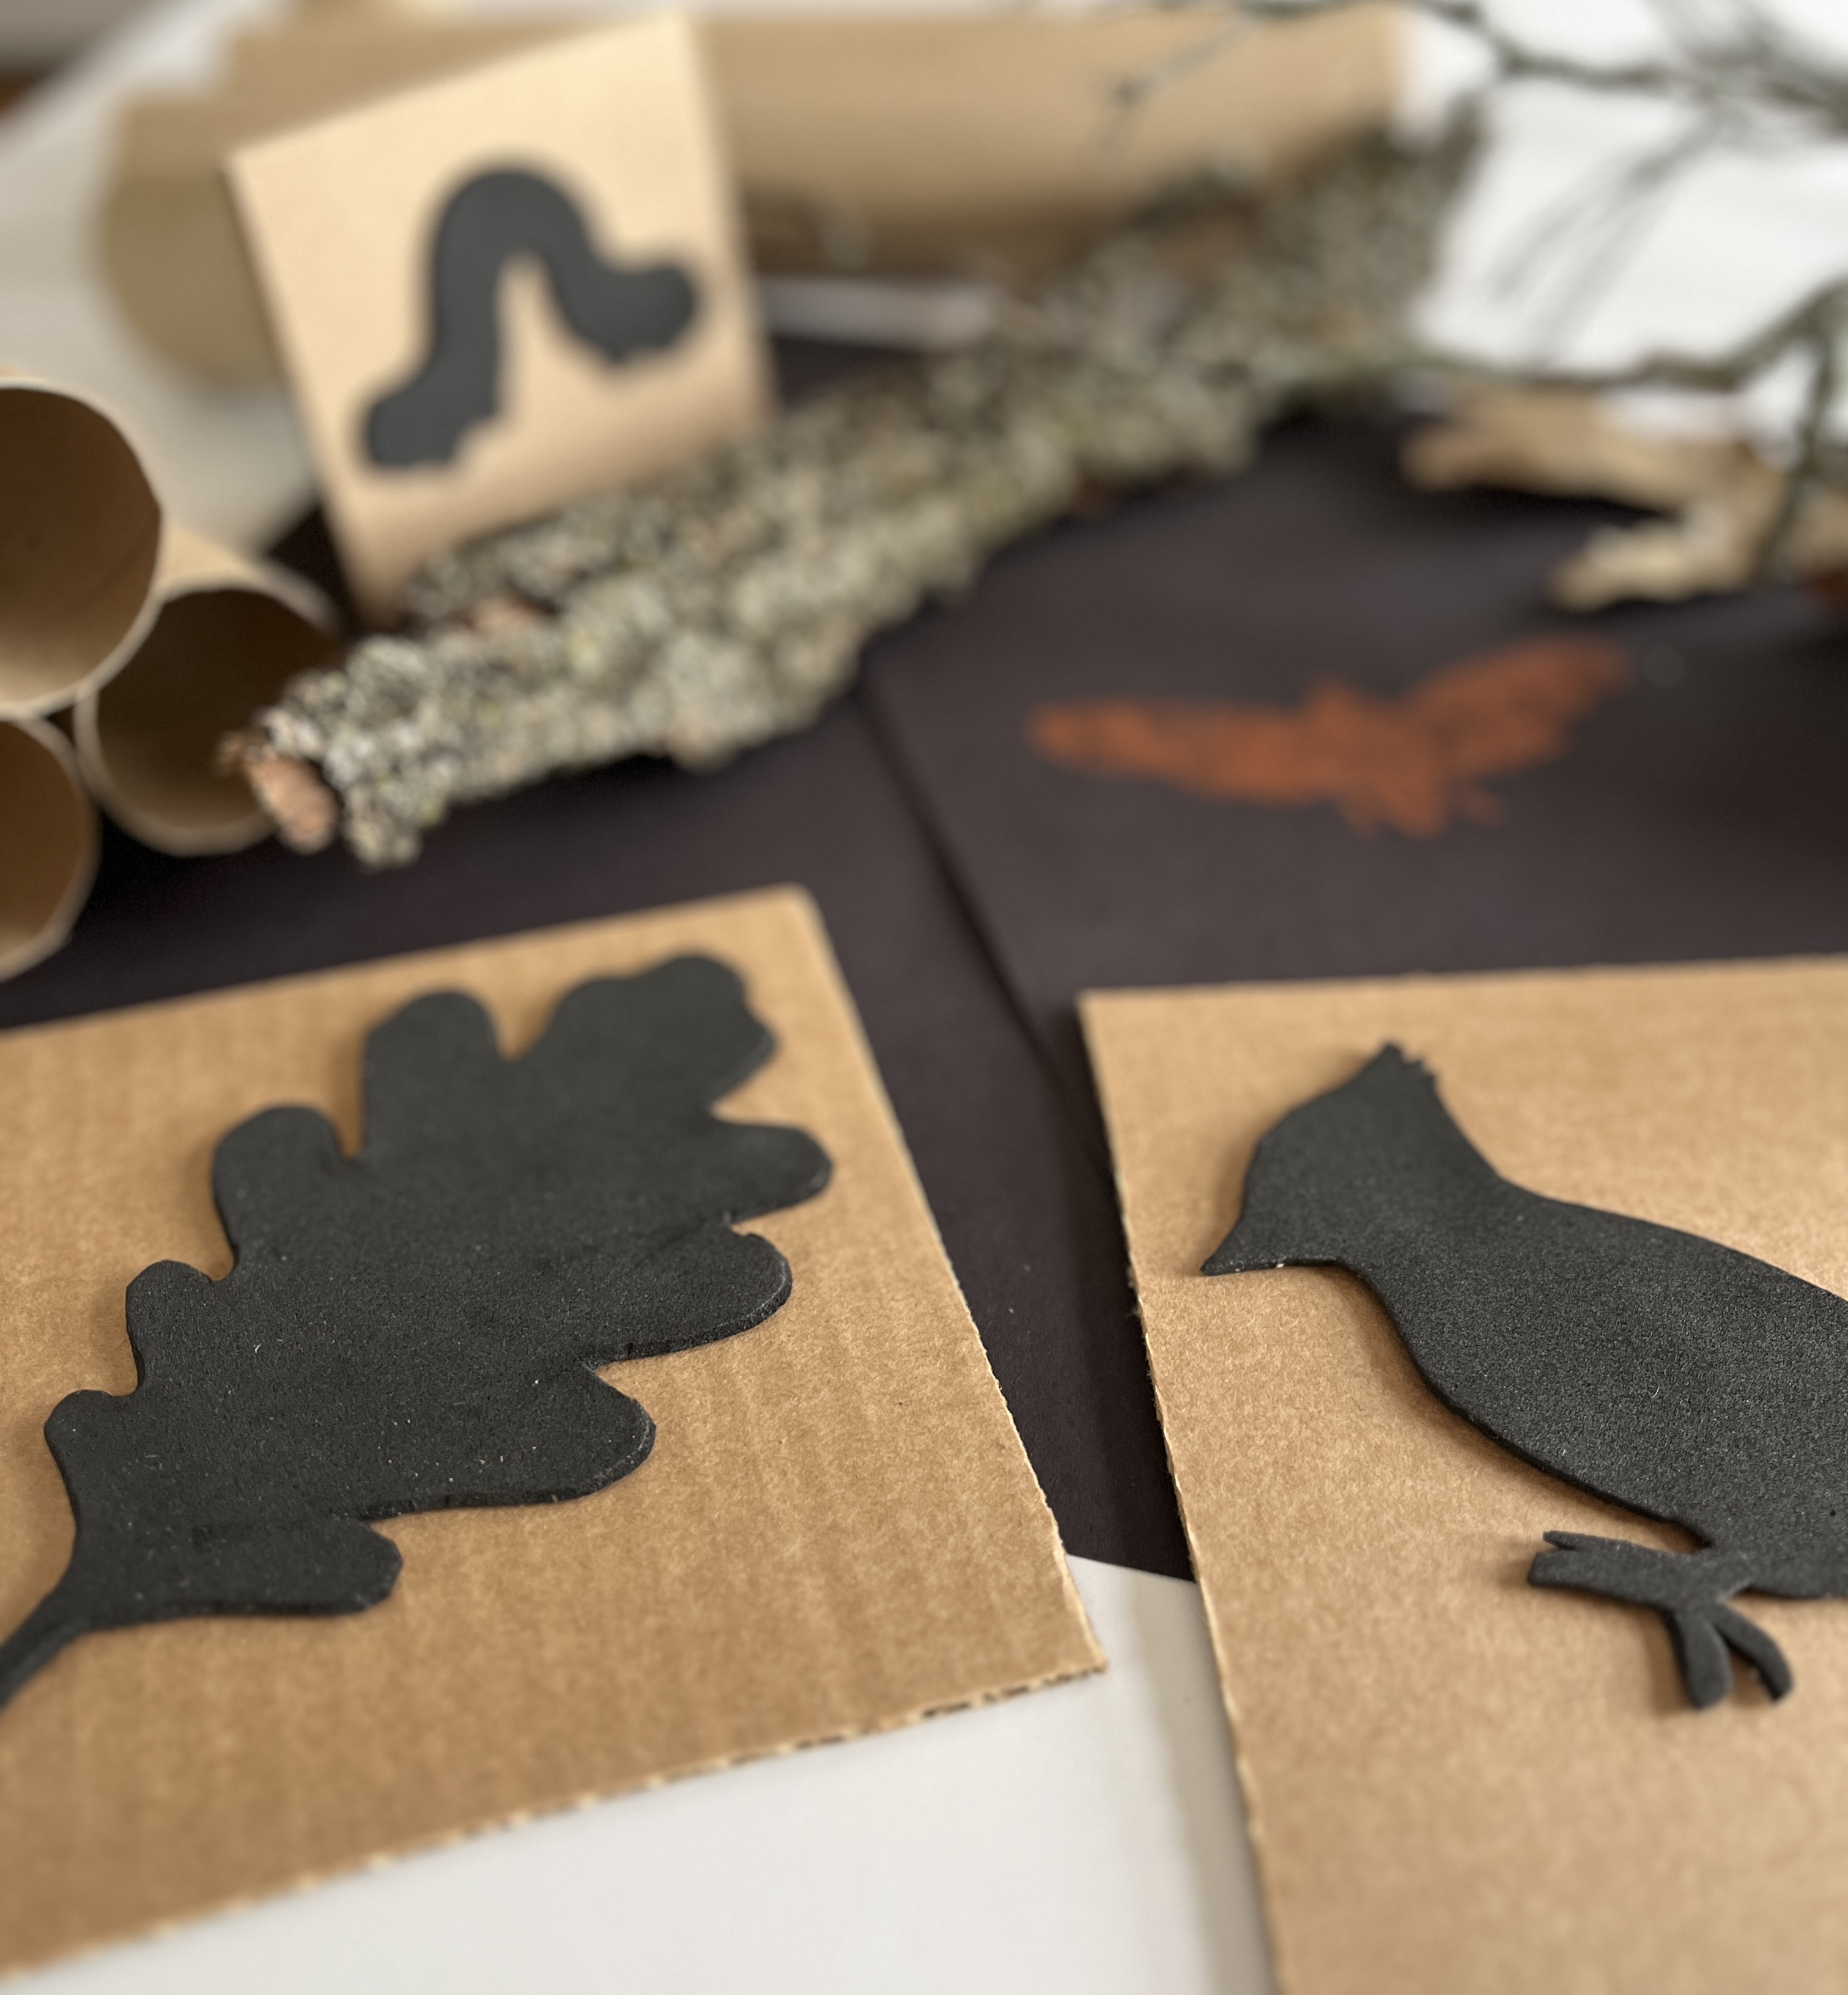
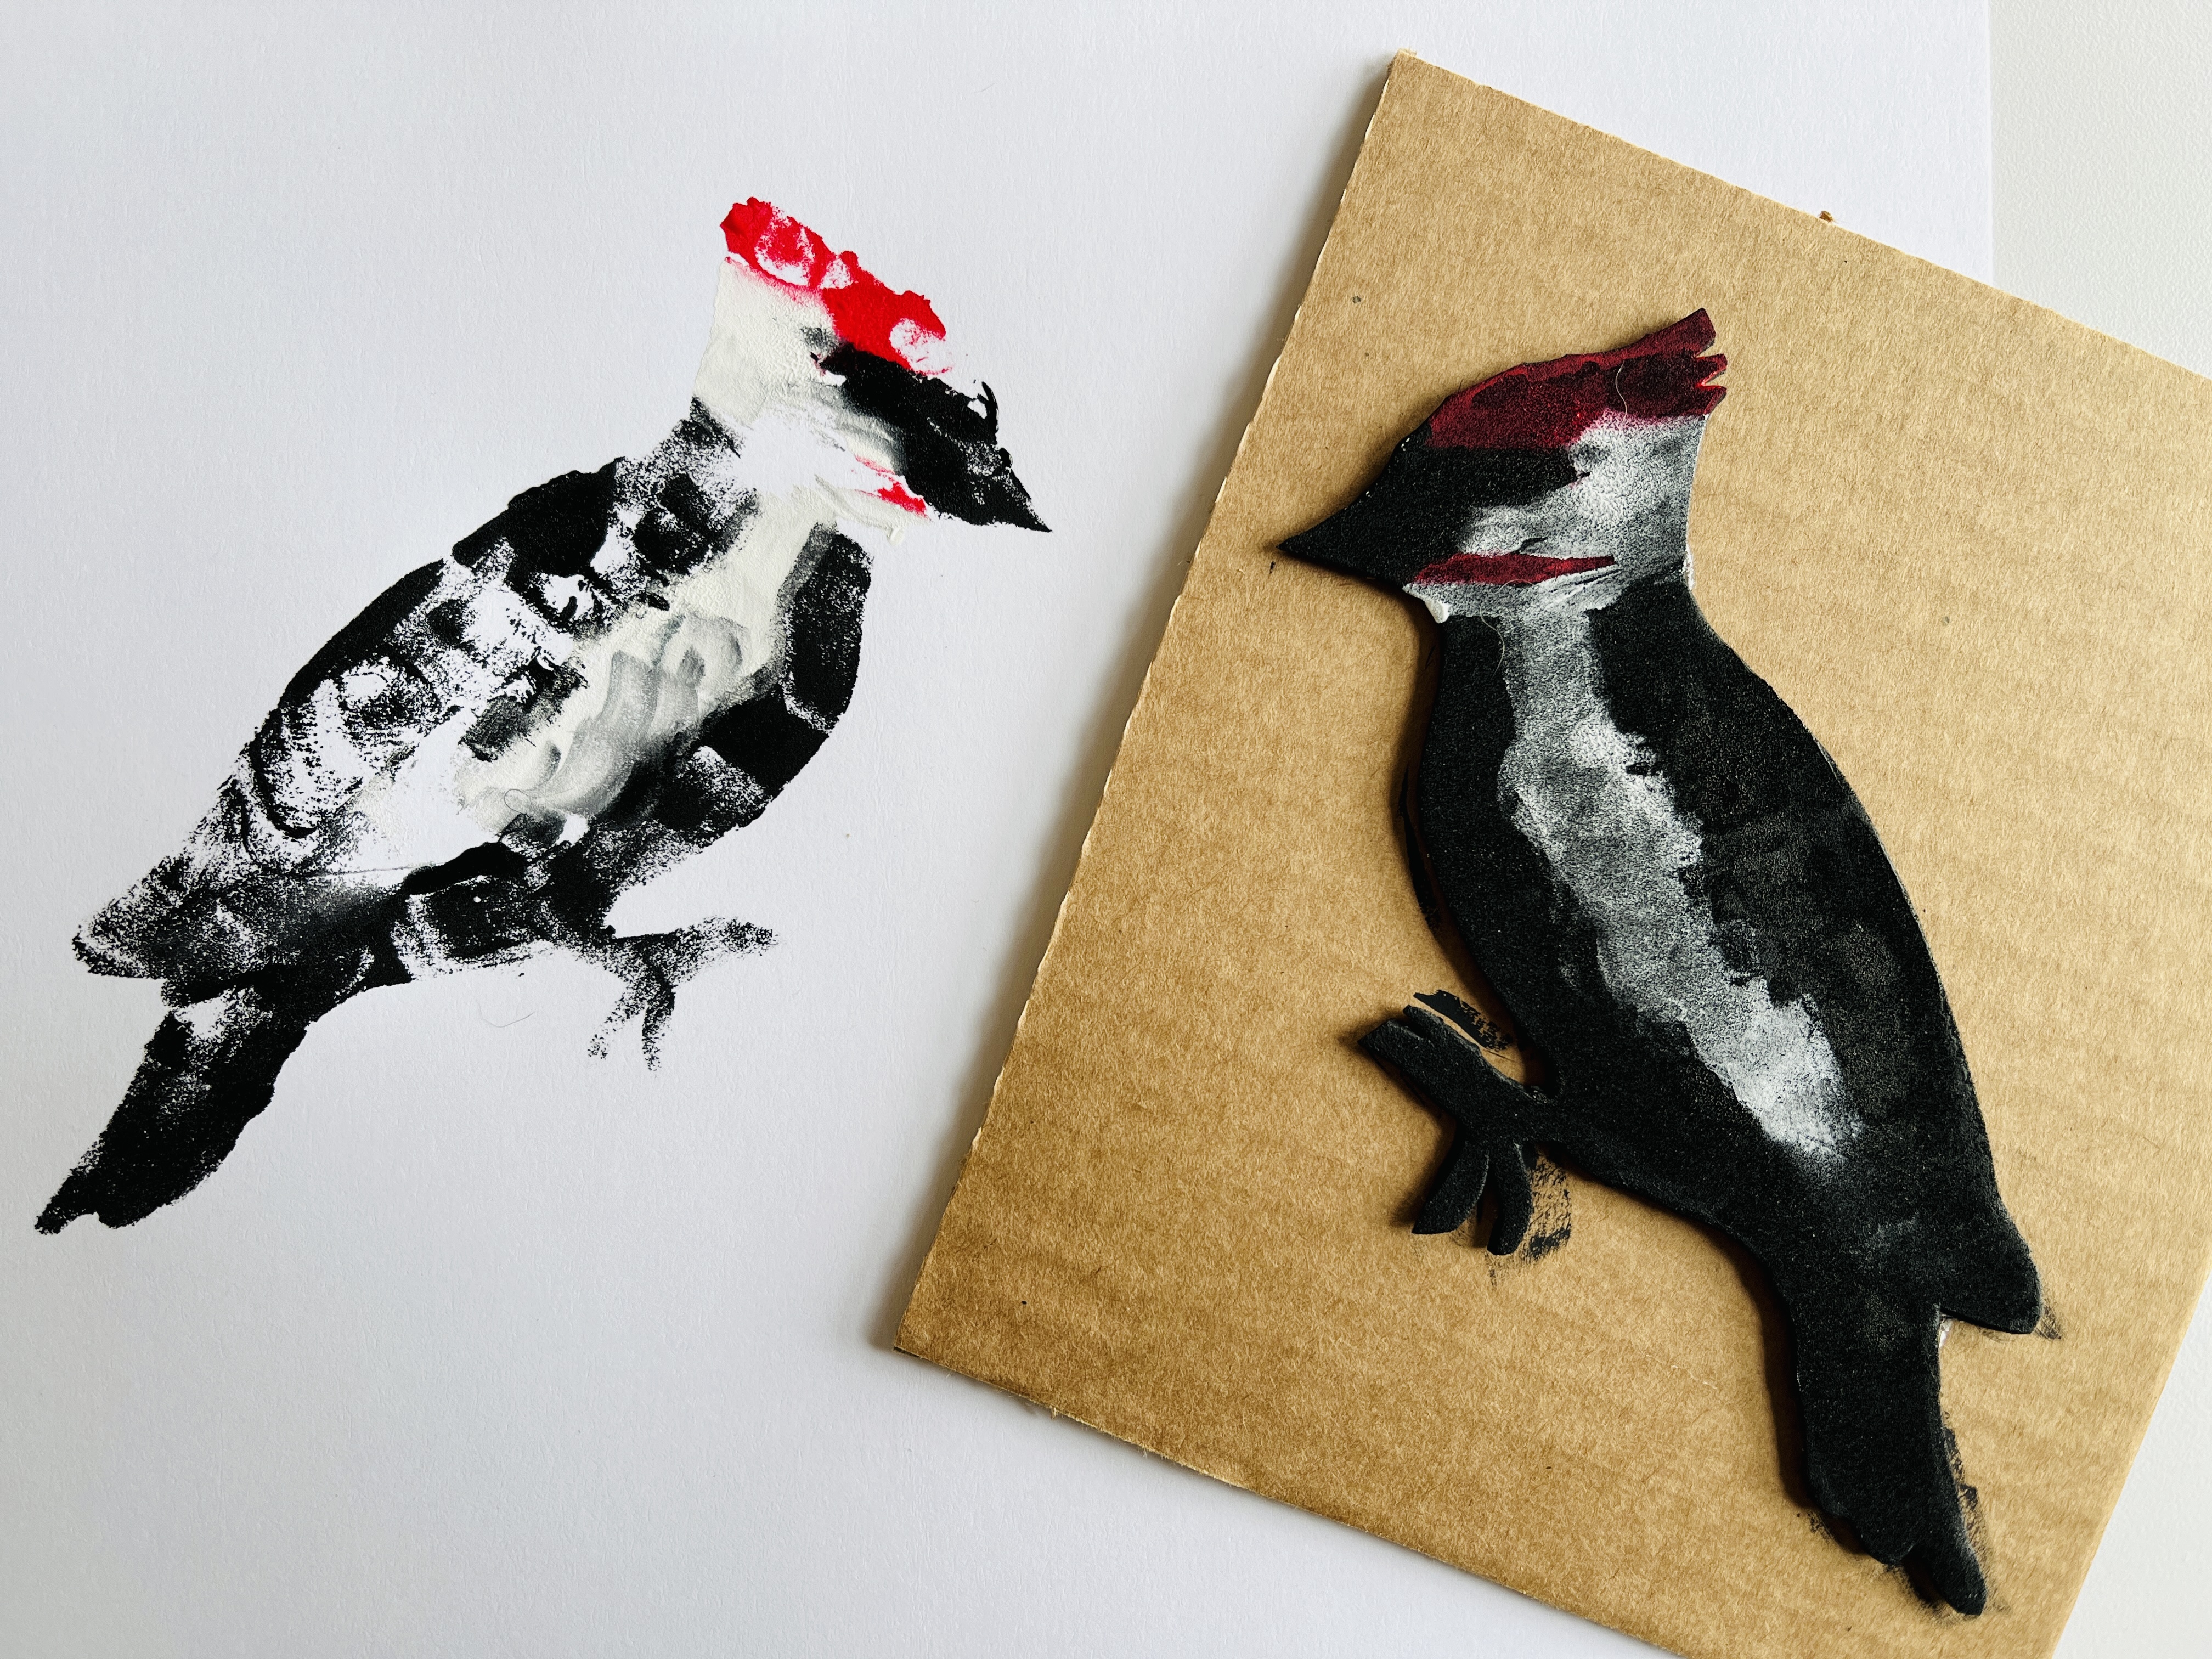
To begin, I looked online for some outlines of creatures that I like. I chose an oak leaf, acorn, inch worm, cicada, woodpecker, and a chickadee. I printed out the images and used a glue stick to adhere them to a piece of craft foam. The glue stick does a good job of keeping the paper in place while you cut along the outline and through the foam. Yet, it didn’t stick so well that I couldn’t easily peel off the paper, leaving the foam shape intact.
Next, I glued the foam shape to flat cardboard. To make a stamp handle that would suit little hands, I hot-glued toilet paper rolls to the back of the flat cardboard.
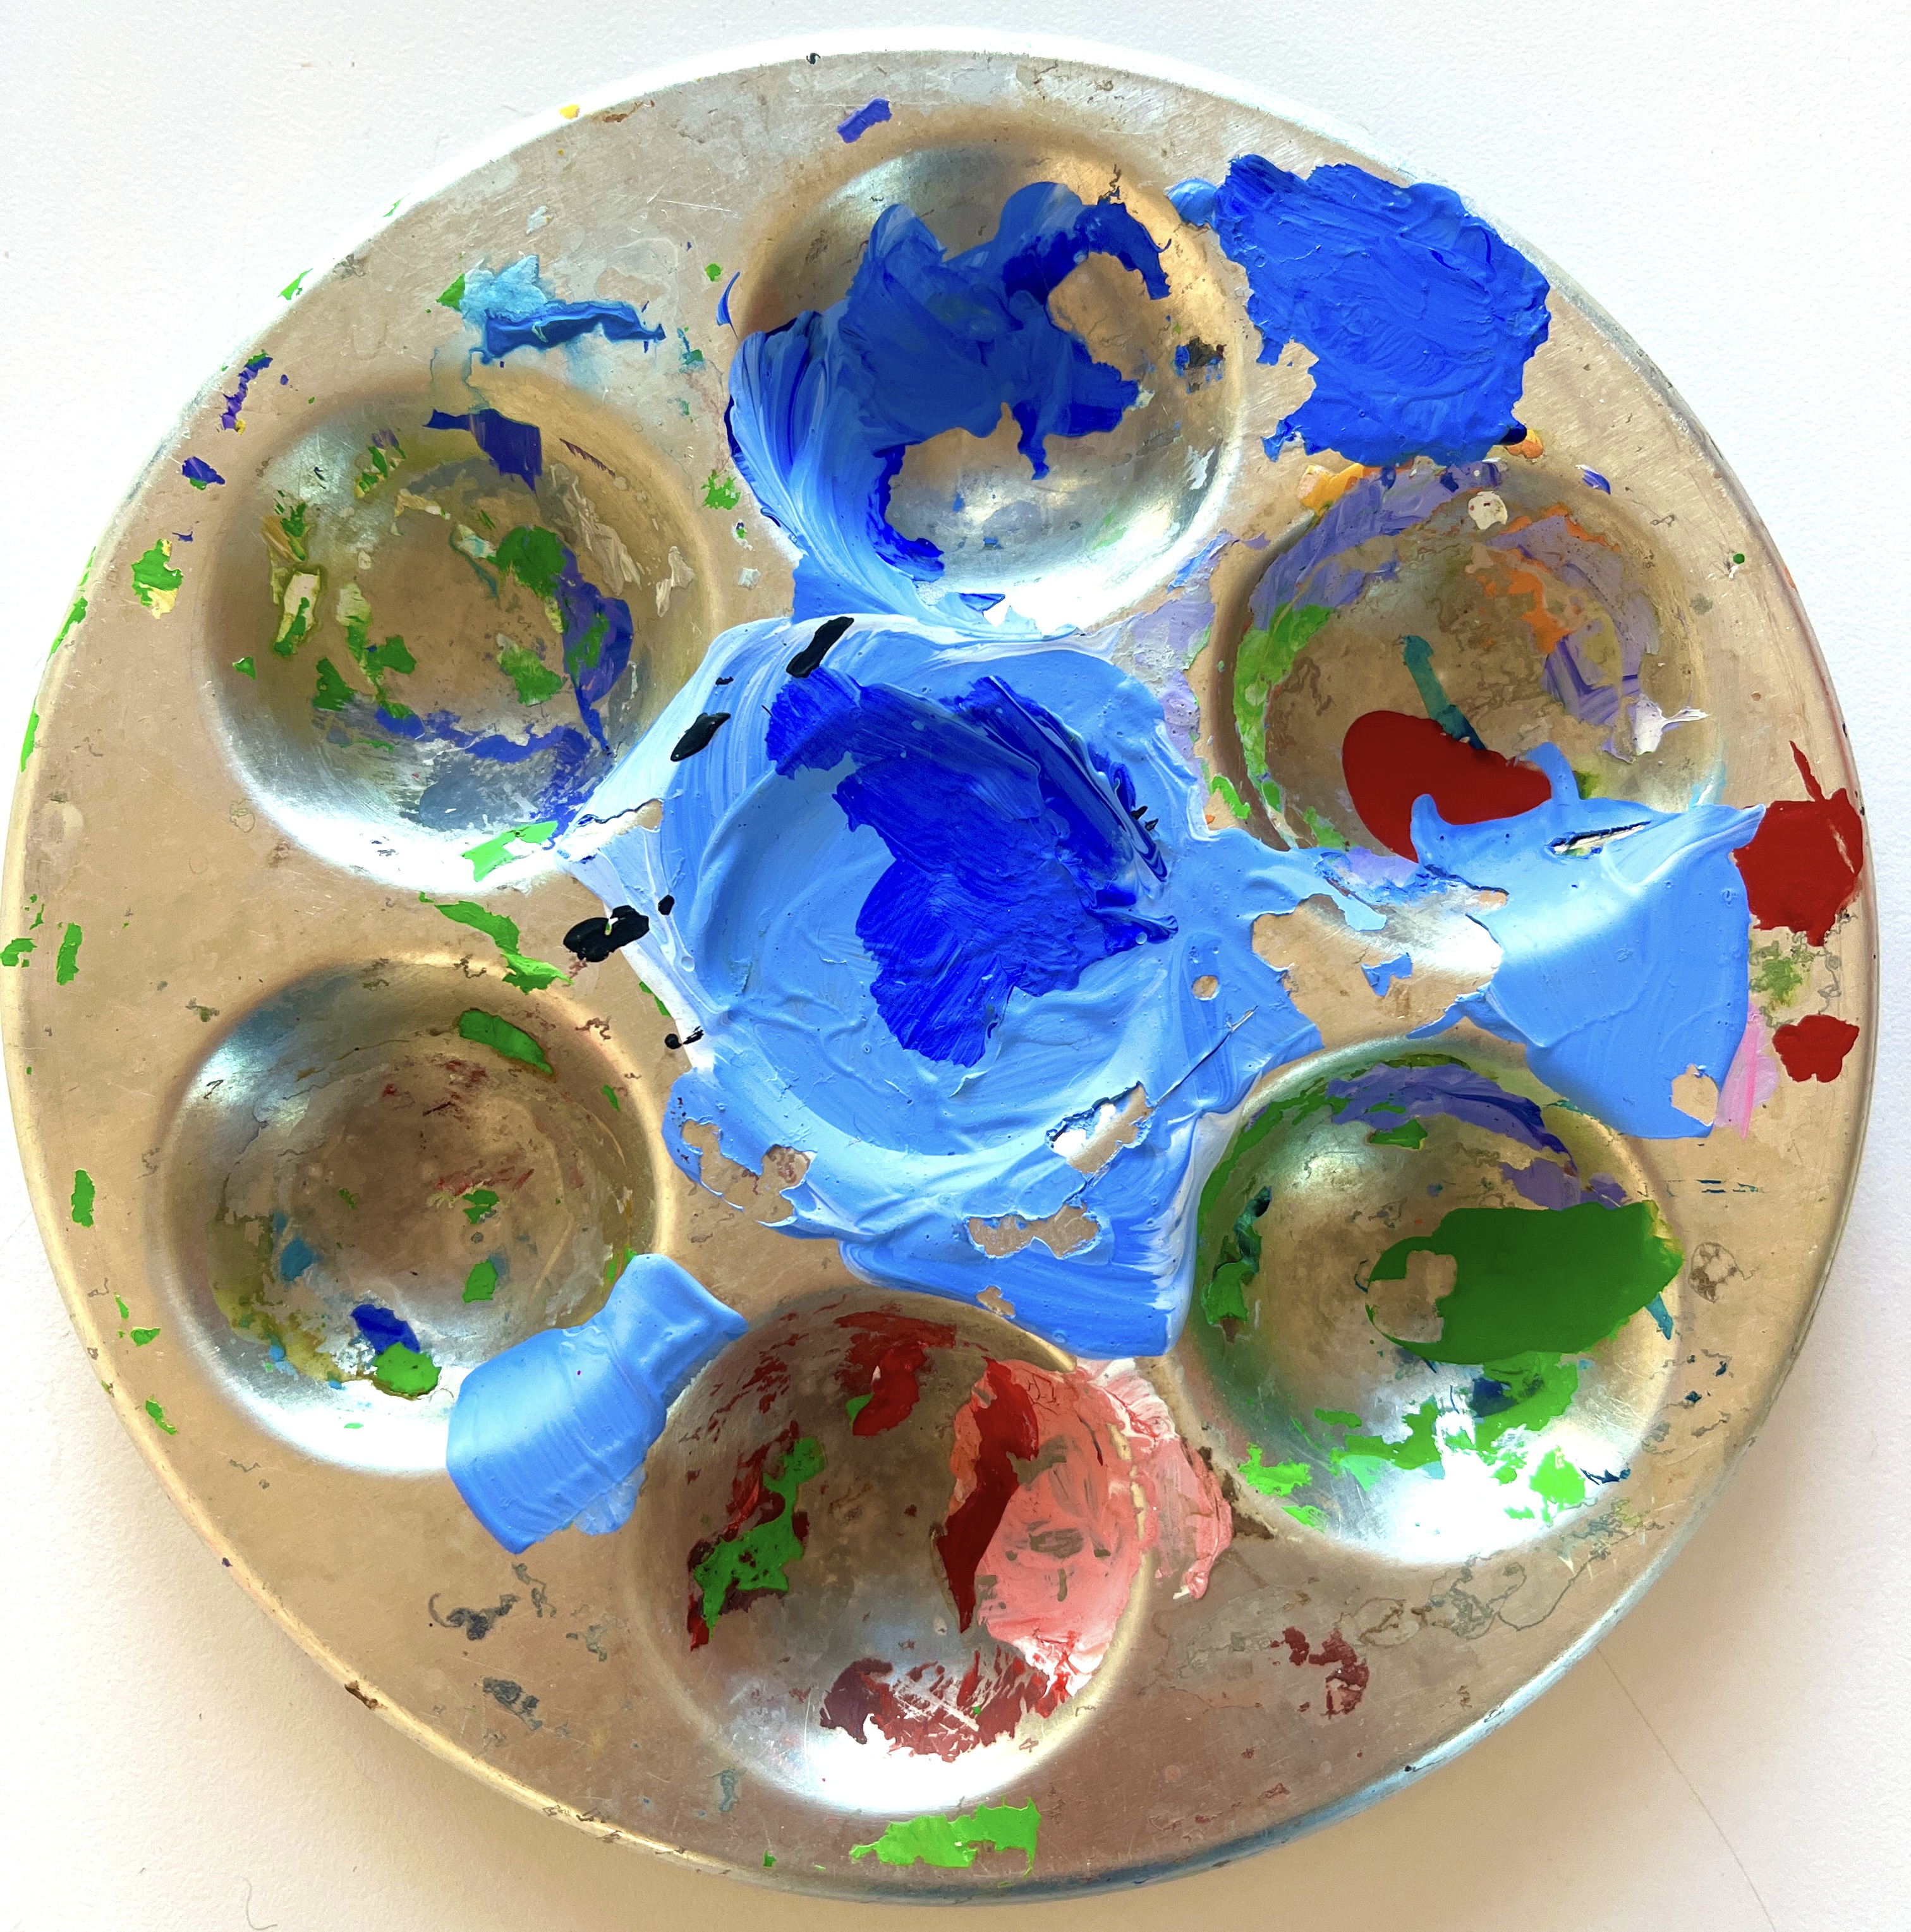
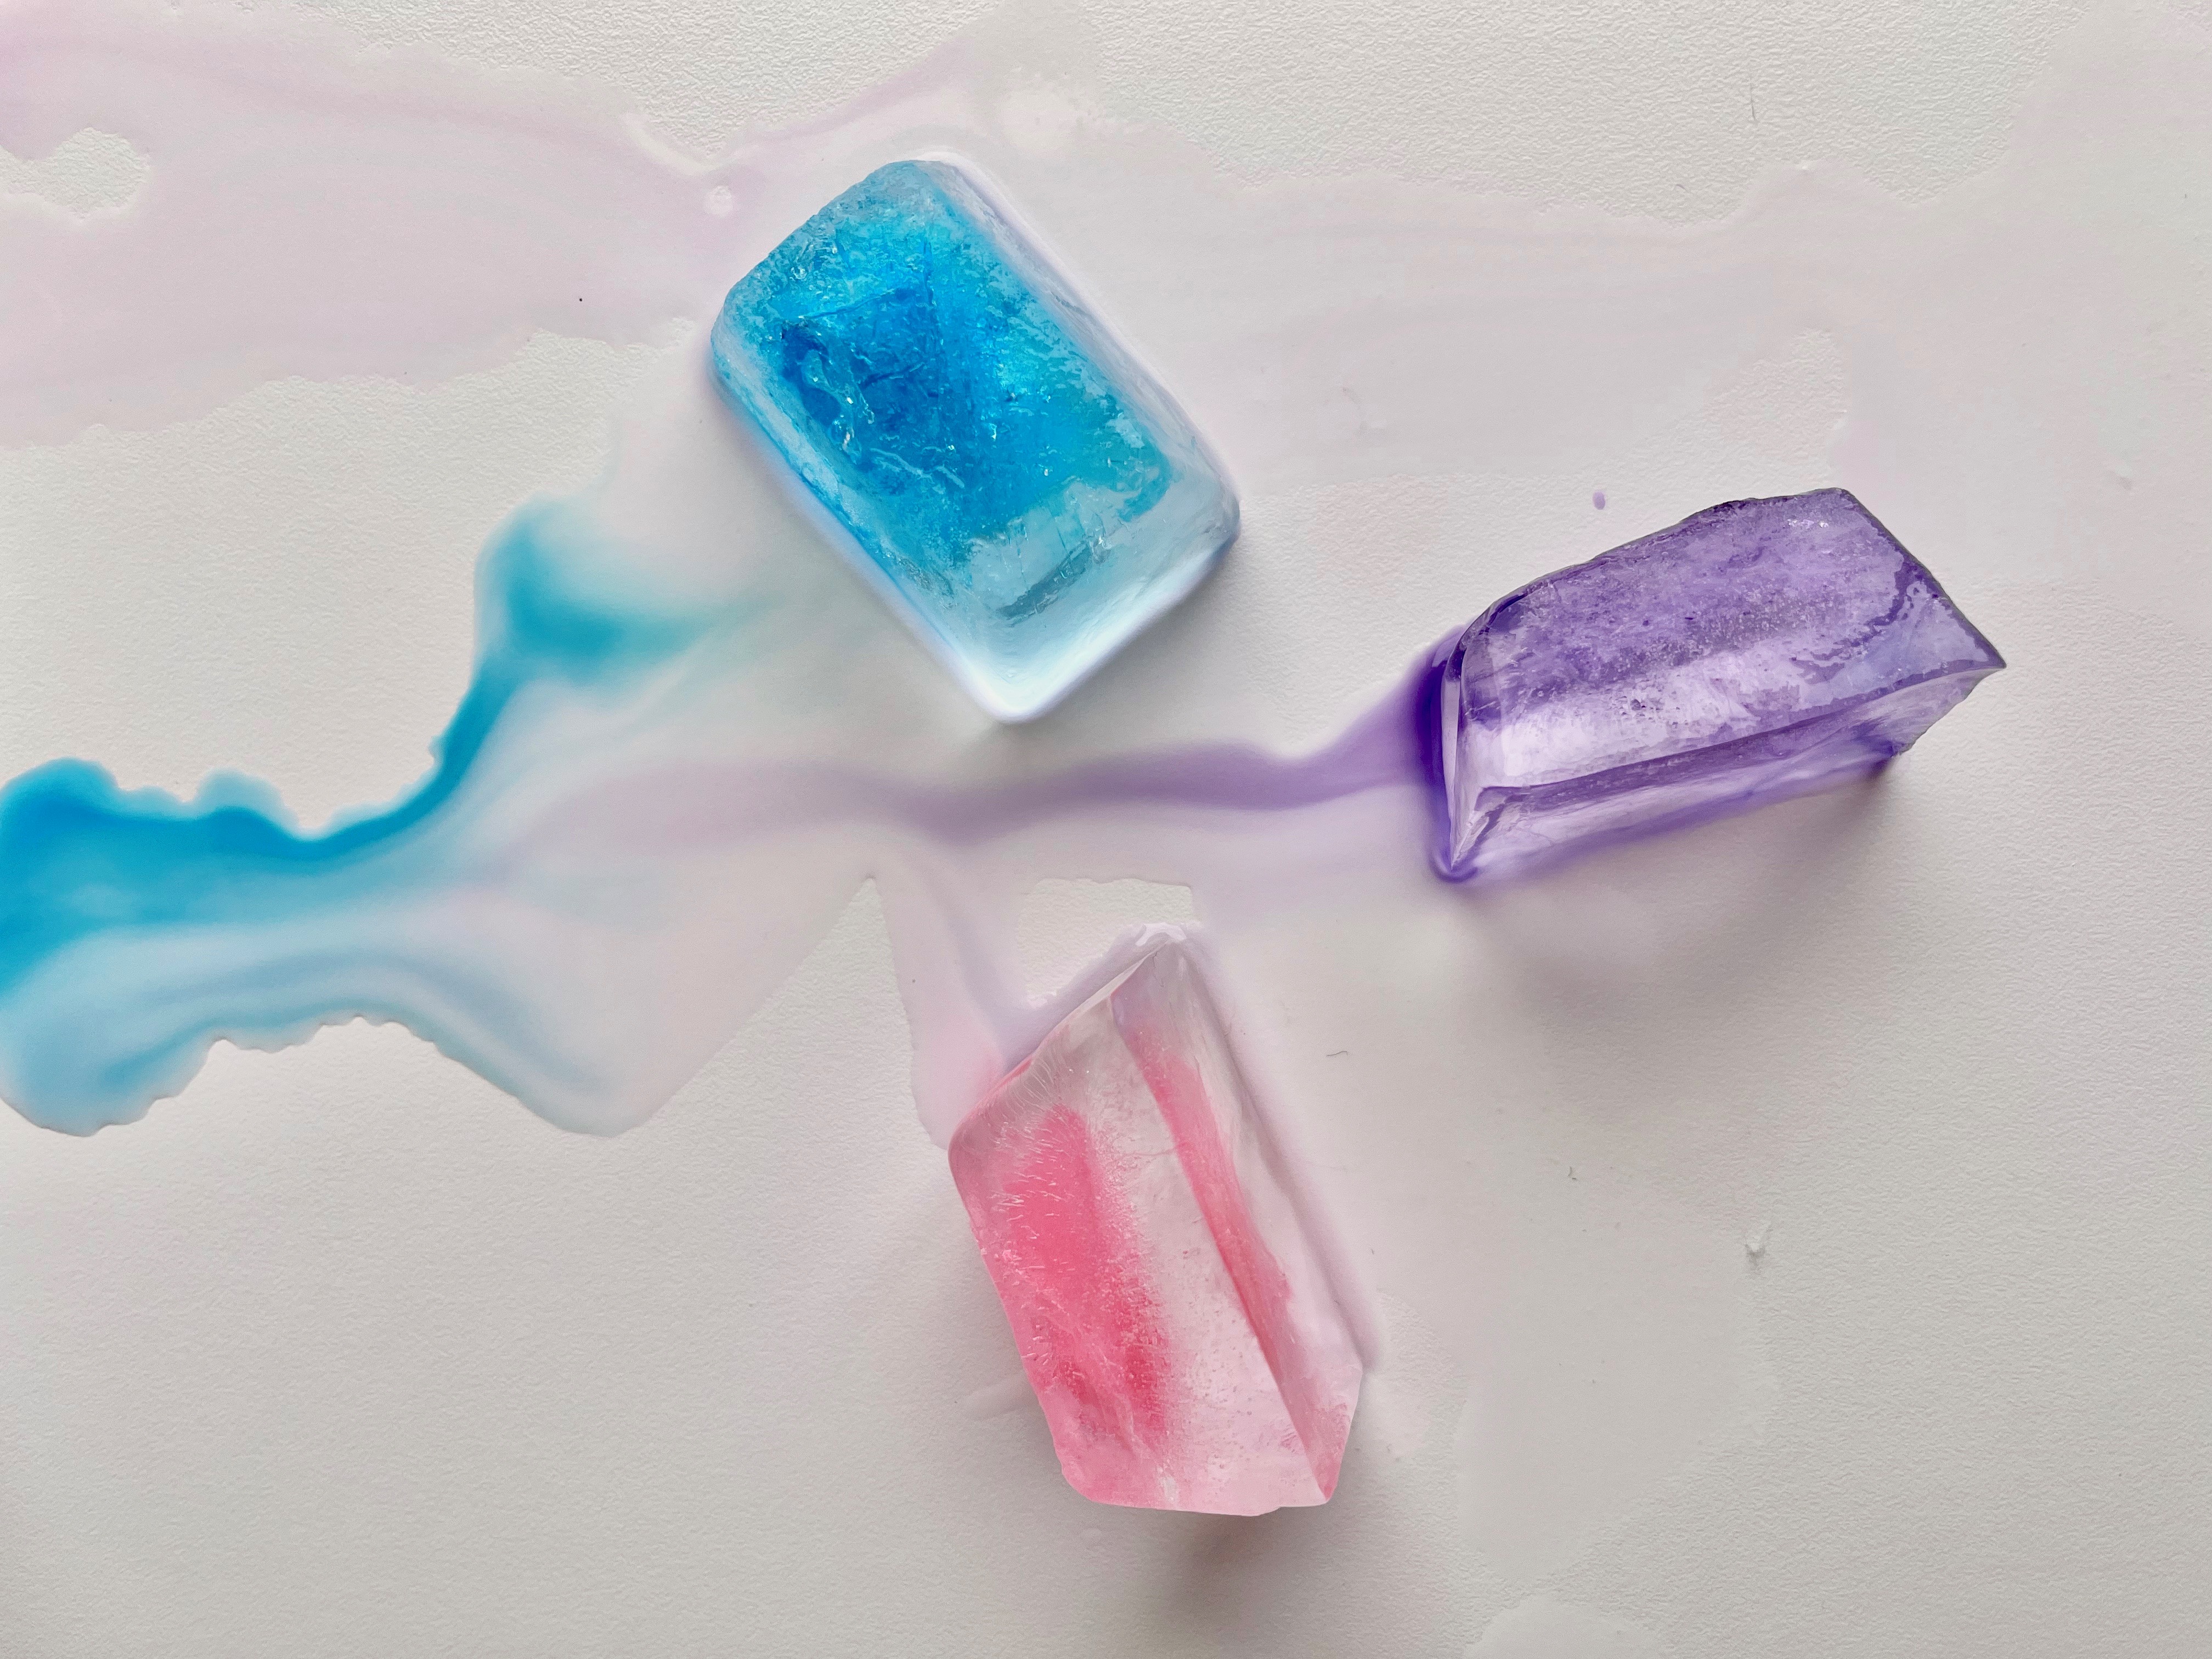
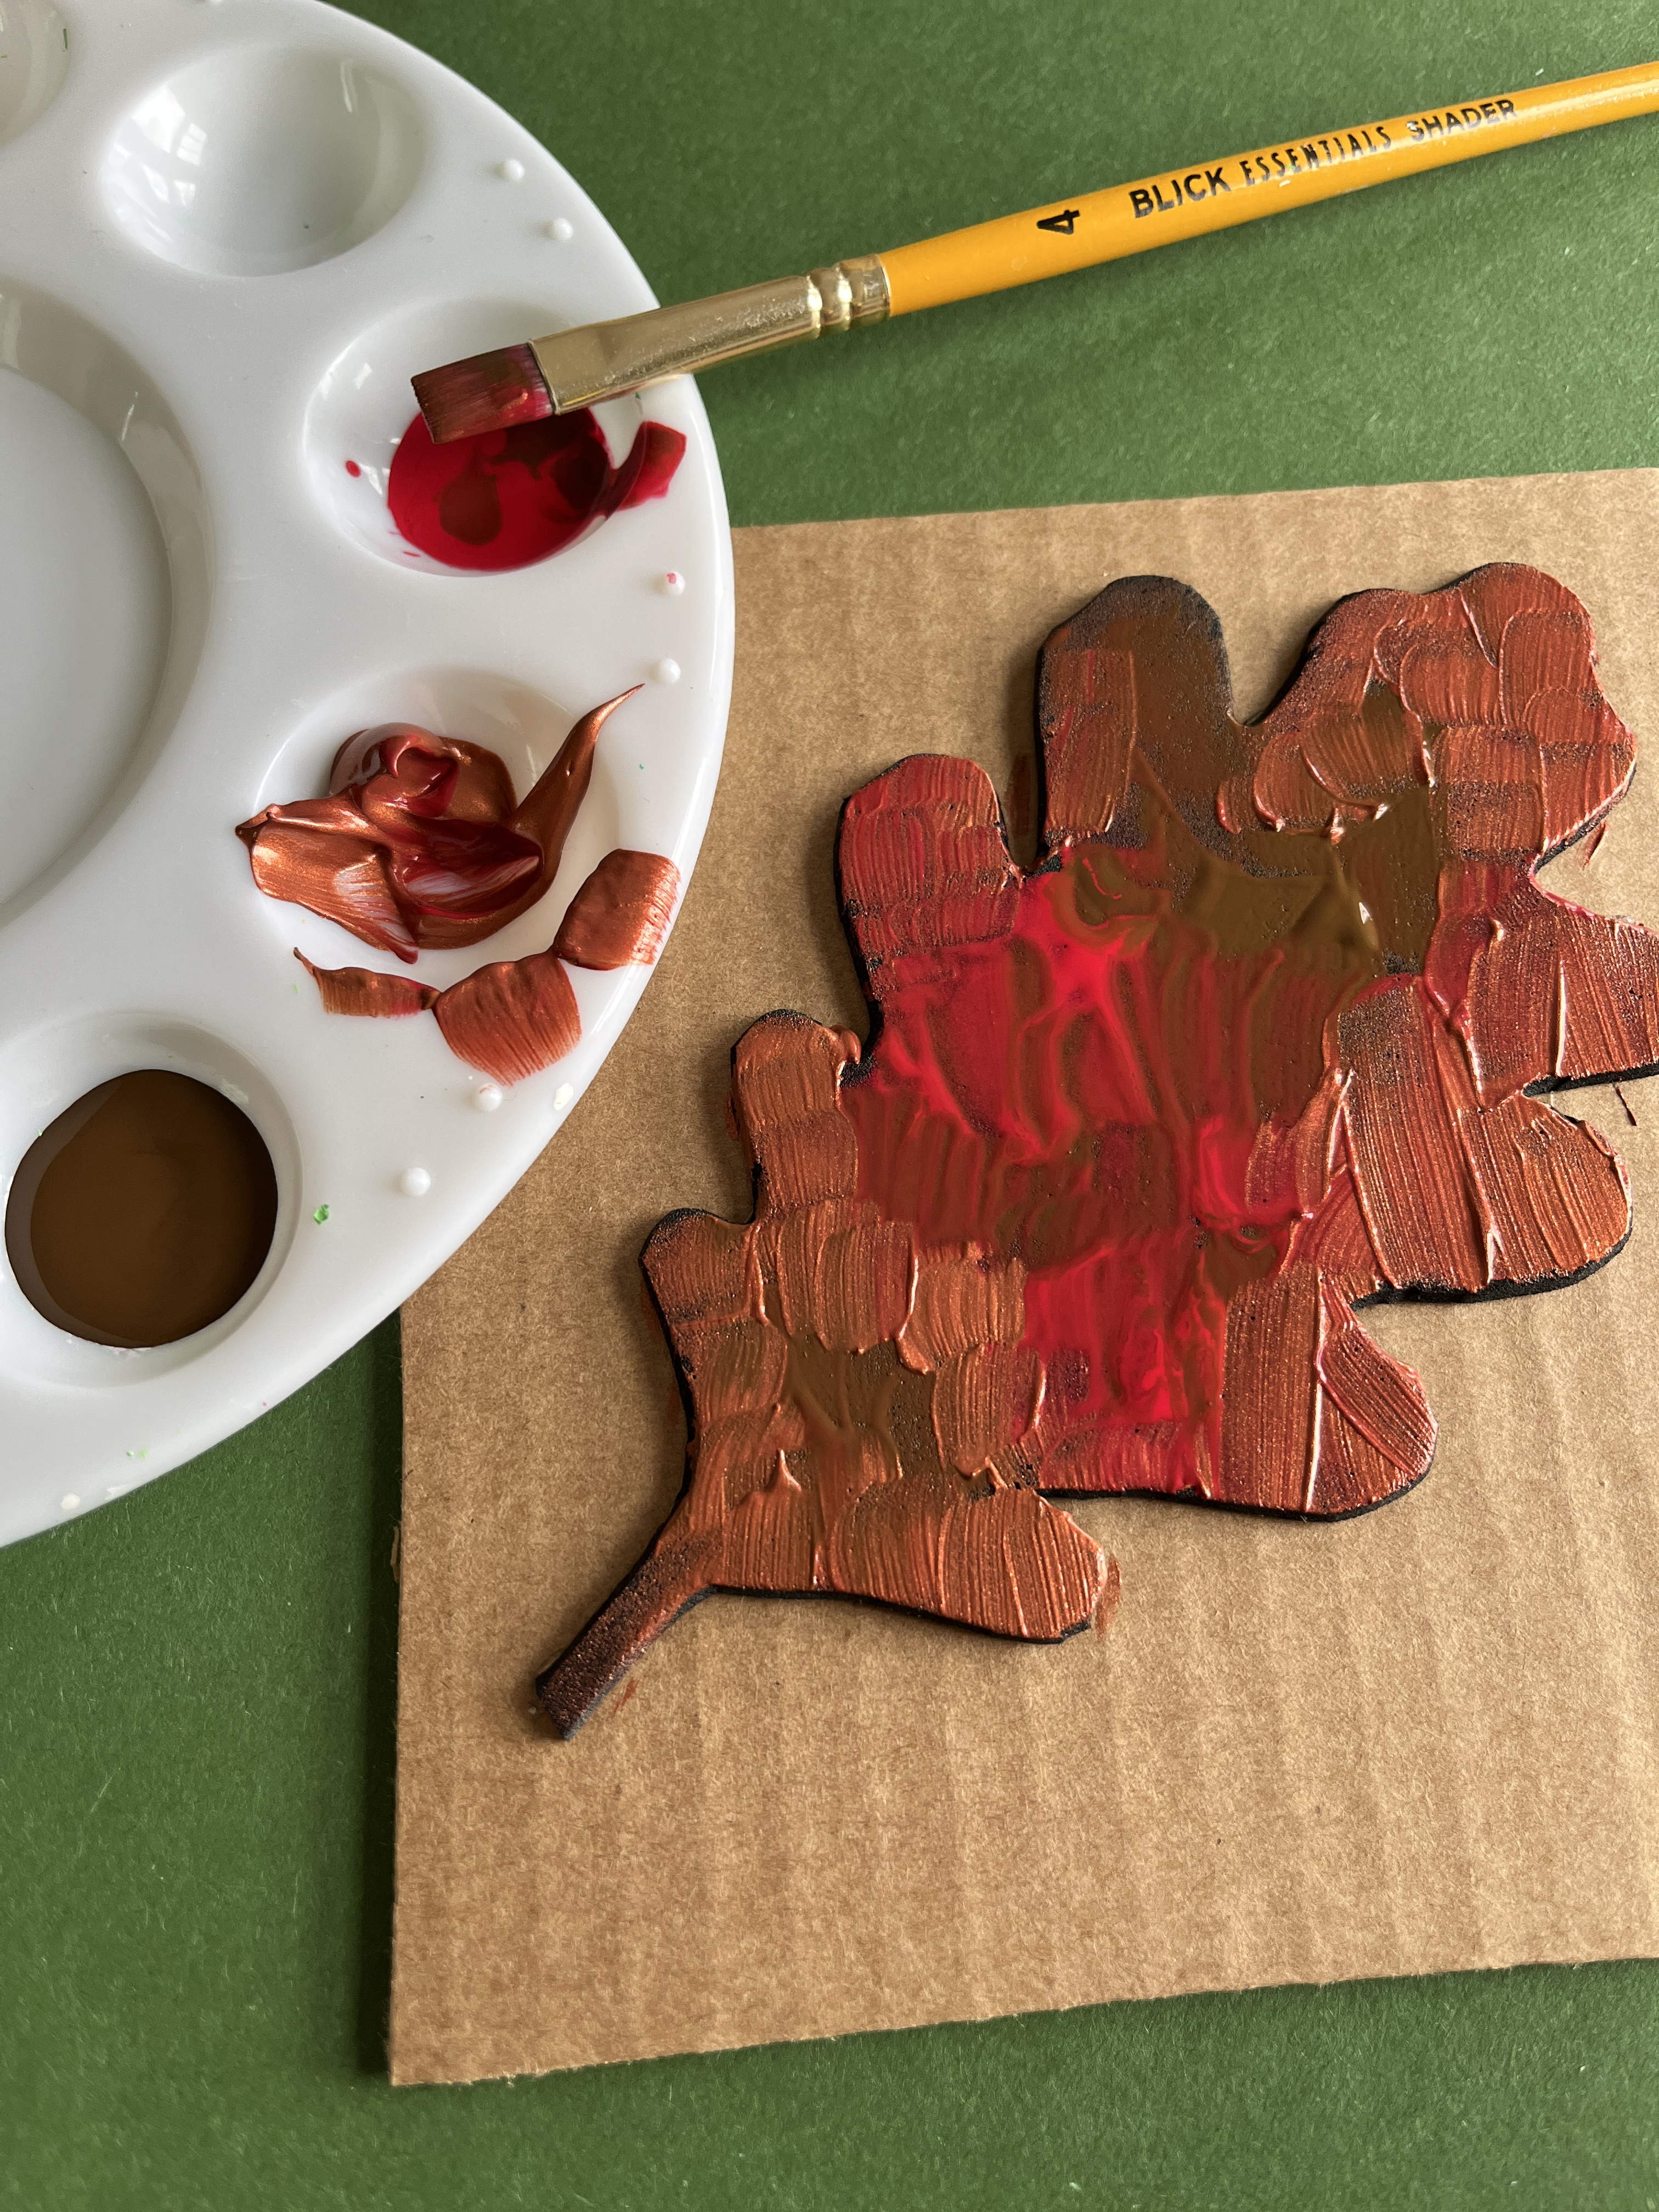
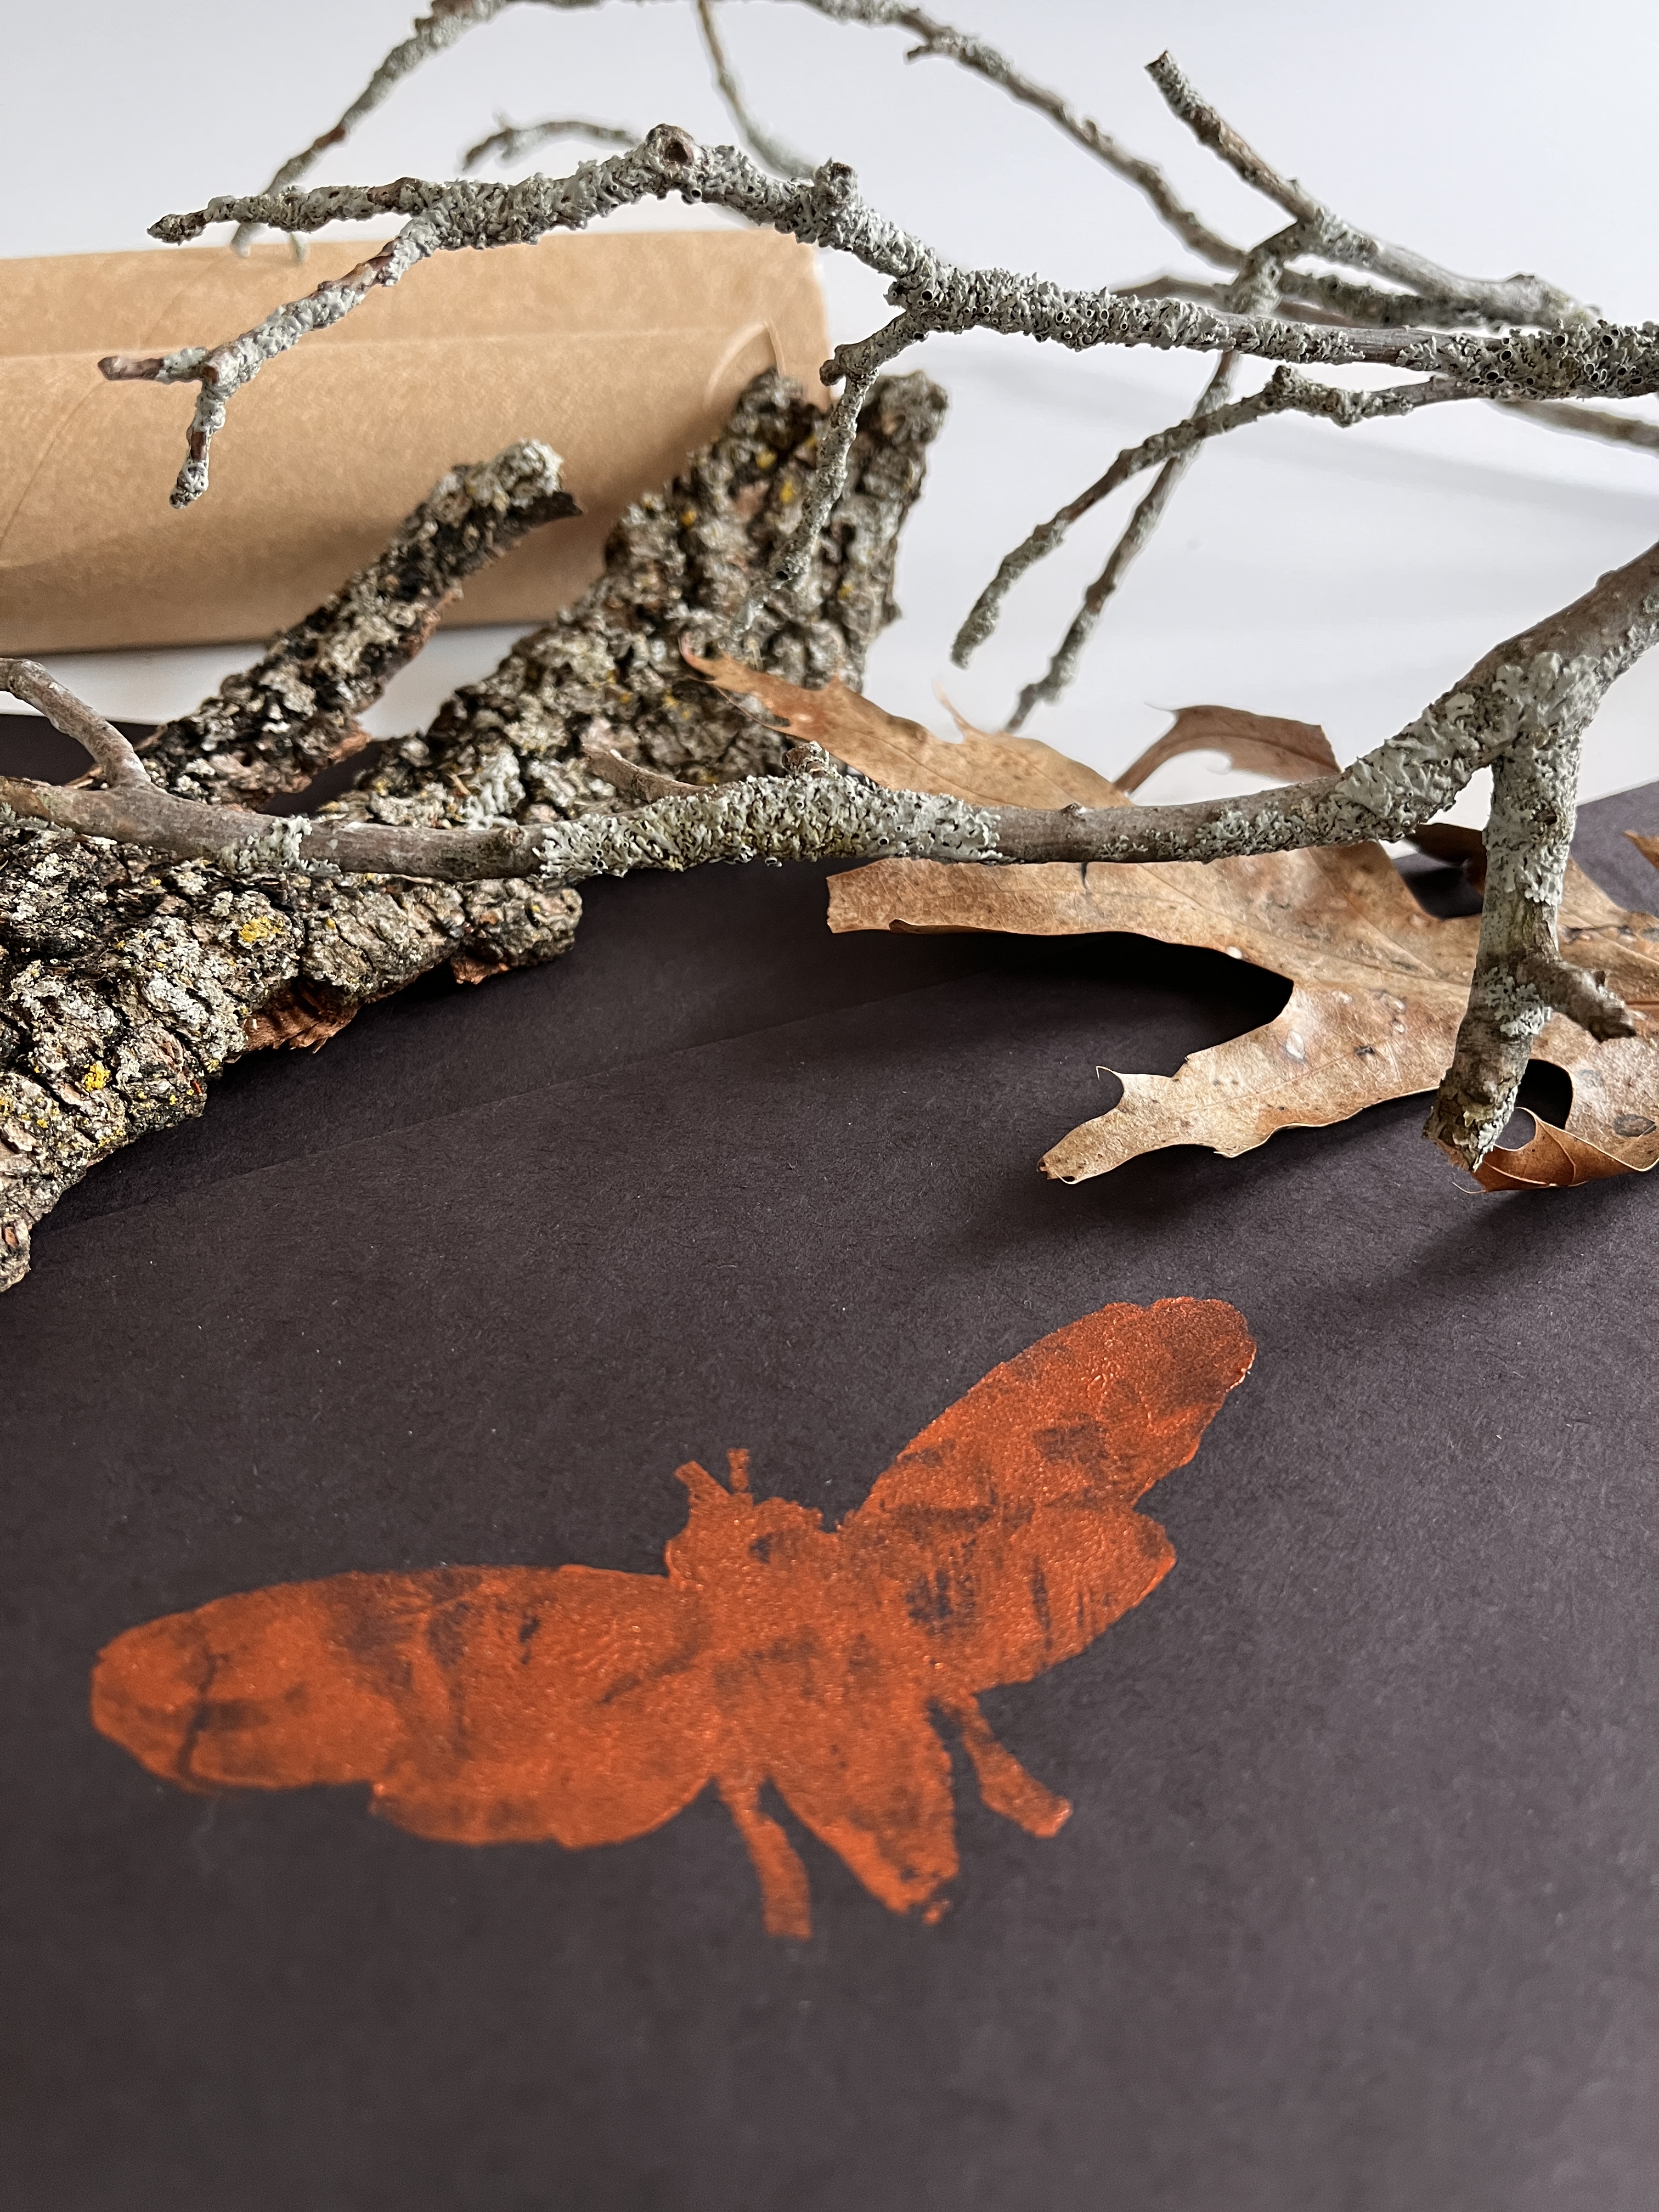
Then comes the fun part. I used a paintbrush to layer the foam shapes with paint. (You could opt for filling a shallow container with thinner paint for kids to dip and coat their stamps.) I loved experimenting with paint thickness and different colors to see what emerged. Copper-colored acrylic paint looked great on black paper. Let me know if you give this craft a try!

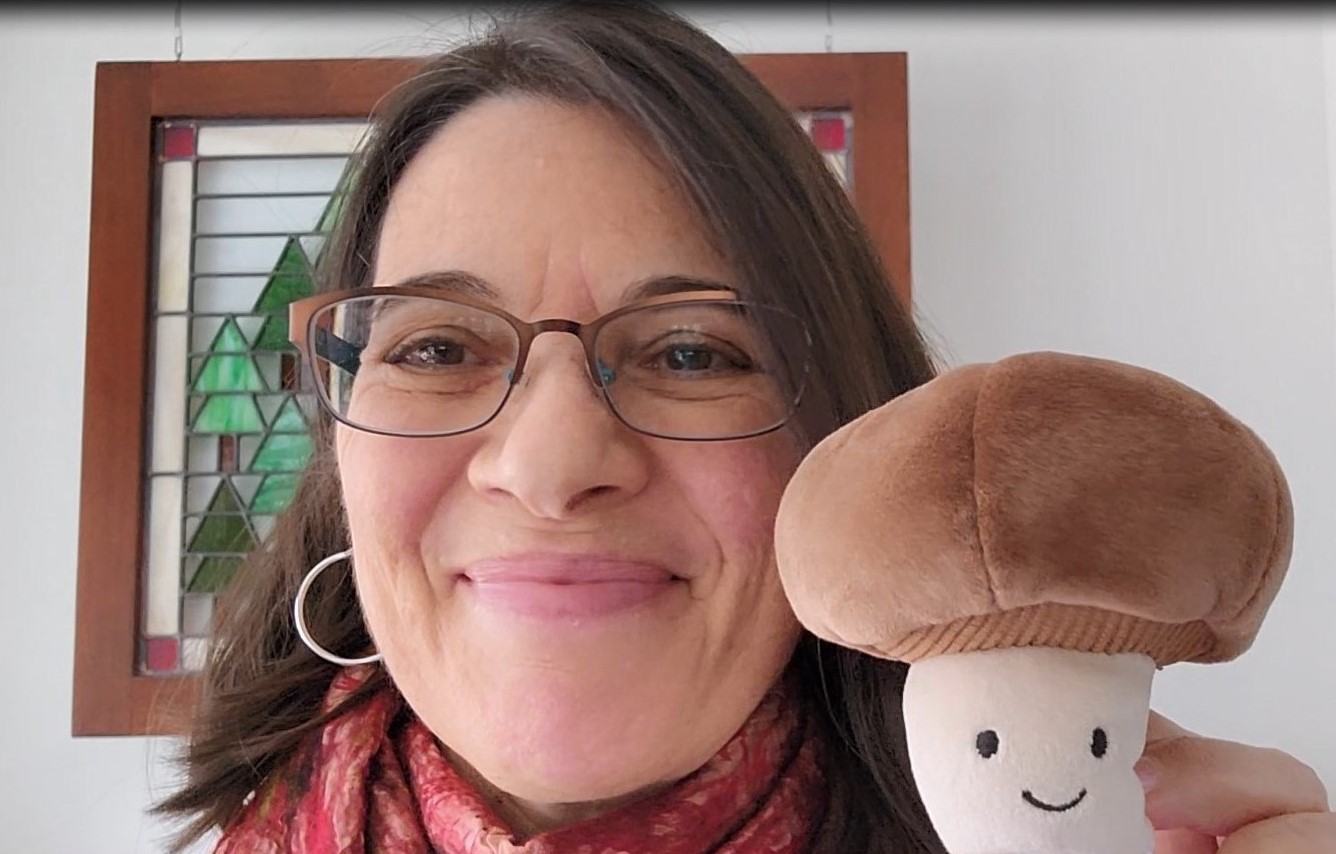
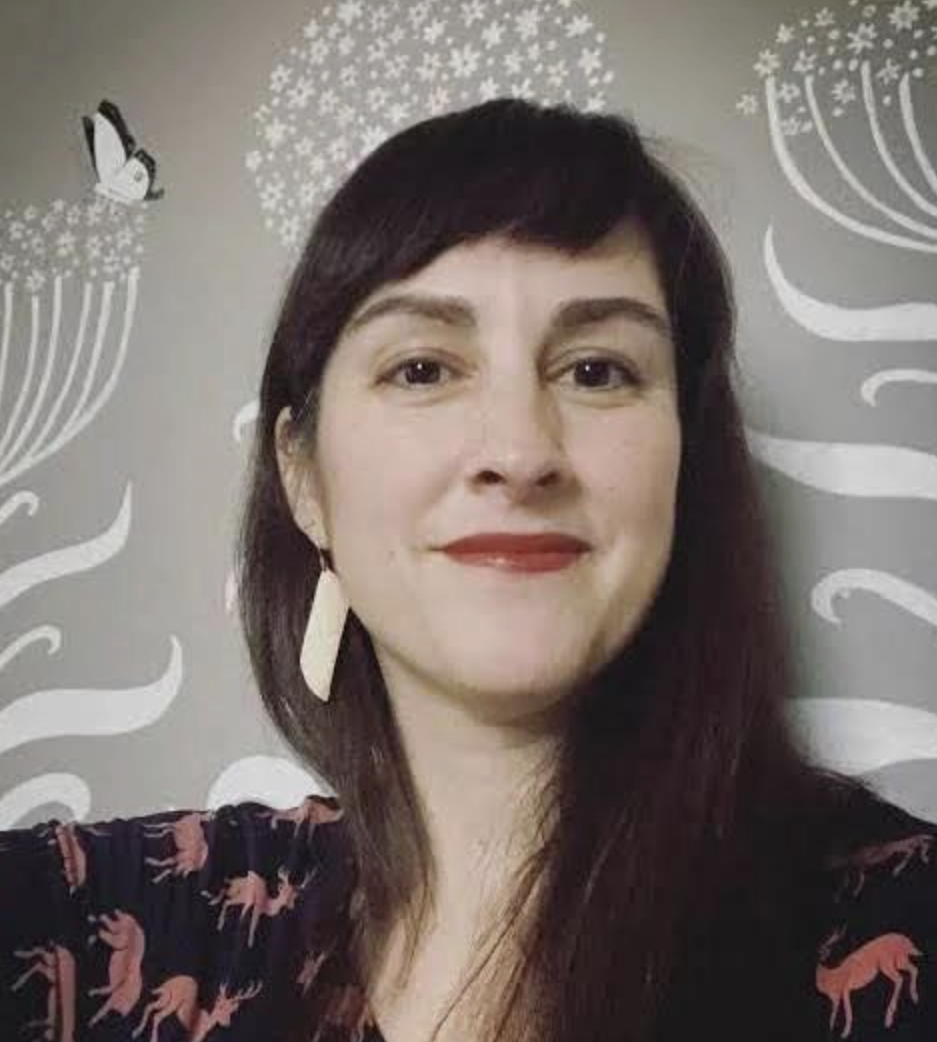
Maria Gianferrari is a picture book reader/writer, animal-lover, and bird nerd. She writes books that honor our bonds with creatures both domestic and wild, and that celebrate urban ecosystems and the natural world around us. Maria’s newest releases are Just One Oak and Puffins!, both published in April 2026.
Diana Sudyka is a Chicago-based illustrator. Working mainly in gouache, watercolor, and ink, Diana is inspired by a passion for nature and science, as well as folk-art traditions. Her author-illustrator debut, Little Land, was published in 2023. Her children’s book illustration includes Dear Treefrog by Joyce Sidman, Angela’s Glacier by Jordan Scott, as well as Fungi Grow and Just One Oak by Maria Gianferrari, among others.