Book giveaway is now closed. Thank you for participating!
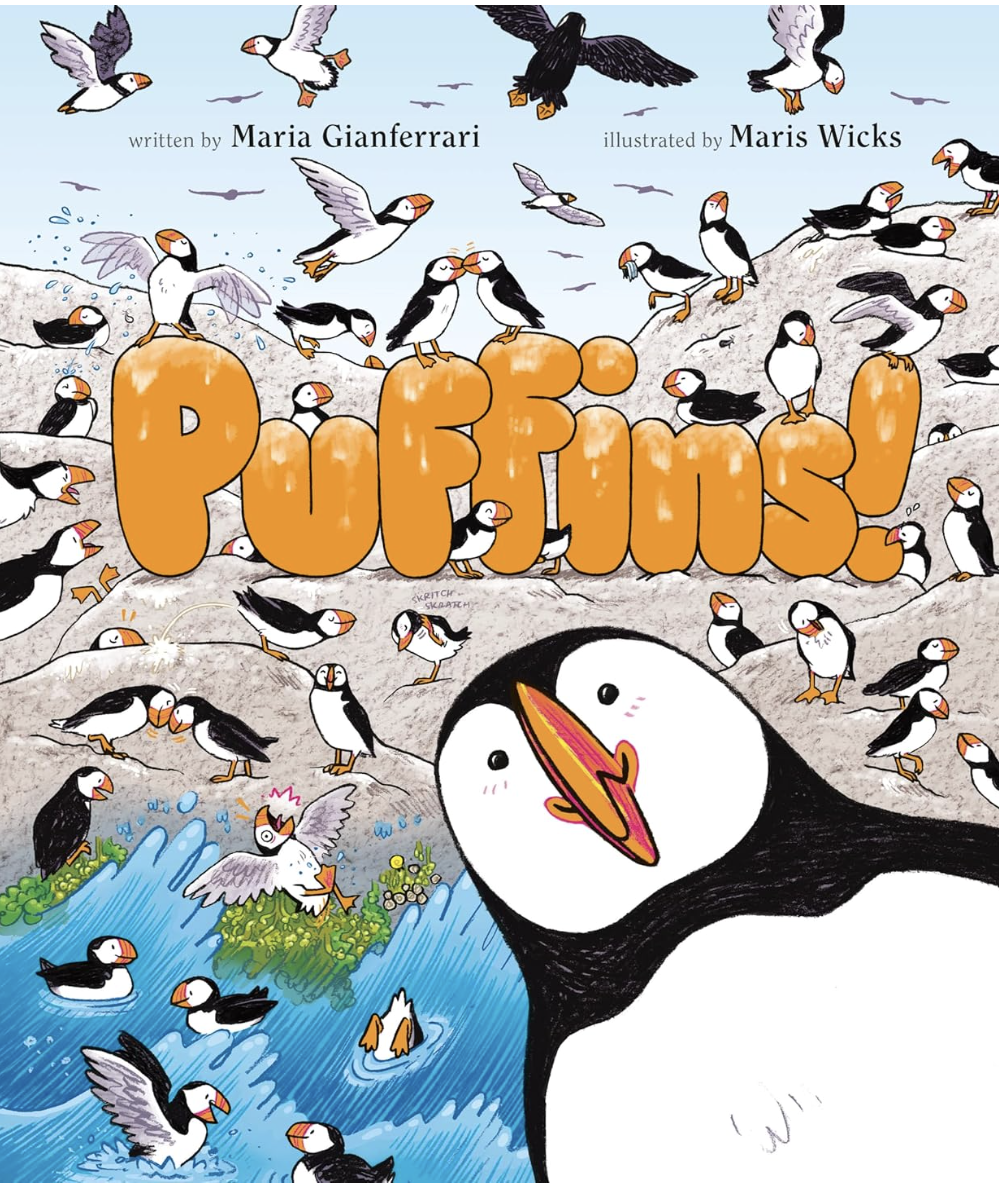

Who knew there was such a word as “puffling”? Well, this delightful nonfiction picture did. If you didn’t guess, “puffling” refers to a puffin chick, but I plan to integrate it (somehow?) into my vocabulary. Author Maria Gianferrari’s perfect verse meets the bustling, vivid comic art of illustrator Maris Wicks to inform and captivate readers. The story follows Little Puffin from her hatching on Maine’s Eastern Egg Rock Island through her life cycle.
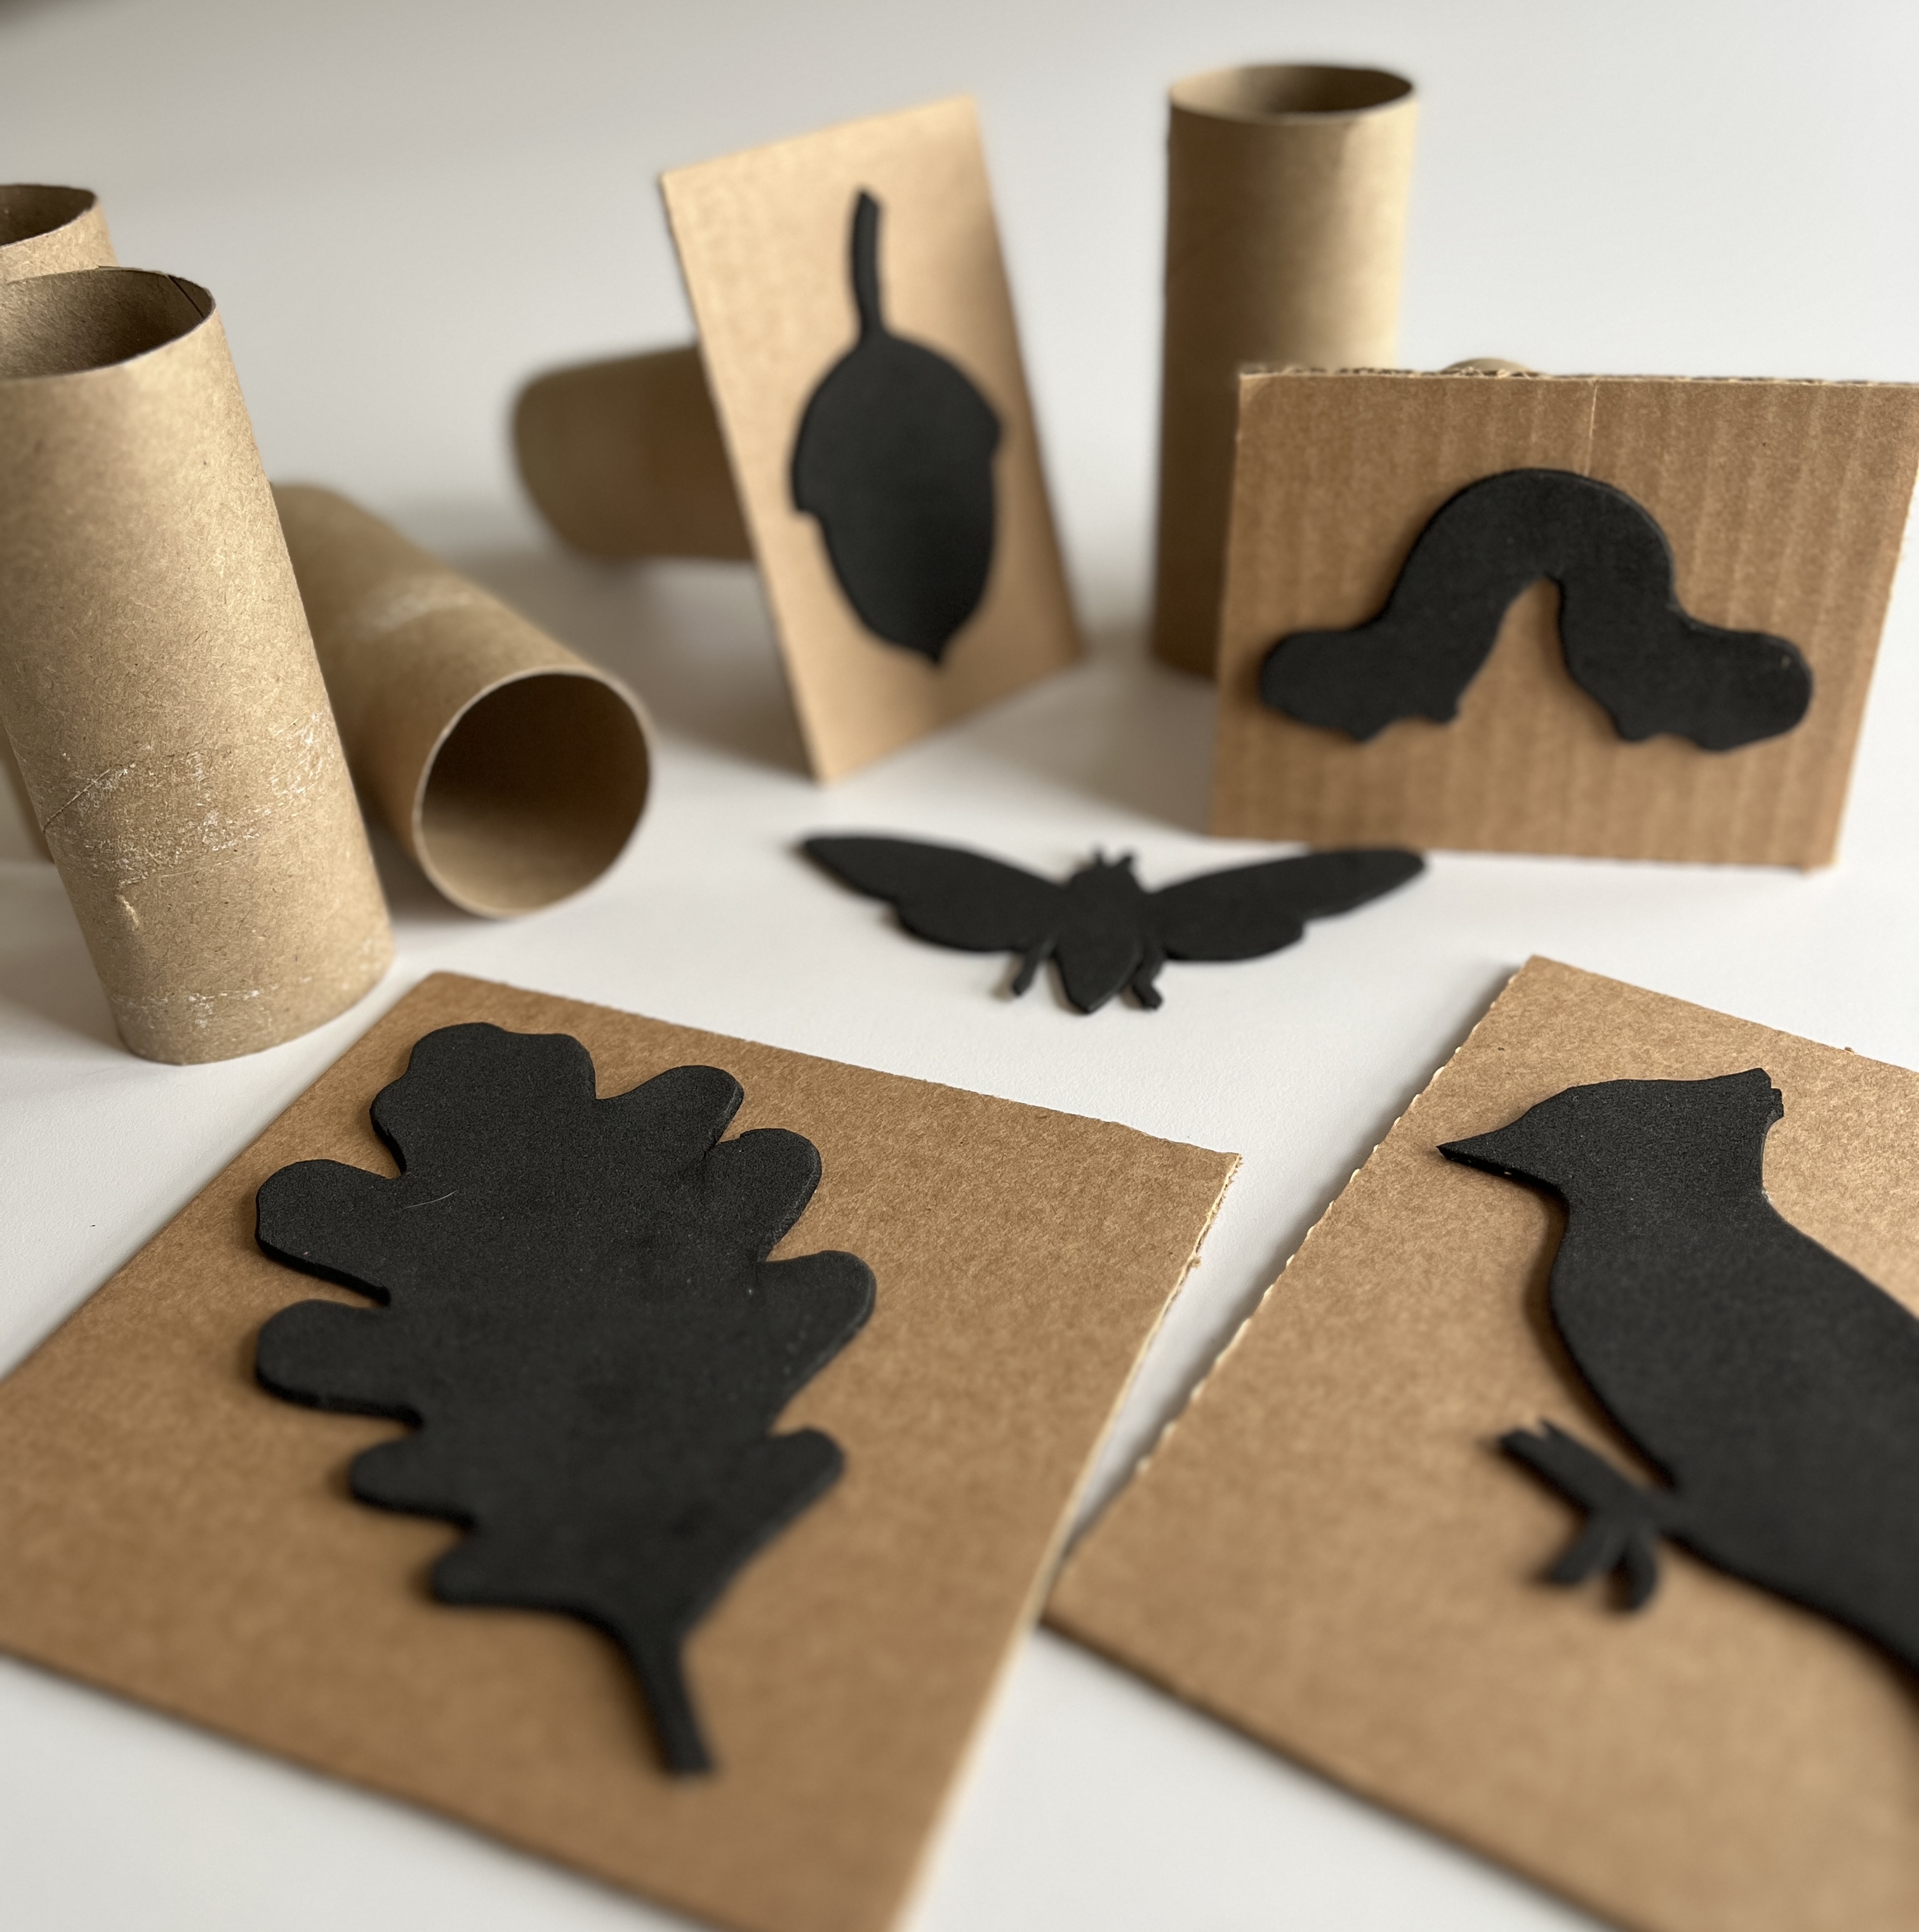
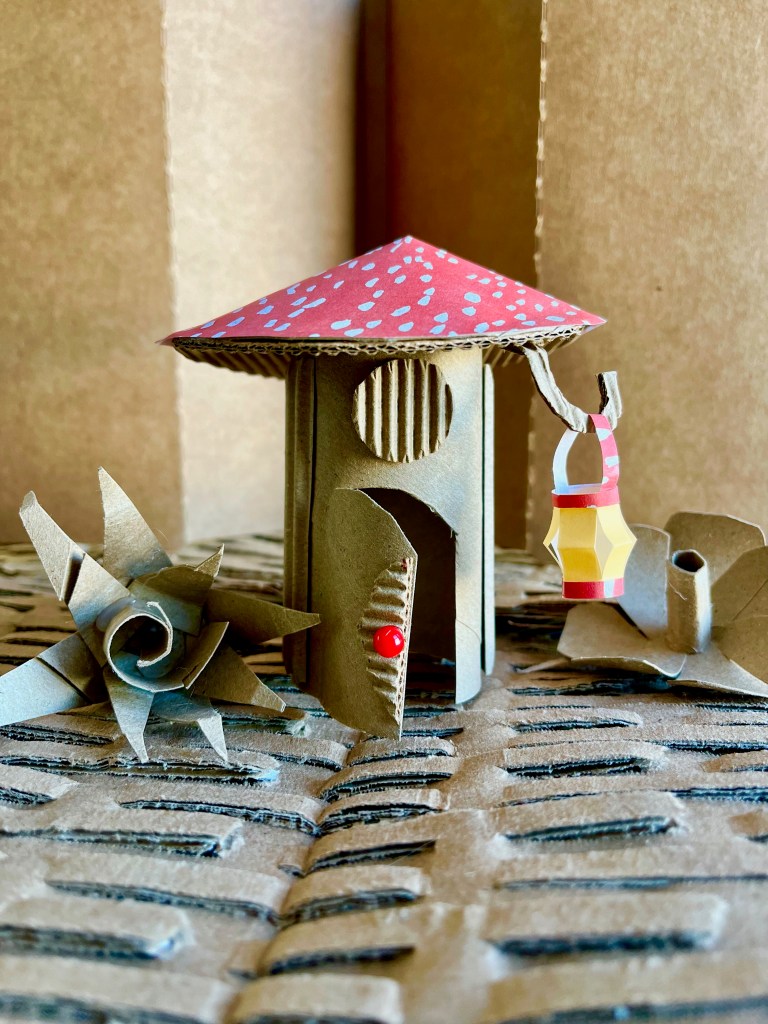
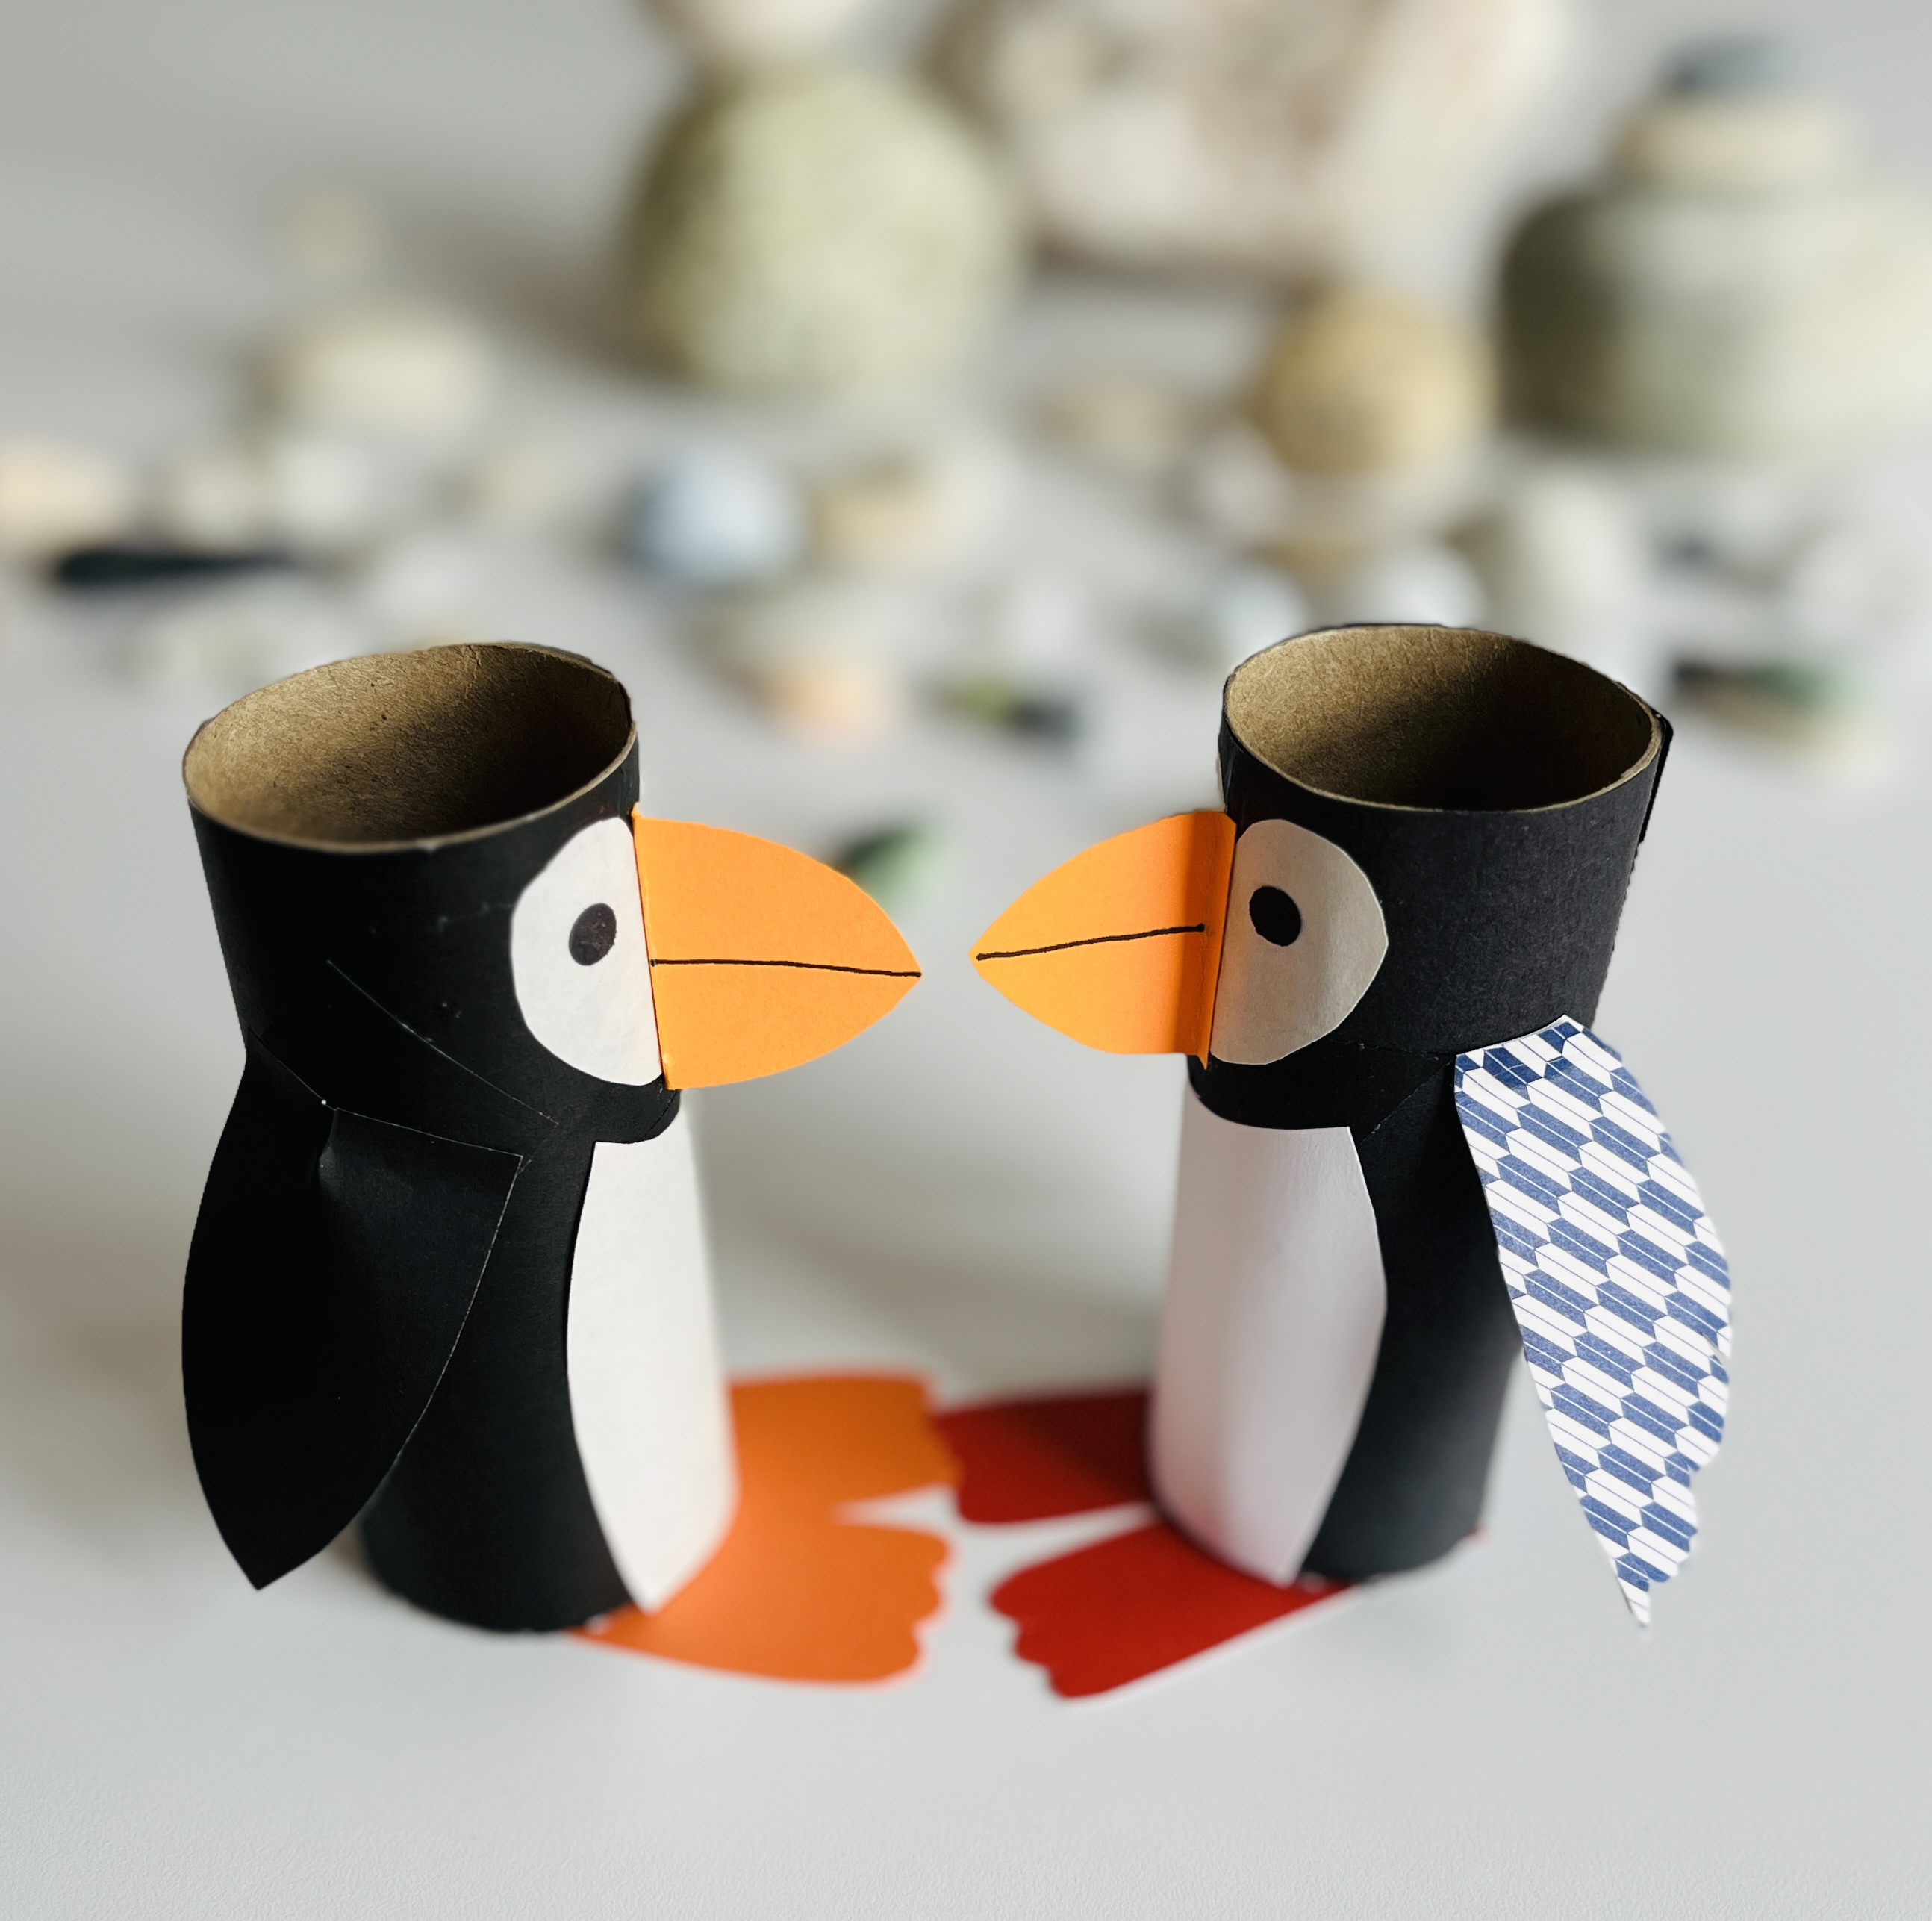
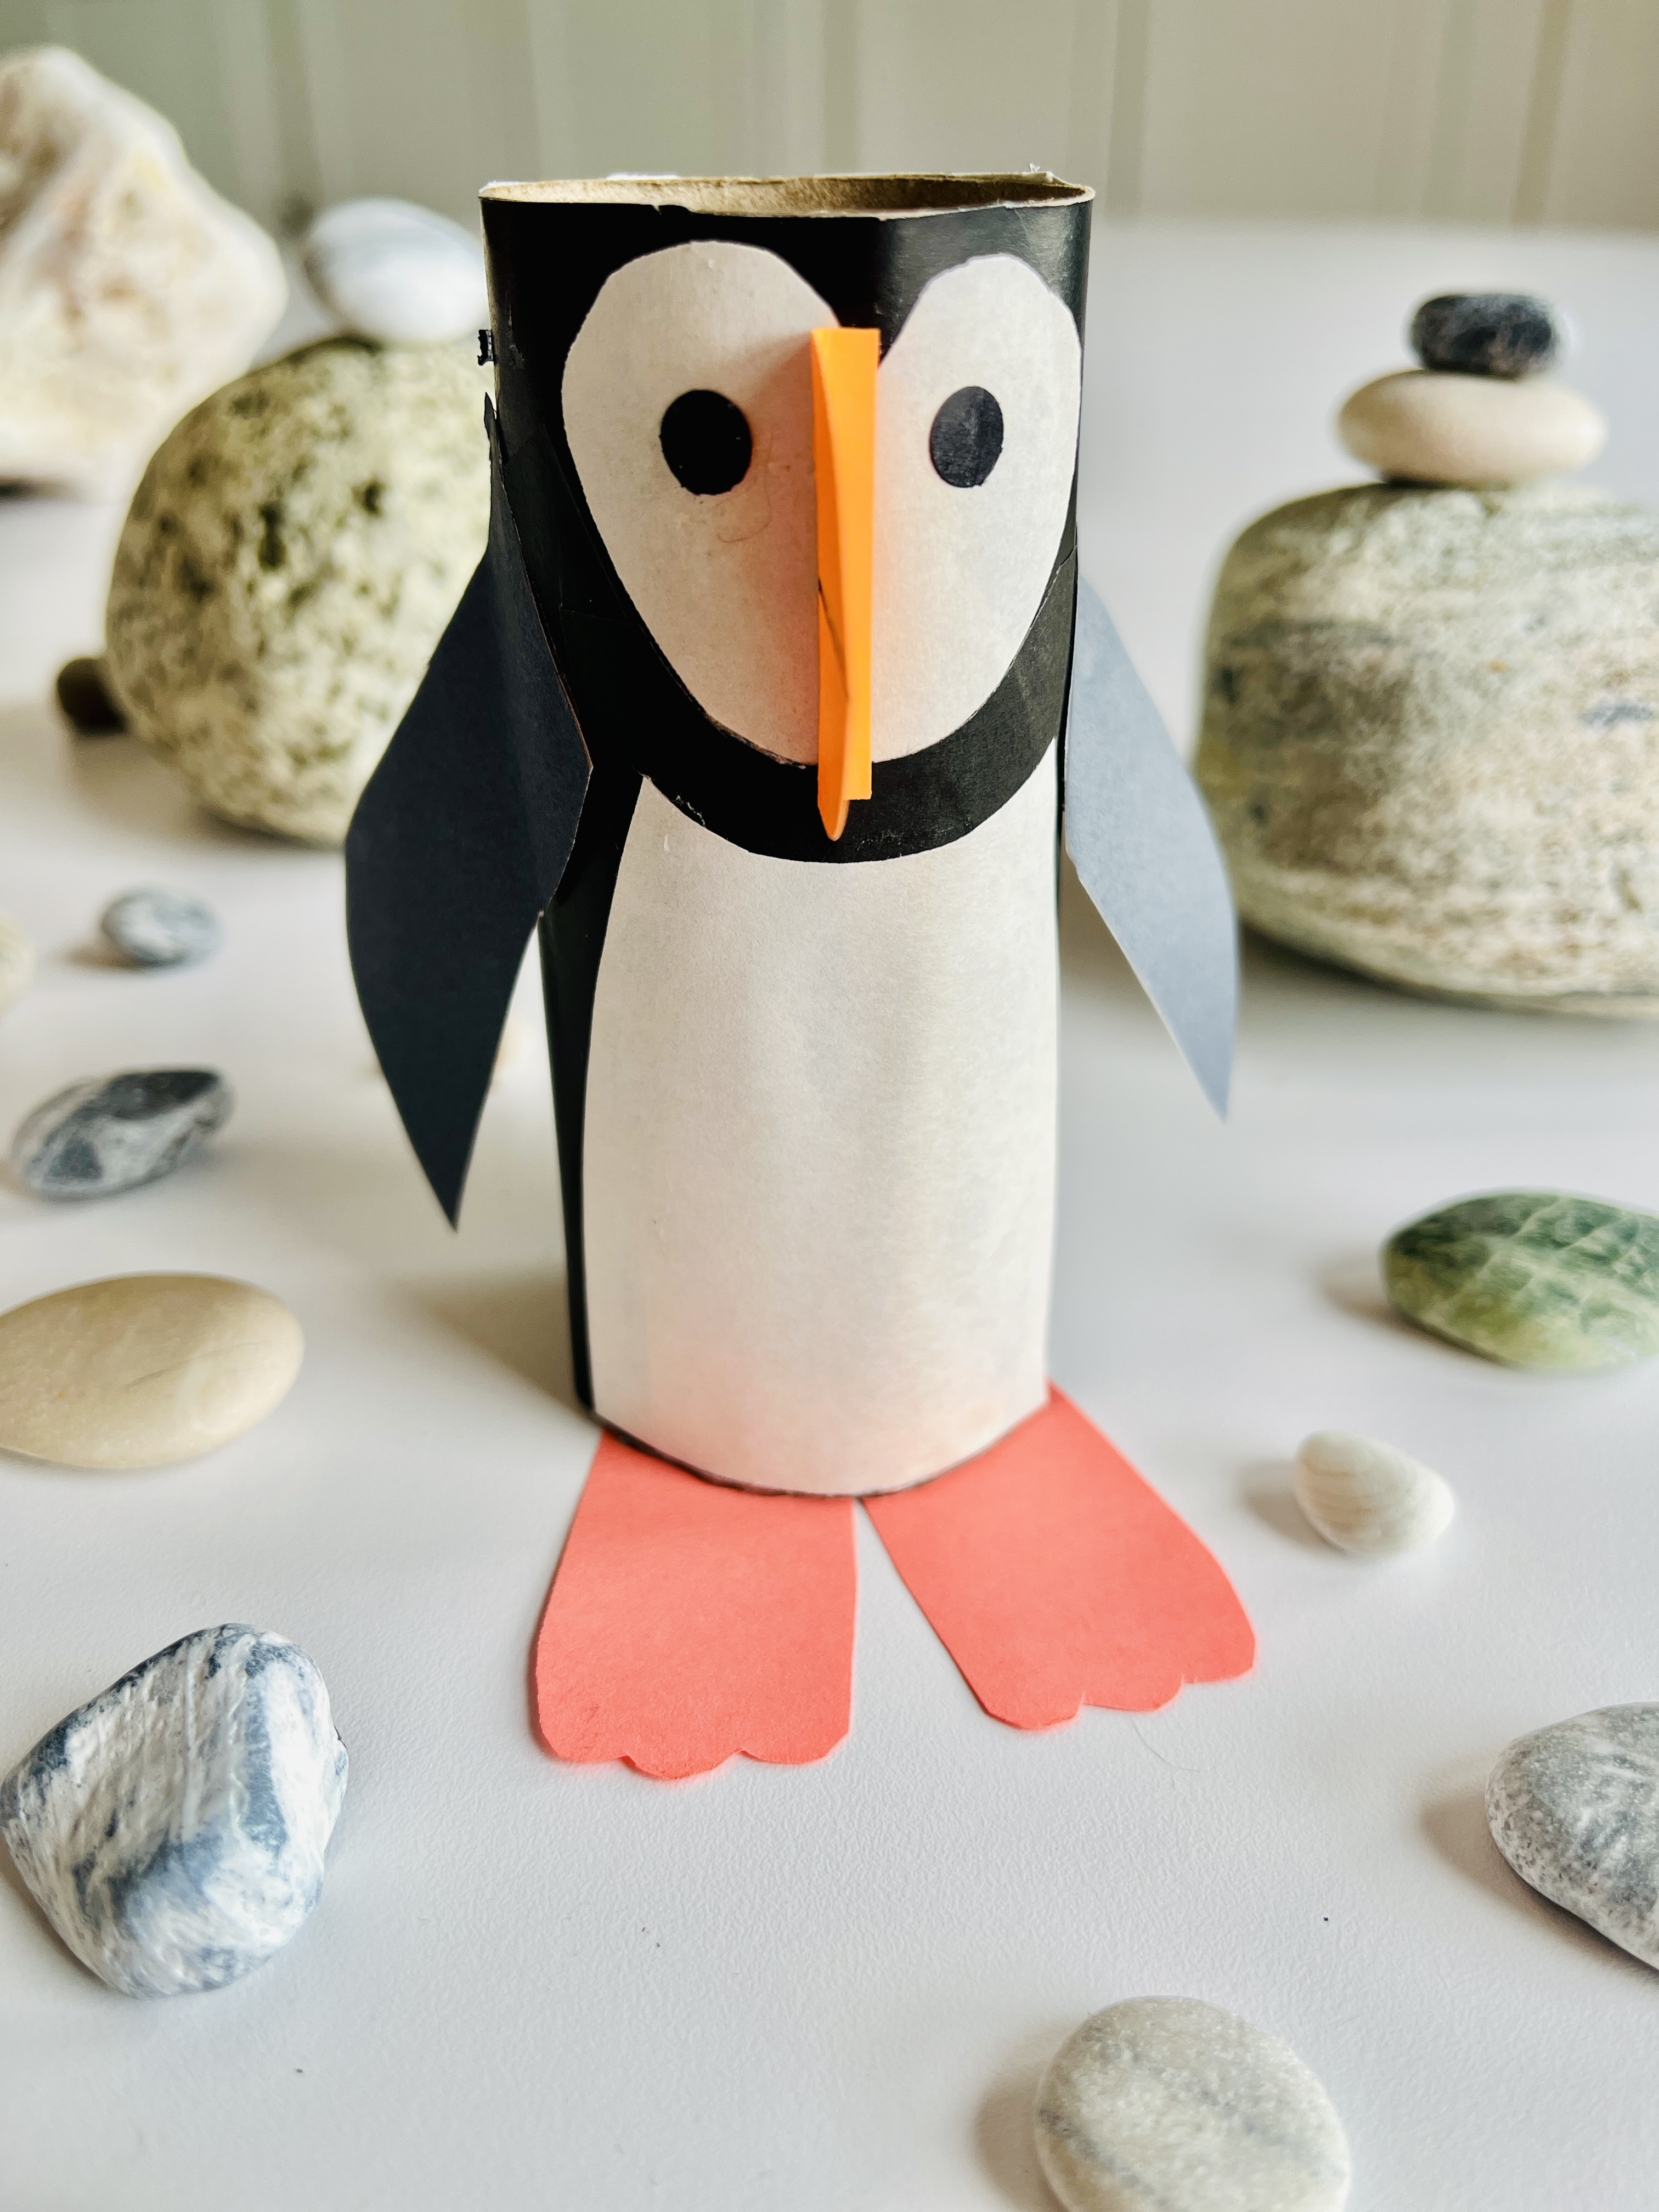
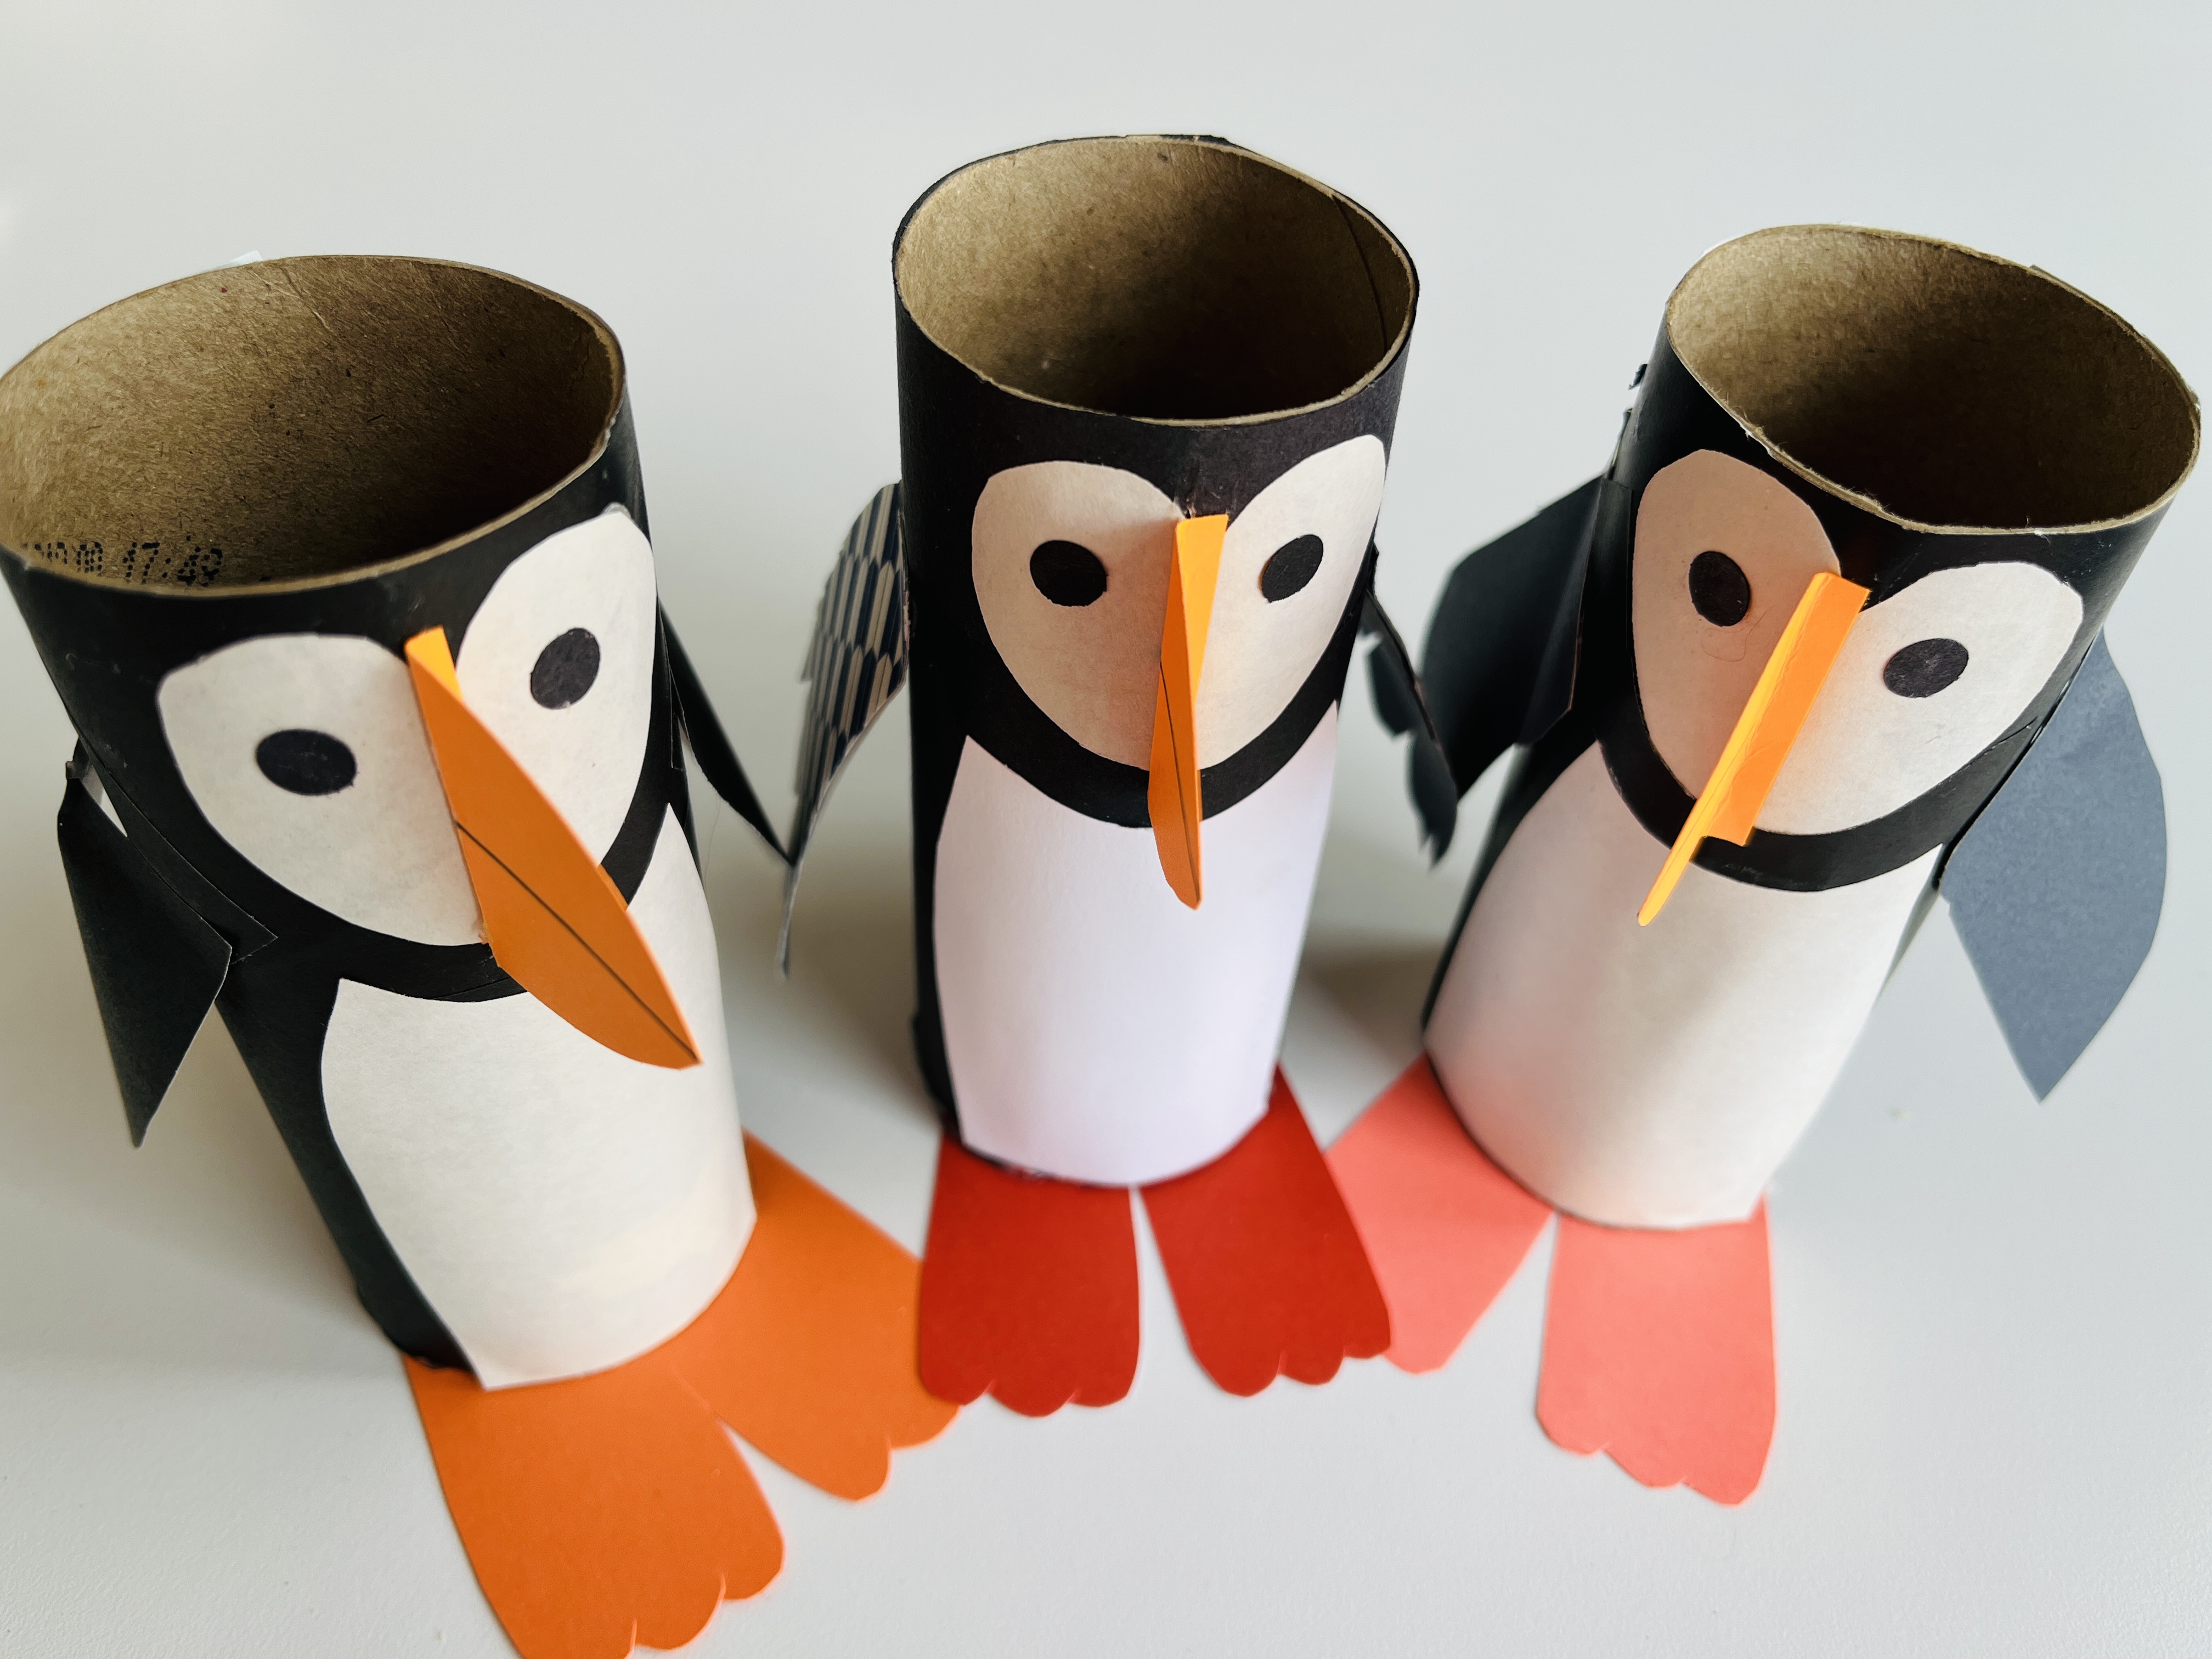
I happen to be a teacher-librarian-person who hoards paper towel and toilet paper rolls for craft occasions. So, I took out my trusty tubes to create some pufflings of my own.
WHAT YOU NEED
- cardboard tubes
- card stock, construction or origami paper (or all of the above)
- glue stick
- scissors
- optional: hole punch (for eyes), hot glue, poster paint
- also optional: rock collection
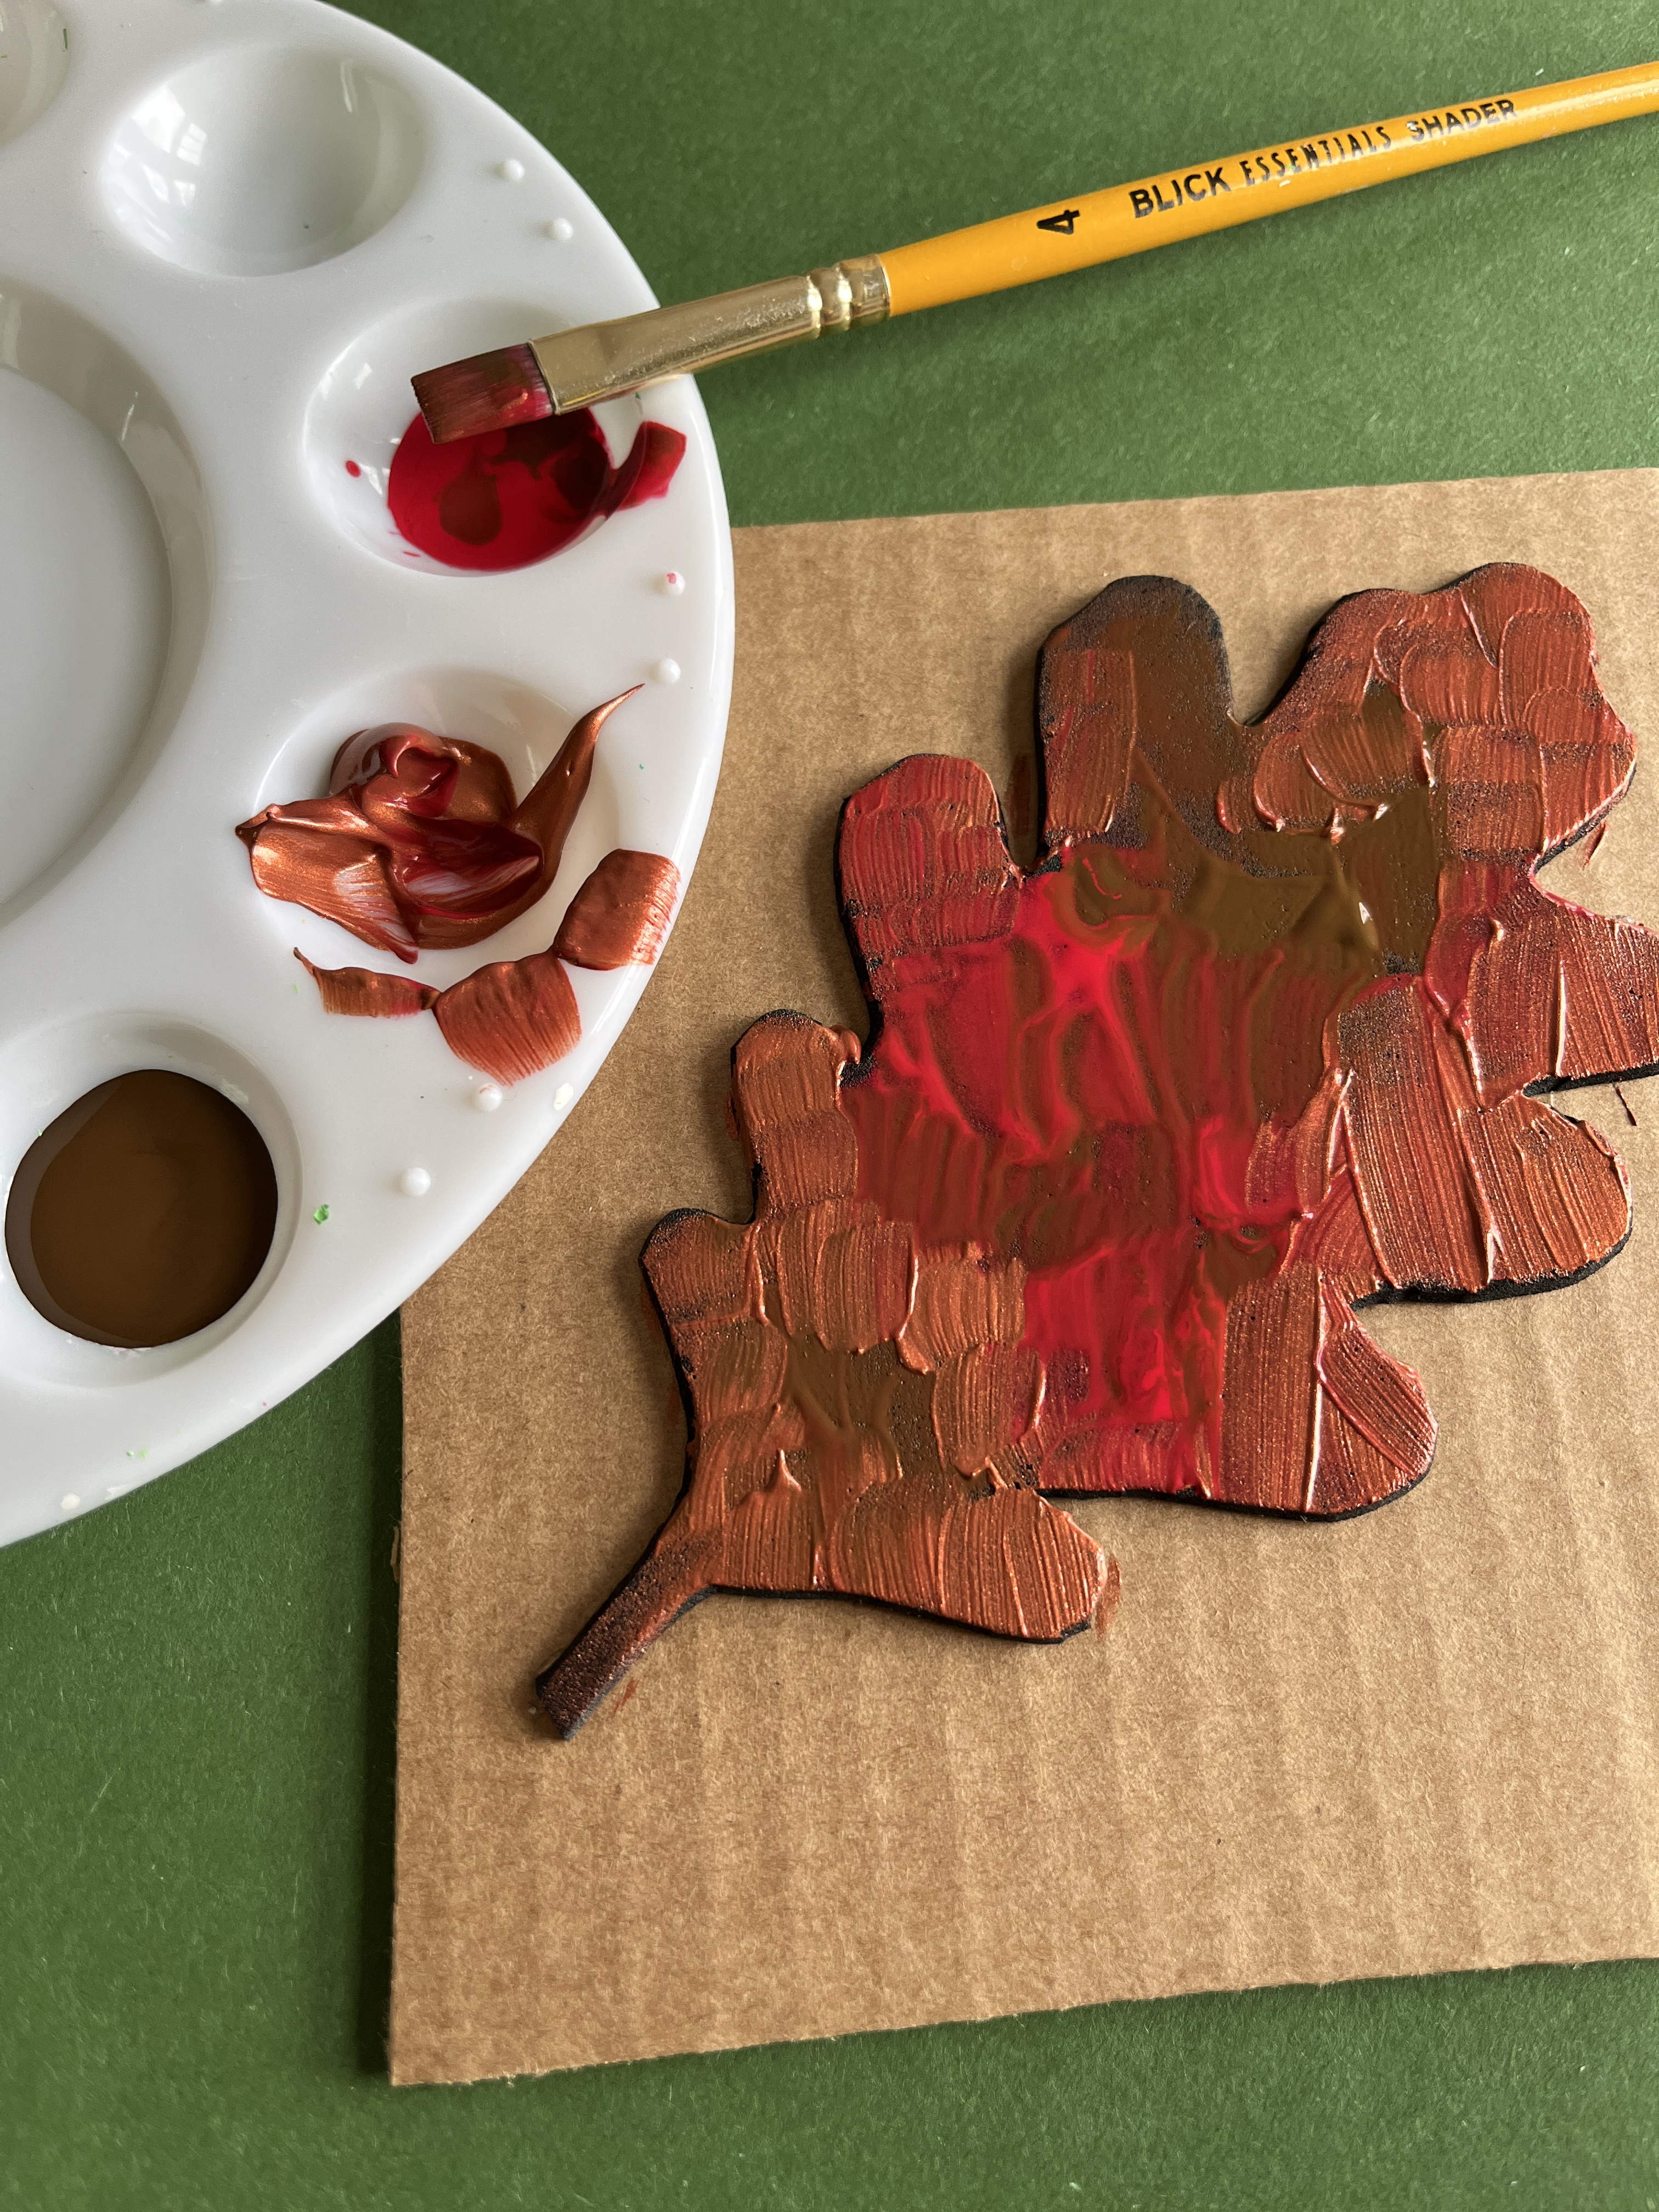
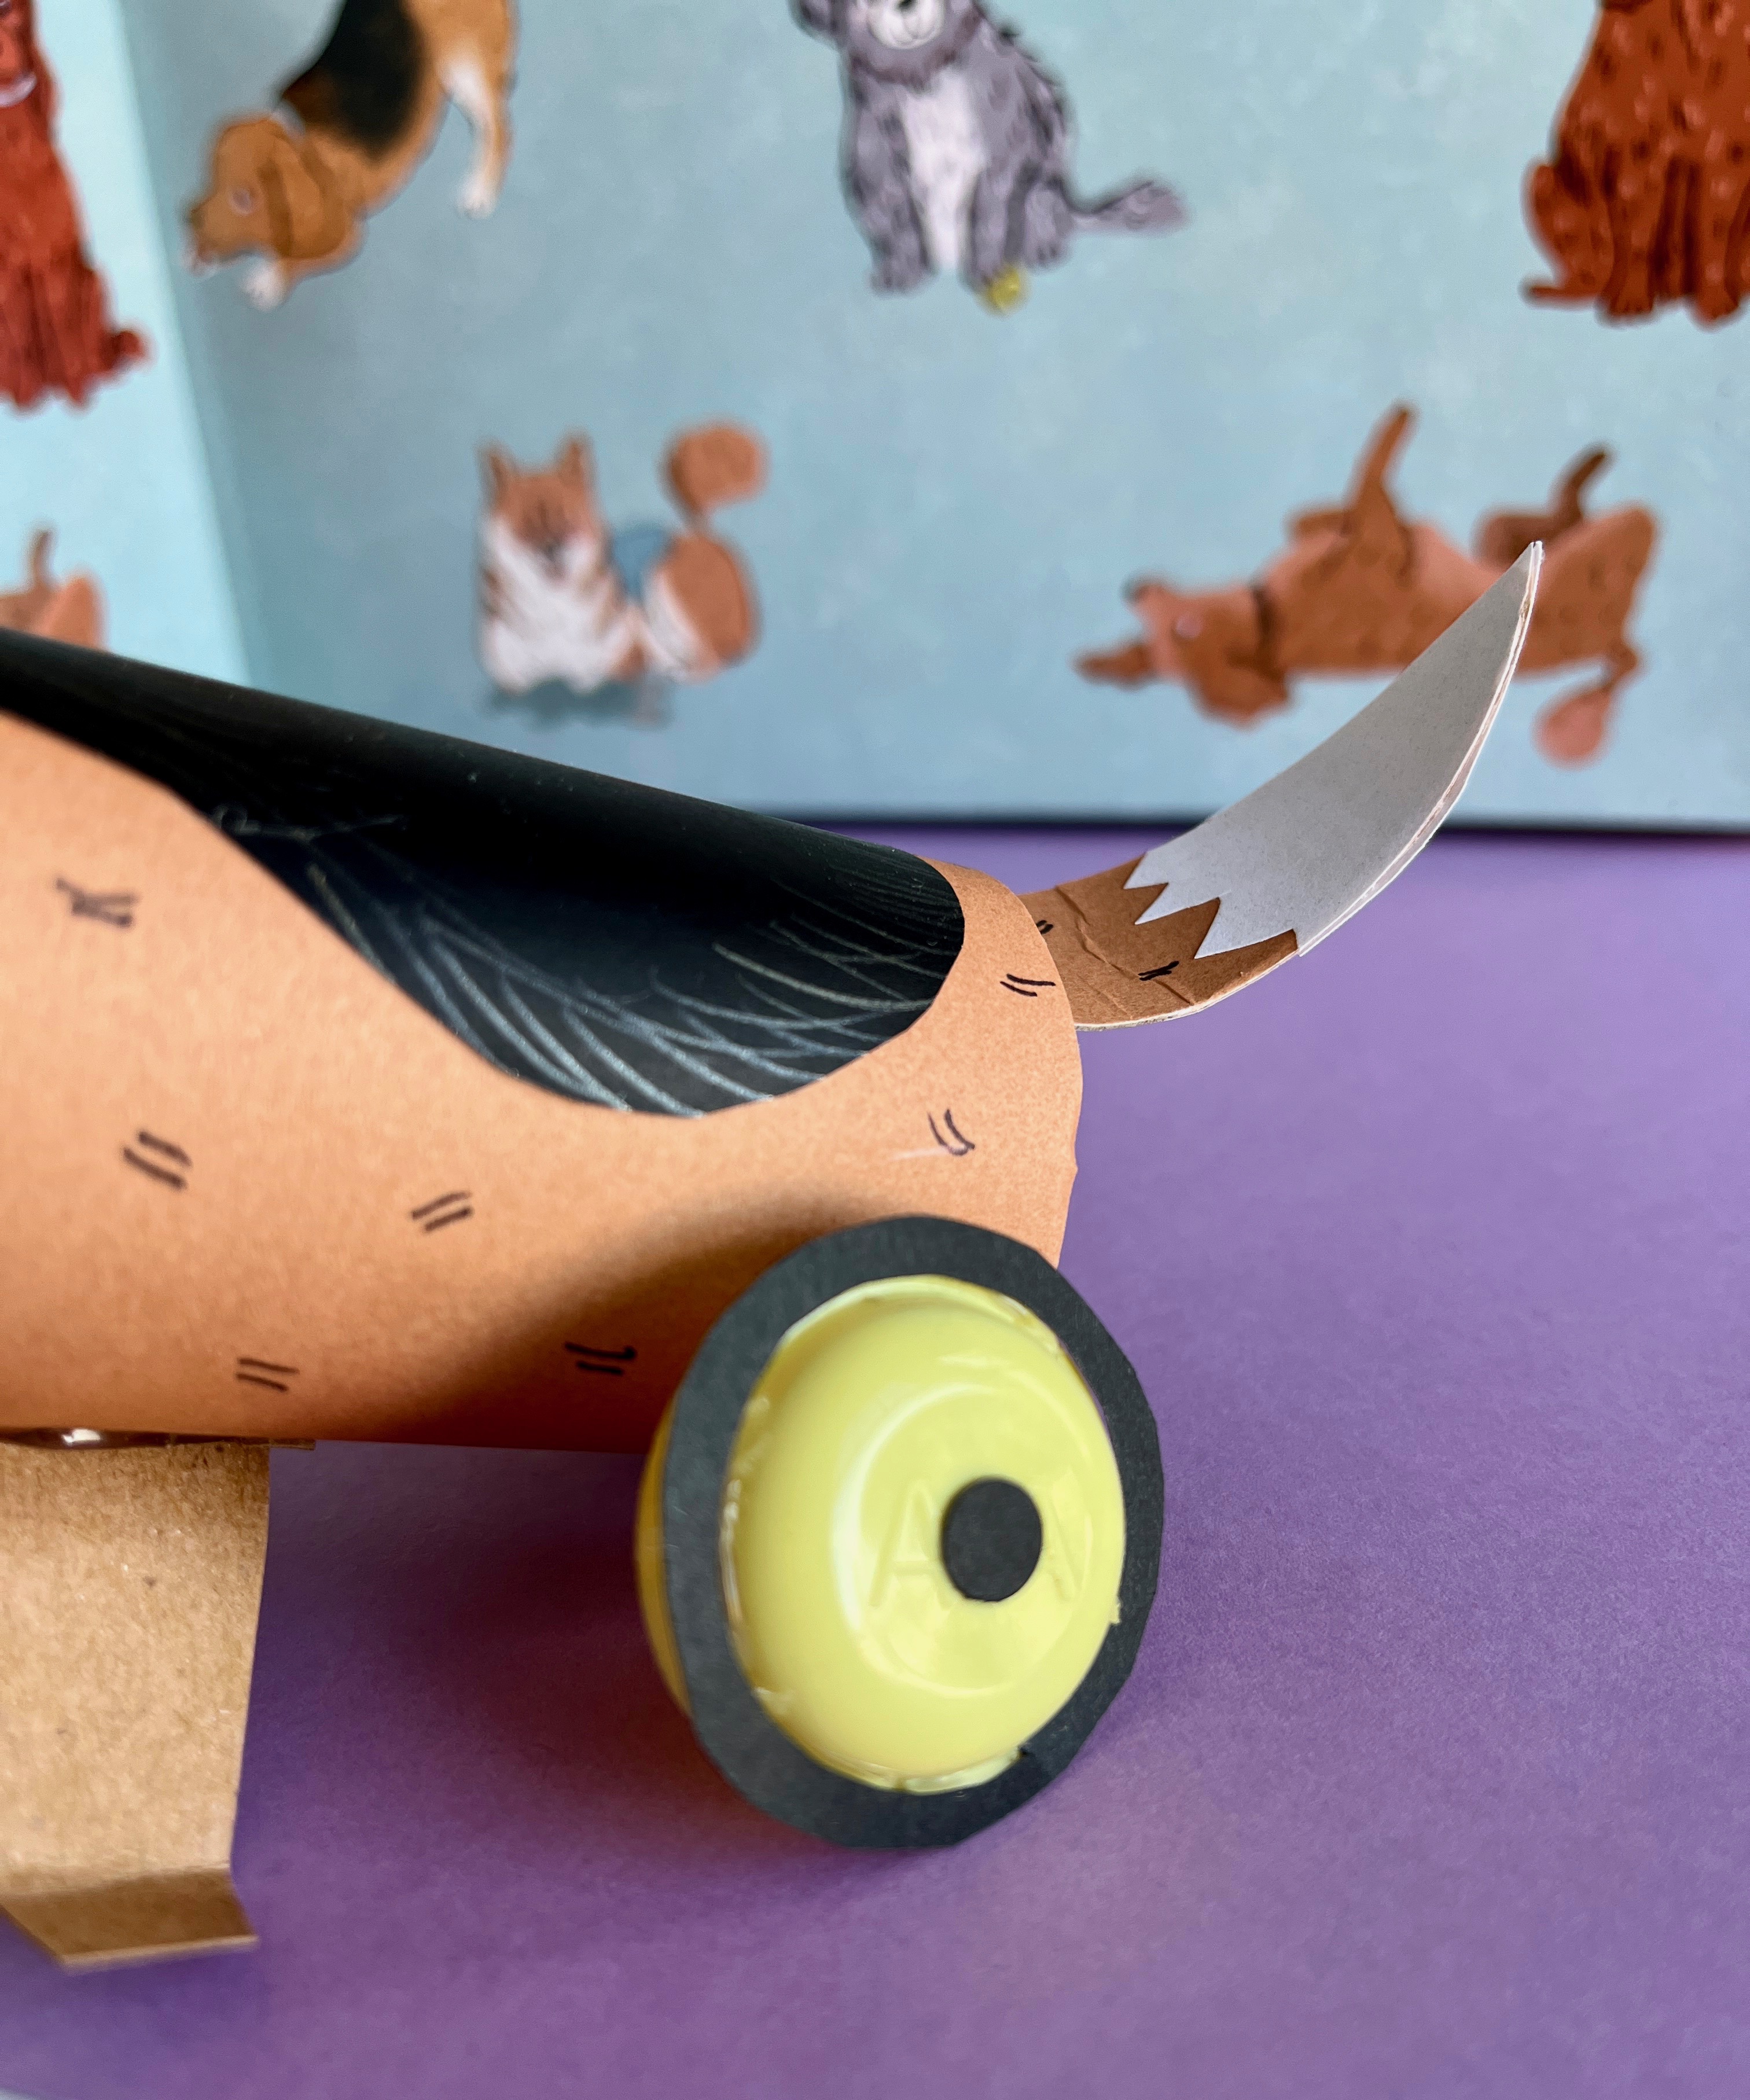
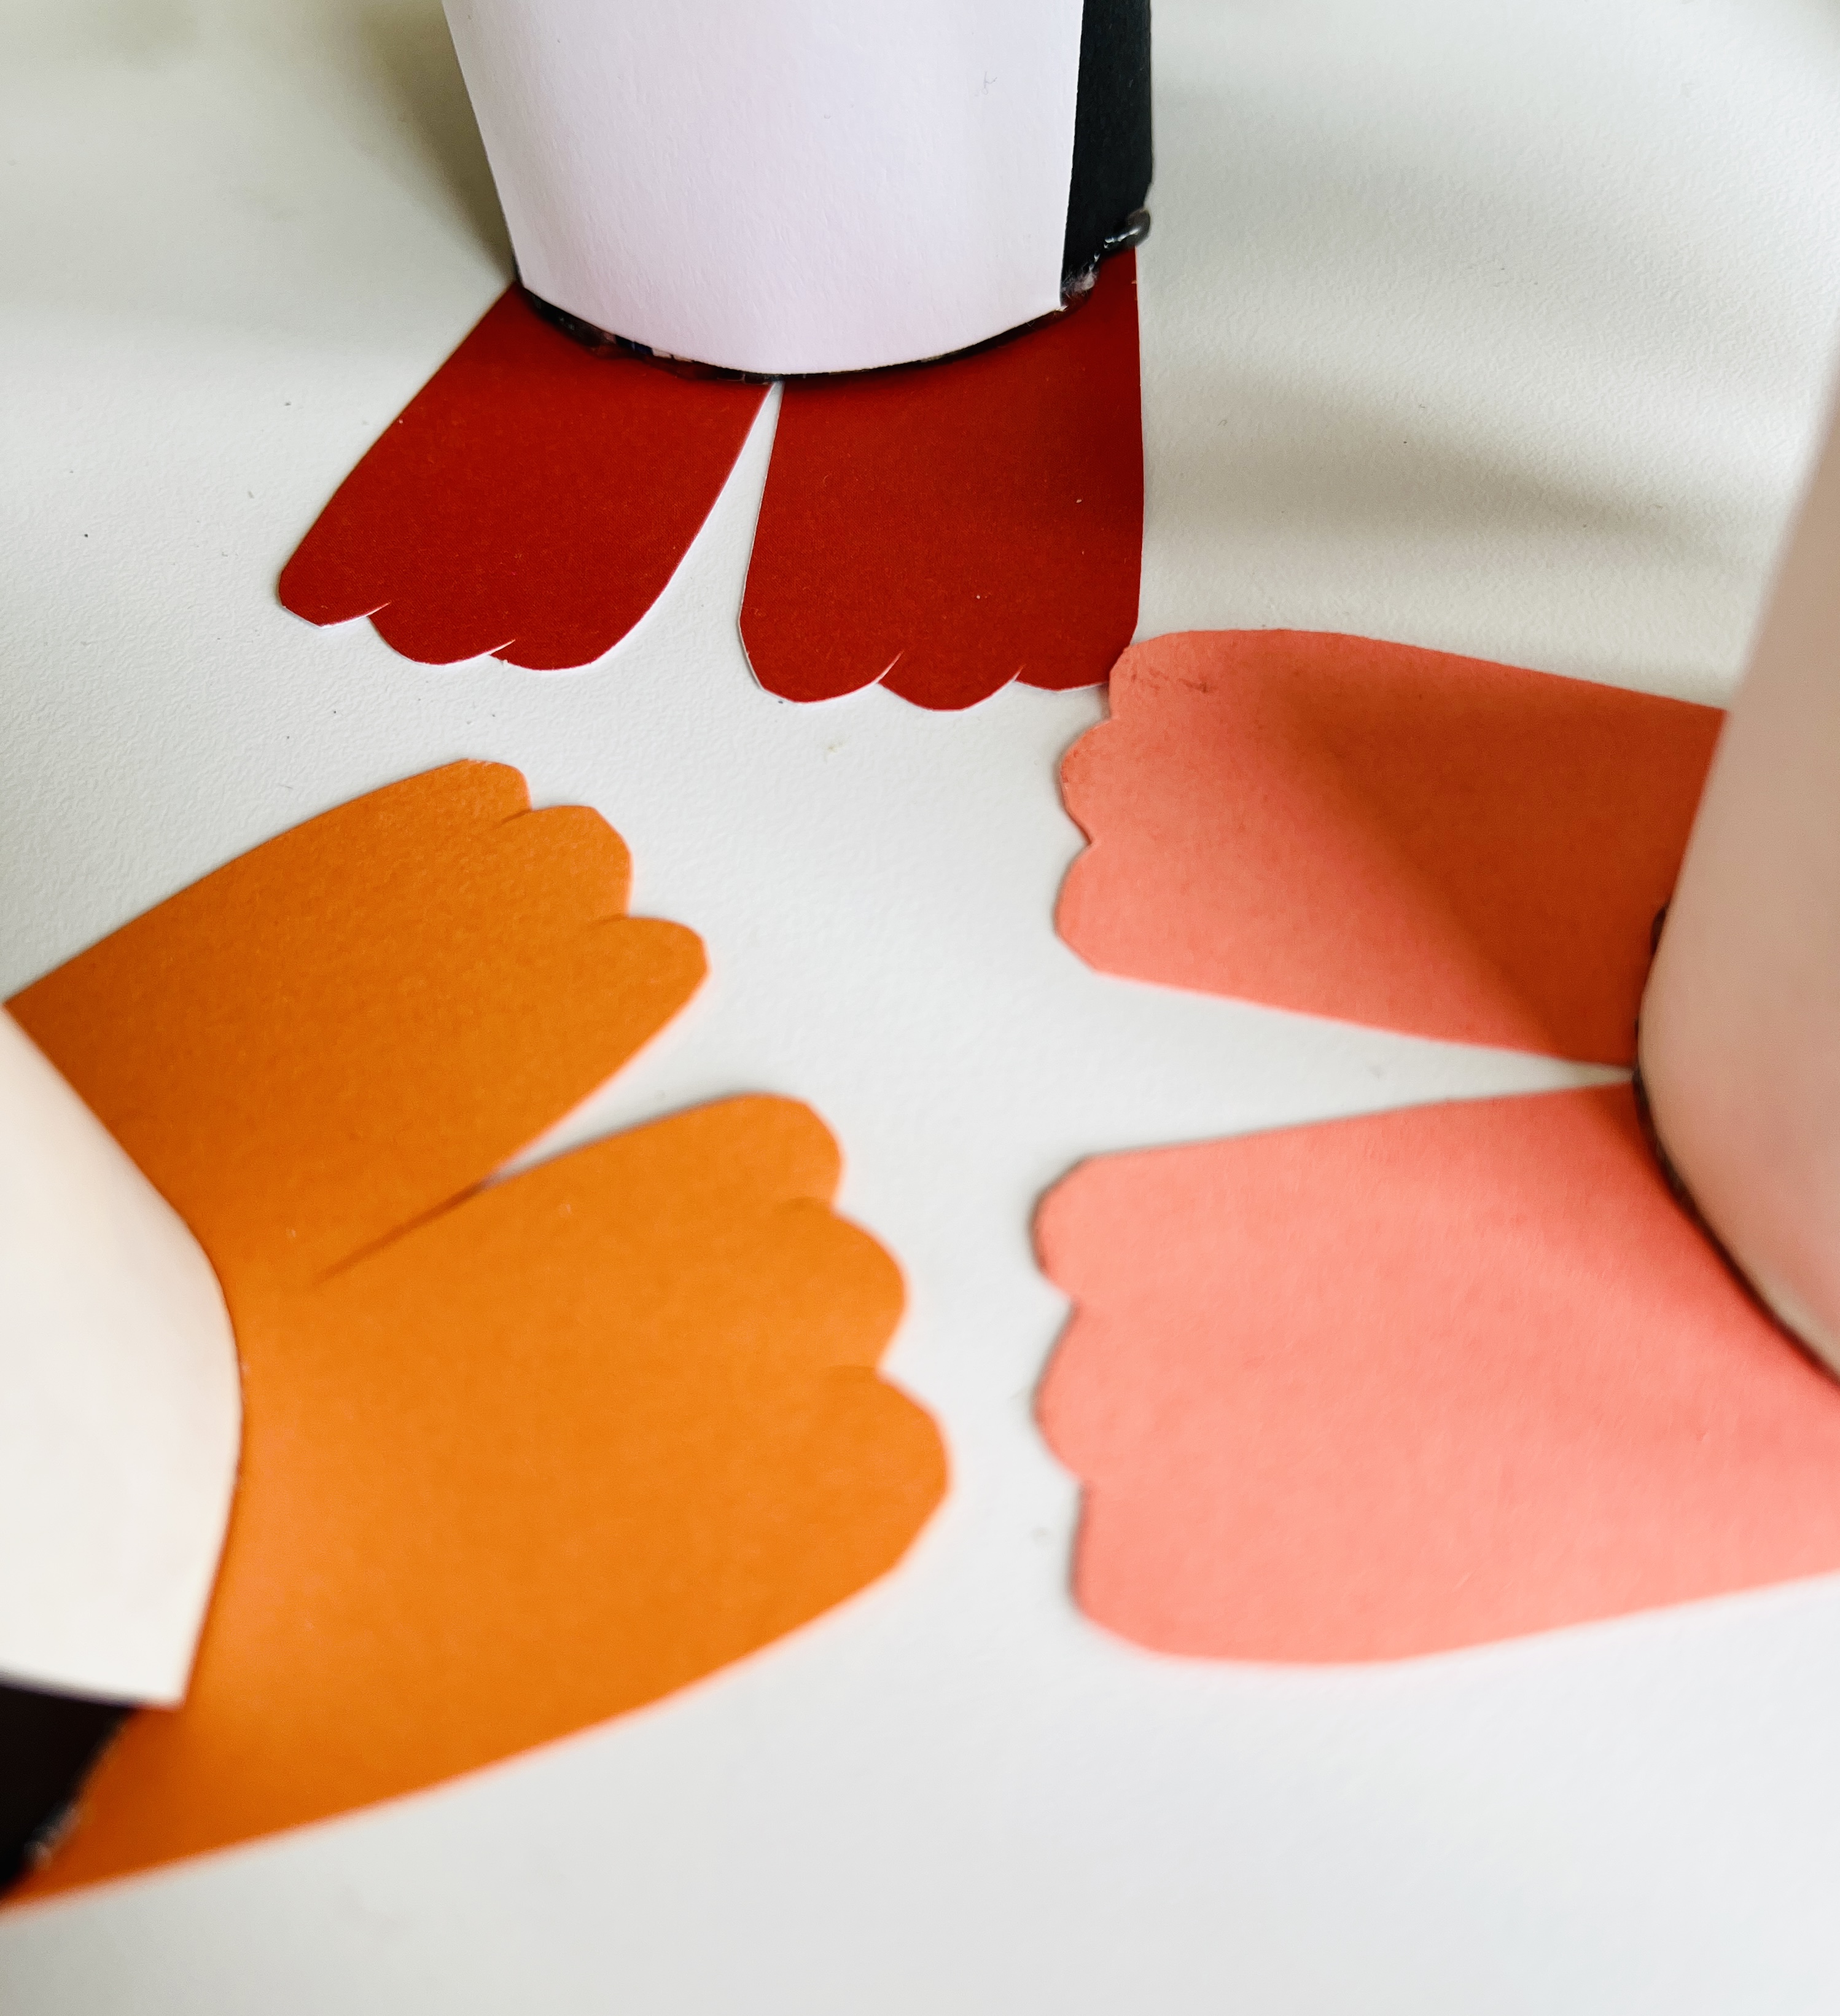
Children might prefer to paint their tube black and let it dry; I chose to cover my tube with black origami paper. I then glued on a white heart-shaped face and a white belly. Your cardboard creation will really start looking like a puffin when you add the flat, large beak cut from orange card stock. I folded a narrow tab at the base of the beak to give it a surface with which to glue it on. I couldn’t decide on the shape of the wings (pointy and simple? tiered and feathered?) or color (dark blue? origami print?) I tried all variations before settling with simple, pointy, and standard black. The paddled feet were fun. They are connected in the back (I cut them in somewhat of a heart shape) to make it easier to tape or glue to the bottom of the tube.
Kids can get creative and adapt this easy project however they puffin-please! In the end, they will have a sweet puffling for company during story times of this book.

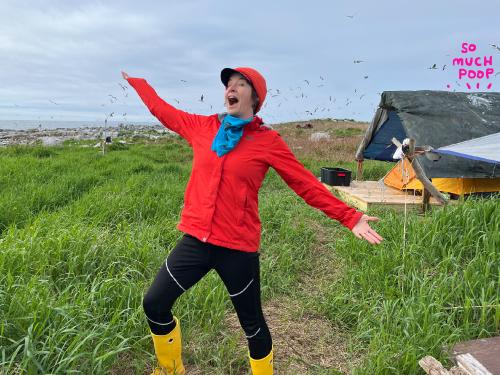
Maria Gianferrari is a proud bird-nerd who is thrilled to have seen Atlantic Puffins and other sea birds at Eastern Egg Rock Island. She’s the author of these bird-y books: You and the Bowerbird and Hawk Rising, both published by Roaring Brook Press, as well as Whoo-Ku Haiku. She loves backyard birding from her kitchen window perch in Massachusetts, though she lives too far from the sea to see puffins.
Maris Wicks is a writer and illustrator of science comics. She is the illustrator of The New York Times Bestselling book Primates (2013), written by Jim Ottaviani. Her latest graphic novel, Human Body Theater (2015), is a 240-page rollicking romp through the major systems of the human body (told in comics format, of course).