Make: Giant Frisbee!

Here’s another activity to celebrate my new picture book, Flip! How the Frisbee Took Flight, and this one is a goodie. In fact, it’s one of the funnest projects I’ve done. And yes, I know, “funnest” is not a word–but it best expresses how satisfying it is to make a giant flying disc.

I’m sorry I didn’t photo-document the process better. The whole thing felt like a wild experiment with an uncertain outcome. But . . . it worked! I recommend trying this one at home.

MATERIALS:

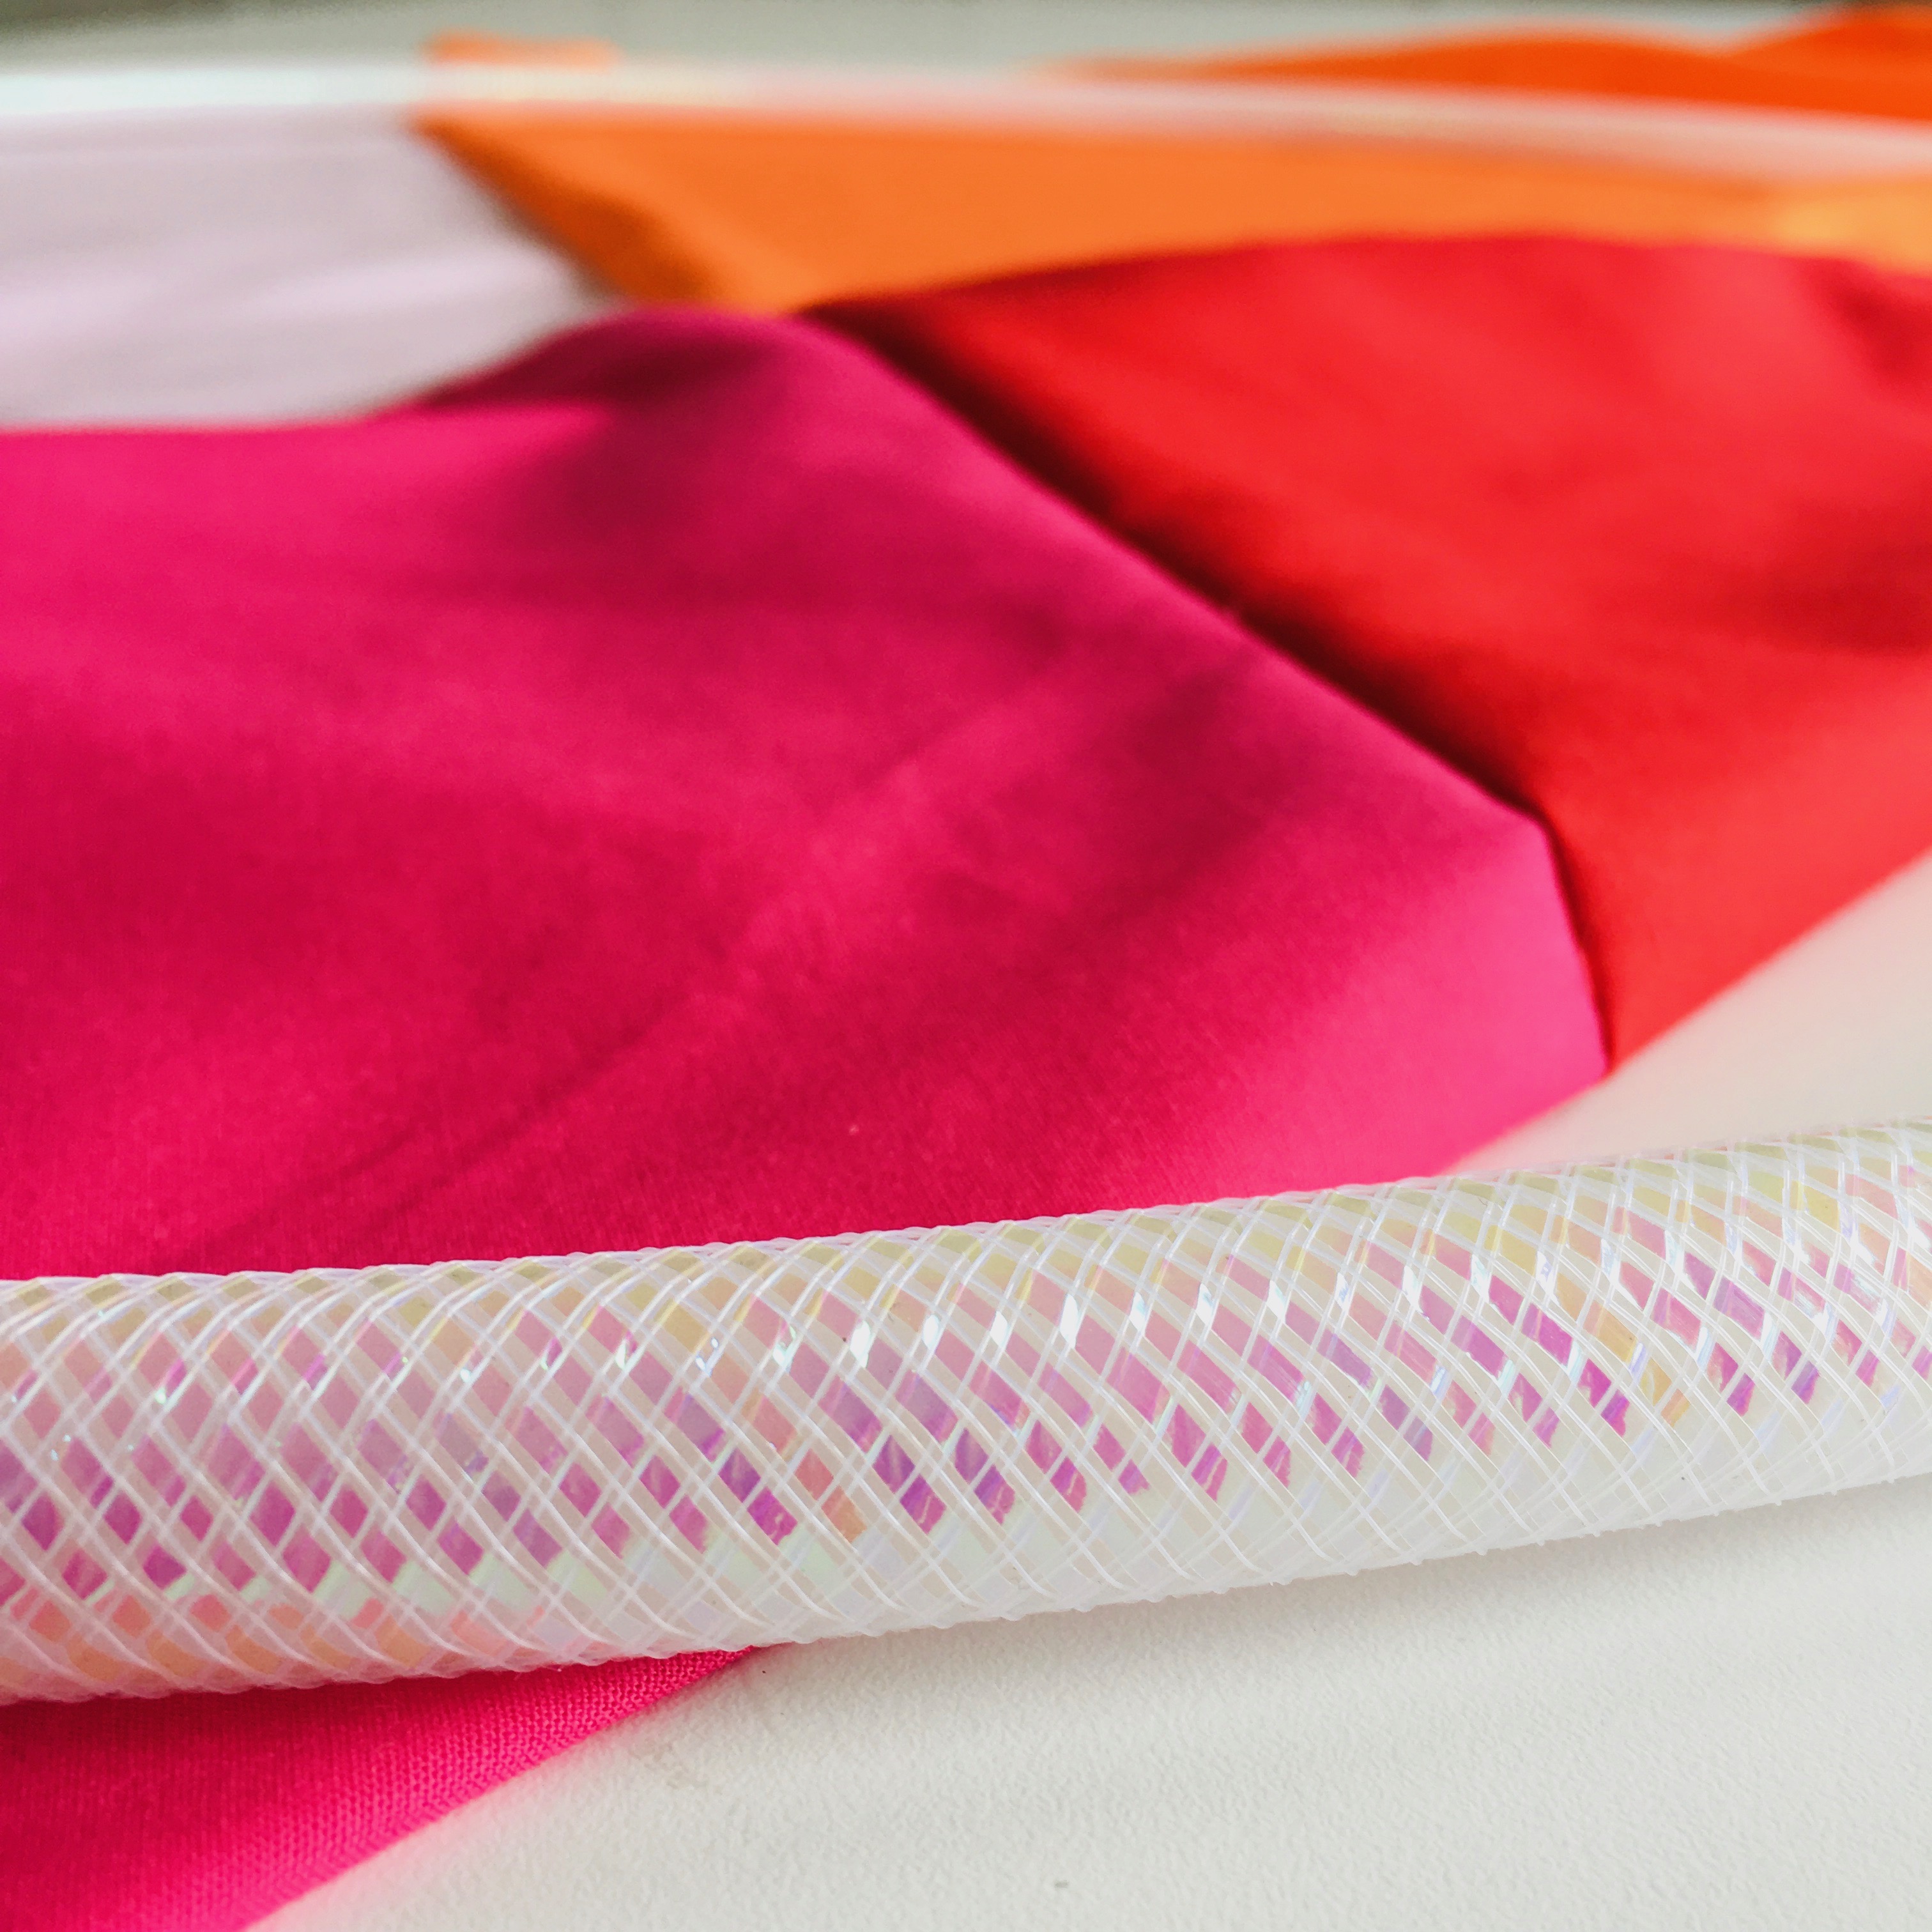
  • 1 hula hoop (I used child’s size hoop.)
  • 1 yard of cotton or nylon fabric (or enough to cover the hoop).
  • Iron
  • Scissors or pinking shears
  • Hot glue gun

INSTRUCTIONS:

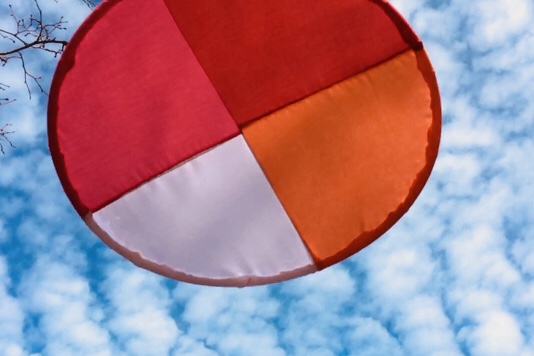
  1. Iron your fabric so it’s wrinkle free. I used cotton because that’s what I had on hand. I also tried to make it look a splashy by sewing together four colors but that’s optional and an extra step.
  2. Lay out your fabric on a large working surface and place the hoop on top. If necessary, trim fabric so there’s about 5″ inches of fabric outside the circumference of the hoop.
  3. With a hot glue gun, squeeze drops of glue on a 5-6″ segment of the hoop.
  4. Fold the fabric over the glue and shape to the curve of the hoop.
  5. Repeat adding glue to a segment of the hoop and folding the fabric over it. Make sure to pull the fabric taut as you go.
  6. Once it’s all glued, trim off the extra fabric. Tuck the remaining fabric in. (I added glue here and there to make sure the fabric ends were tucked in well.

That’s it. Take it outside and give it a spin!


Check out www.margaretmuirhead.com for more information about Flip! You can order your copy at Indiebound, Target, Barnes & Noble, Amazon or at your favorite neighborhood book shop. 

Pippi Stitches

Pippi Stitch

Lately I’ve been trying to summon more Pippi into my life: her strength and irreverence, her mismatched socks and gravity-defying braids. If you know and love Astrid Lindgren’s creation, you know what I mean. If you don’t, you’ll have to get yourself a copy of the classic (preferably the one with Lauren Childs’s paper-cut illustrations). On a recent night, my friend gathered a bunch of us and invited us to make something that would inspire us in the months to come. I decidedly to embroider–sloppily, unevenly, in Pippi fashion–one of my favorite quotations from the book: “I have never tried that before so I should definitely be able to do that.” Here’s to that!

Read & Make: Cloth Lullaby & Sashiko

fullsizeoutput_173

This book. I’m not sure which is more beautiful: the words or the pictures. Cloth Lullaby: The Woven Life of Louise Bourgeois (written by Amy Novesky; illustrated by Isabelle Arsenault) was published a couple of years ago, but my appreciation for its cross-hatched reds and blues hasn’t abated, nor has my admiration for its quiet telling about an emerging artist.

fullsizeoutput_169
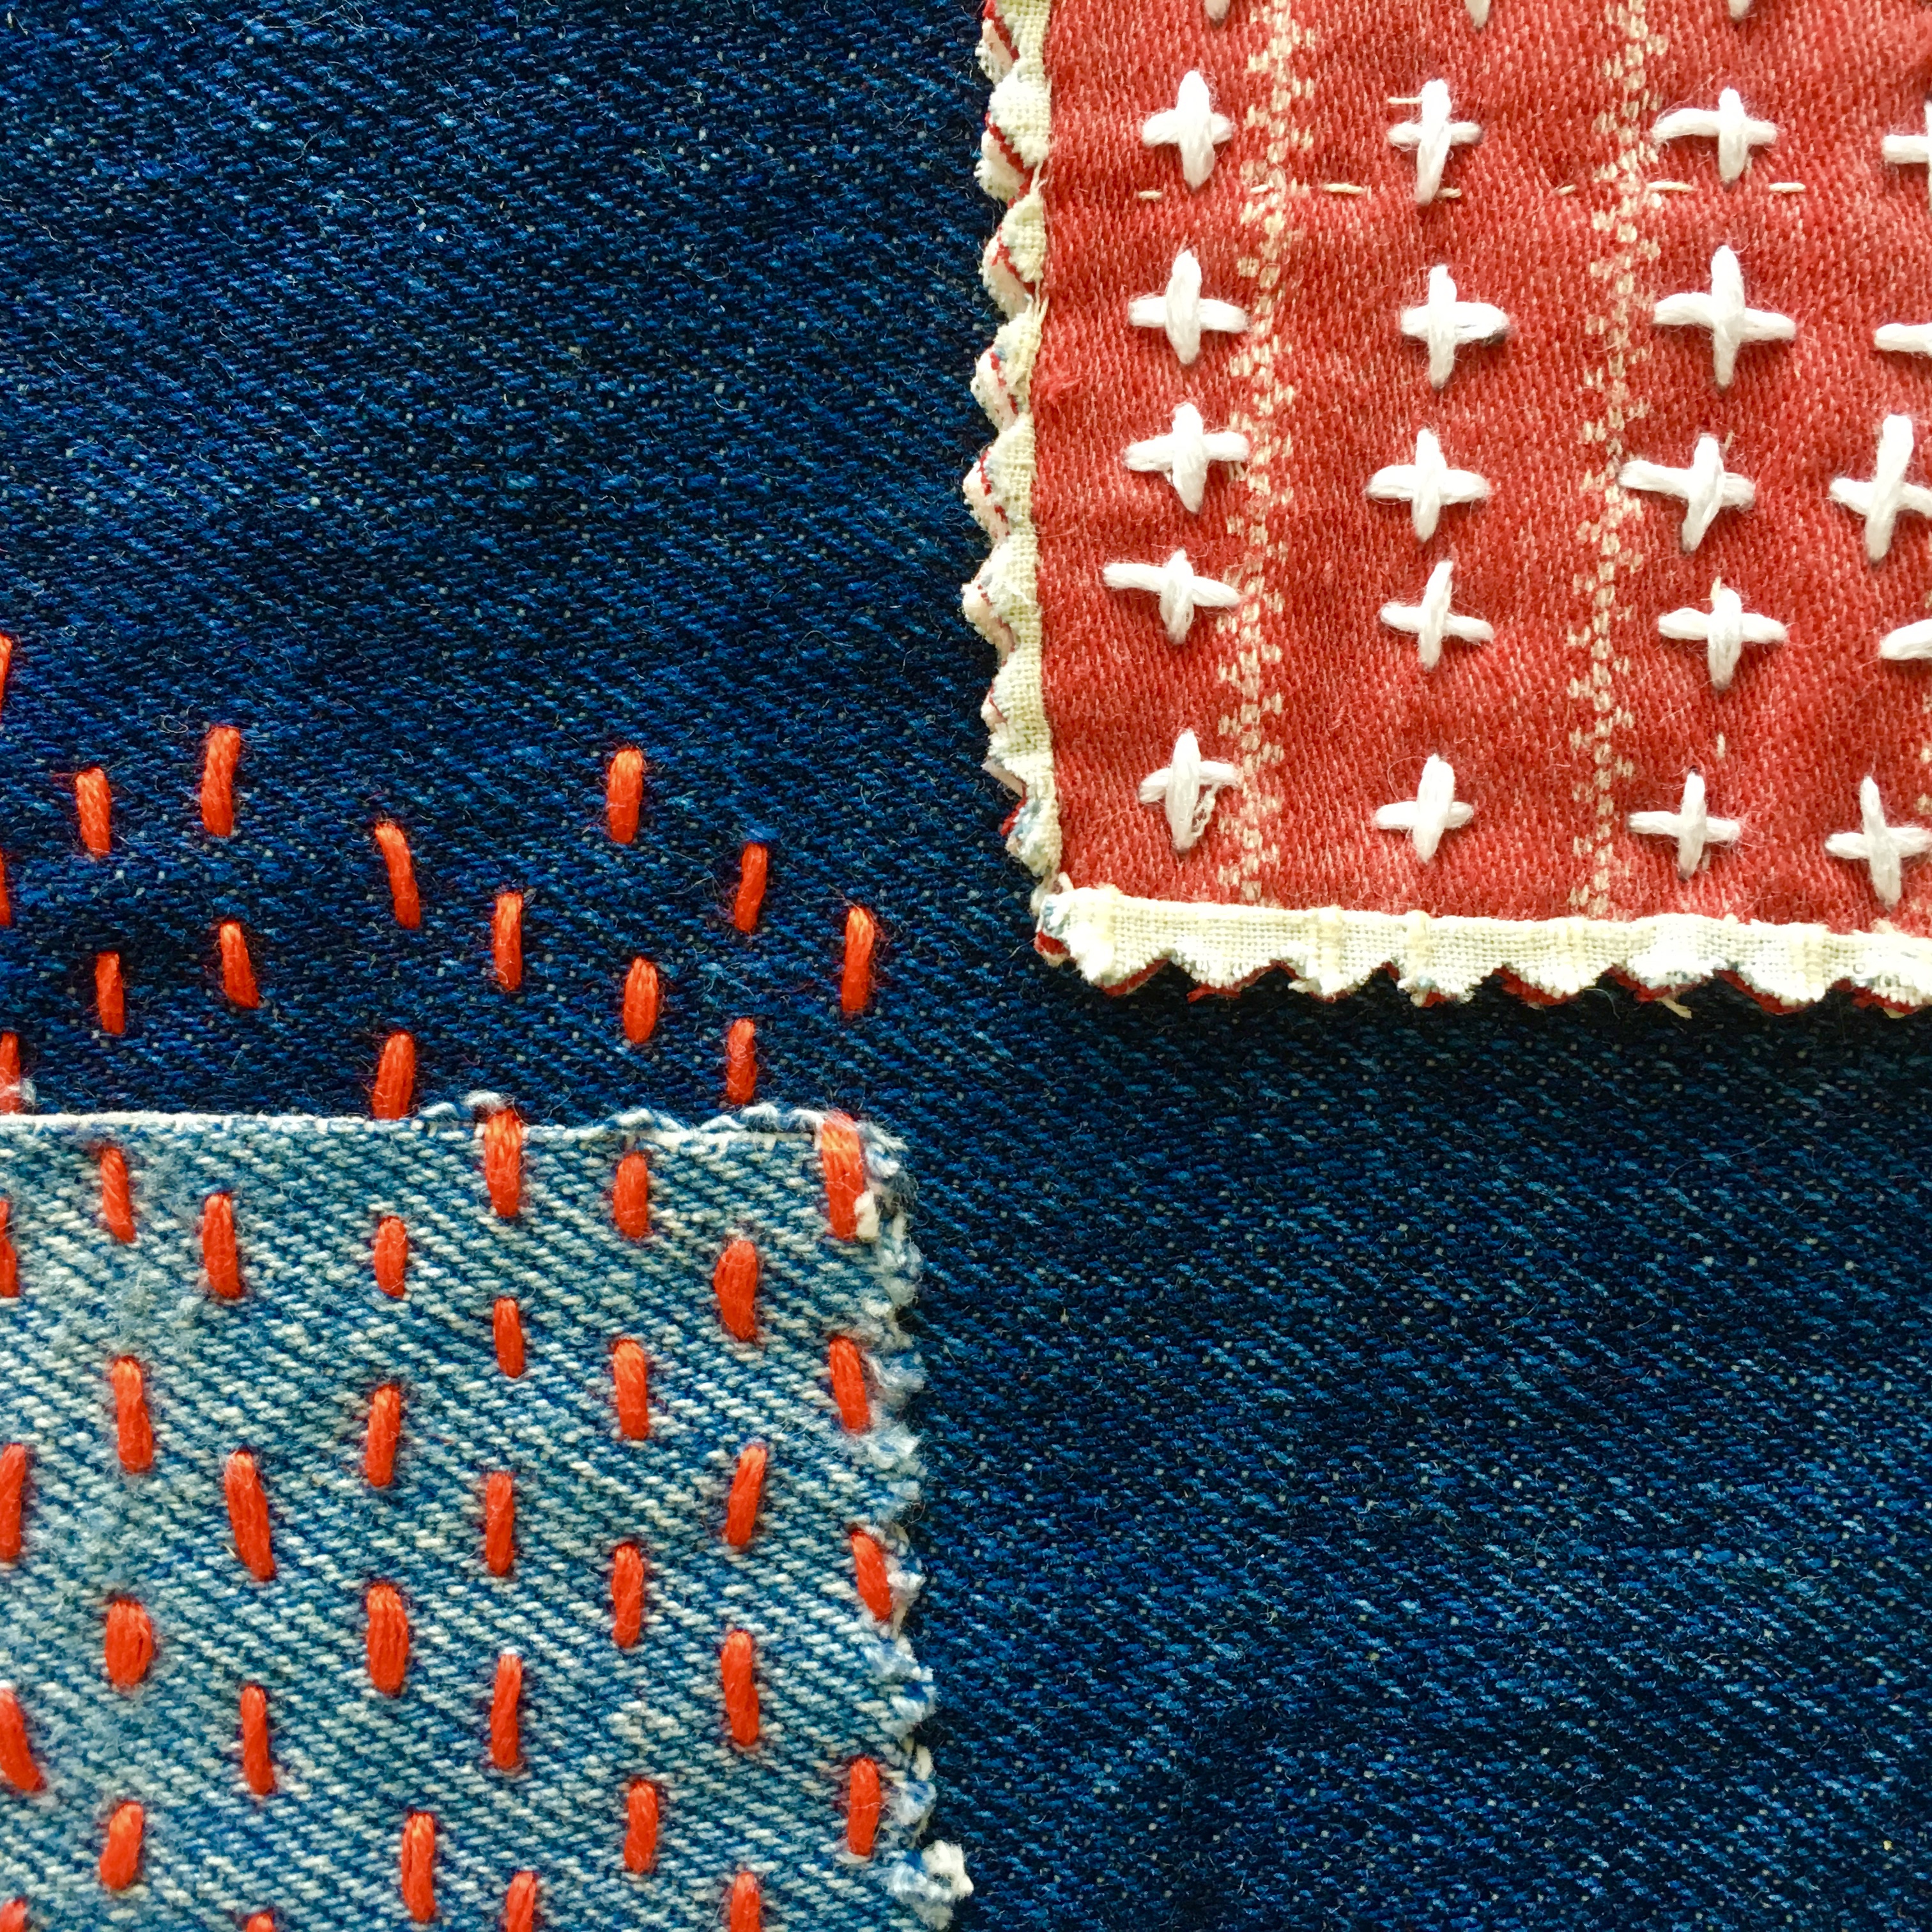
For me, the illustration’s delicate inky stitches brought to mind sashiko, a Japanese form of embroidery that I’ve been spotting online a lot lately.

Sashiko is usually a running stitch; the word sashiko translates to “little stabs.” My attempt at sashiko was my own improvised version. I used fabric scraps I had on hand, denim pieces from old jeans and worn cotton patches I rescued a while back from a disintegrating quilt. I grabbed embroidery floss for thread and the sharpest needle I could find.

fullsizeoutput_16e

I didn’t make anything in particular. I’m not sure I will. But I found the stitching meditative and love the way the stitches & patches look: imperfect, wobbly, delicate, salvaged. I think the simplicity and improvisation would appeal to kids, too (although I’d probably use thinner cotton so that the “little stabs” are easier to make). I’m going to try it out in my school library after reading Cloth Lullaby aloud–I’ll let you know how it goes . . .


Sew A Little Something

I’ve been in the mood to make but not sure exactly what. Maybe I could sew something small and messy? Something upcycled so to avoid spending time and money at the fabric store? I rummaged in my drawer of scraps and found . . . velvet 3.5″ square swatches from a furniture company (for an armchair we never ordered) and corduroys worn thin and frayed.

I enjoyed matching the dark corduroy–it’s a brownish purple–with cheerful pink corduroy and the deep velvety squares. I trimmed and sewed as straight as I could, but the goal was small and messy after all. Now that I have a patched 14″ square, it seems I’ll have to make a pillow. Any ideas about what kind of fabric I should use for backing–velvet, corduroy, dyed linen, cotton?

Make: DIY Ribbon Belts

Fresh notebooks, long pencils with sharpened tips, uncreased shoes on polished floors–I love the possibility implied by the start of a school year.

And what evokes school in its pressed, preppy essence more than the ribbon belt?

I made these for myself, and was surprised when the white-and-blue belt was nabbed by my teenage son. So, make enough for everyone!

Materials

grosgrain ribbon (your waist measurement plus about 10 inches)

webbing (to match and back your ribbon)

D-rings

thread to match

Step one: Pin the ribbon to the webbing, making sure to fold 6-8″ of ribbon over the back of the belt. (This bit will be visible when the belt is looped through the D-ring.)

ribbon belt by homemadecity.com

Step two: Sew in place.

ribbon belt by homemade city

Step three: At the other end of your belt, add the D-ring and fold over once. (The webbing was too thick for me to fold over twice).

ribbon belt by homemadecity.com

Step three: Sew the D-ring in place. And . . . wear!