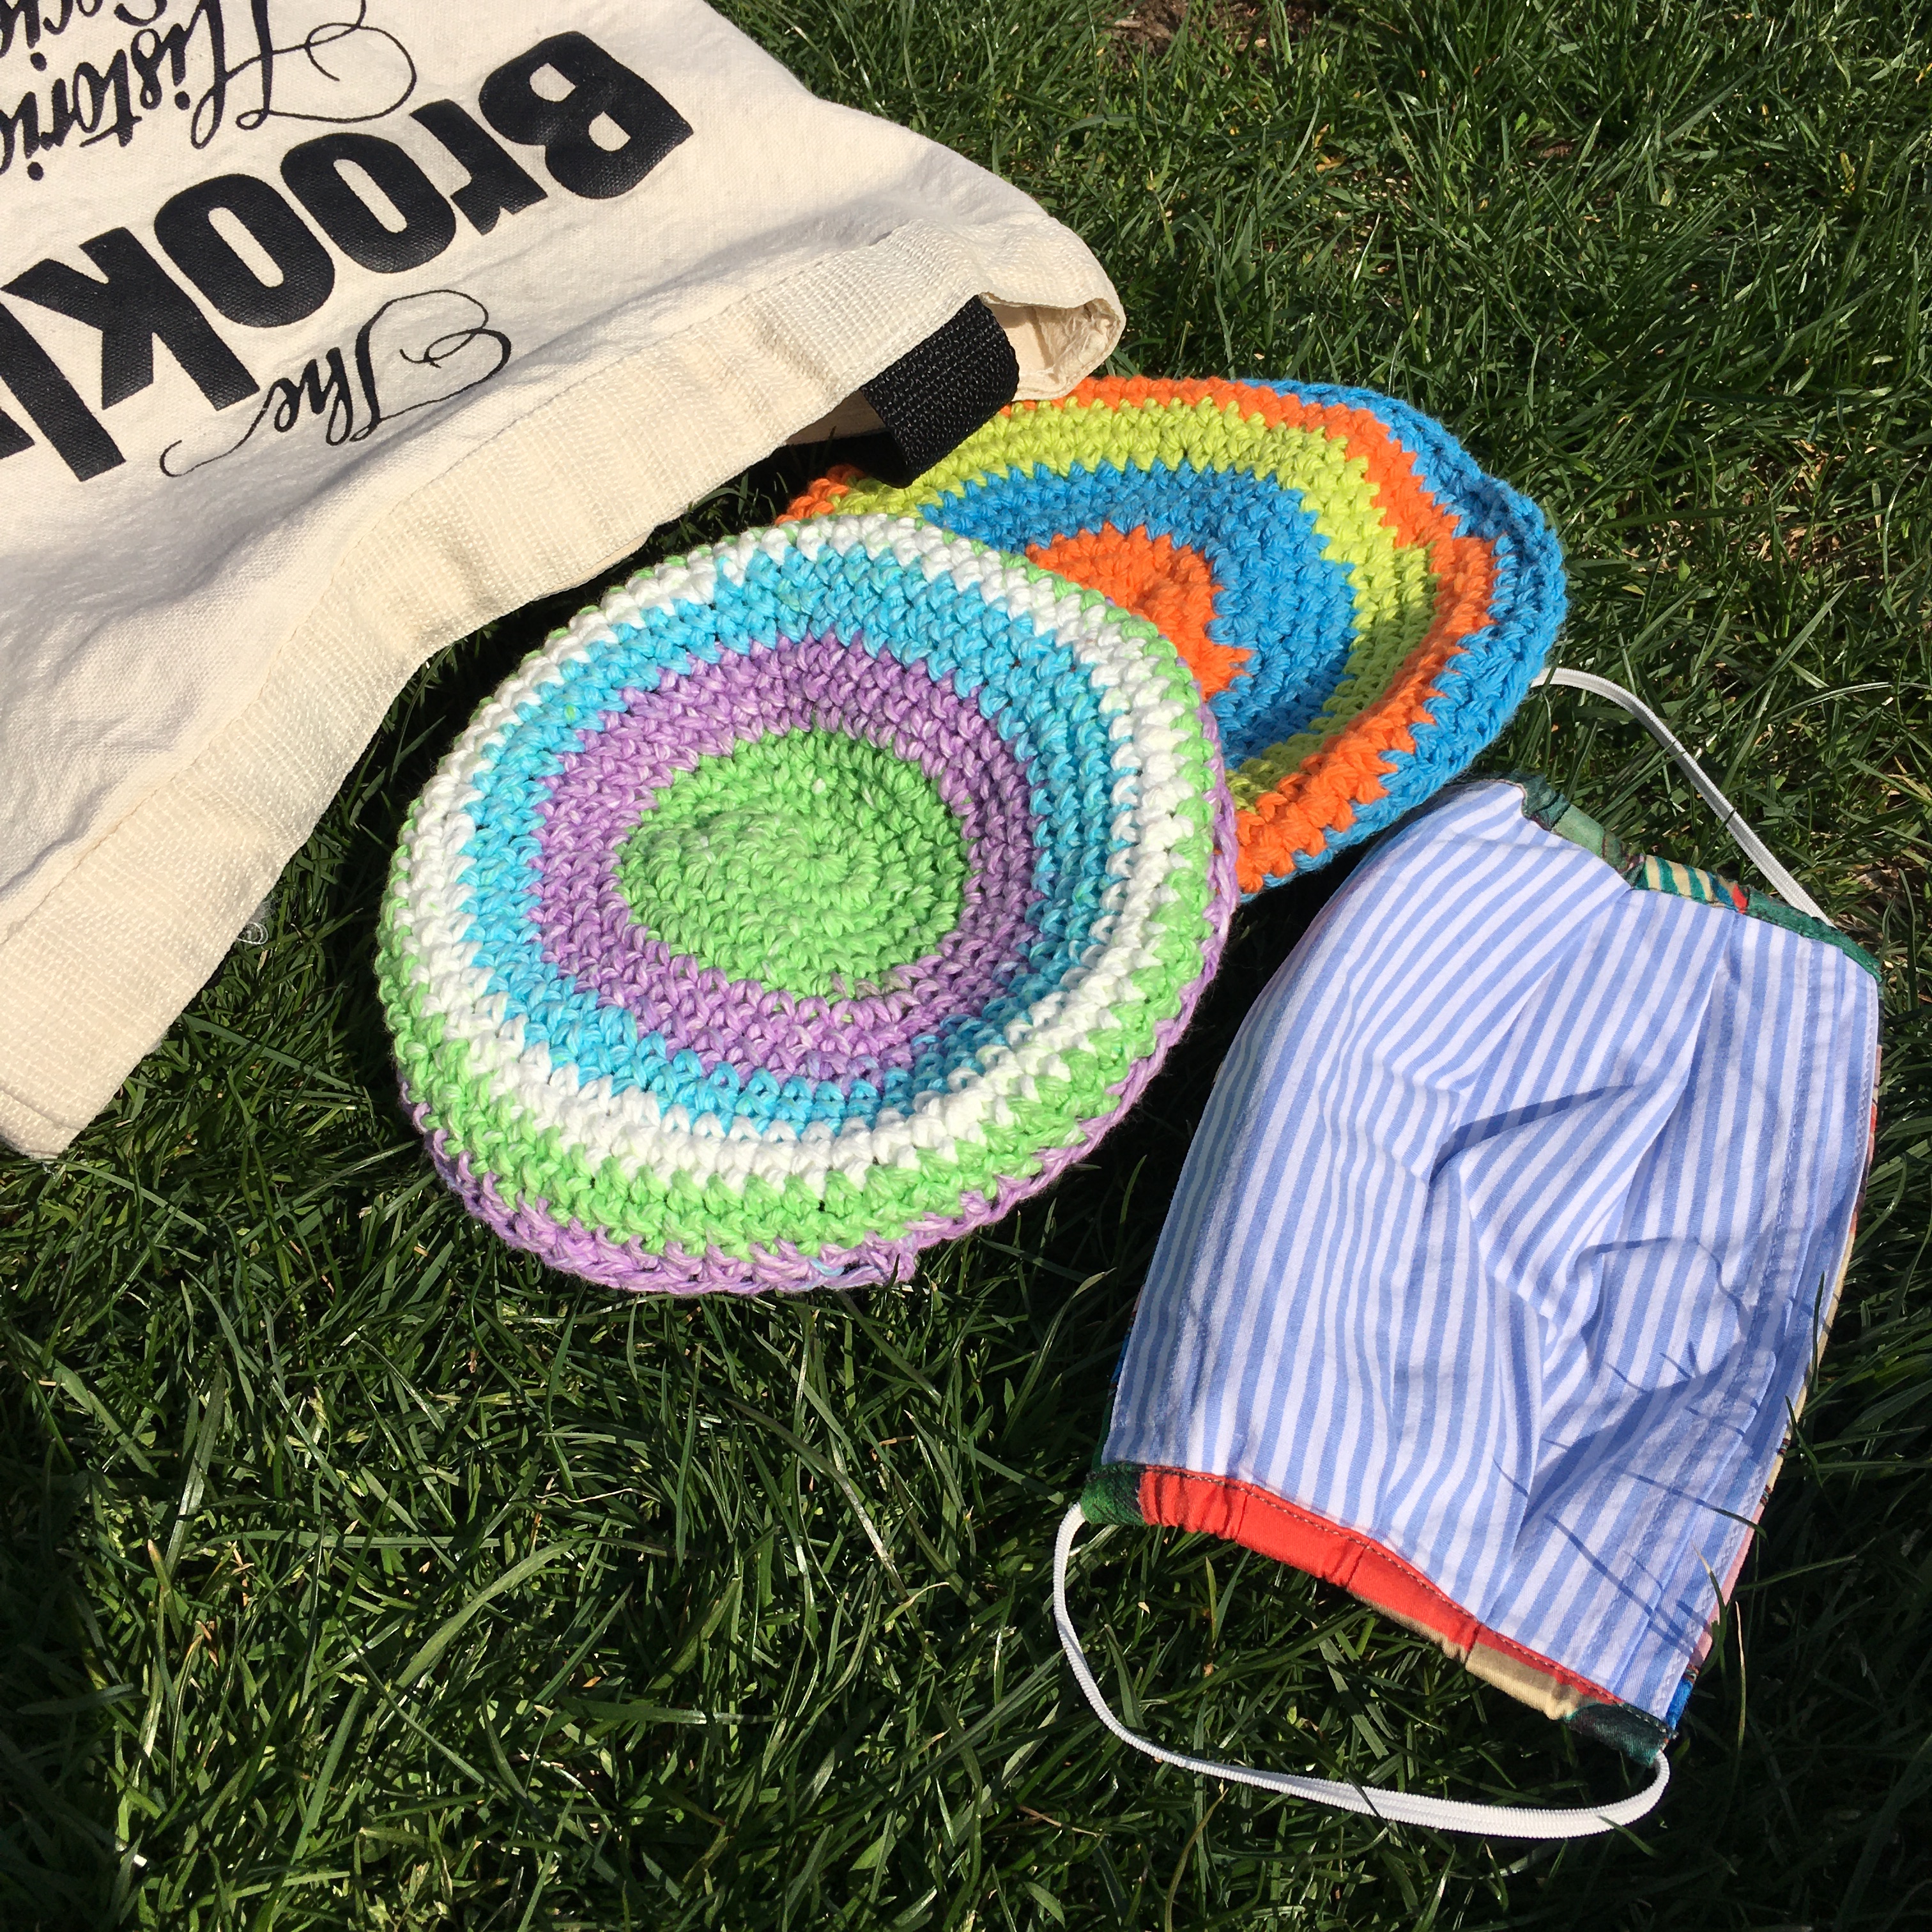
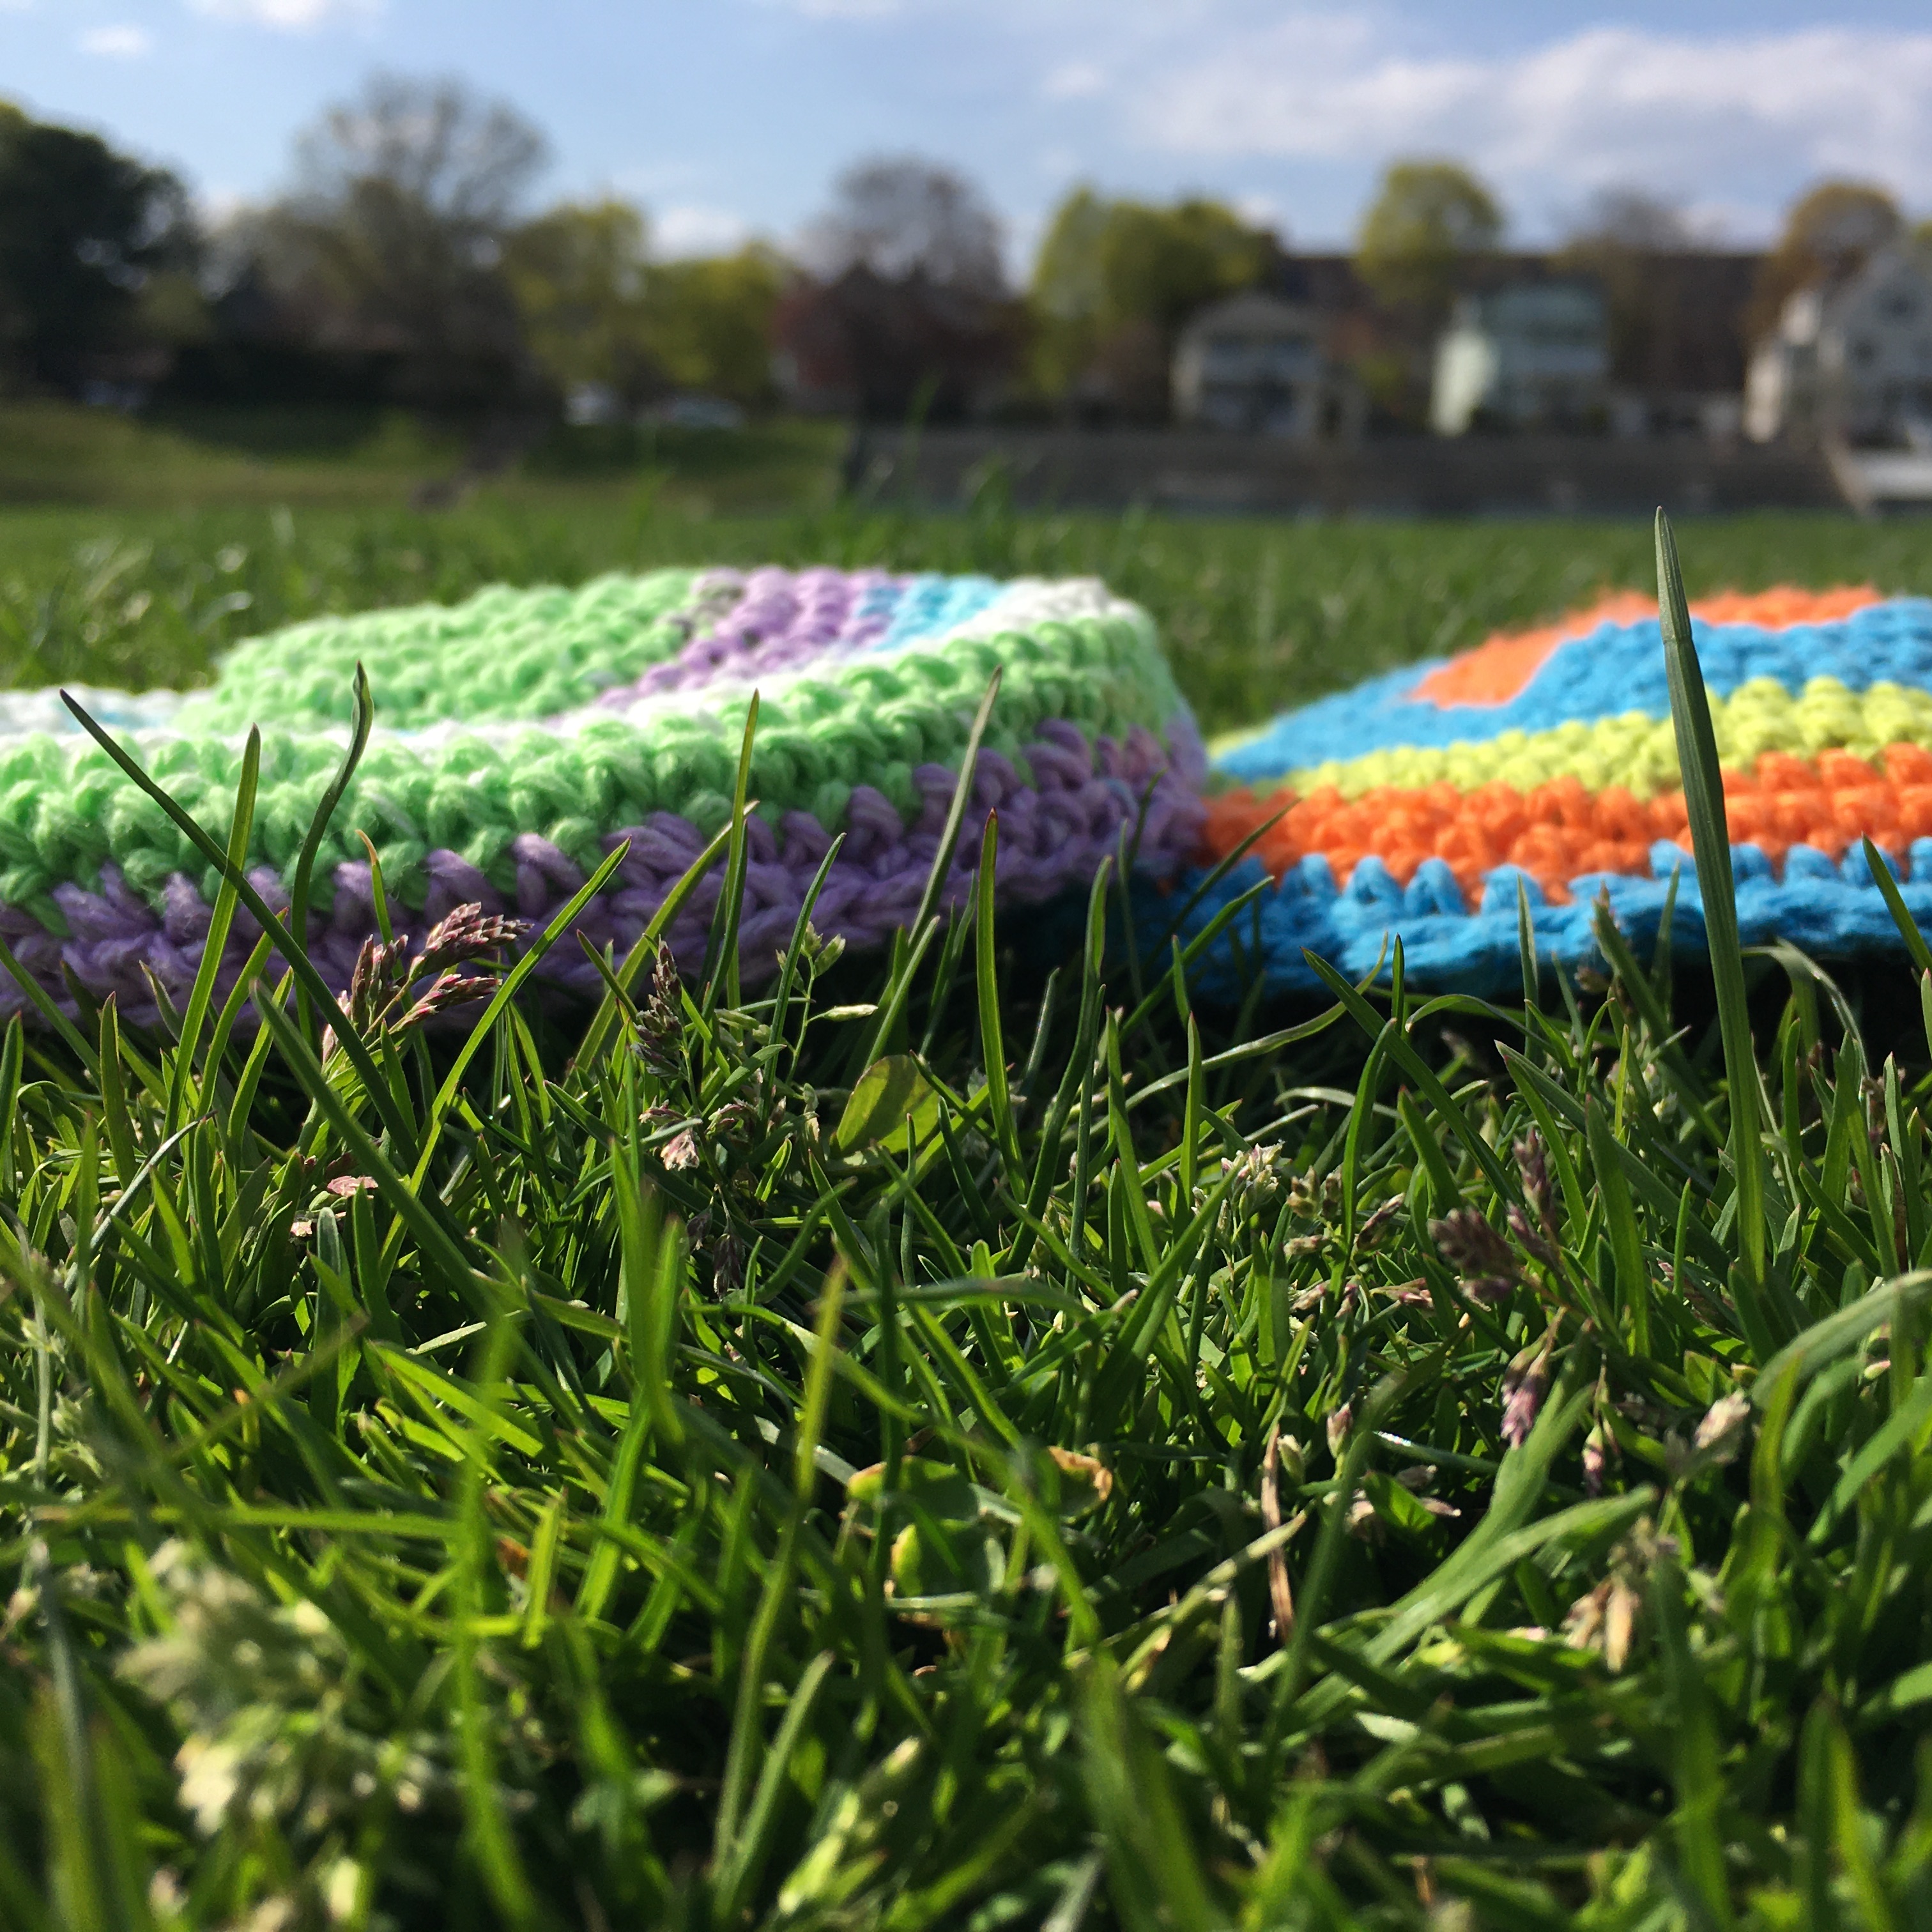
My friend Janet is a crochet wonder! She made these foldable, flyable, crocheted Frisbees for me to celebrate the publication of my book FLIP! How the Frisbee Took Flight (out *this* week)! You can tuck one in your pocket and take it to the park or fling it around your house–it won’t dent your walls or a human person.
When it comes to crochet, I’m a true novice. But if you’re interested in stitching a yarn flying disc, I found this super sweet video with clear, easy instructions by Jayda InStitches. Let me know if you give it a twirl!
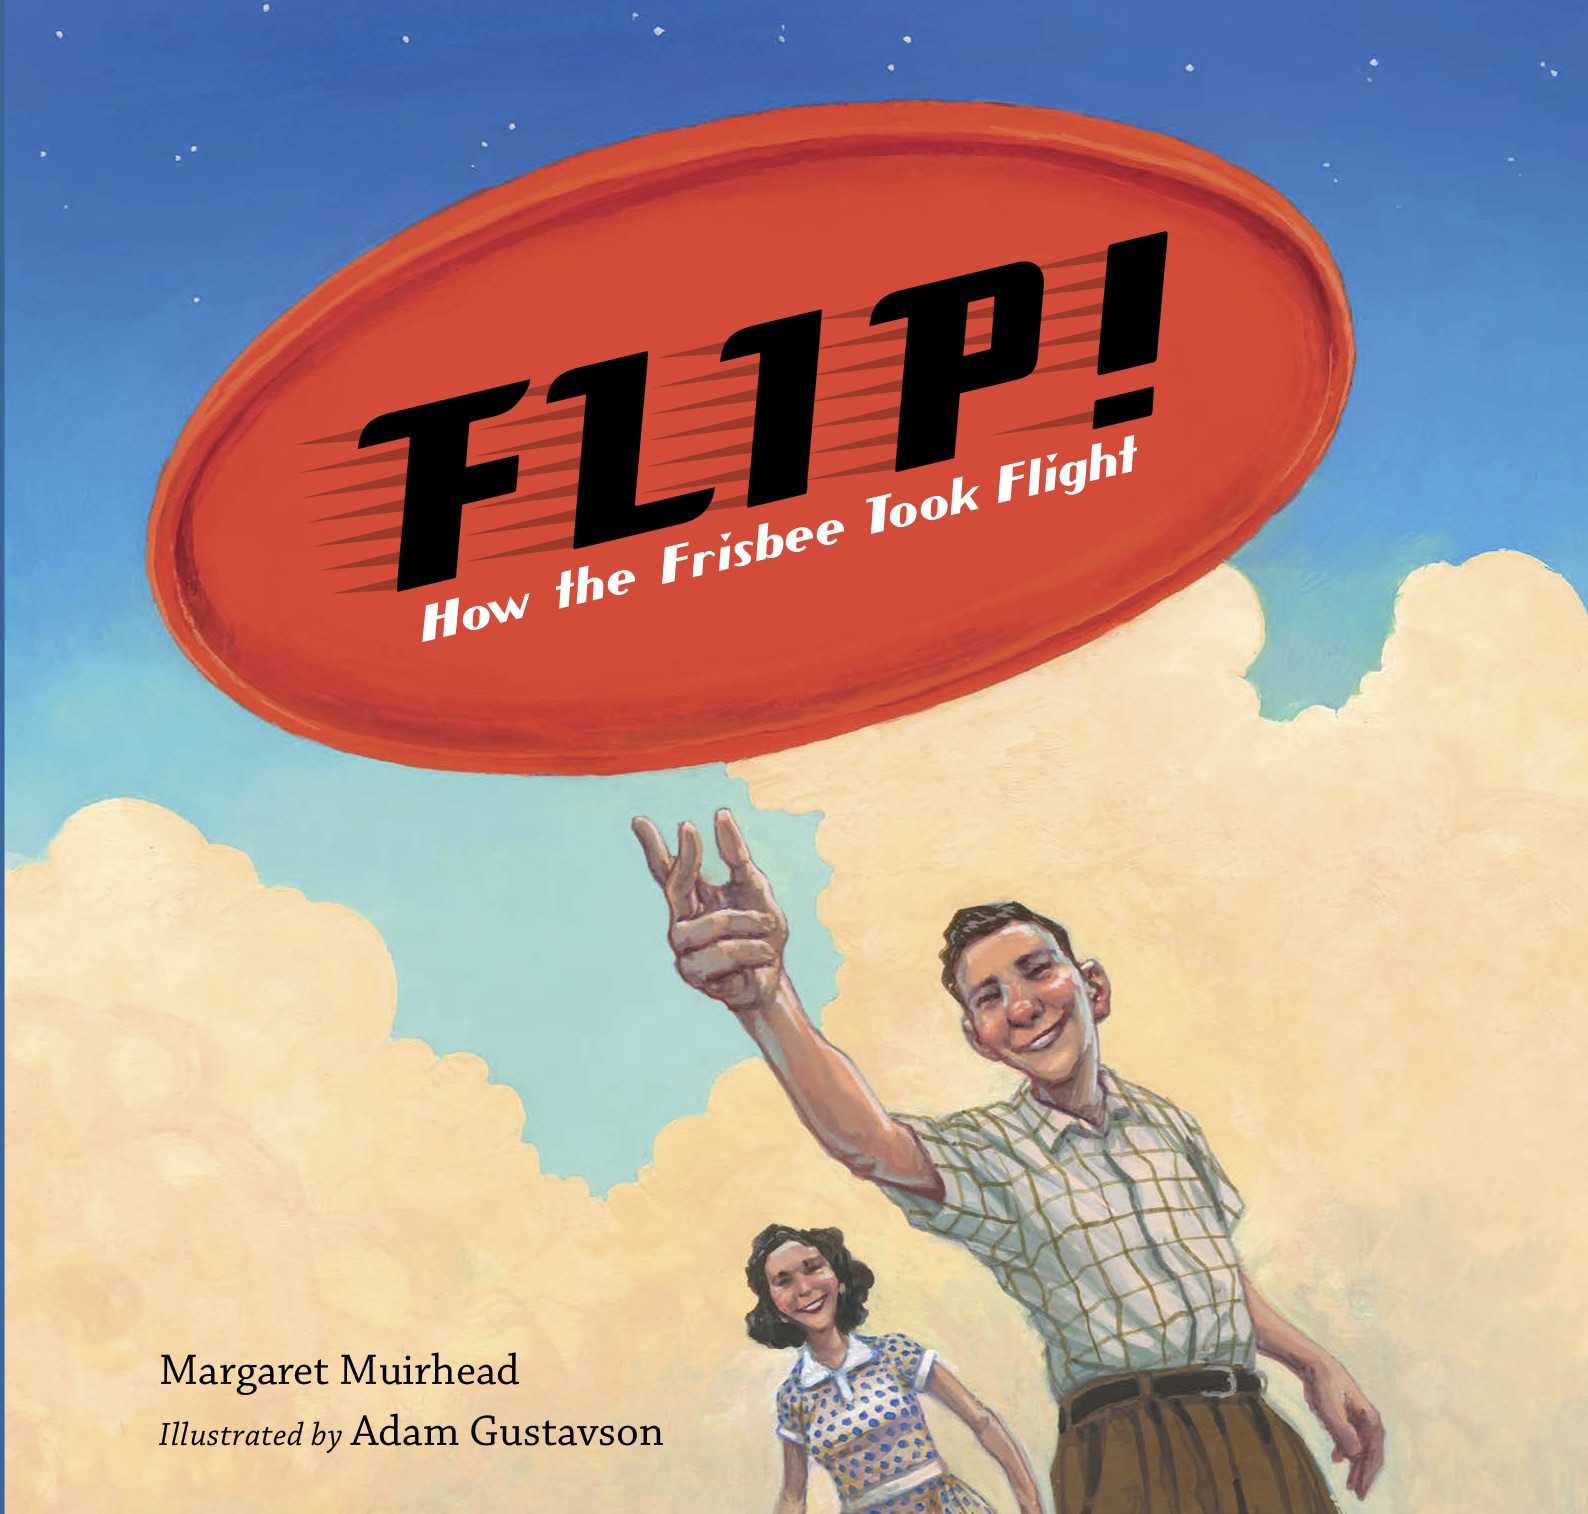
Check out www.margaretmuirhead.com for more information about Flip! You can order your copy at Indiebound, Target, Barnes & Noble, Amazon or at your favorite neighborhood book shop.
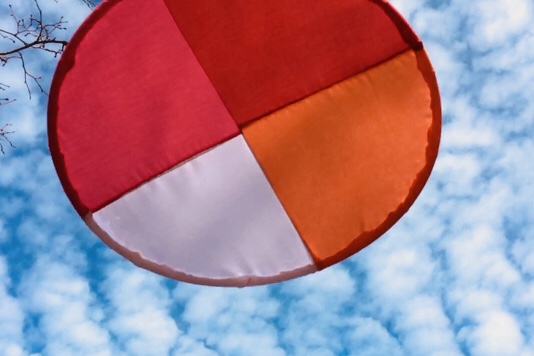
Here’s another activity to celebrate my new picture book, Flip! How the Frisbee Took Flight, and this one is a goodie. In fact, it’s one of the funnest projects I’ve done. And yes, I know, “funnest” is not a word–but it best expresses how satisfying it is to make a giant flying disc.
I’m sorry I didn’t photo-document the process better. The whole thing felt like a wild experiment with an uncertain outcome. But . . . it worked! I recommend trying this one at home.
MATERIALS:
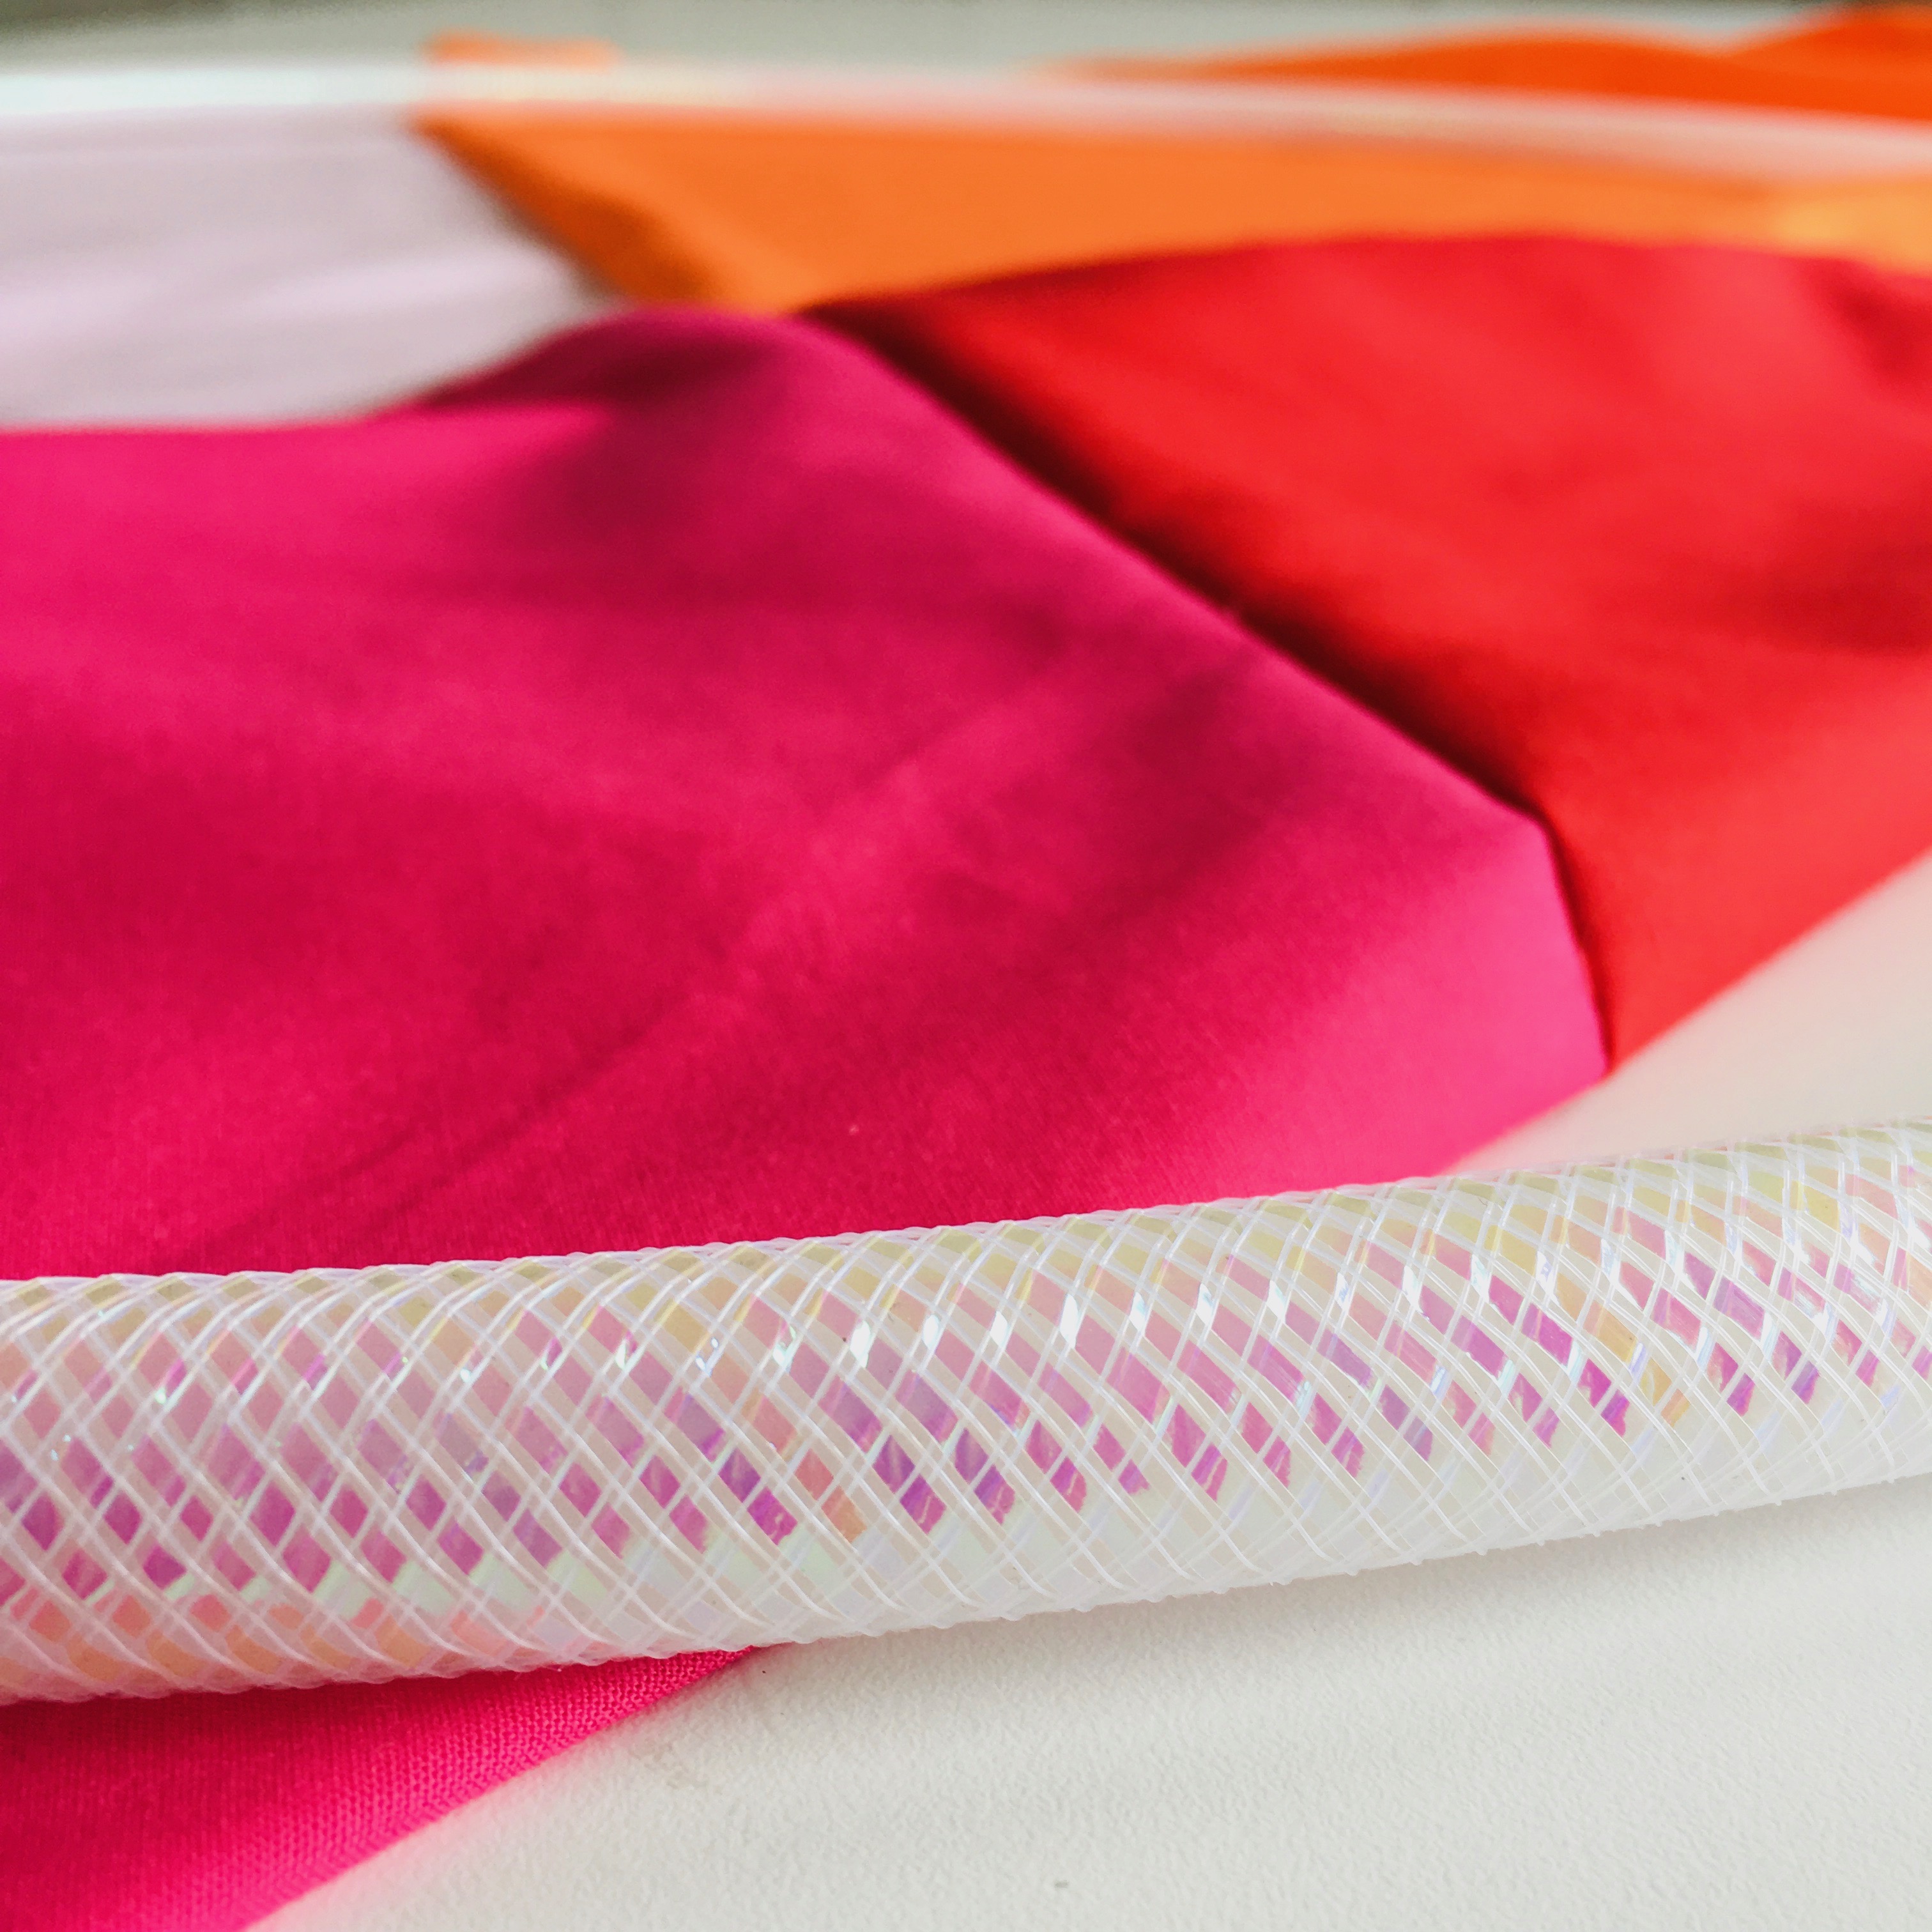
1 hula hoop (I used child’s size hoop.)
1 yard of cotton or nylon fabric (or enough to cover the hoop).
Iron
Scissors or pinking shears
Hot glue gun
INSTRUCTIONS:
Iron your fabric so it’s wrinkle free. I used cotton because that’s what I had on hand. I also tried to make it look a splashy by sewing together four colors but that’s optional and an extra step.
Lay out your fabric on a large working surface and place the hoop on top. If necessary, trim fabric so there’s about 5″ inches of fabric outside the circumference of the hoop.
With a hot glue gun, squeeze drops of glue on a 5-6″ segment of the hoop.
Fold the fabric over the glue and shape to the curve of the hoop.
Repeat adding glue to a segment of the hoop and folding the fabric over it. Make sure to pull the fabric taut as you go.
Once it’s all glued, trim off the extra fabric. Tuck the remaining fabric in. (I added glue here and there to make sure the fabric ends were tucked in well.
That’s it. Take it outside and give it a spin!
Check out www.margaretmuirhead.com for more information about Flip! You can order your copy at Indiebound, Target, Barnes & Noble, Amazon or at your favorite neighborhood book shop.
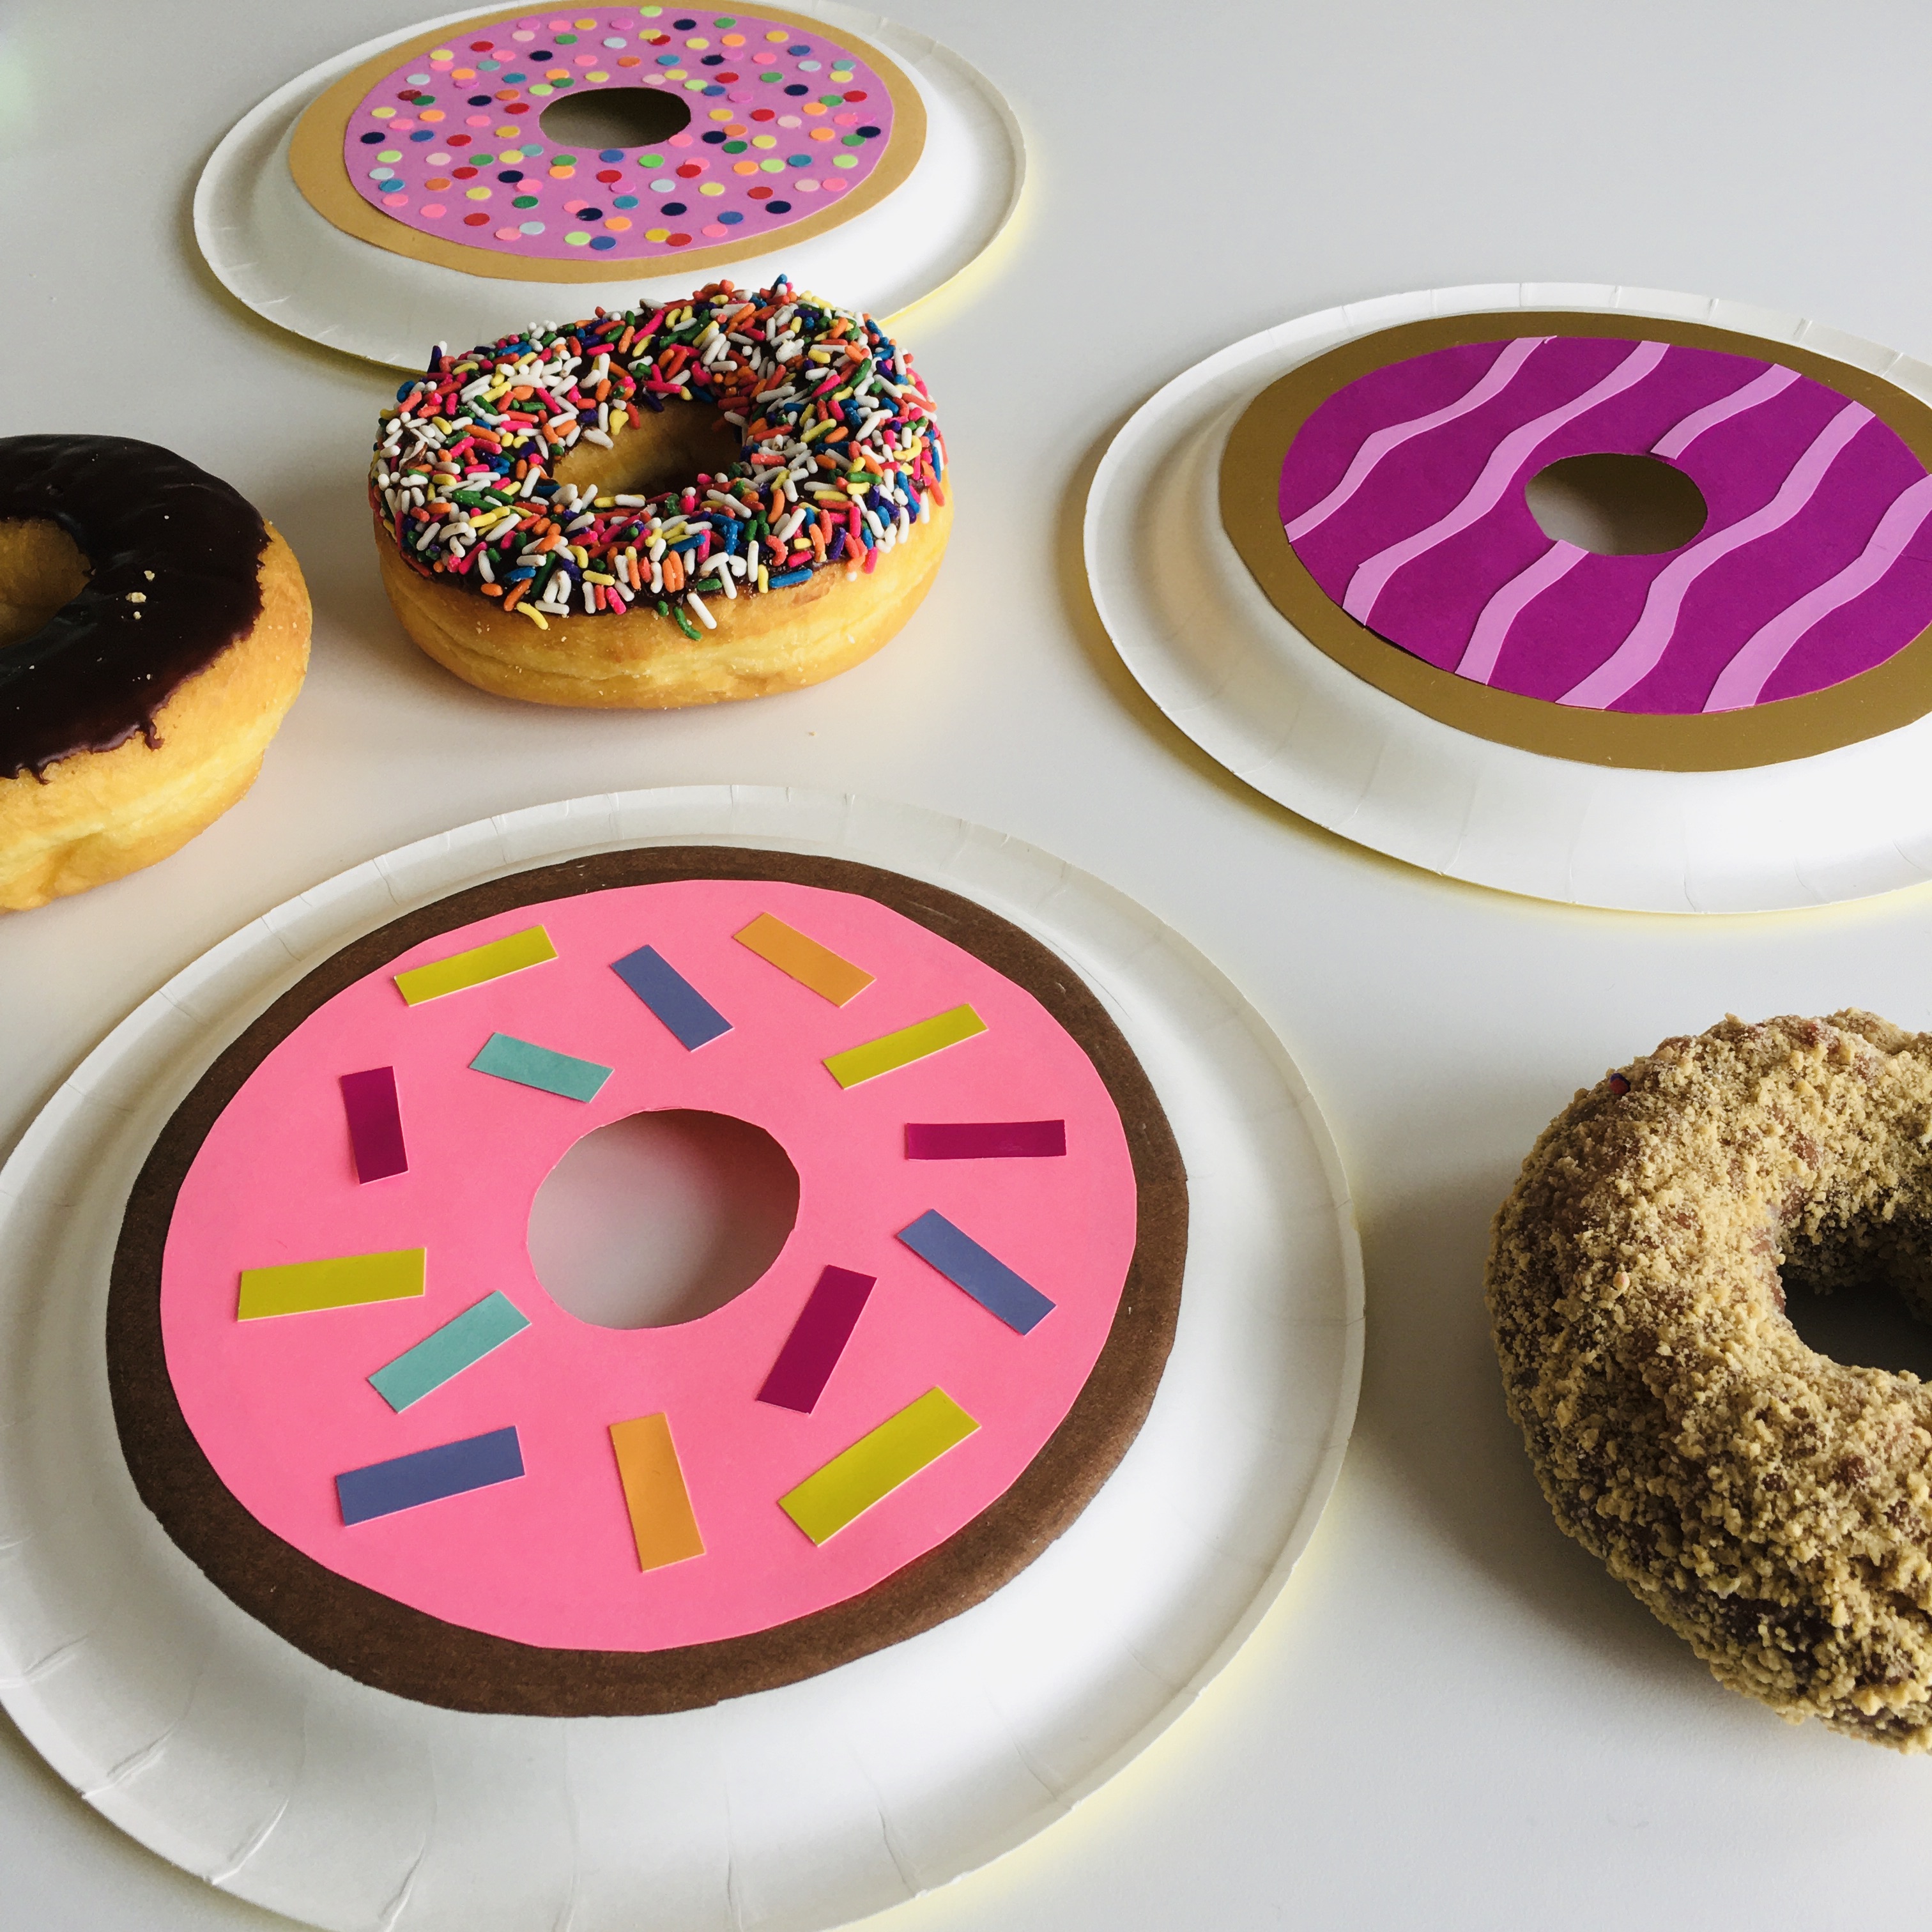
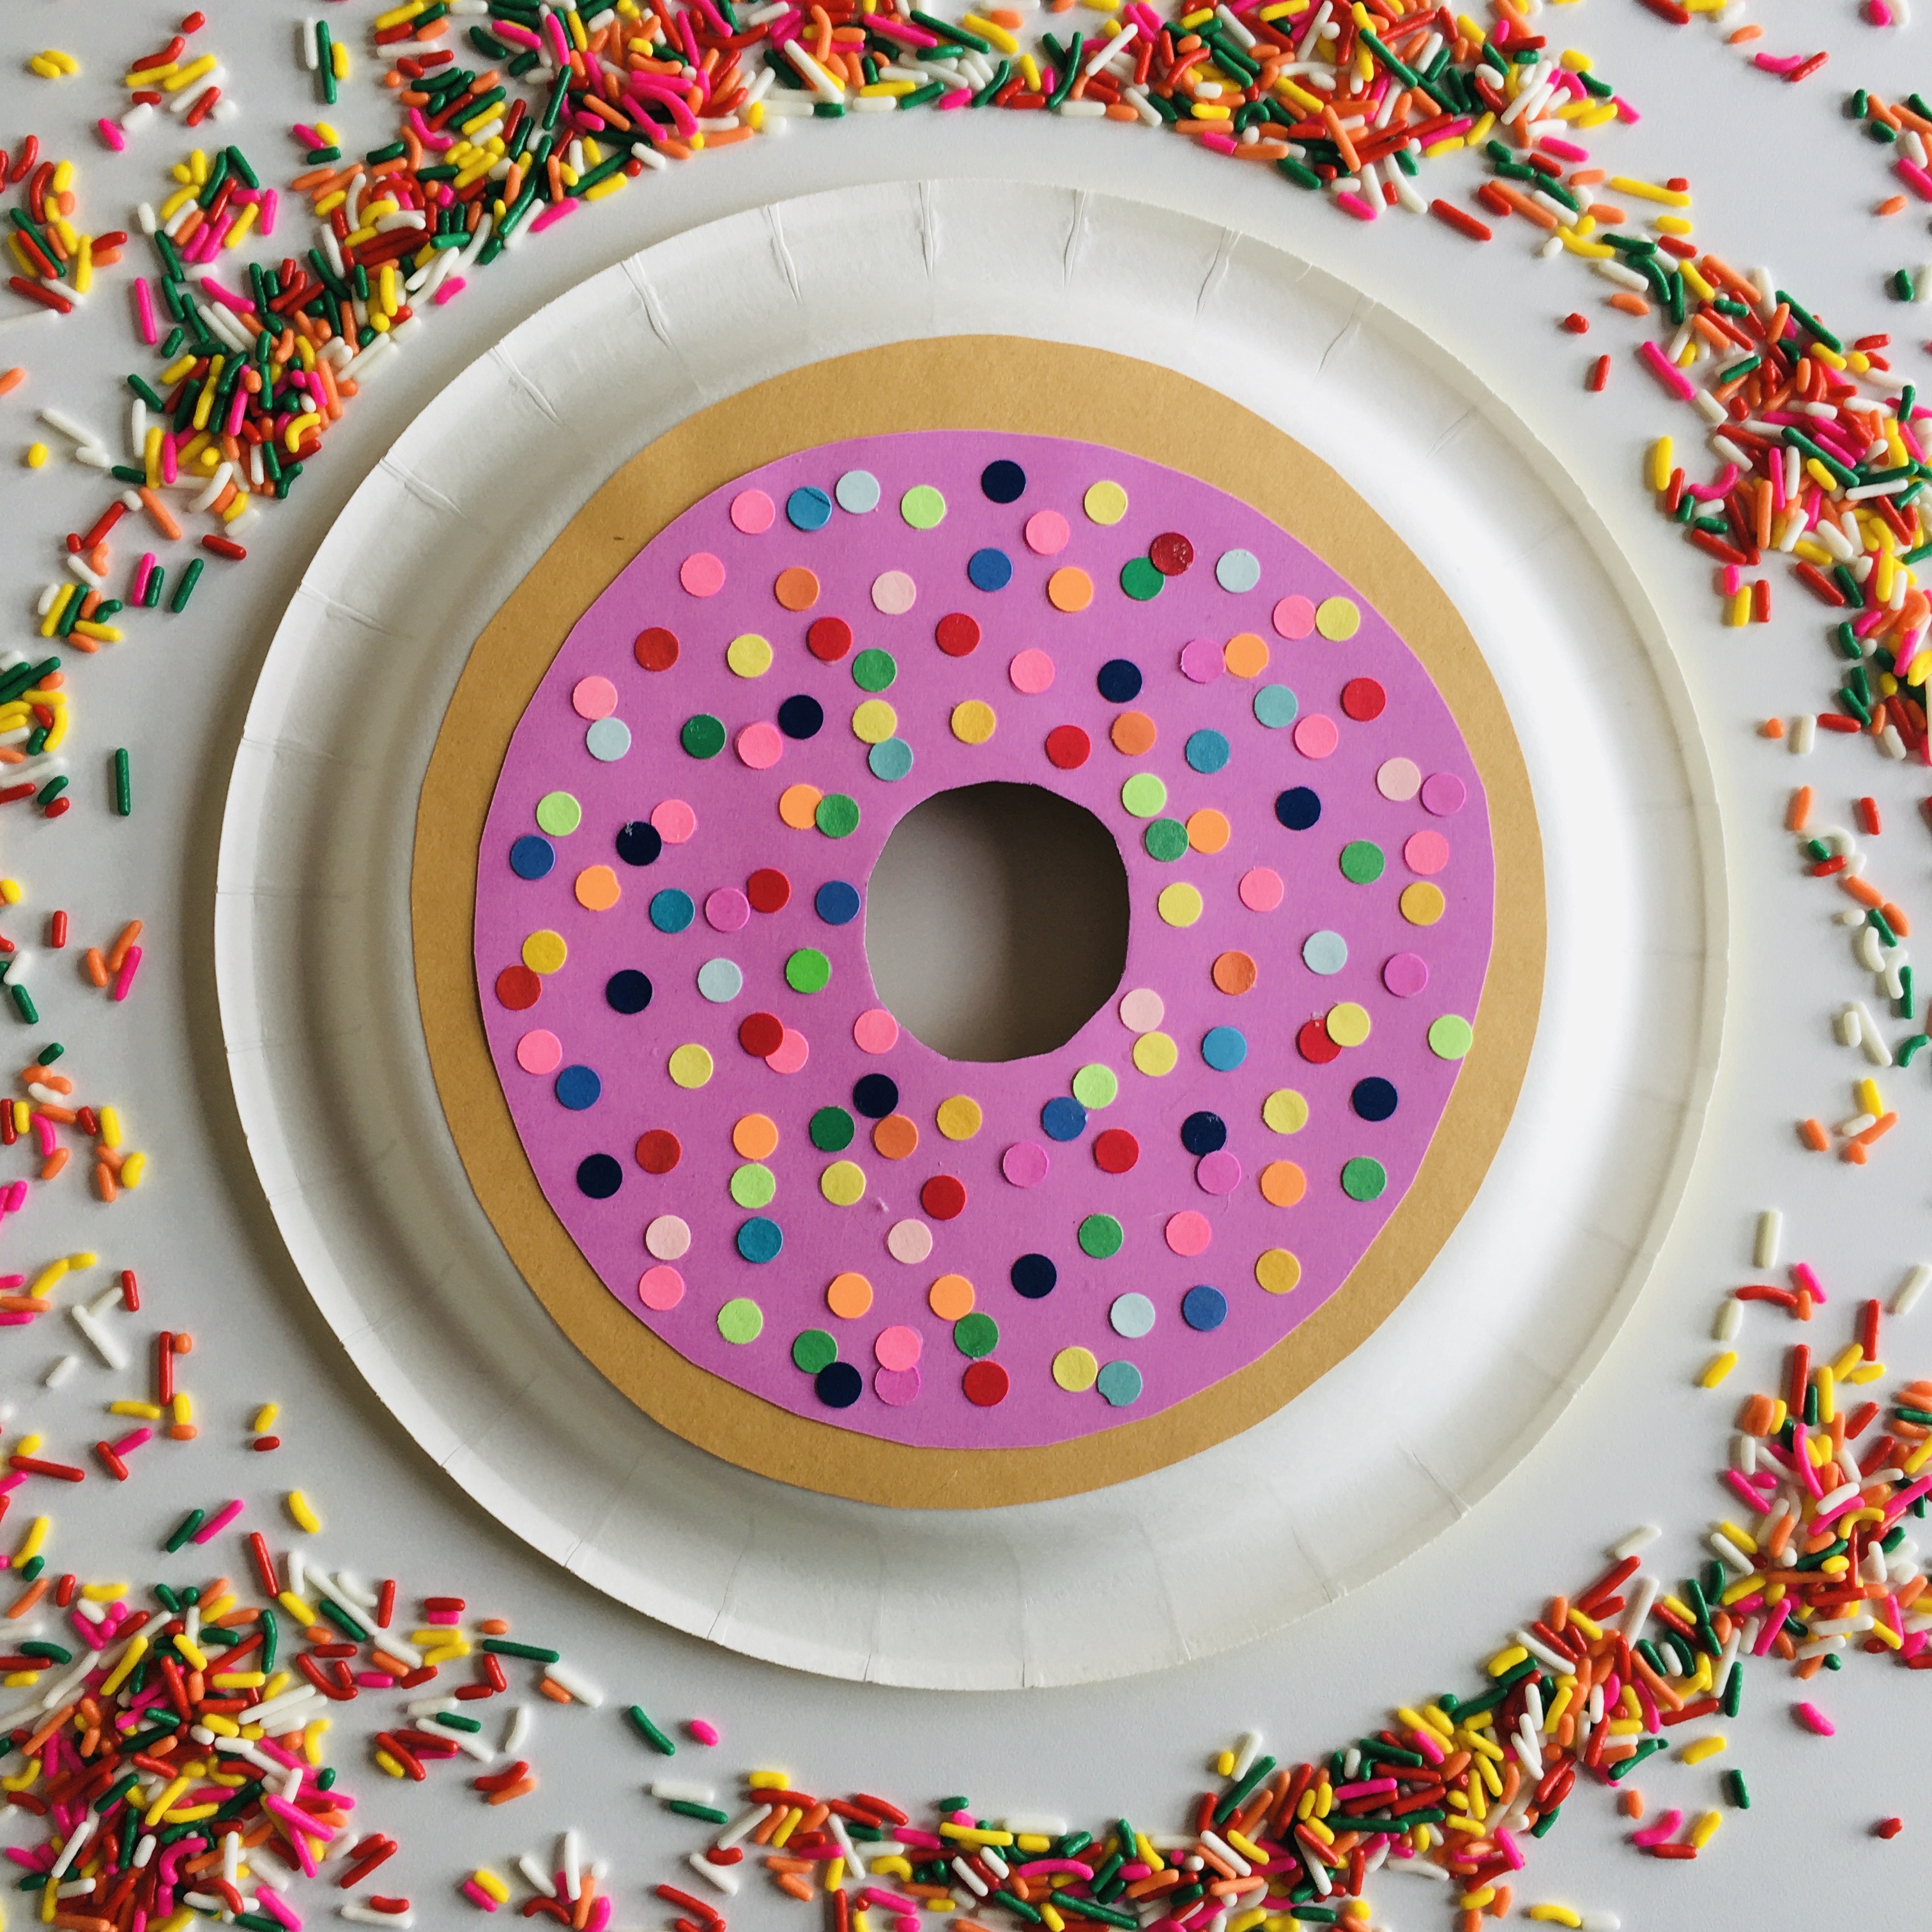
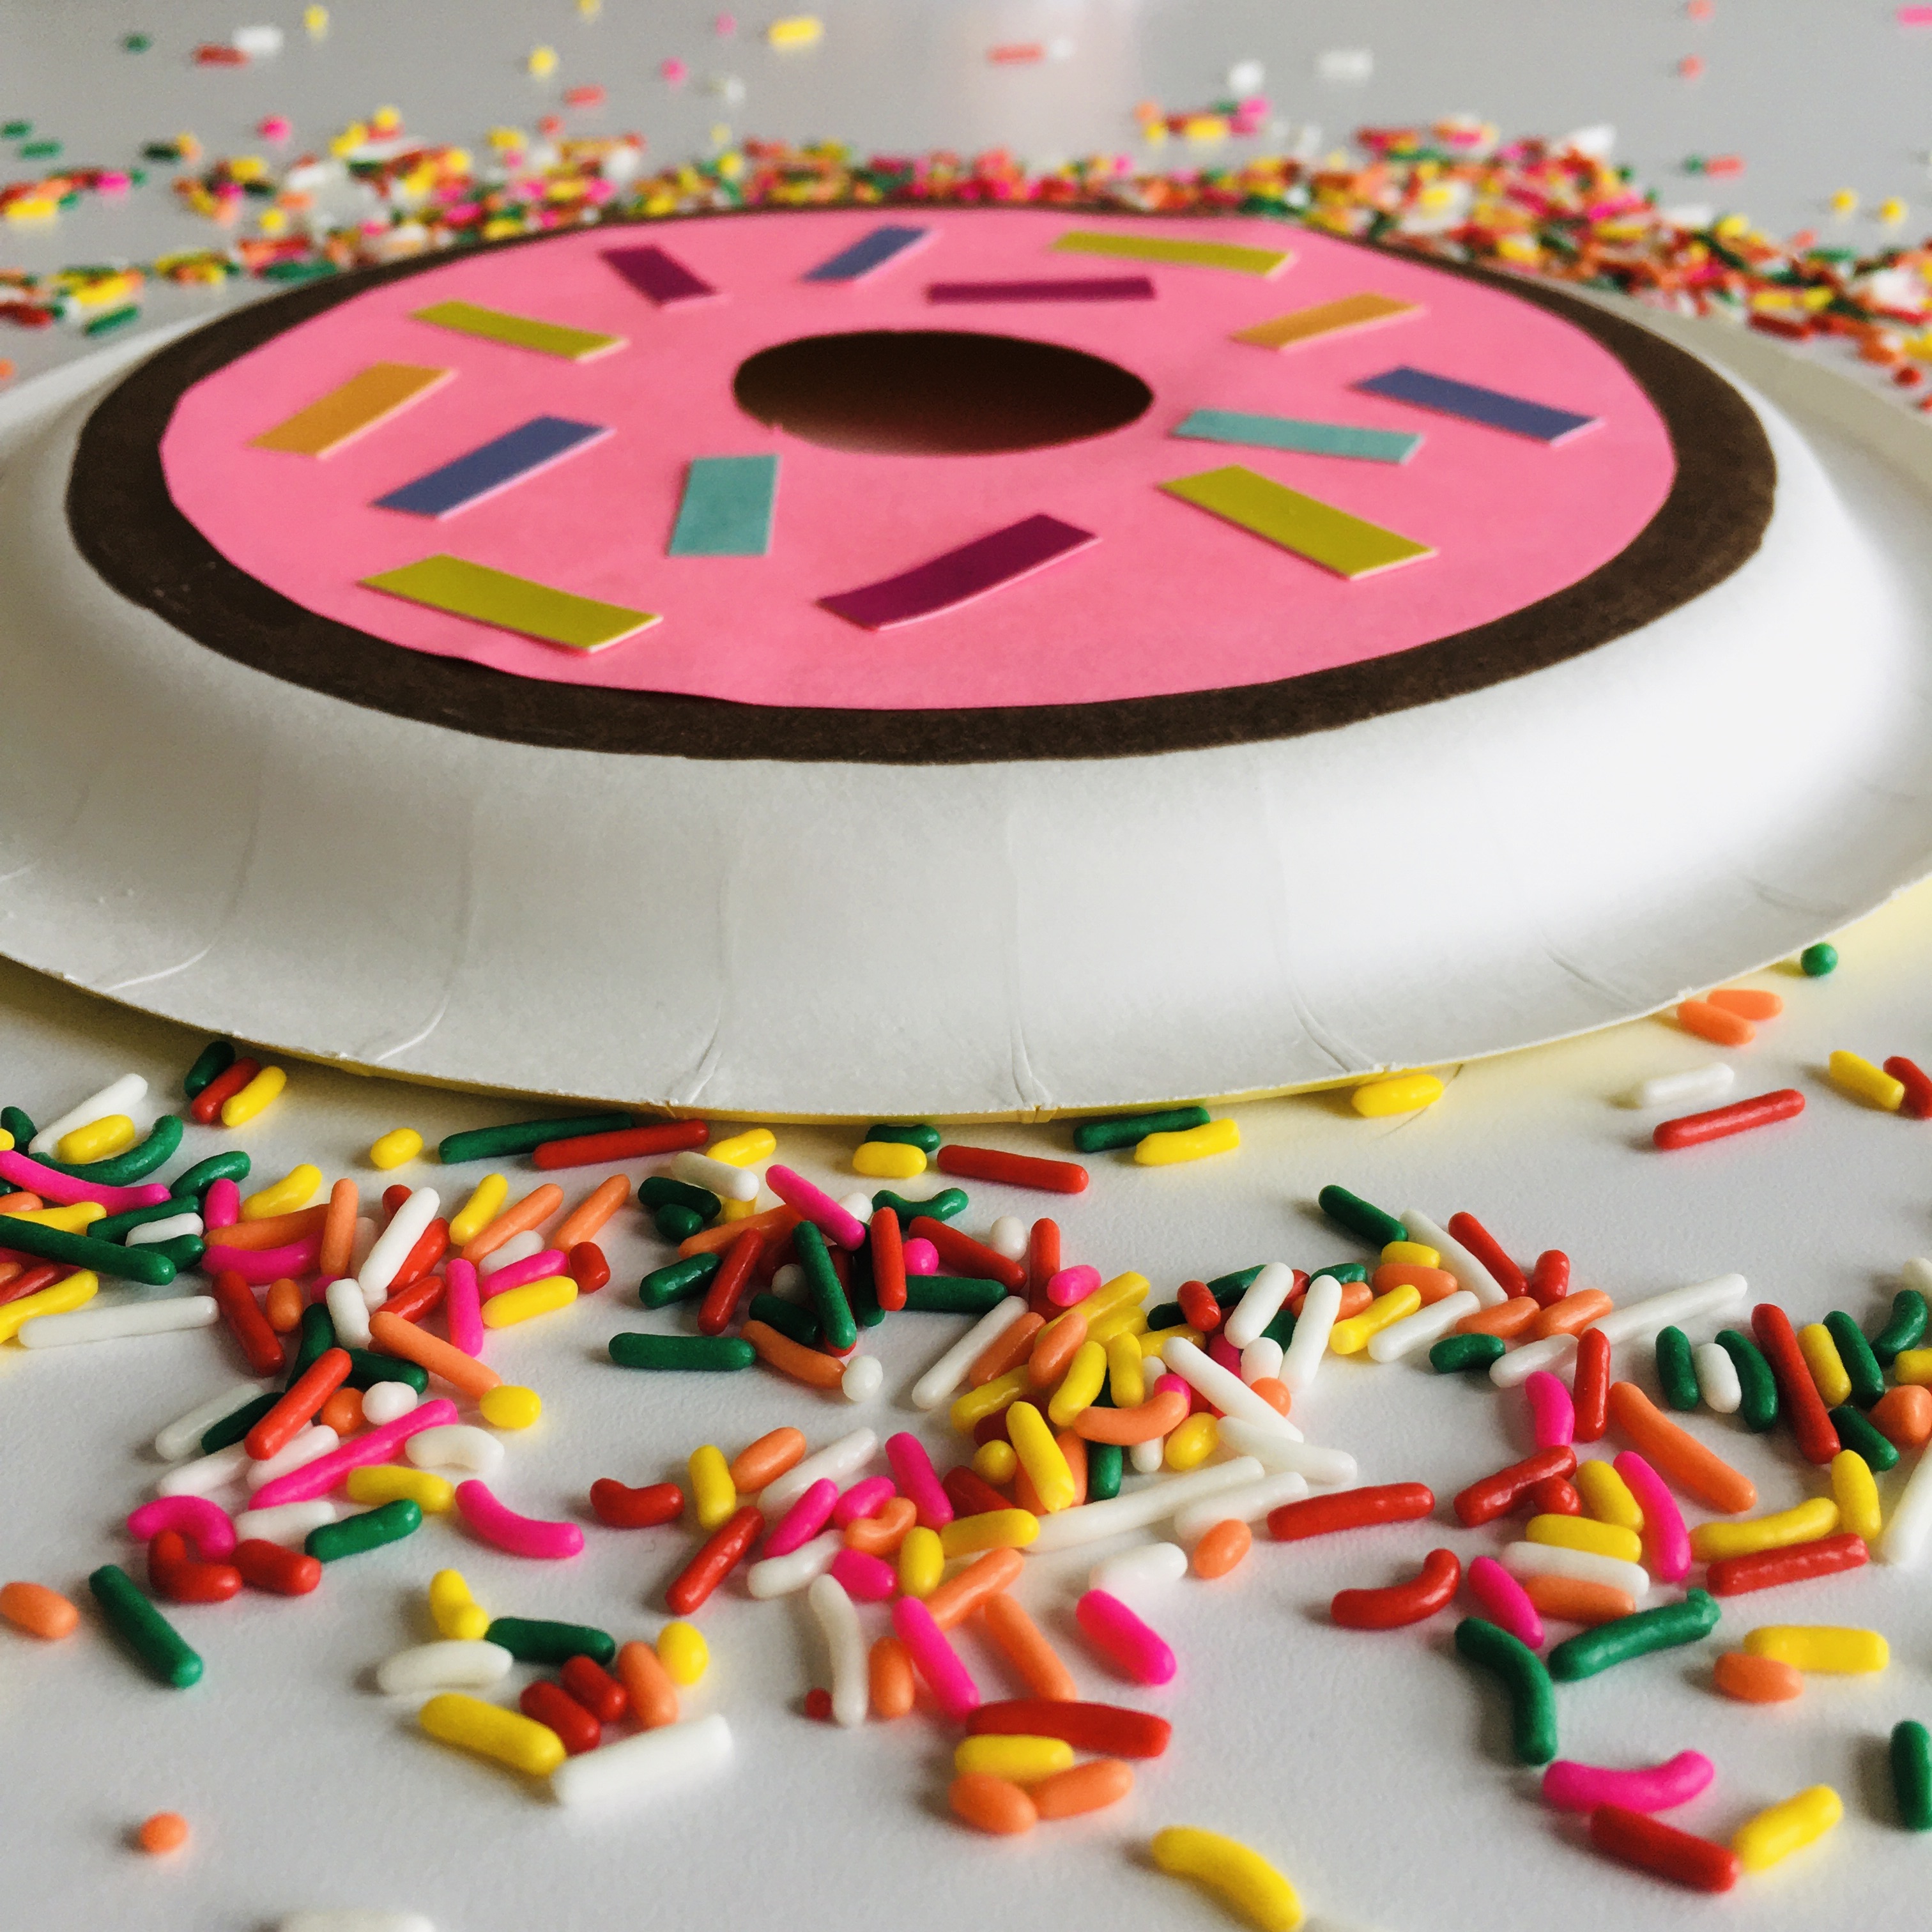
Time to celebrate! My picture book,Flip! How the Frisbee Took Flight, will be published next month, and it will be spring. I'm feeling a sense of hope and possibility I haven't felt in a while. So for my first Frisbee-based maker activity, I combined two of the best possible things: flying discs AND doughnuts. Doughnut discs are super easy to make and can even be tossed inside the house on a rainy day without major damage to home or humans. Here's what you need:
Materials
Paper plates
Scissors
Glue stick
Markers, paint, construction paper
Recommended: Eating real doughnuts while working
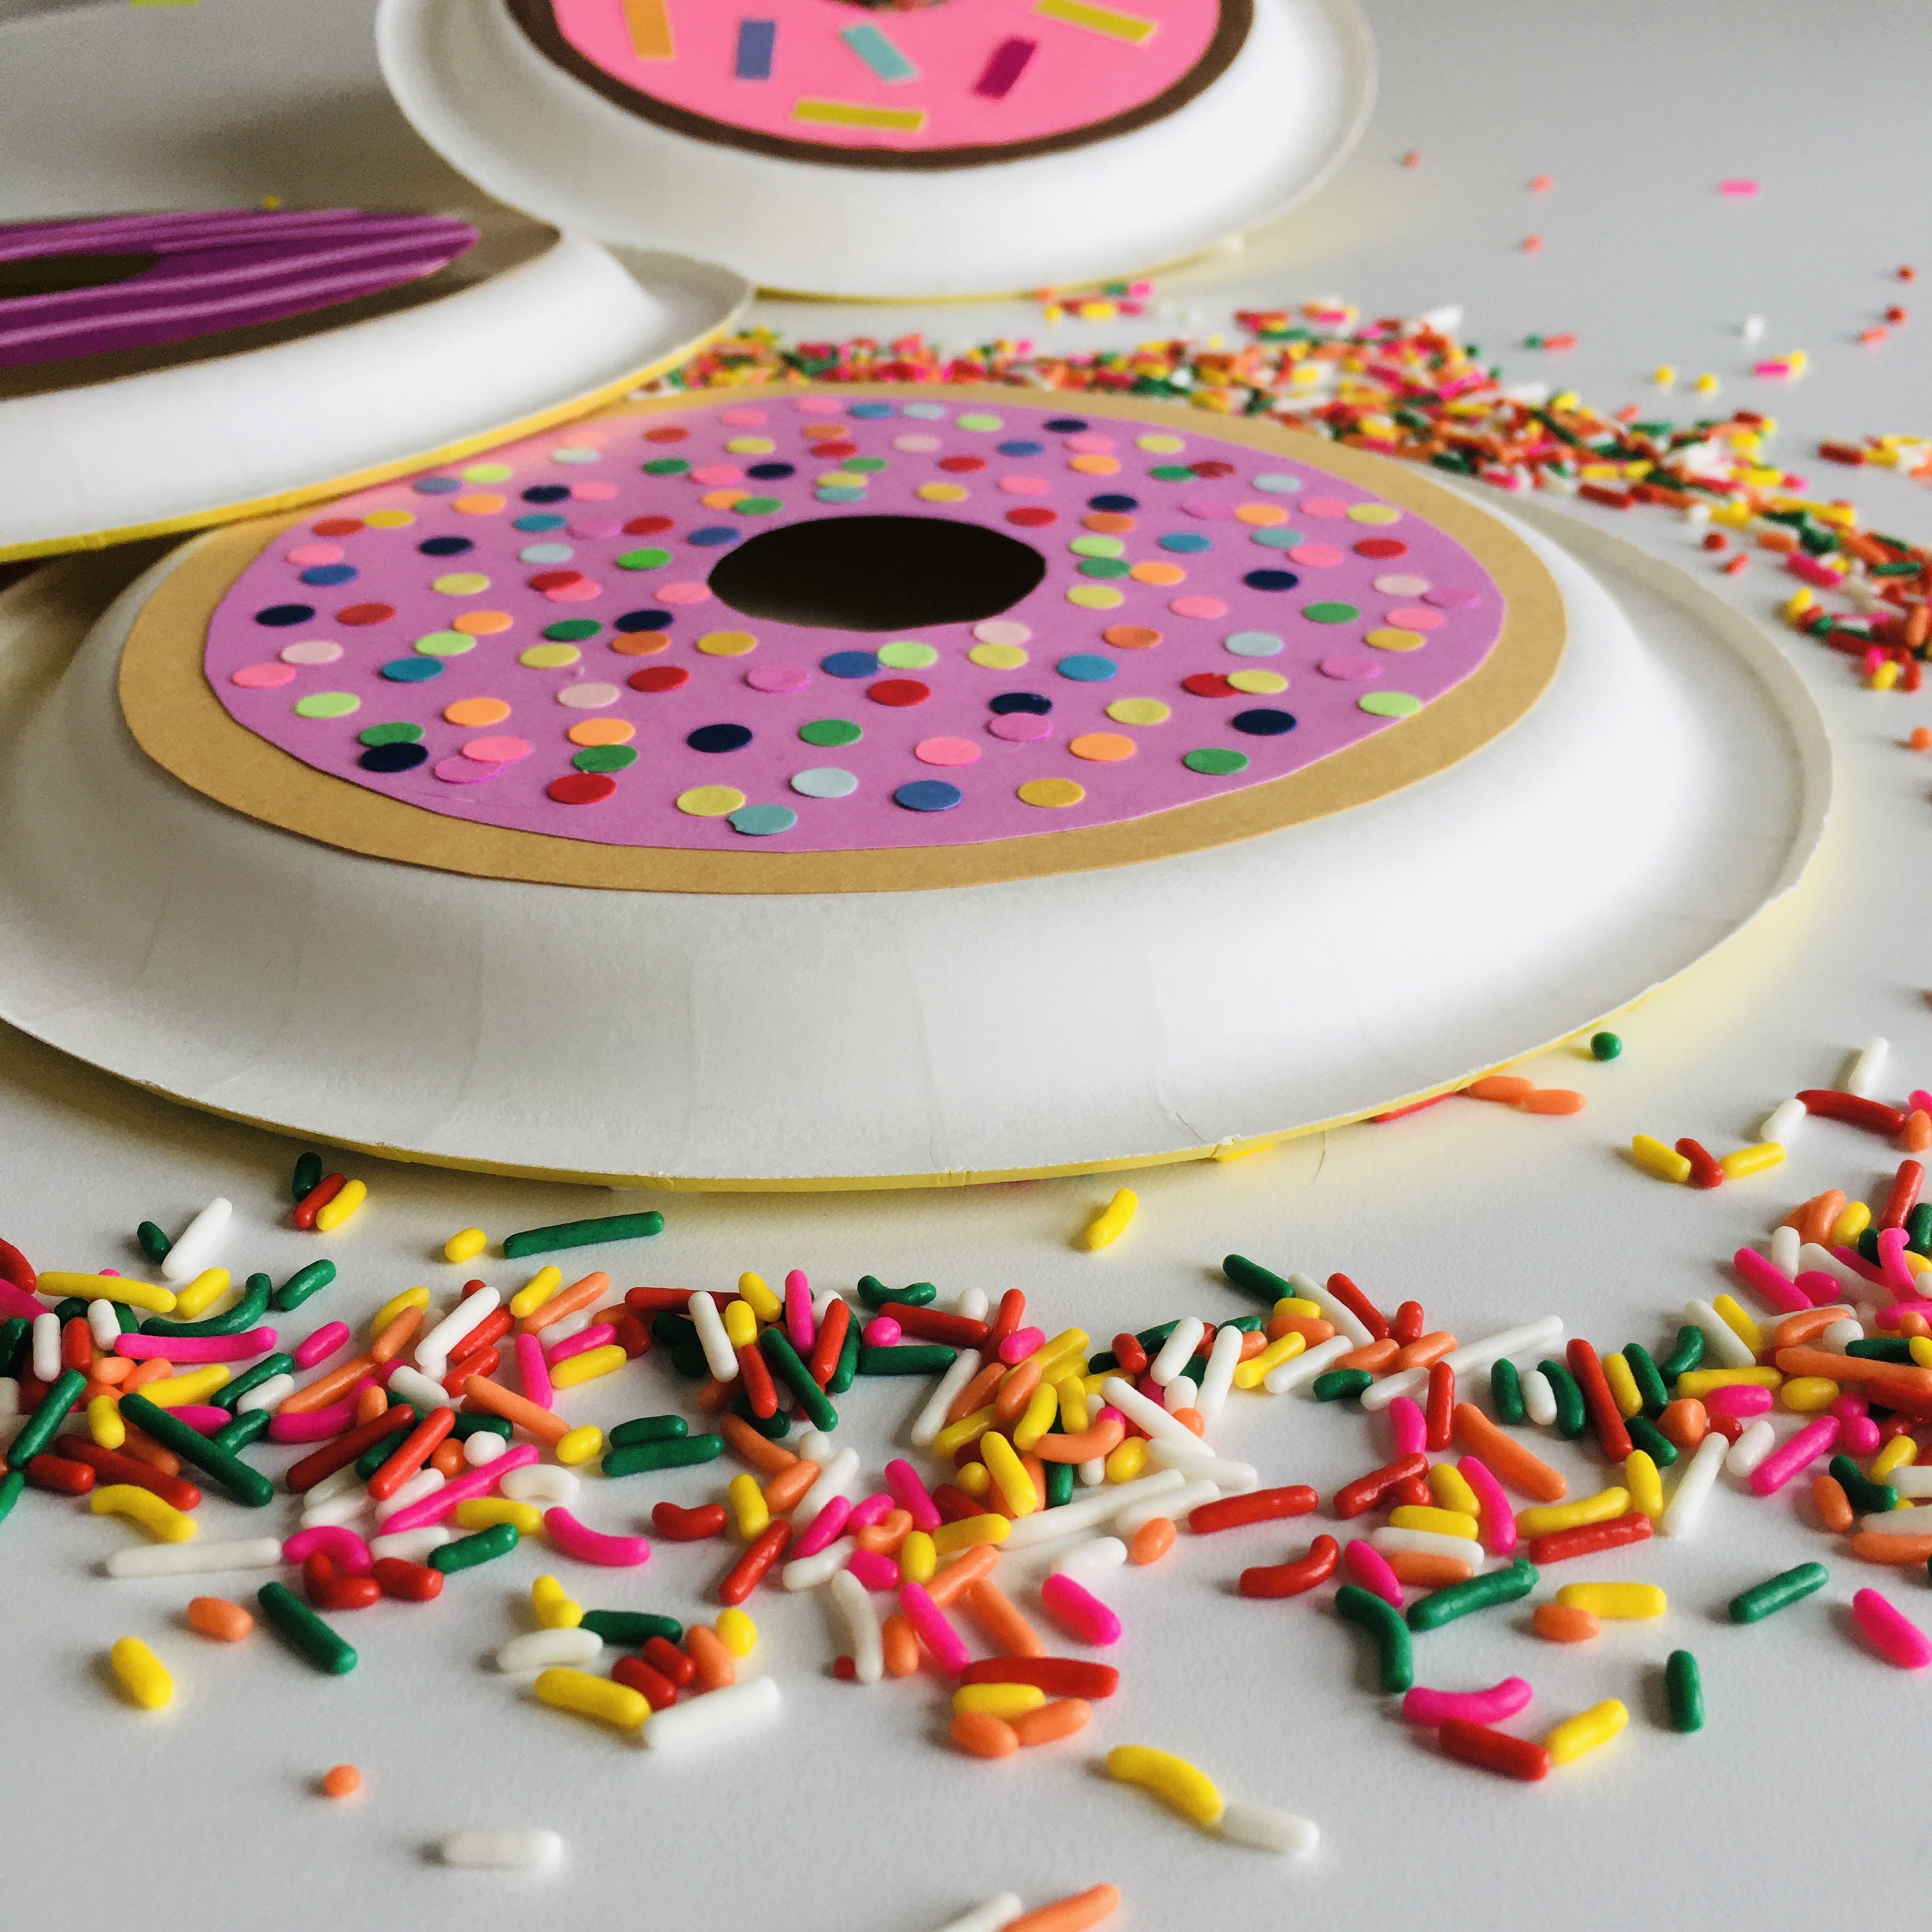
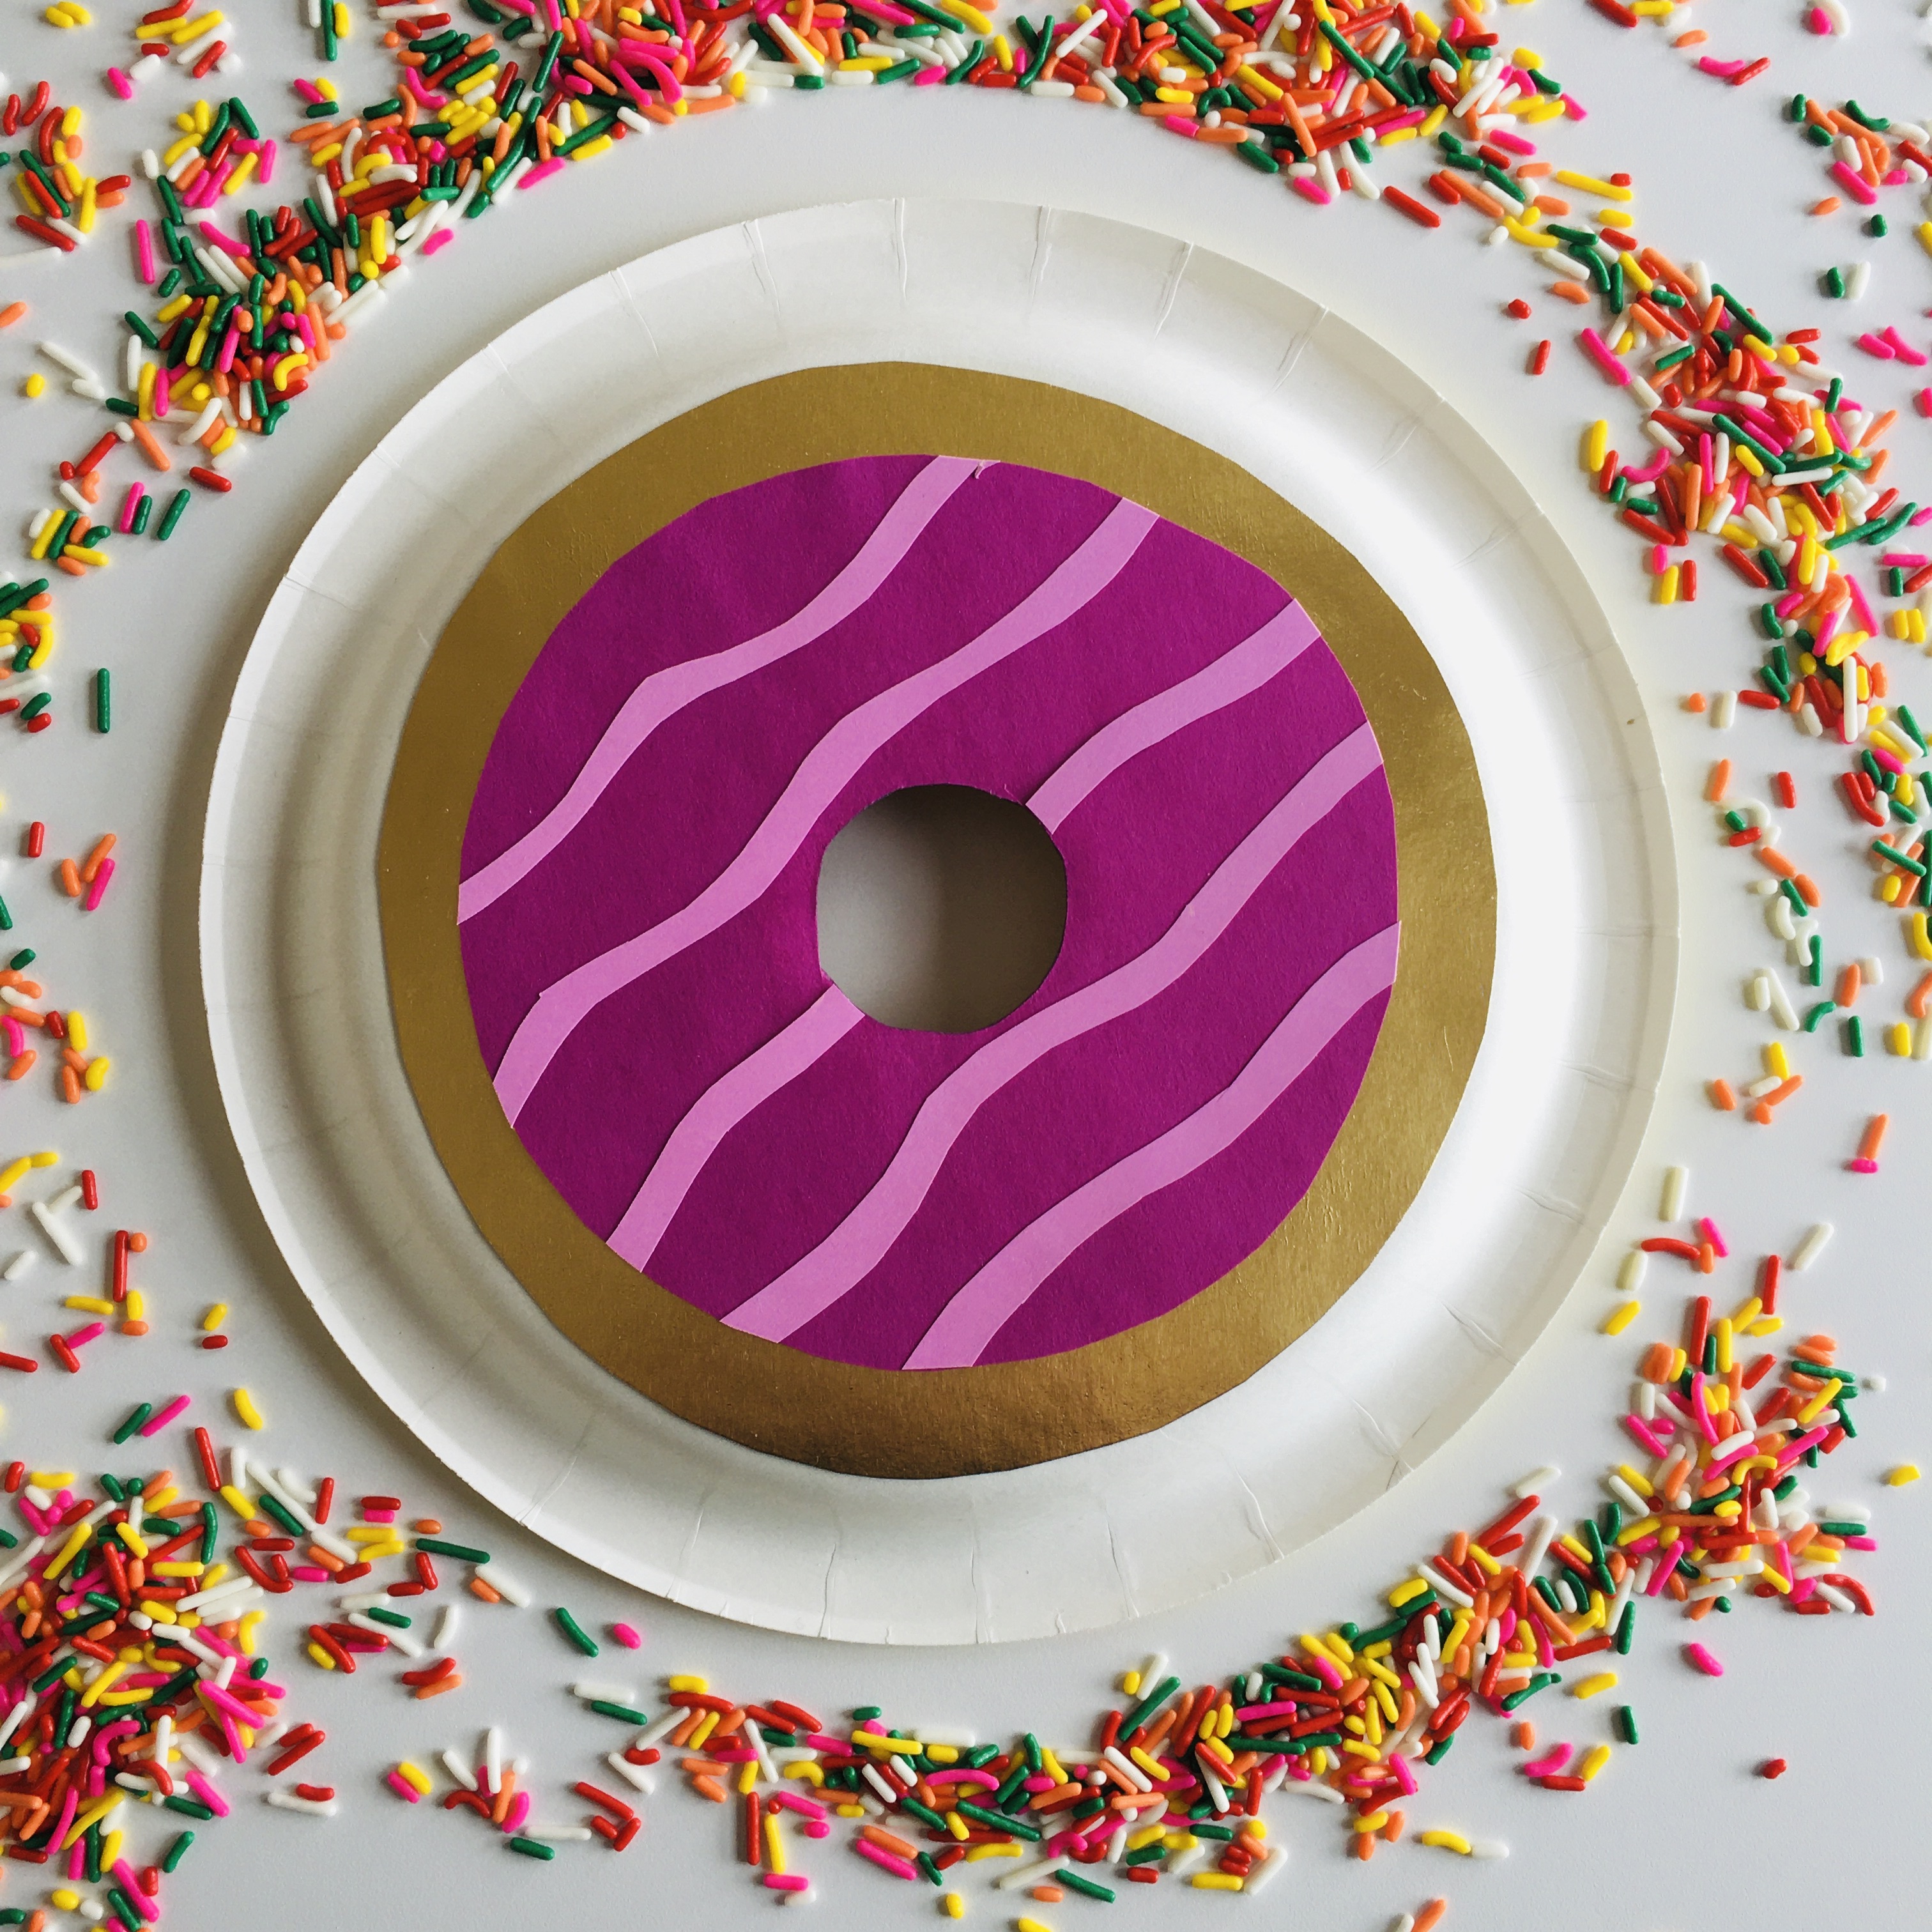
First, trace and cut a circle in the middle of the paper plate to create the Doughnut disc hole. To decorate, use markers, paint or paper to design your doughnut on the back side of the plate. What is your favorite flavor? Do you like chocolate covered, blueberry swirl, lemon burst or strawberry glazed?
I cut concentric circles of paper to create a dough base with a frosted top and then paper-punched and cut out paper sprinkles in rainbow colors to glue on top. You could also sprinkle with mini pom-poms, sequins or stickers. Glue stick seemed to work well for adhering the paper layers to each other and to the plate. That's it. You're ready to give your Doughnut disc a flick and watch it fly!
Check out www.margaretmuirhead.com for more information about Flip! You can pre-order your copy at Indiebound, Target, Barnes & Noble, Amazon or at your favorite neighborhood book shop.