


I’ve been (virtually) visiting schools with my picture book, FLIP! How the Frisbee Took Flight, and having so much fun making and experimenting with make-your-own flying objects. Together with students, I’ve made DIY discs out of all sorts of materials: paper plates, aluminum pie pans, origami paper, and, for one oversized experiment, a fabric-covered hula hoop (watching this ginormous creation fly was truly epic).
What is left? Well, now that I’ve gone big, it’s time to go tiny.
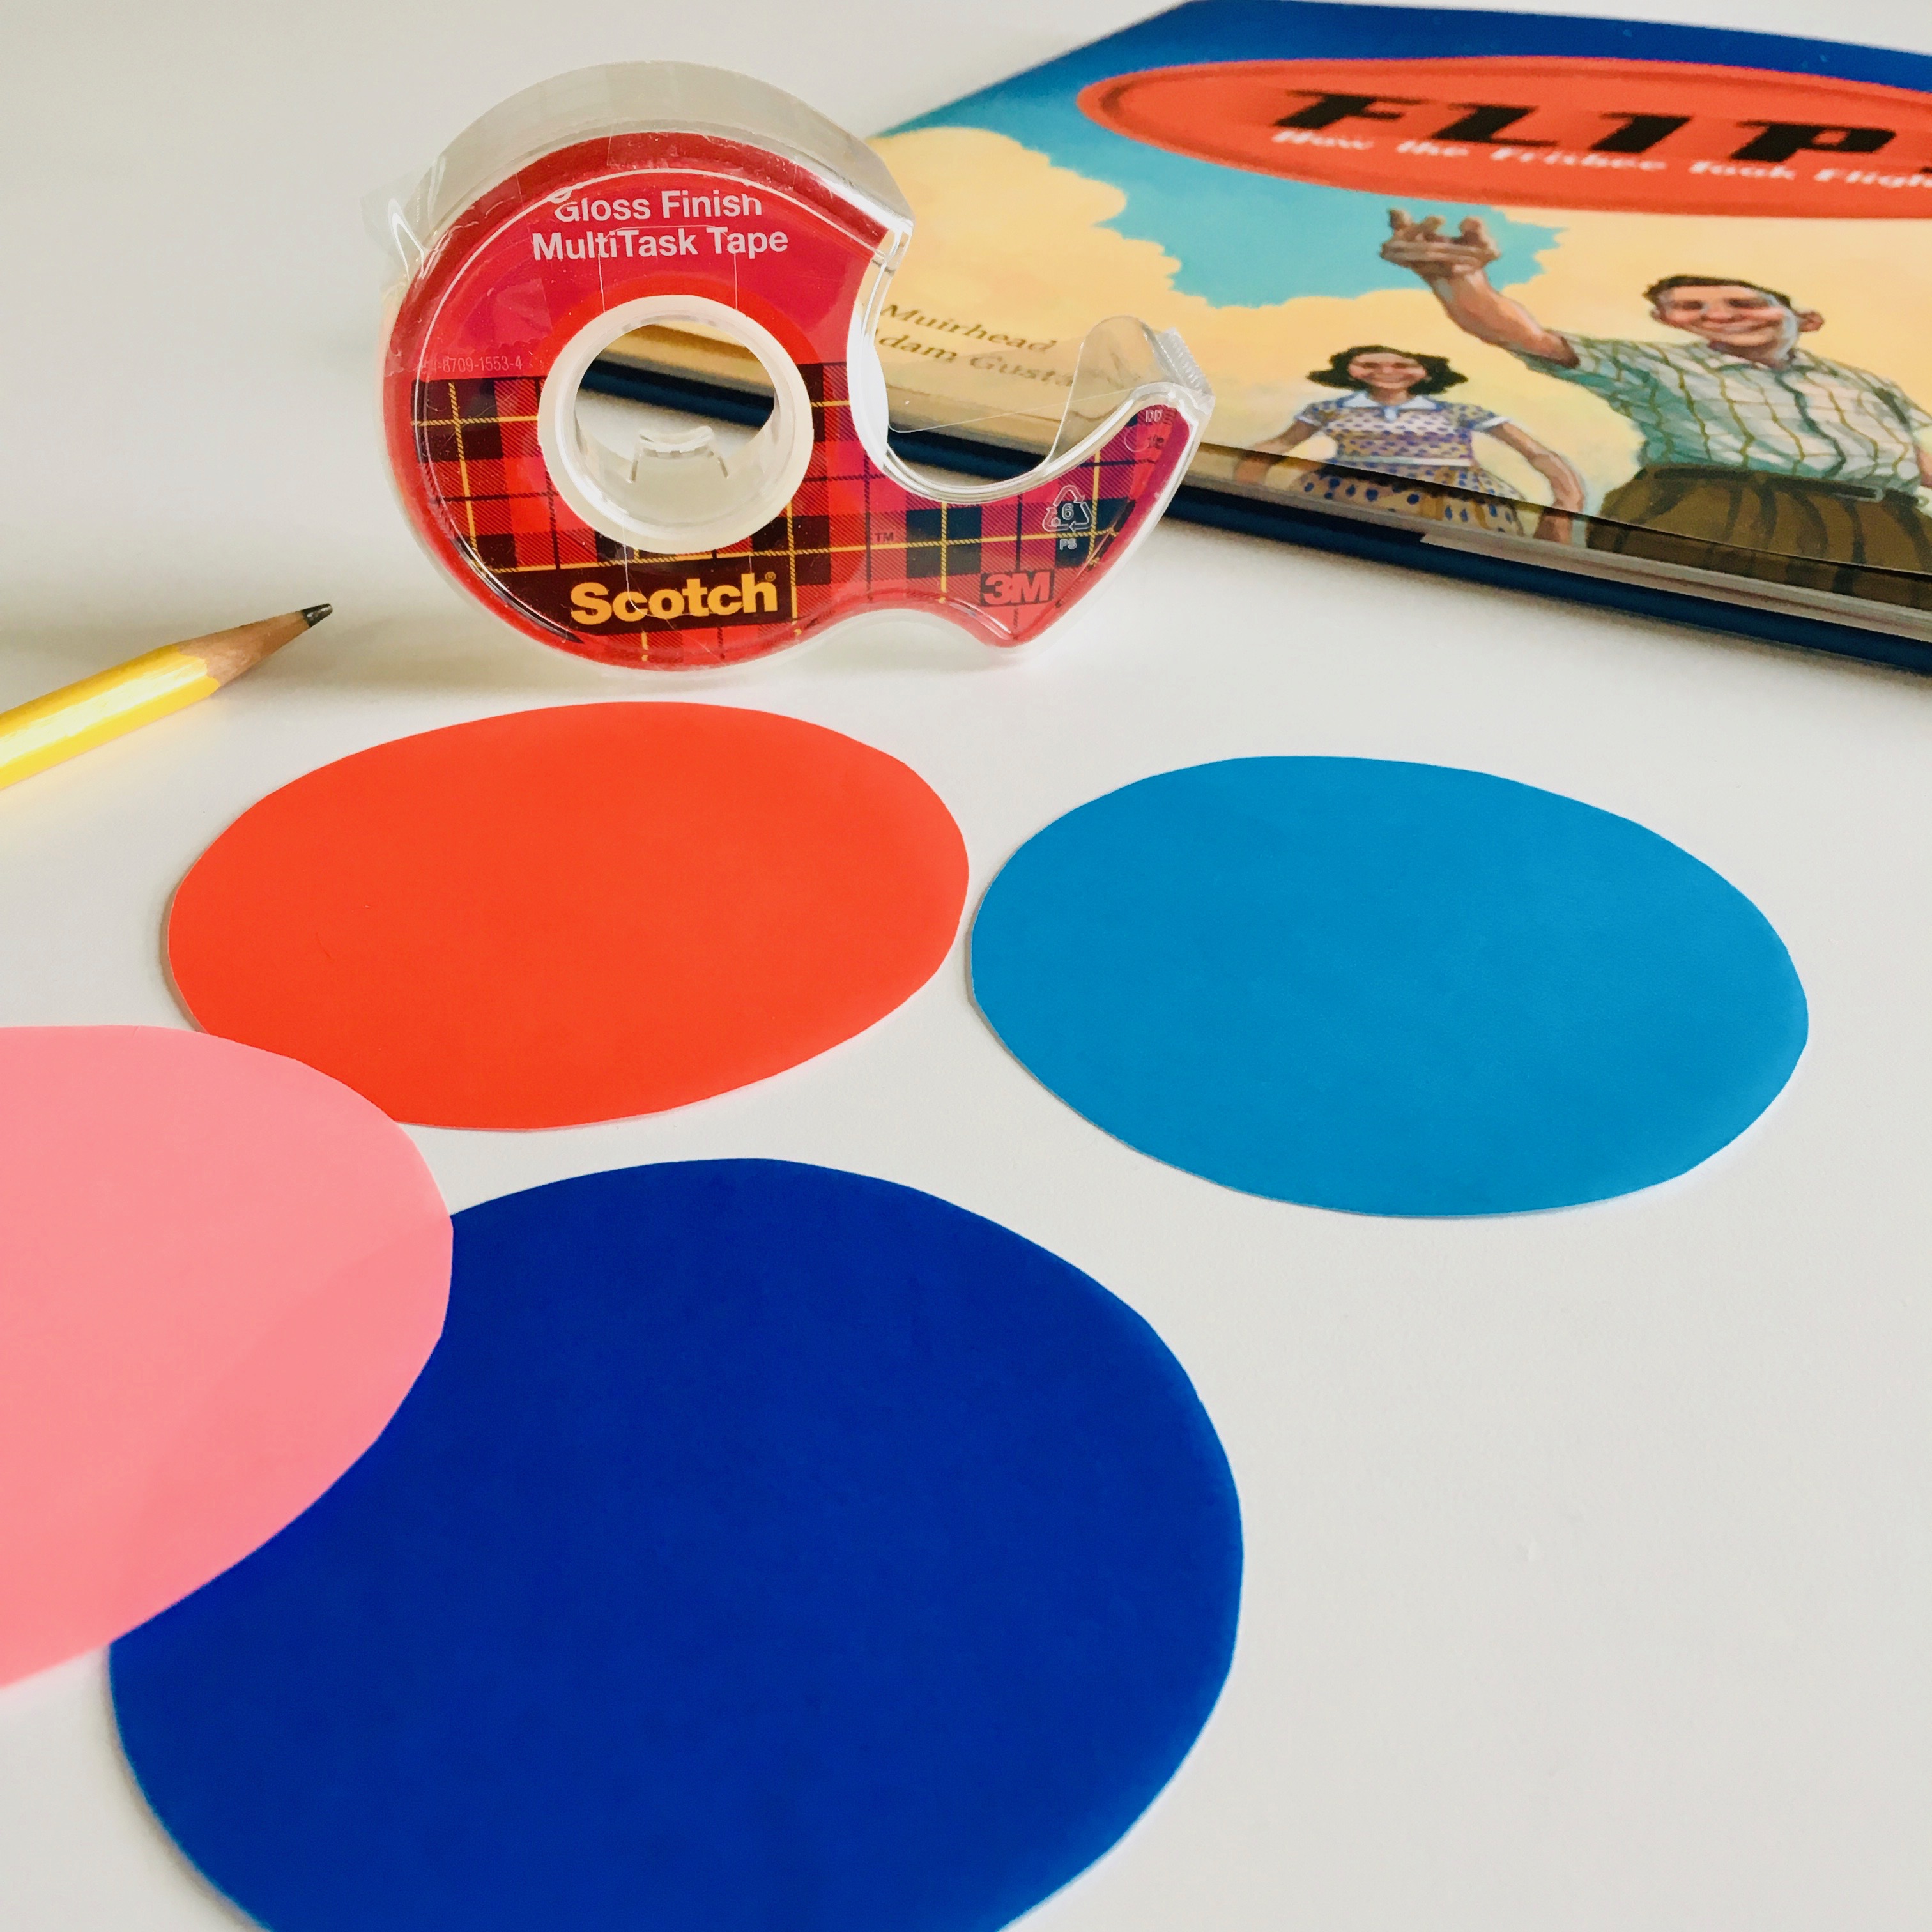
I collected a bunch of 3″ diameter, see-through lids from cylindrical chip containers, i.e., Pringles, or the slightly healthier kind we get from The Good Crisp Company. (While I wish I could blame my kids for eating most of the chips, I’m pretty sure it was mostly me.) But back to our craft–with an easy flick, the lids fly impressively well. I’m sure other plastic lids–from yogurt containers or cream cheese or whatever could work well, too–but I chose these lids because they were see-through so I could decorate them the way I wanted to. Here’s how I made my mini lid flyers:
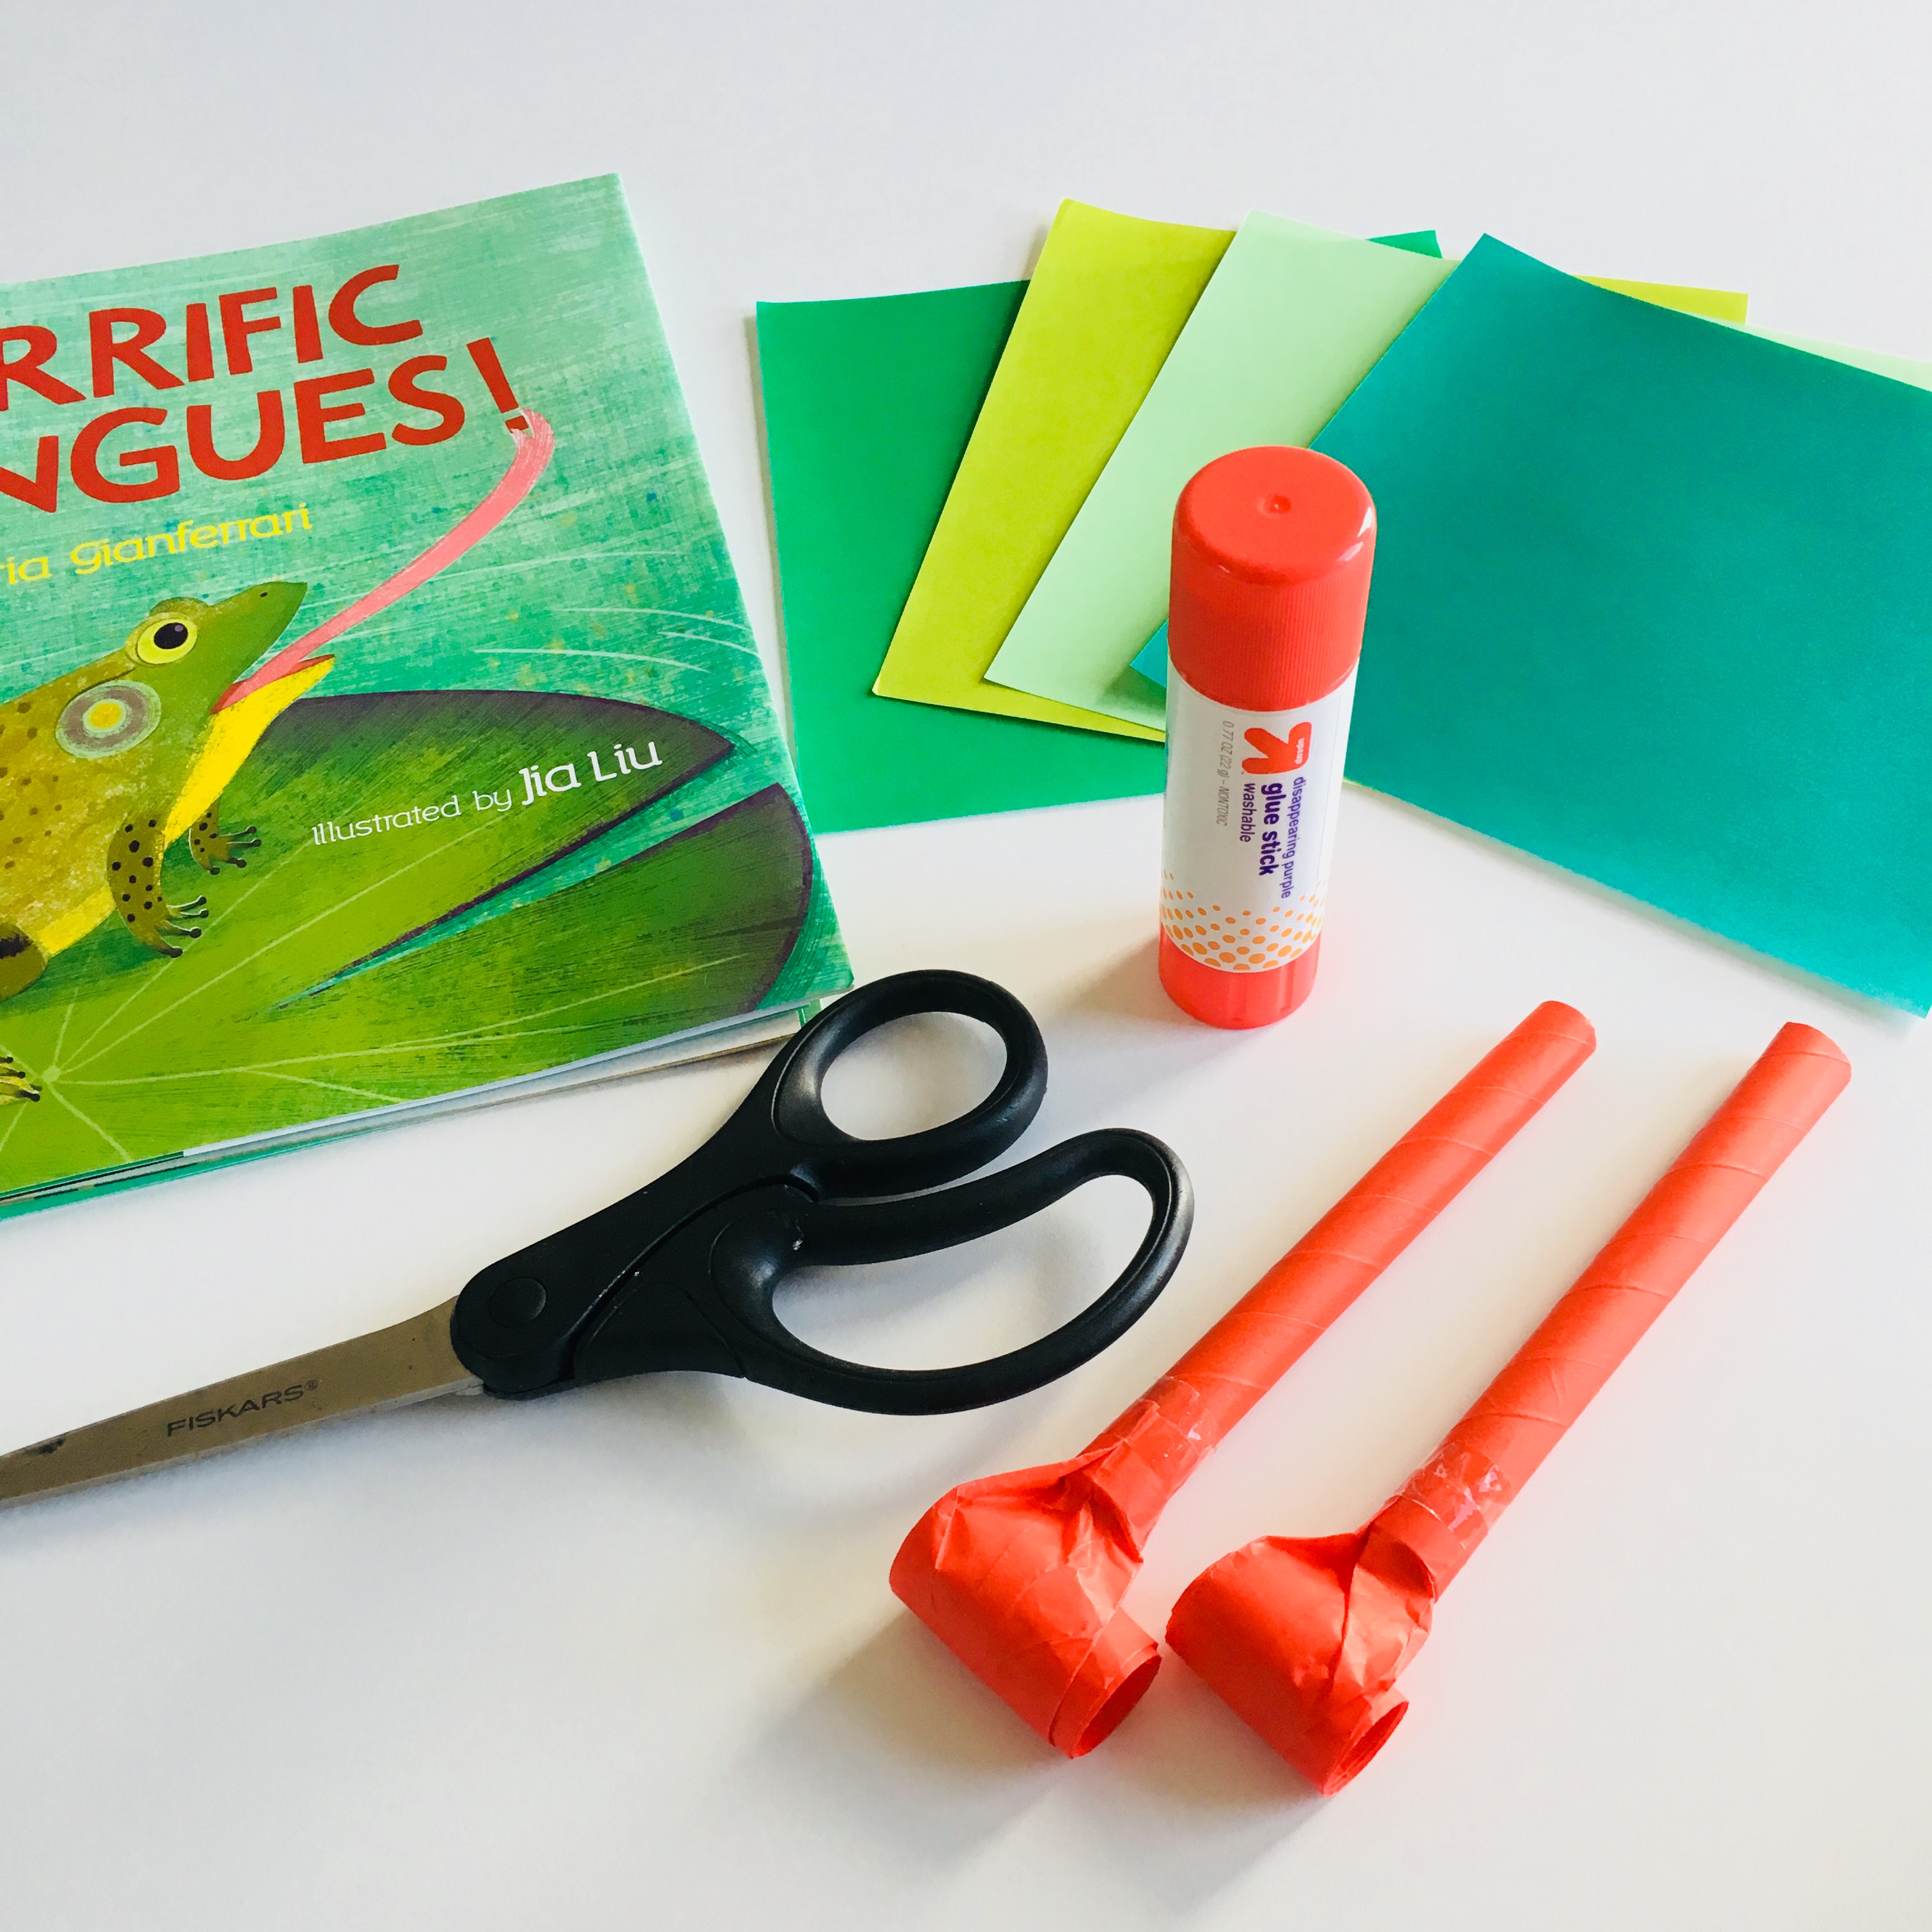
MATERIALS:
see-through 3″ plastic lids
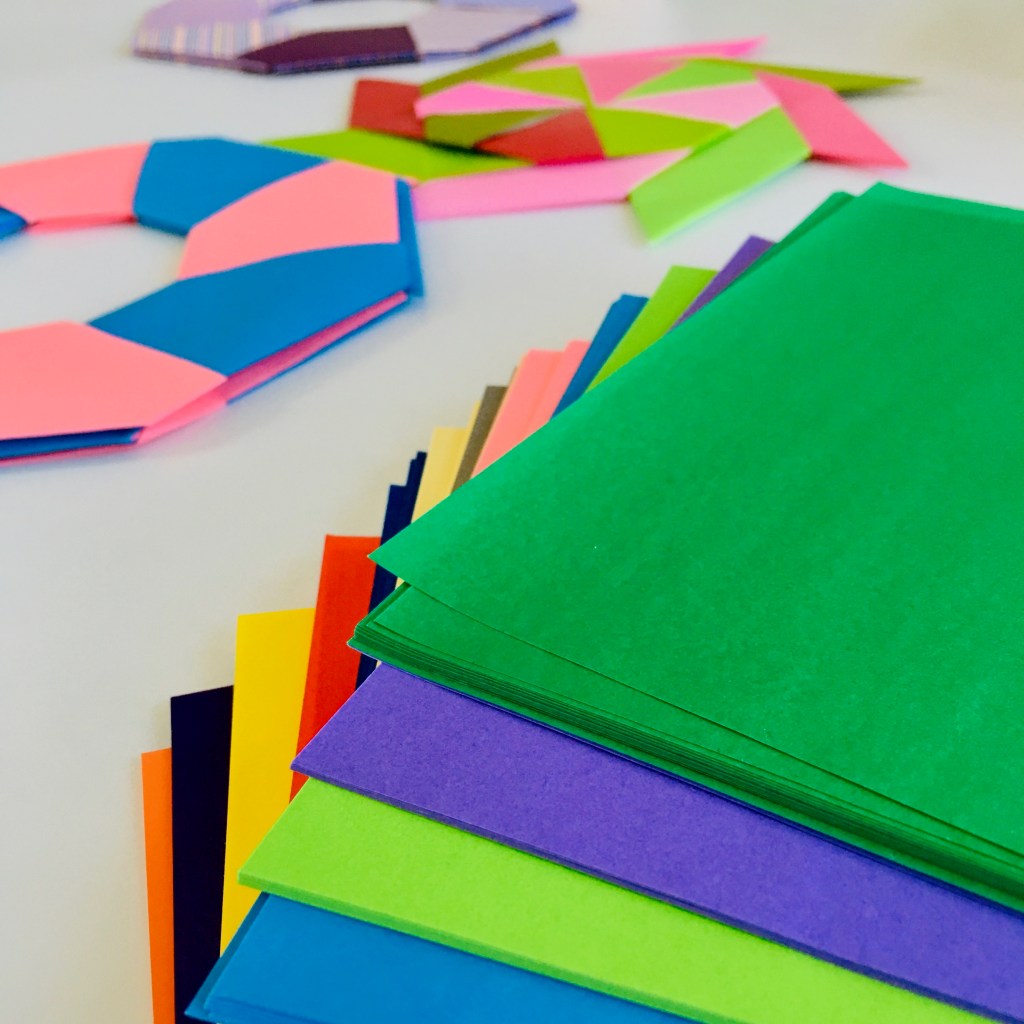
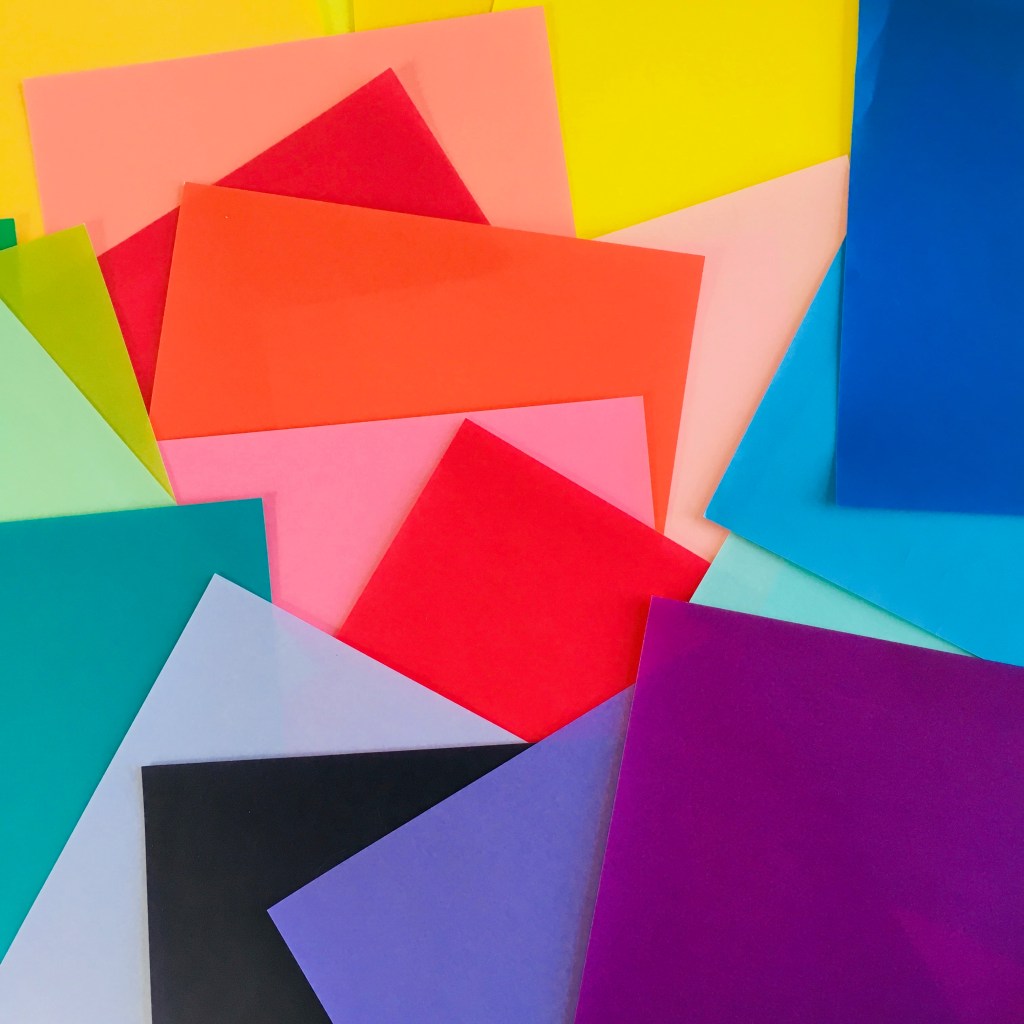
origami or construction paper in fun colors
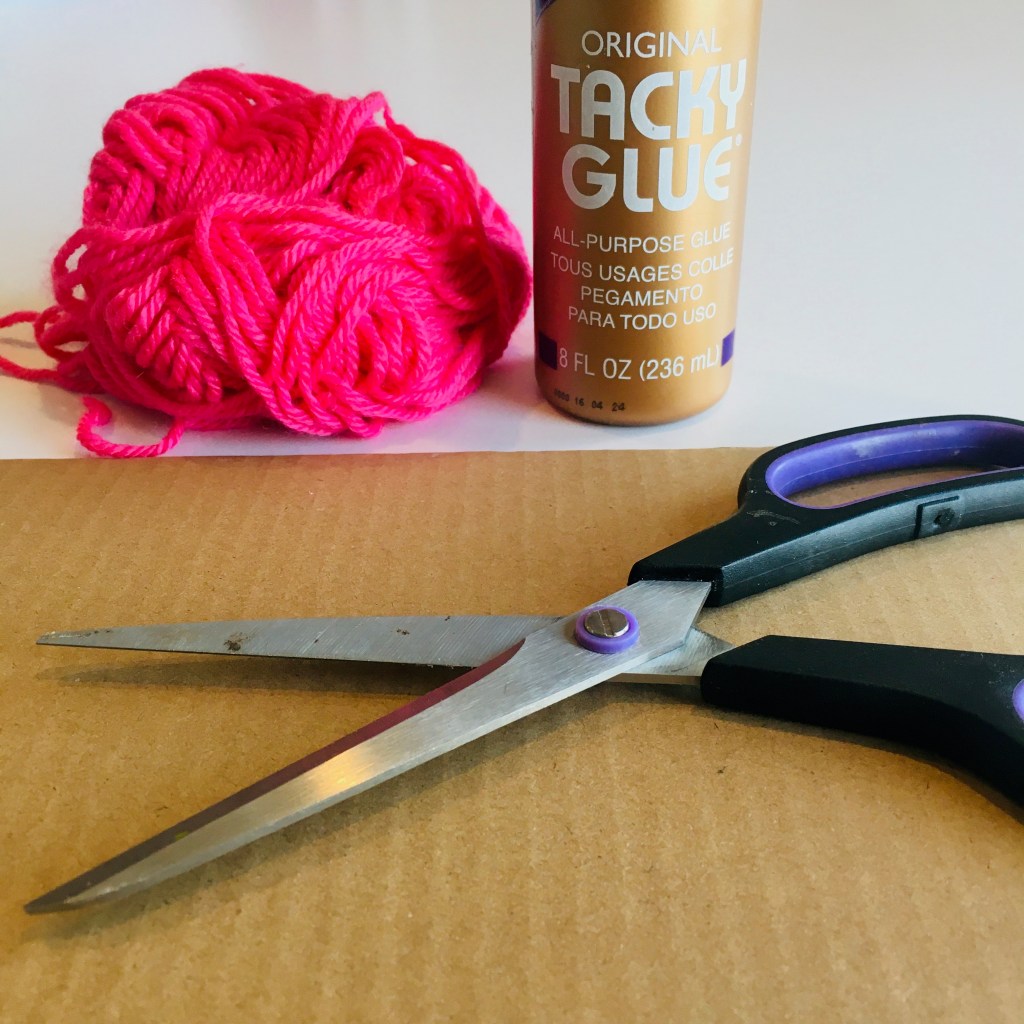
clear cellophane tape plus scissors and glue stick
DIRECTIONS:
1.With a pencil, trace around the lid on a piece of your colored paper.
2. Cut out; trim to make sure it fits inside your lid and then trim a bit more so there’s some space to tape the paper inside of your lid.
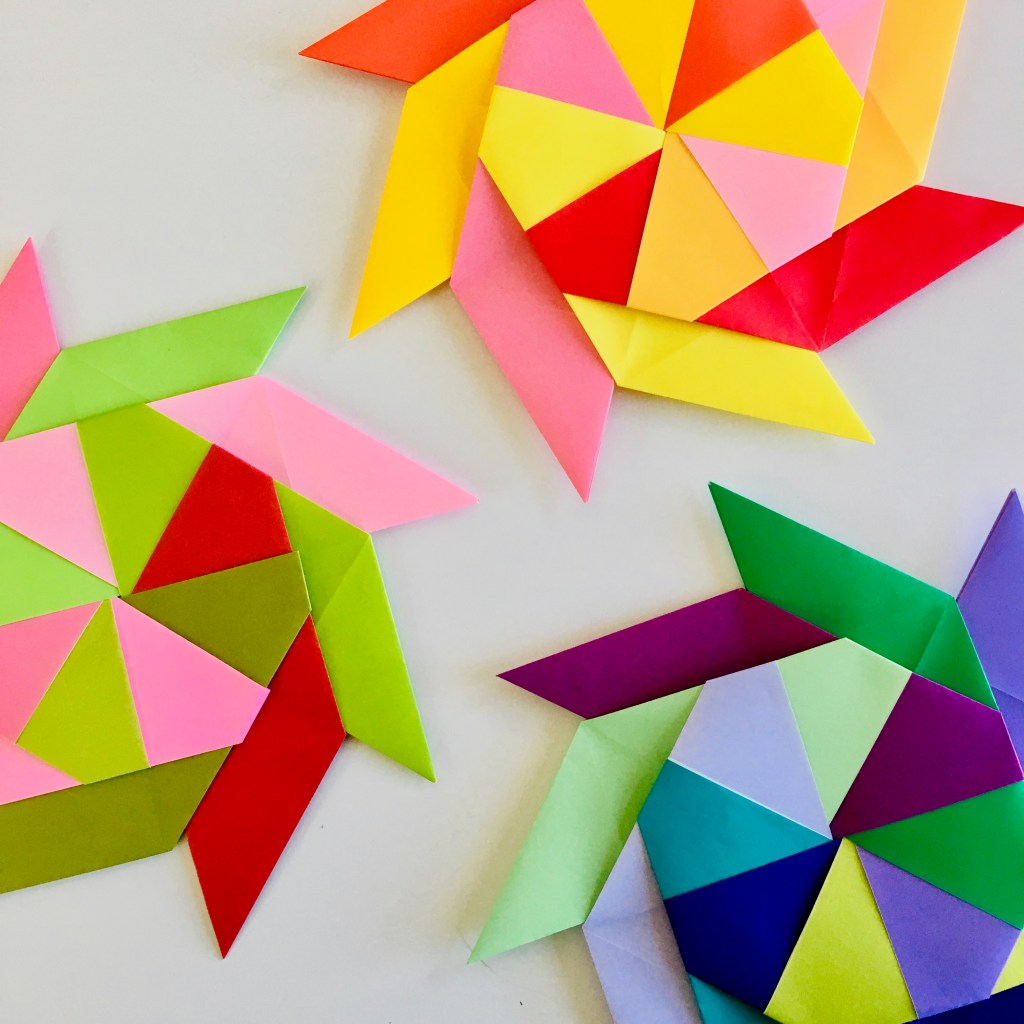
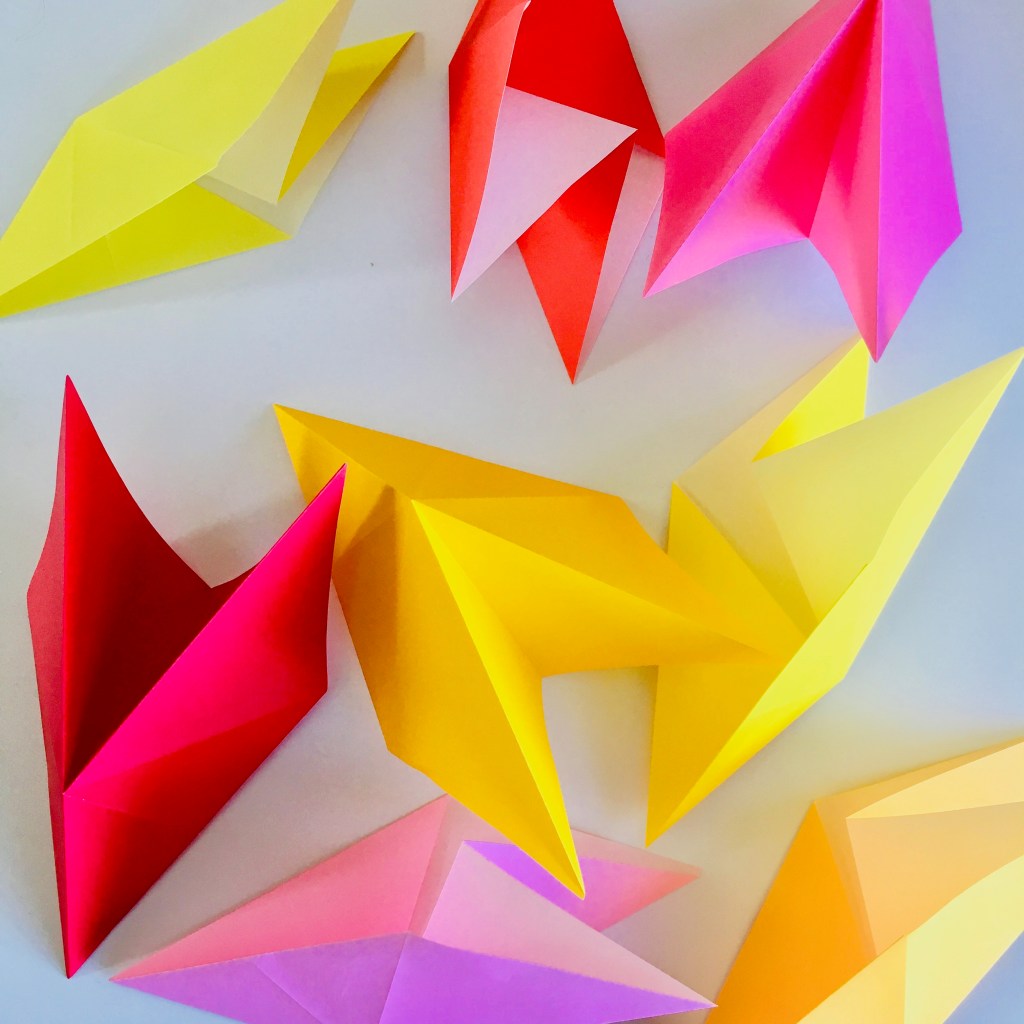
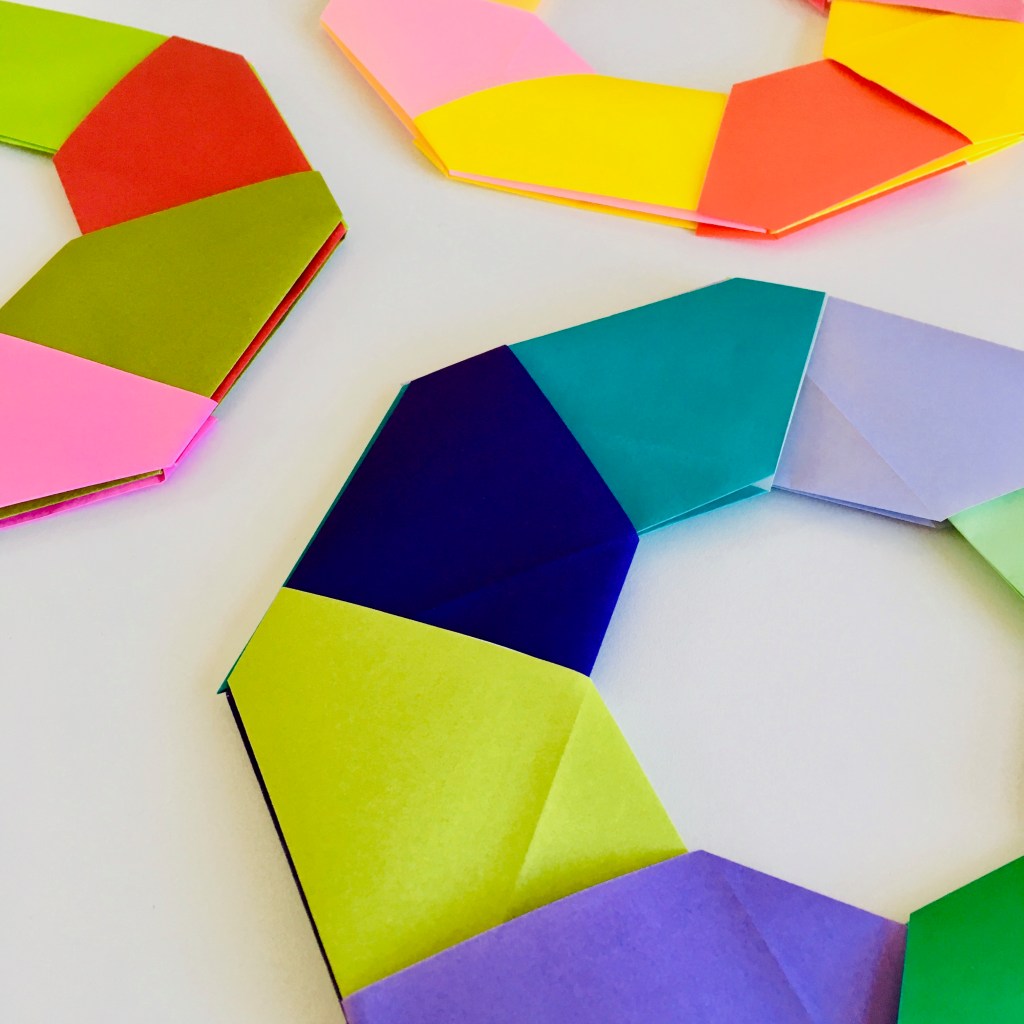
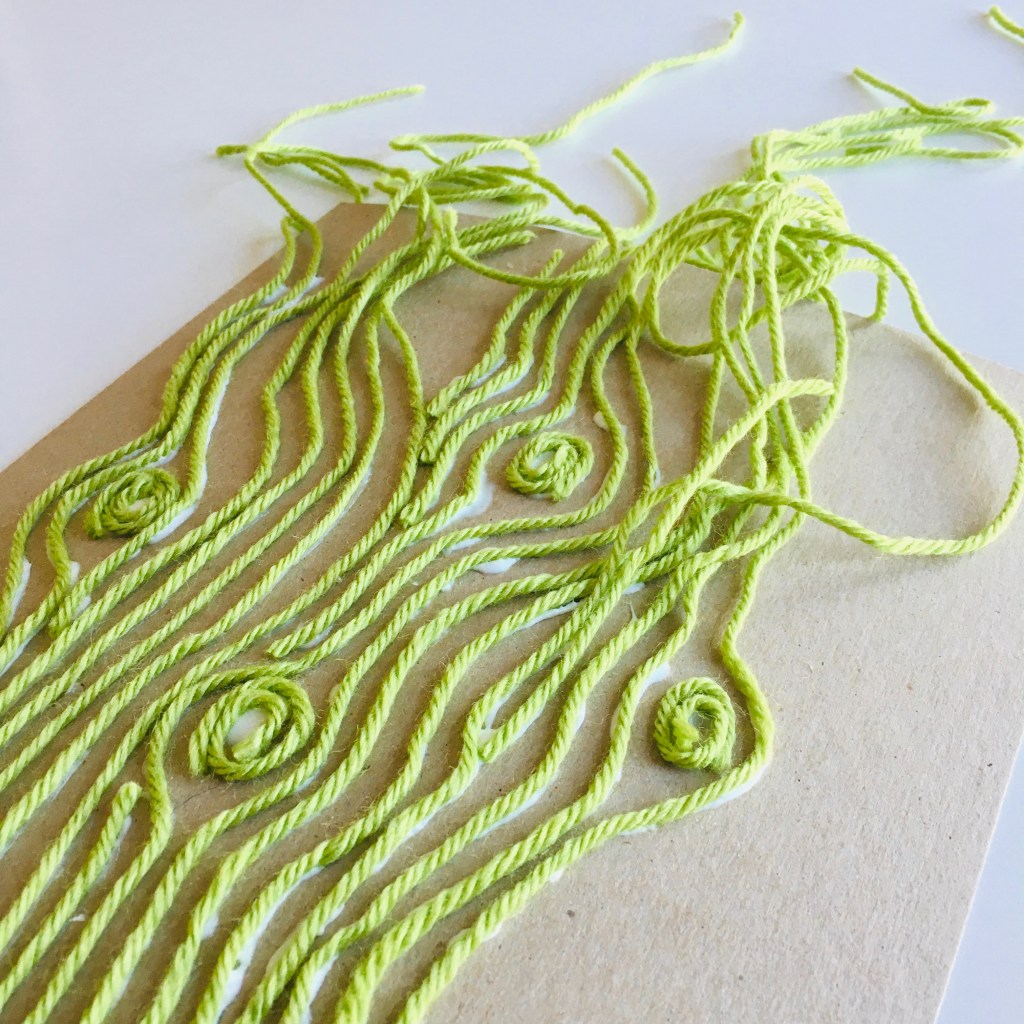
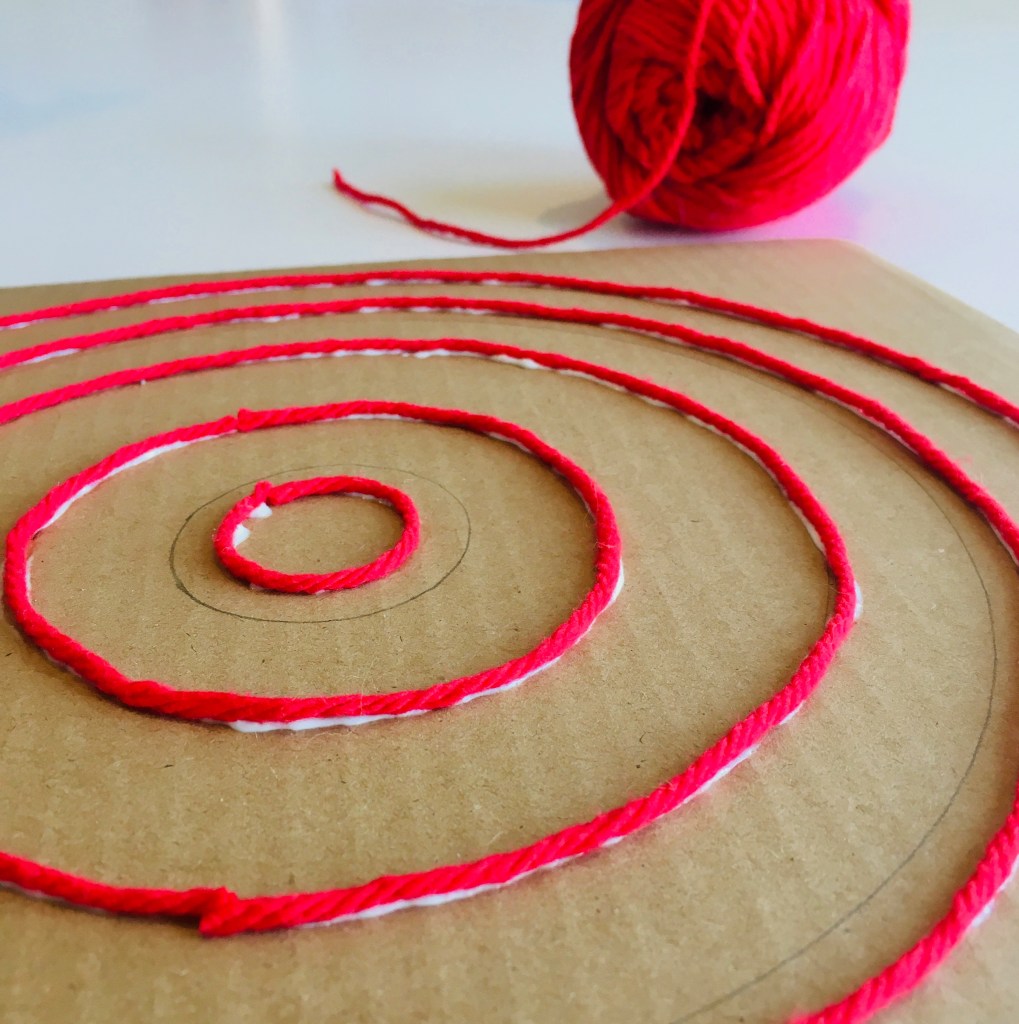
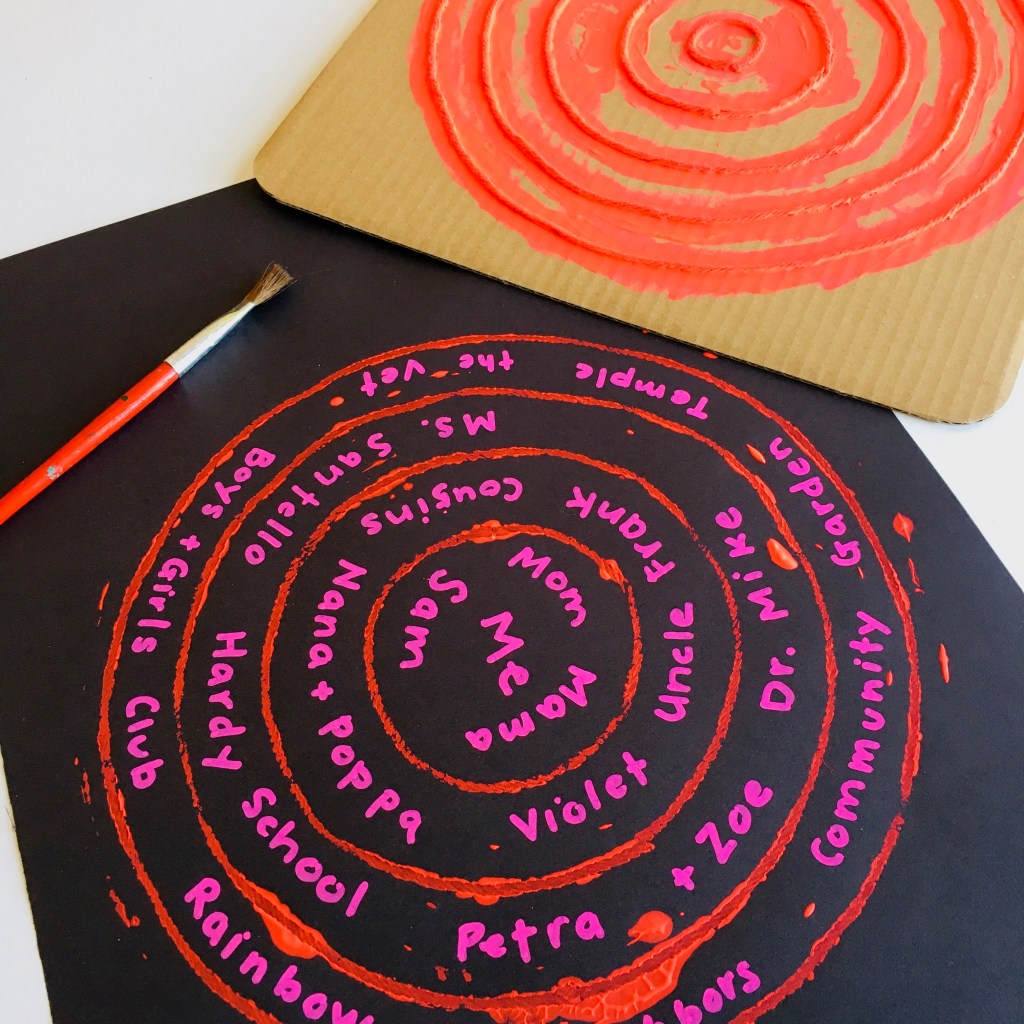
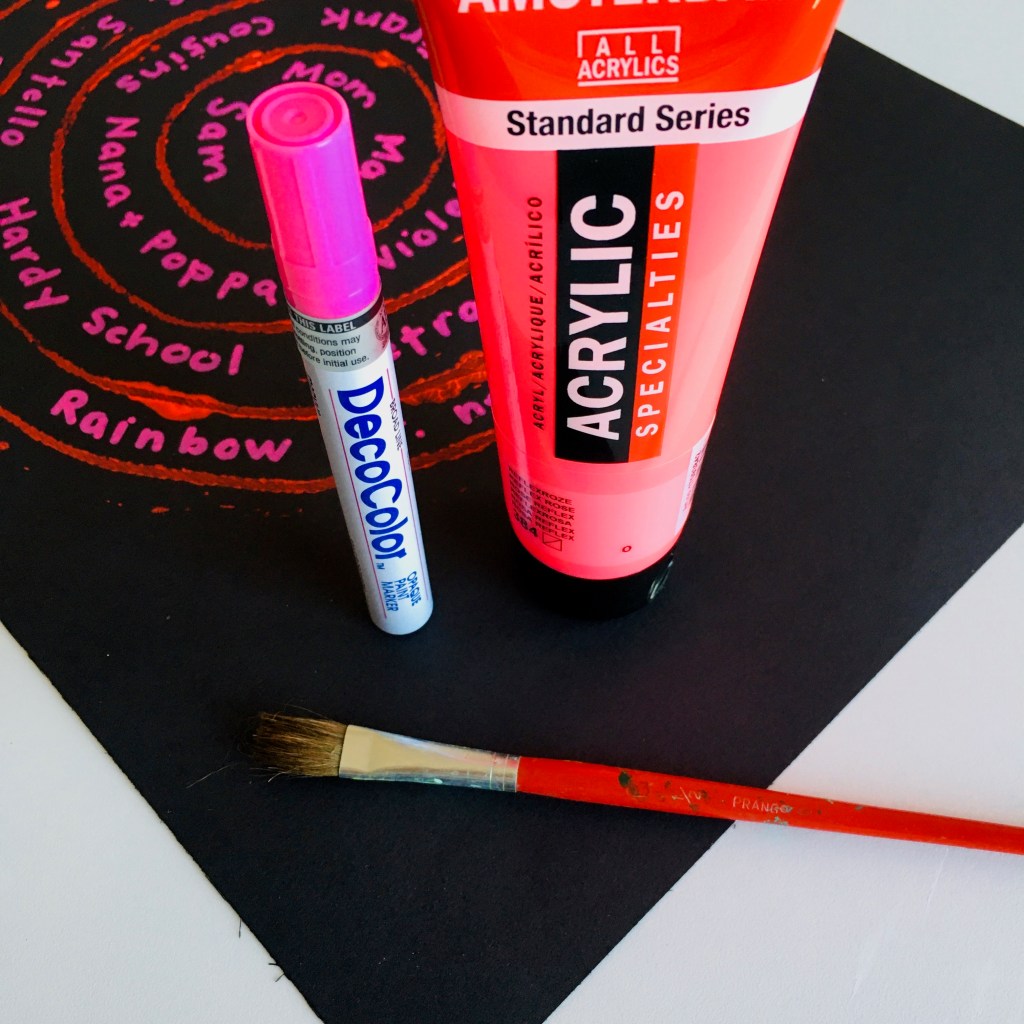
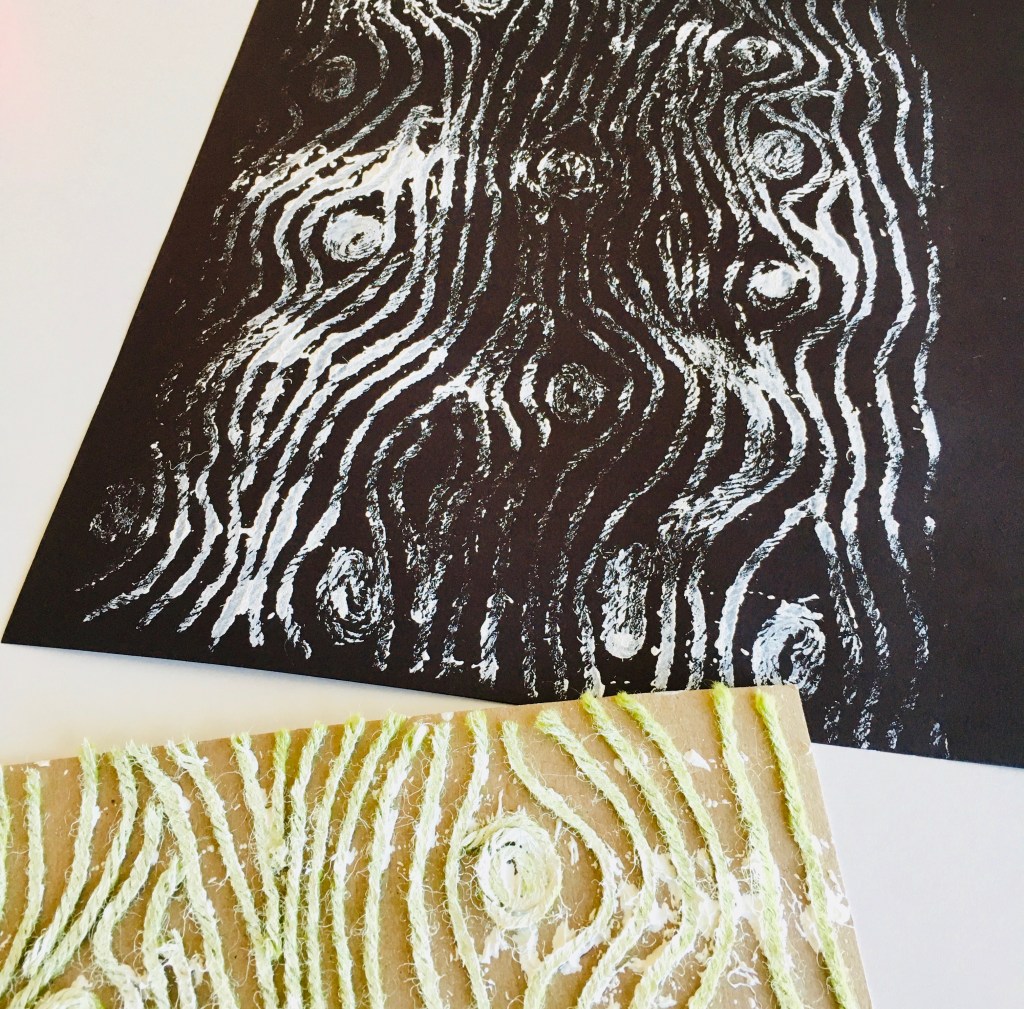
3. Decorate however you like! Use marker or collage like I did and create rainbows, stripes, spirals, smiley faces–whatever pleases you. If you’re collaging, I recommend using glue stick.
4. Cut tiny pieces of your clear tape and tape your design all around the edges of your paper circle and adhere to the inside of your lid. Voila! Now you can terrorize your siblings or cats or parents with these mini Frisbees 🙂
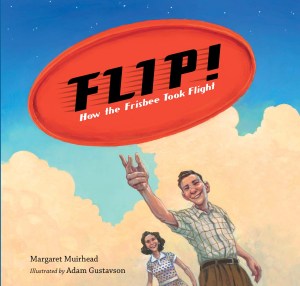
Check out www.margaretmuirhead.com for more information about Flip! You can order your copy at Indiebound, Target, Barnes & Noble, Amazon or at your favorite neighborhood book shop.


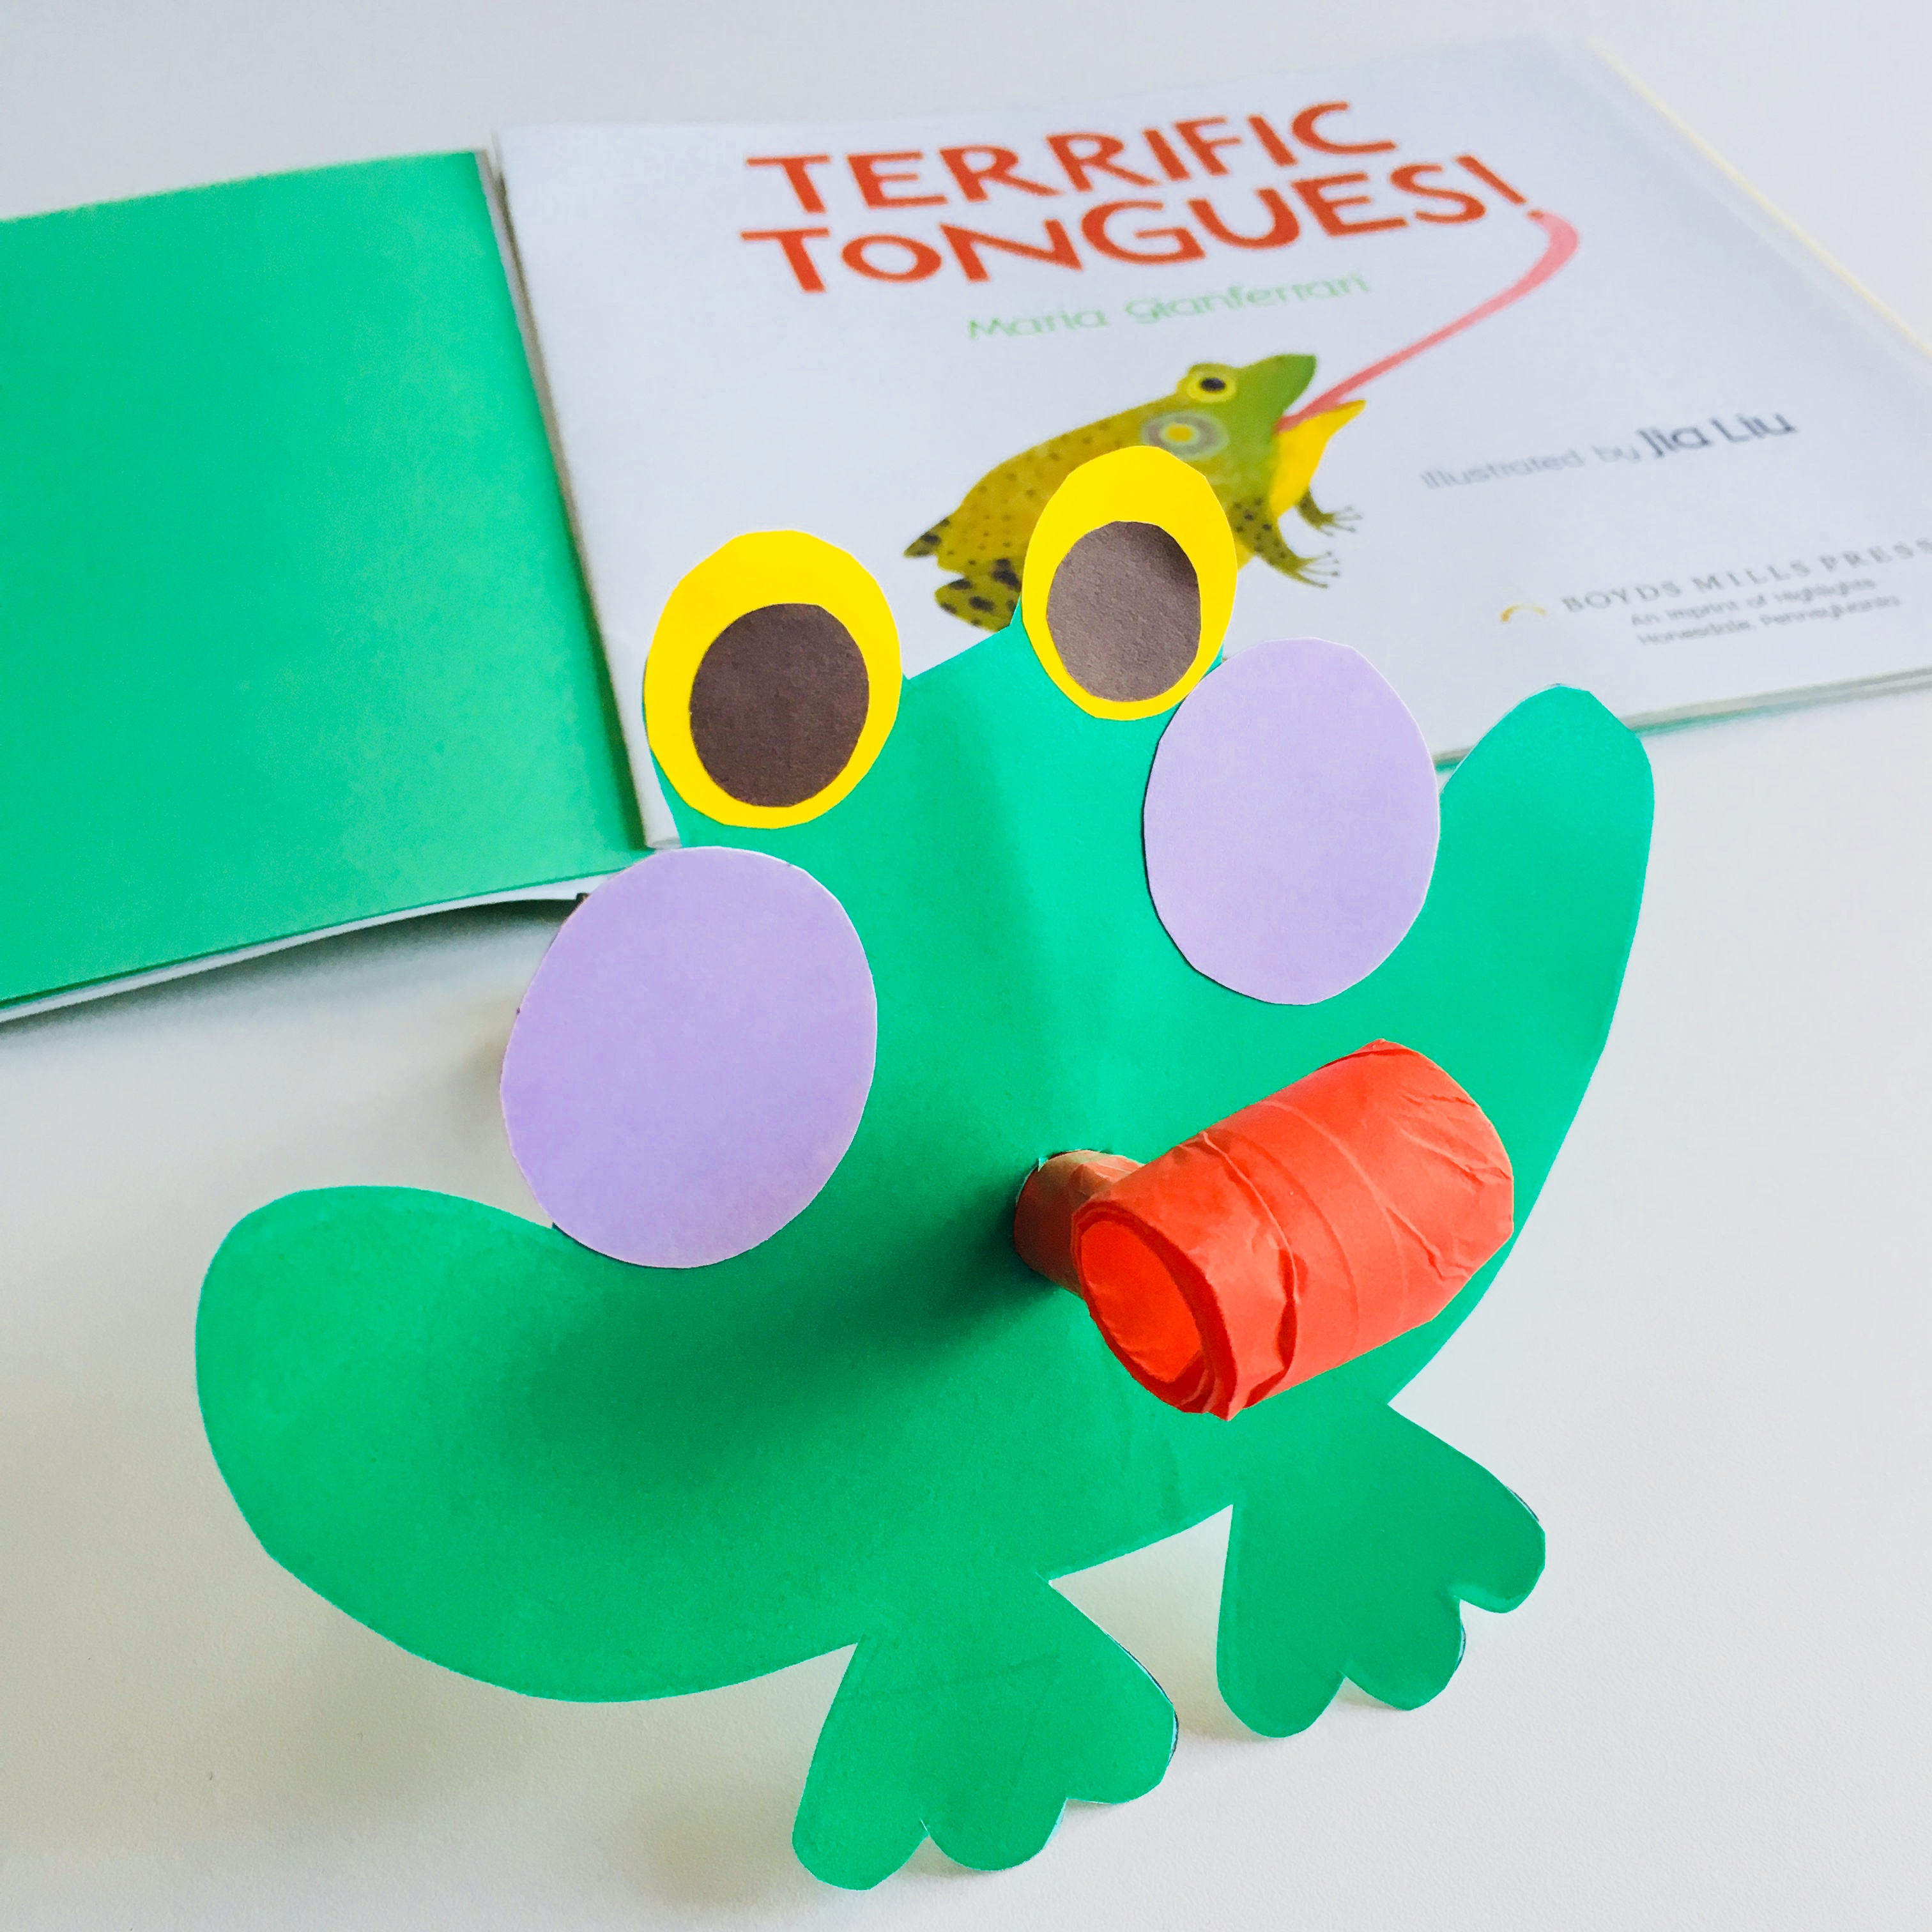 I learned about these fun tongues in Maria Gianferrari’s playful, informative picture book, Terrific Tongues! (with spirited, bright illustrations by Jia Liu). An inviting read-aloud, the simple text keeps the audience guessing at each turn of the page: Which tongue (with which function) belongs to which animal? Sidebars and back matter offer more detailed information about the unusual abilities of tongues.