The Book Giveaway is now closed. Thank you for participating!

PROJECT: Experimenting with colored ice cubes
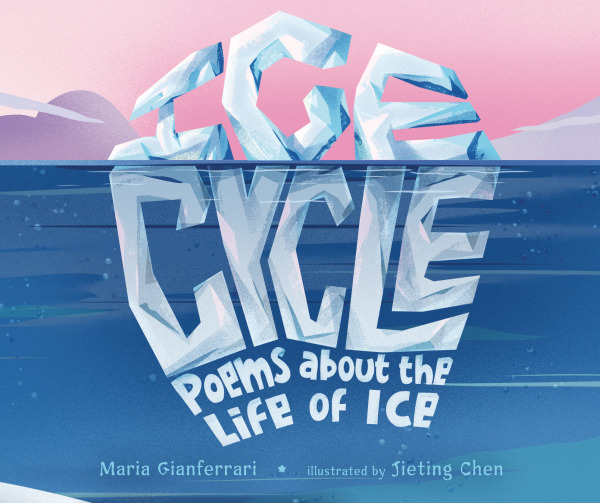
Icebergs, floebergs, brinicles, frazil, ice flowers and frost. Maria Gianferrari’s book of poems, Ice Cycle, beautifully illustrated in pastel pinks and blues by Jiening Chen, explores the many shapes and structures of ice. Gianferrari’s rhymes and rhythms “swirl and twirl” and “plume and bloom,” bring to life the fascinating–and surprisingly varied–forms of our favorite frozen substance.
To celebrate the publication of this wonderful book, I wanted to create an activity that would enchant and beguile young scientists. Why not create some hands-on frosty fun to observe and learn?
MATERIALS
- ice tray
- multicolor food dye
- water
- a freezer!
- large bowl or cooking sheet with rim
- small bowls
- salt
- sugar
- optional: watercolor paper

DIRECTIONS:
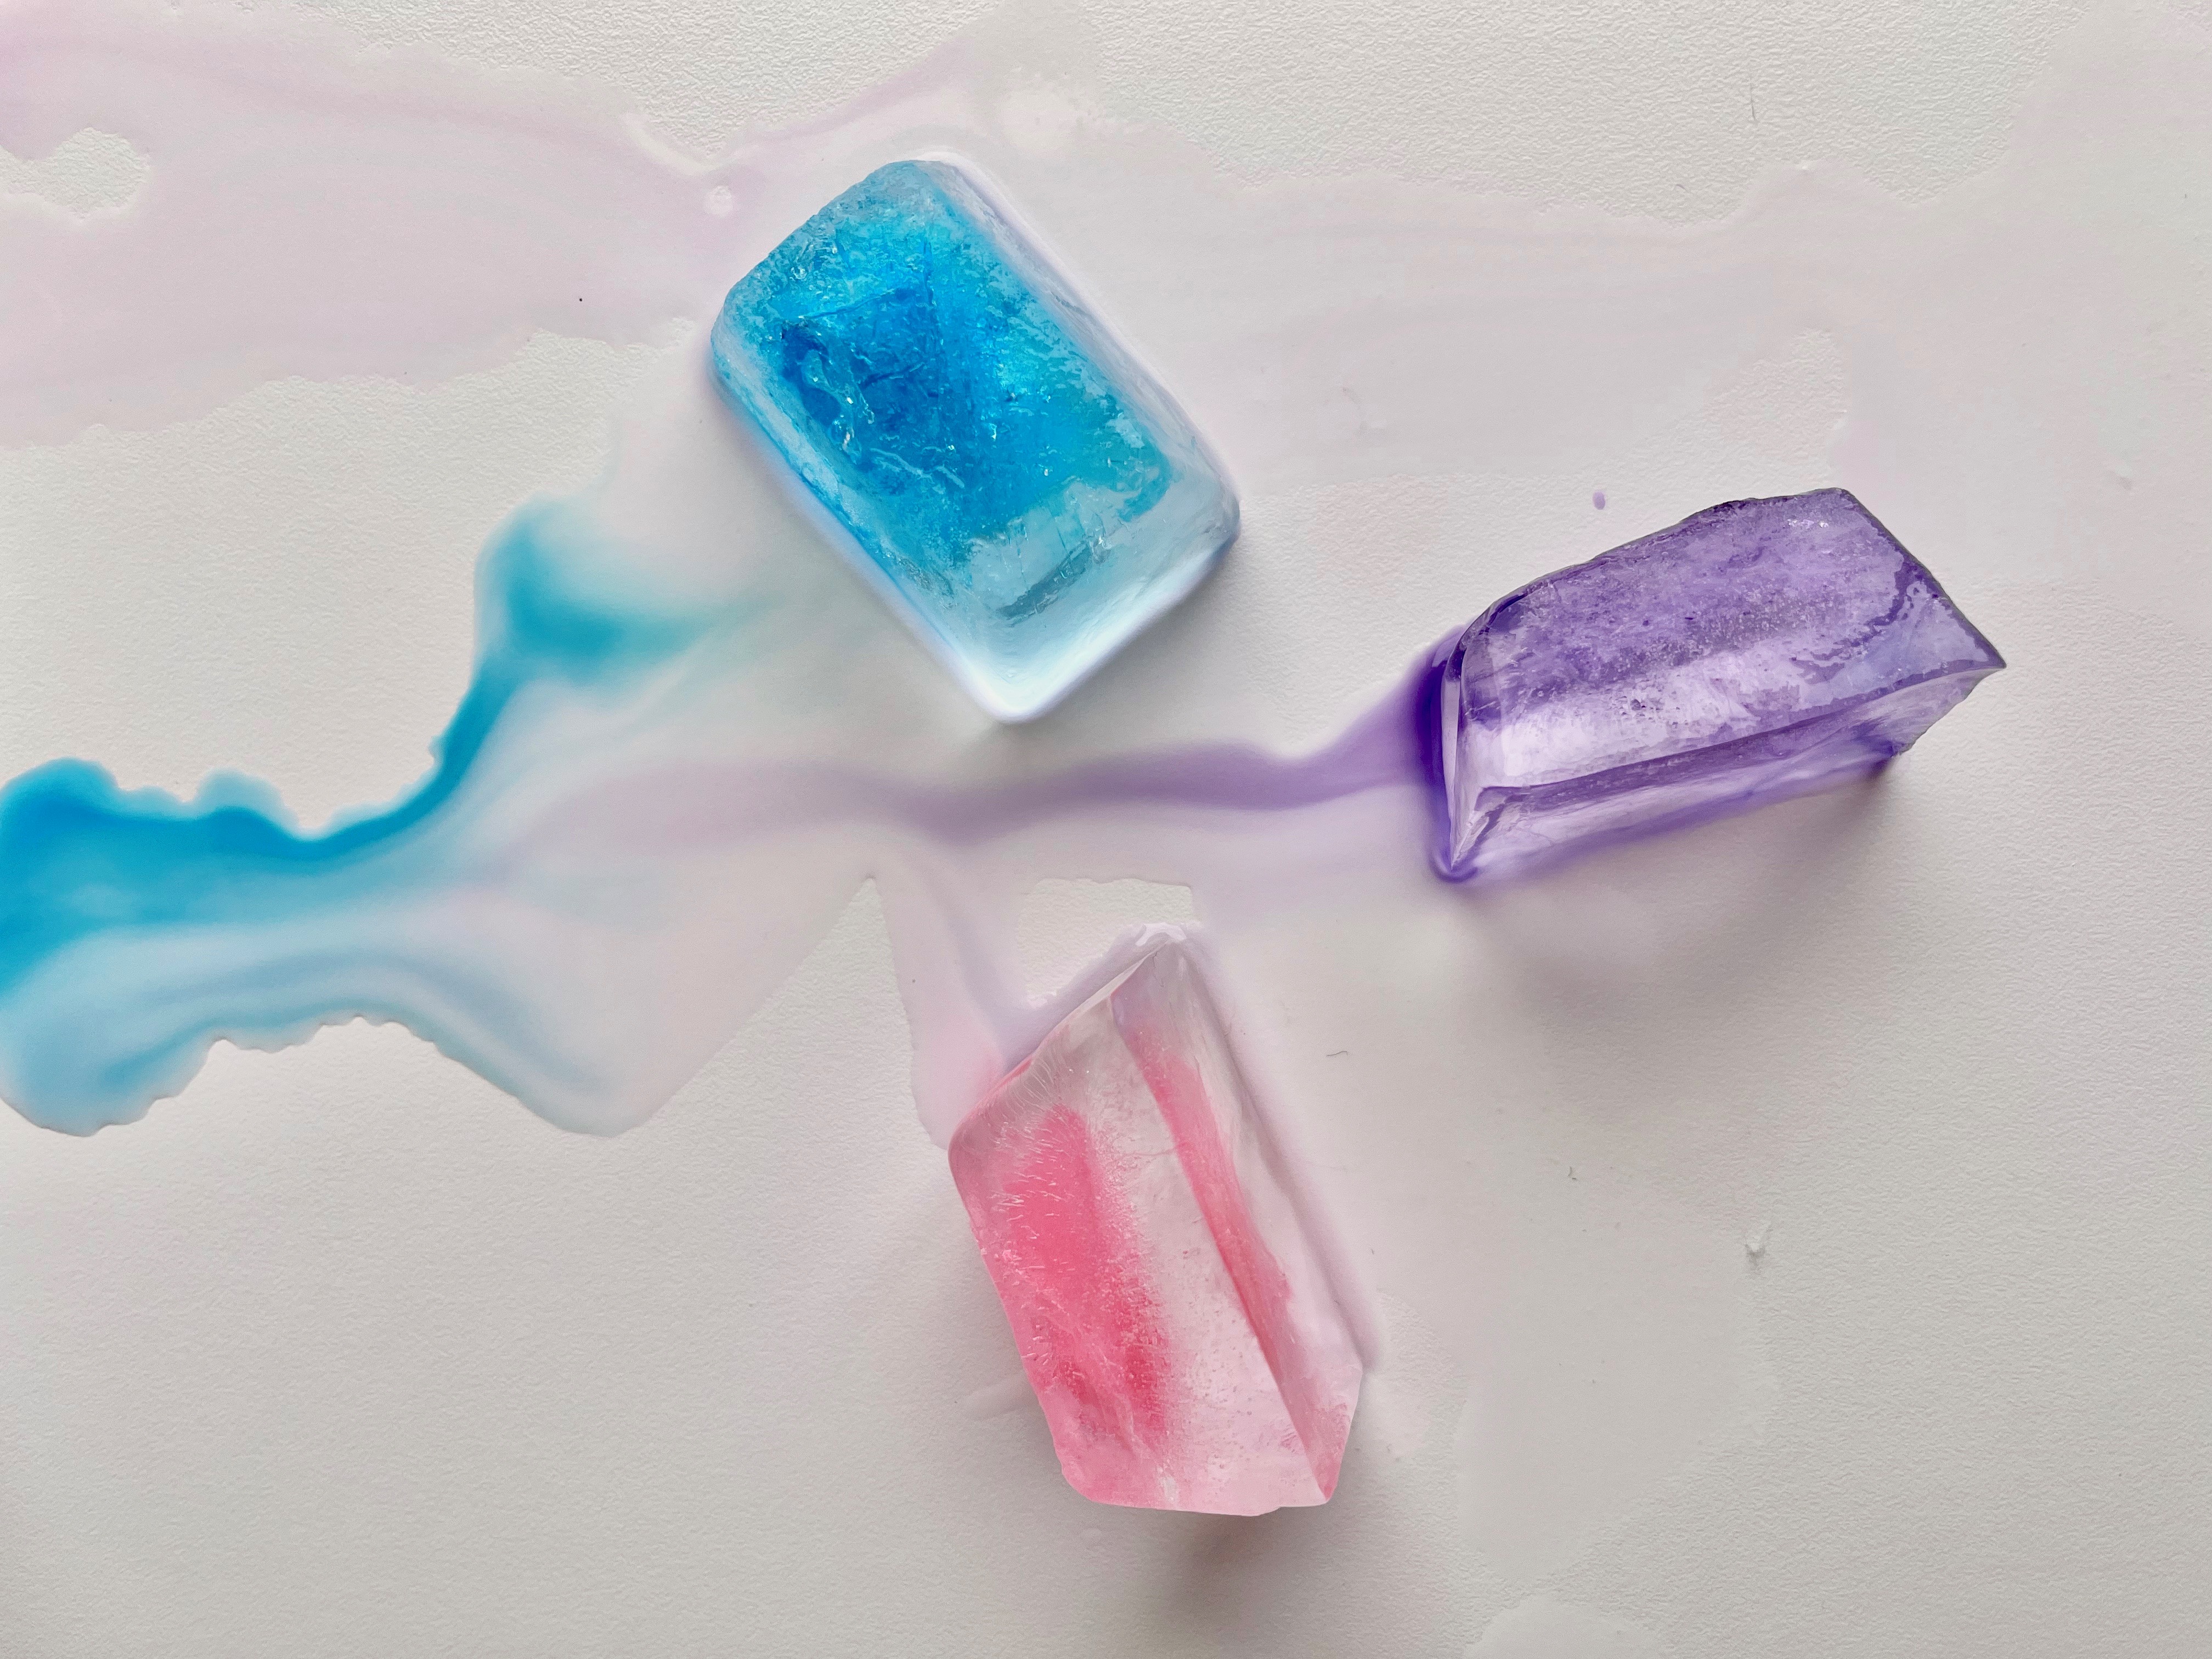
This project is all about tactile exploration. The food dye adds extra interest to the transformation from liquid to solid to liquid again, but it may also tint little hands and clothes–so if that sounds messy to you, by all means–skip the coloring!
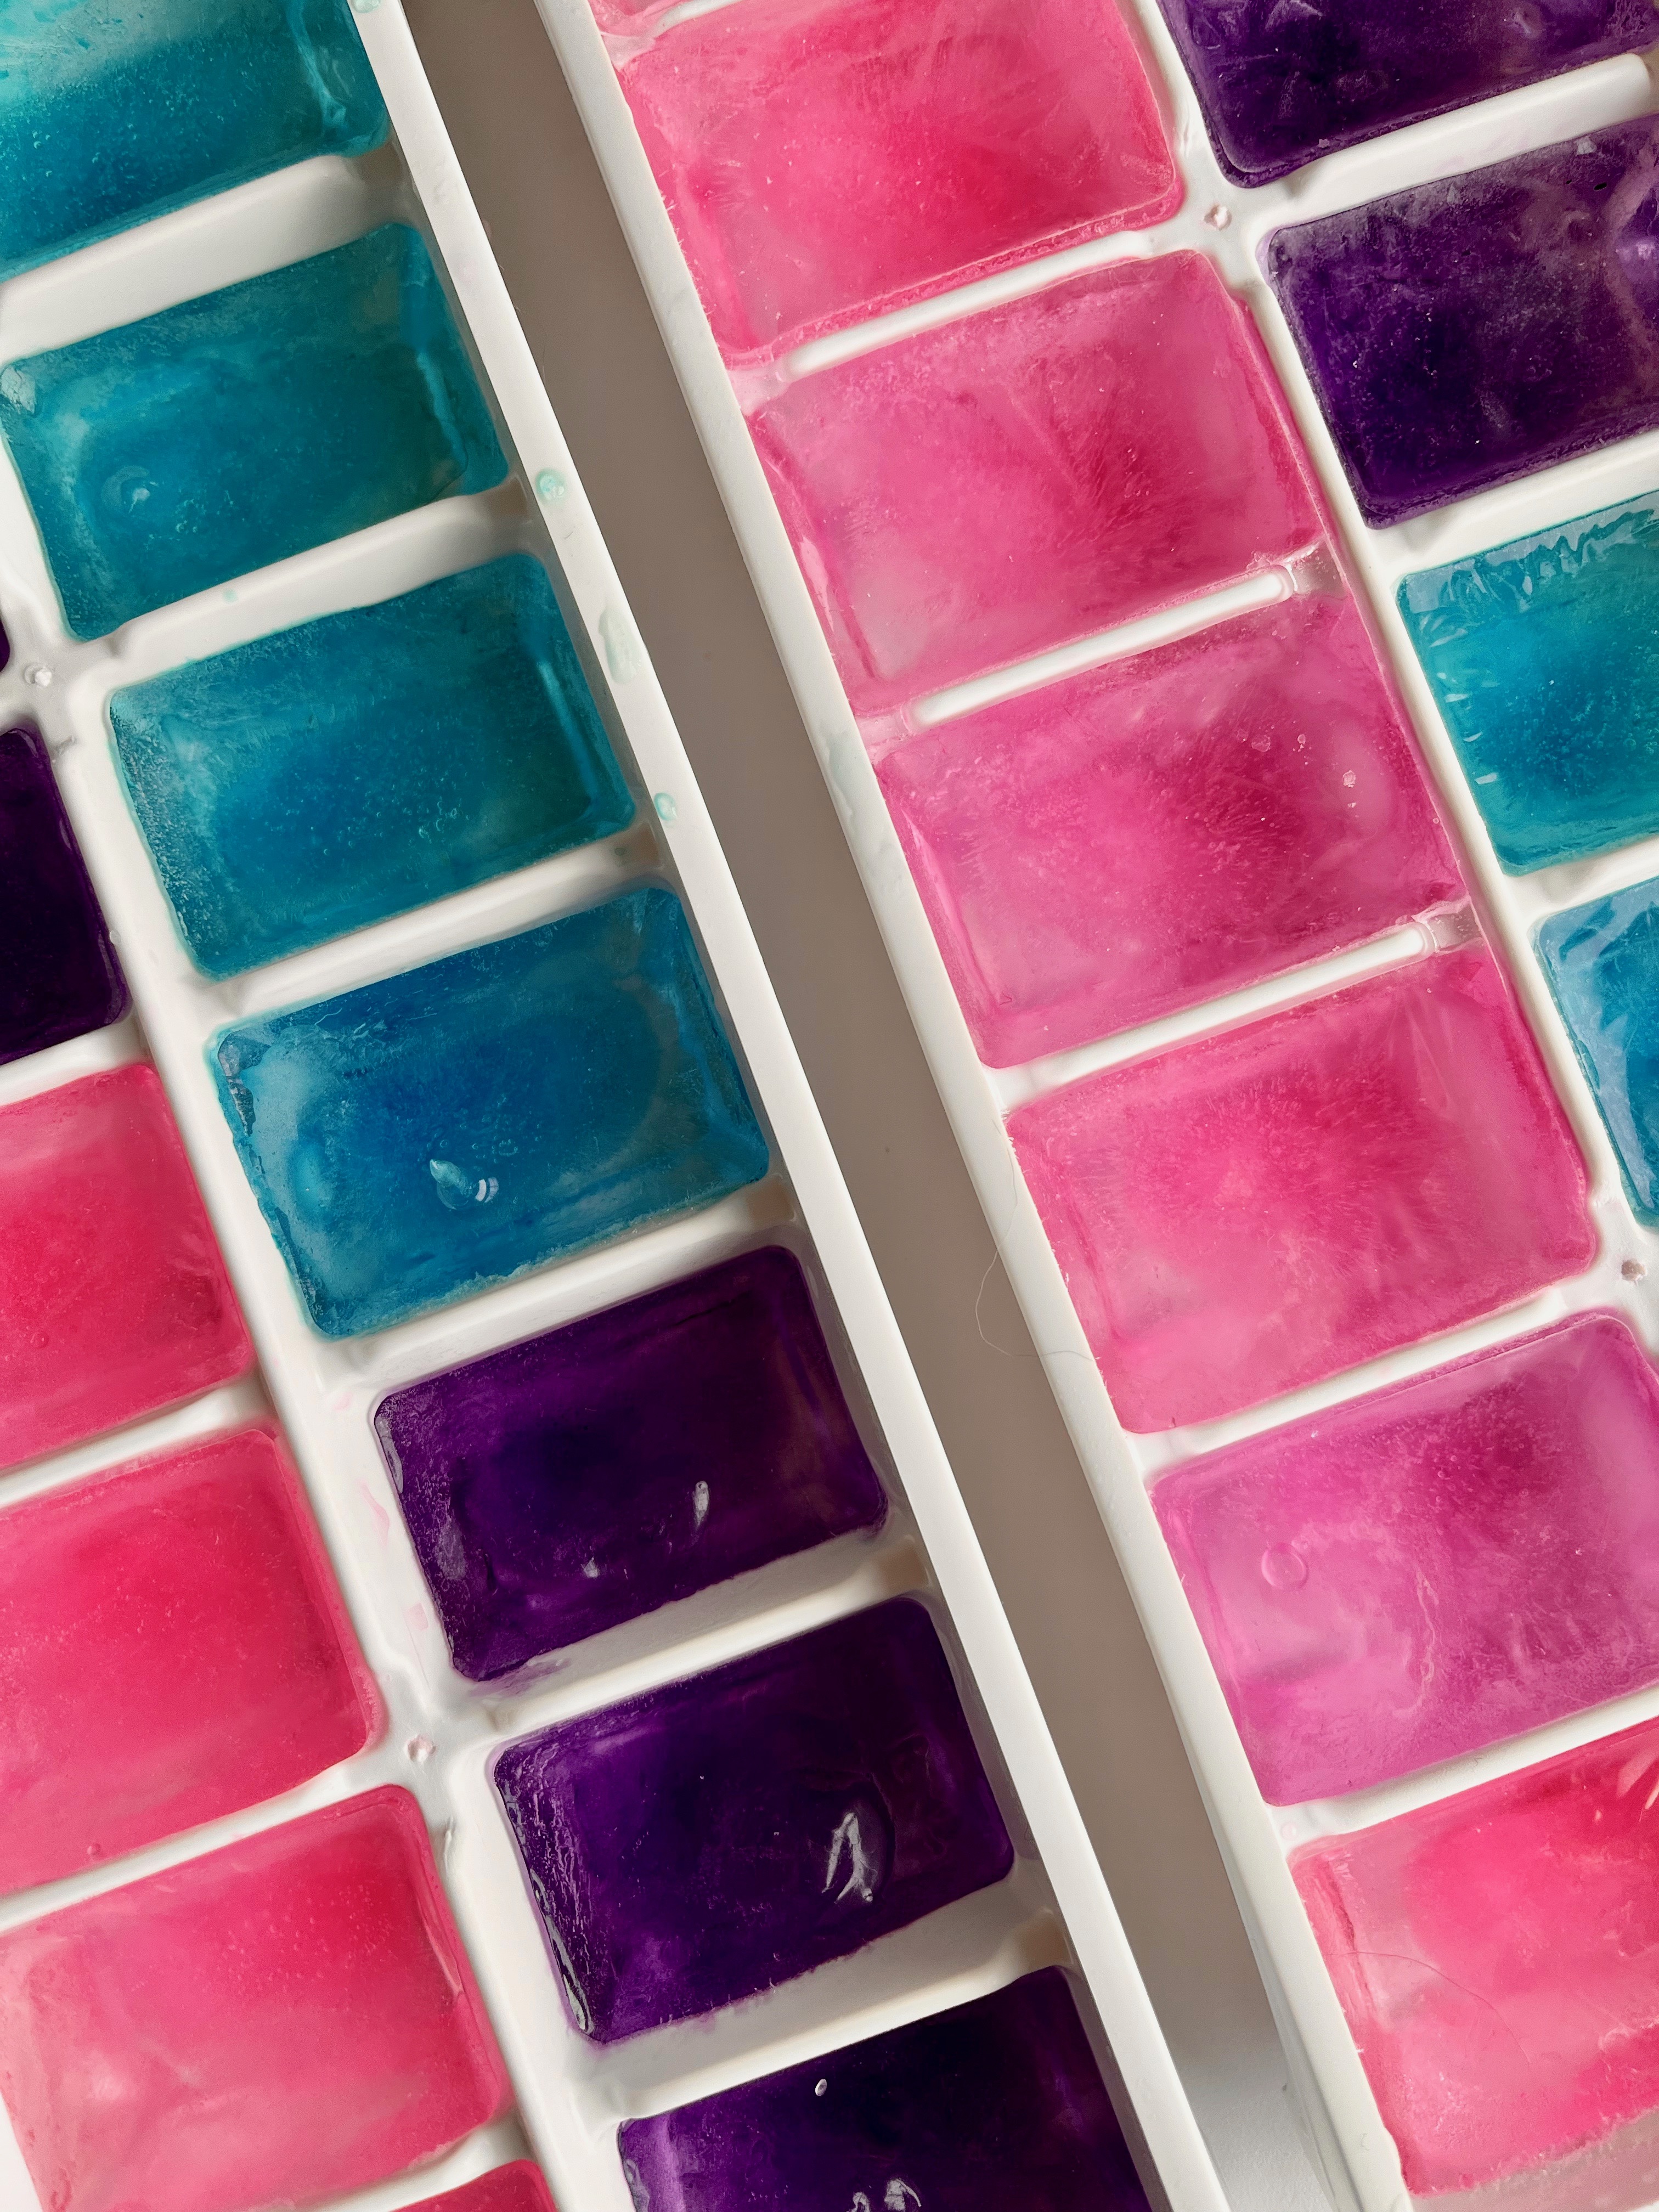
- Add a drop or two of food dye to bowl/s of water. Small scientists can observe what happens to the dye as it dissolves into the water.
- Place your ice trays in the freezer and wait and wait and wait. If you want, your scientist might check in a couple of times to see what is happening to the water over time.
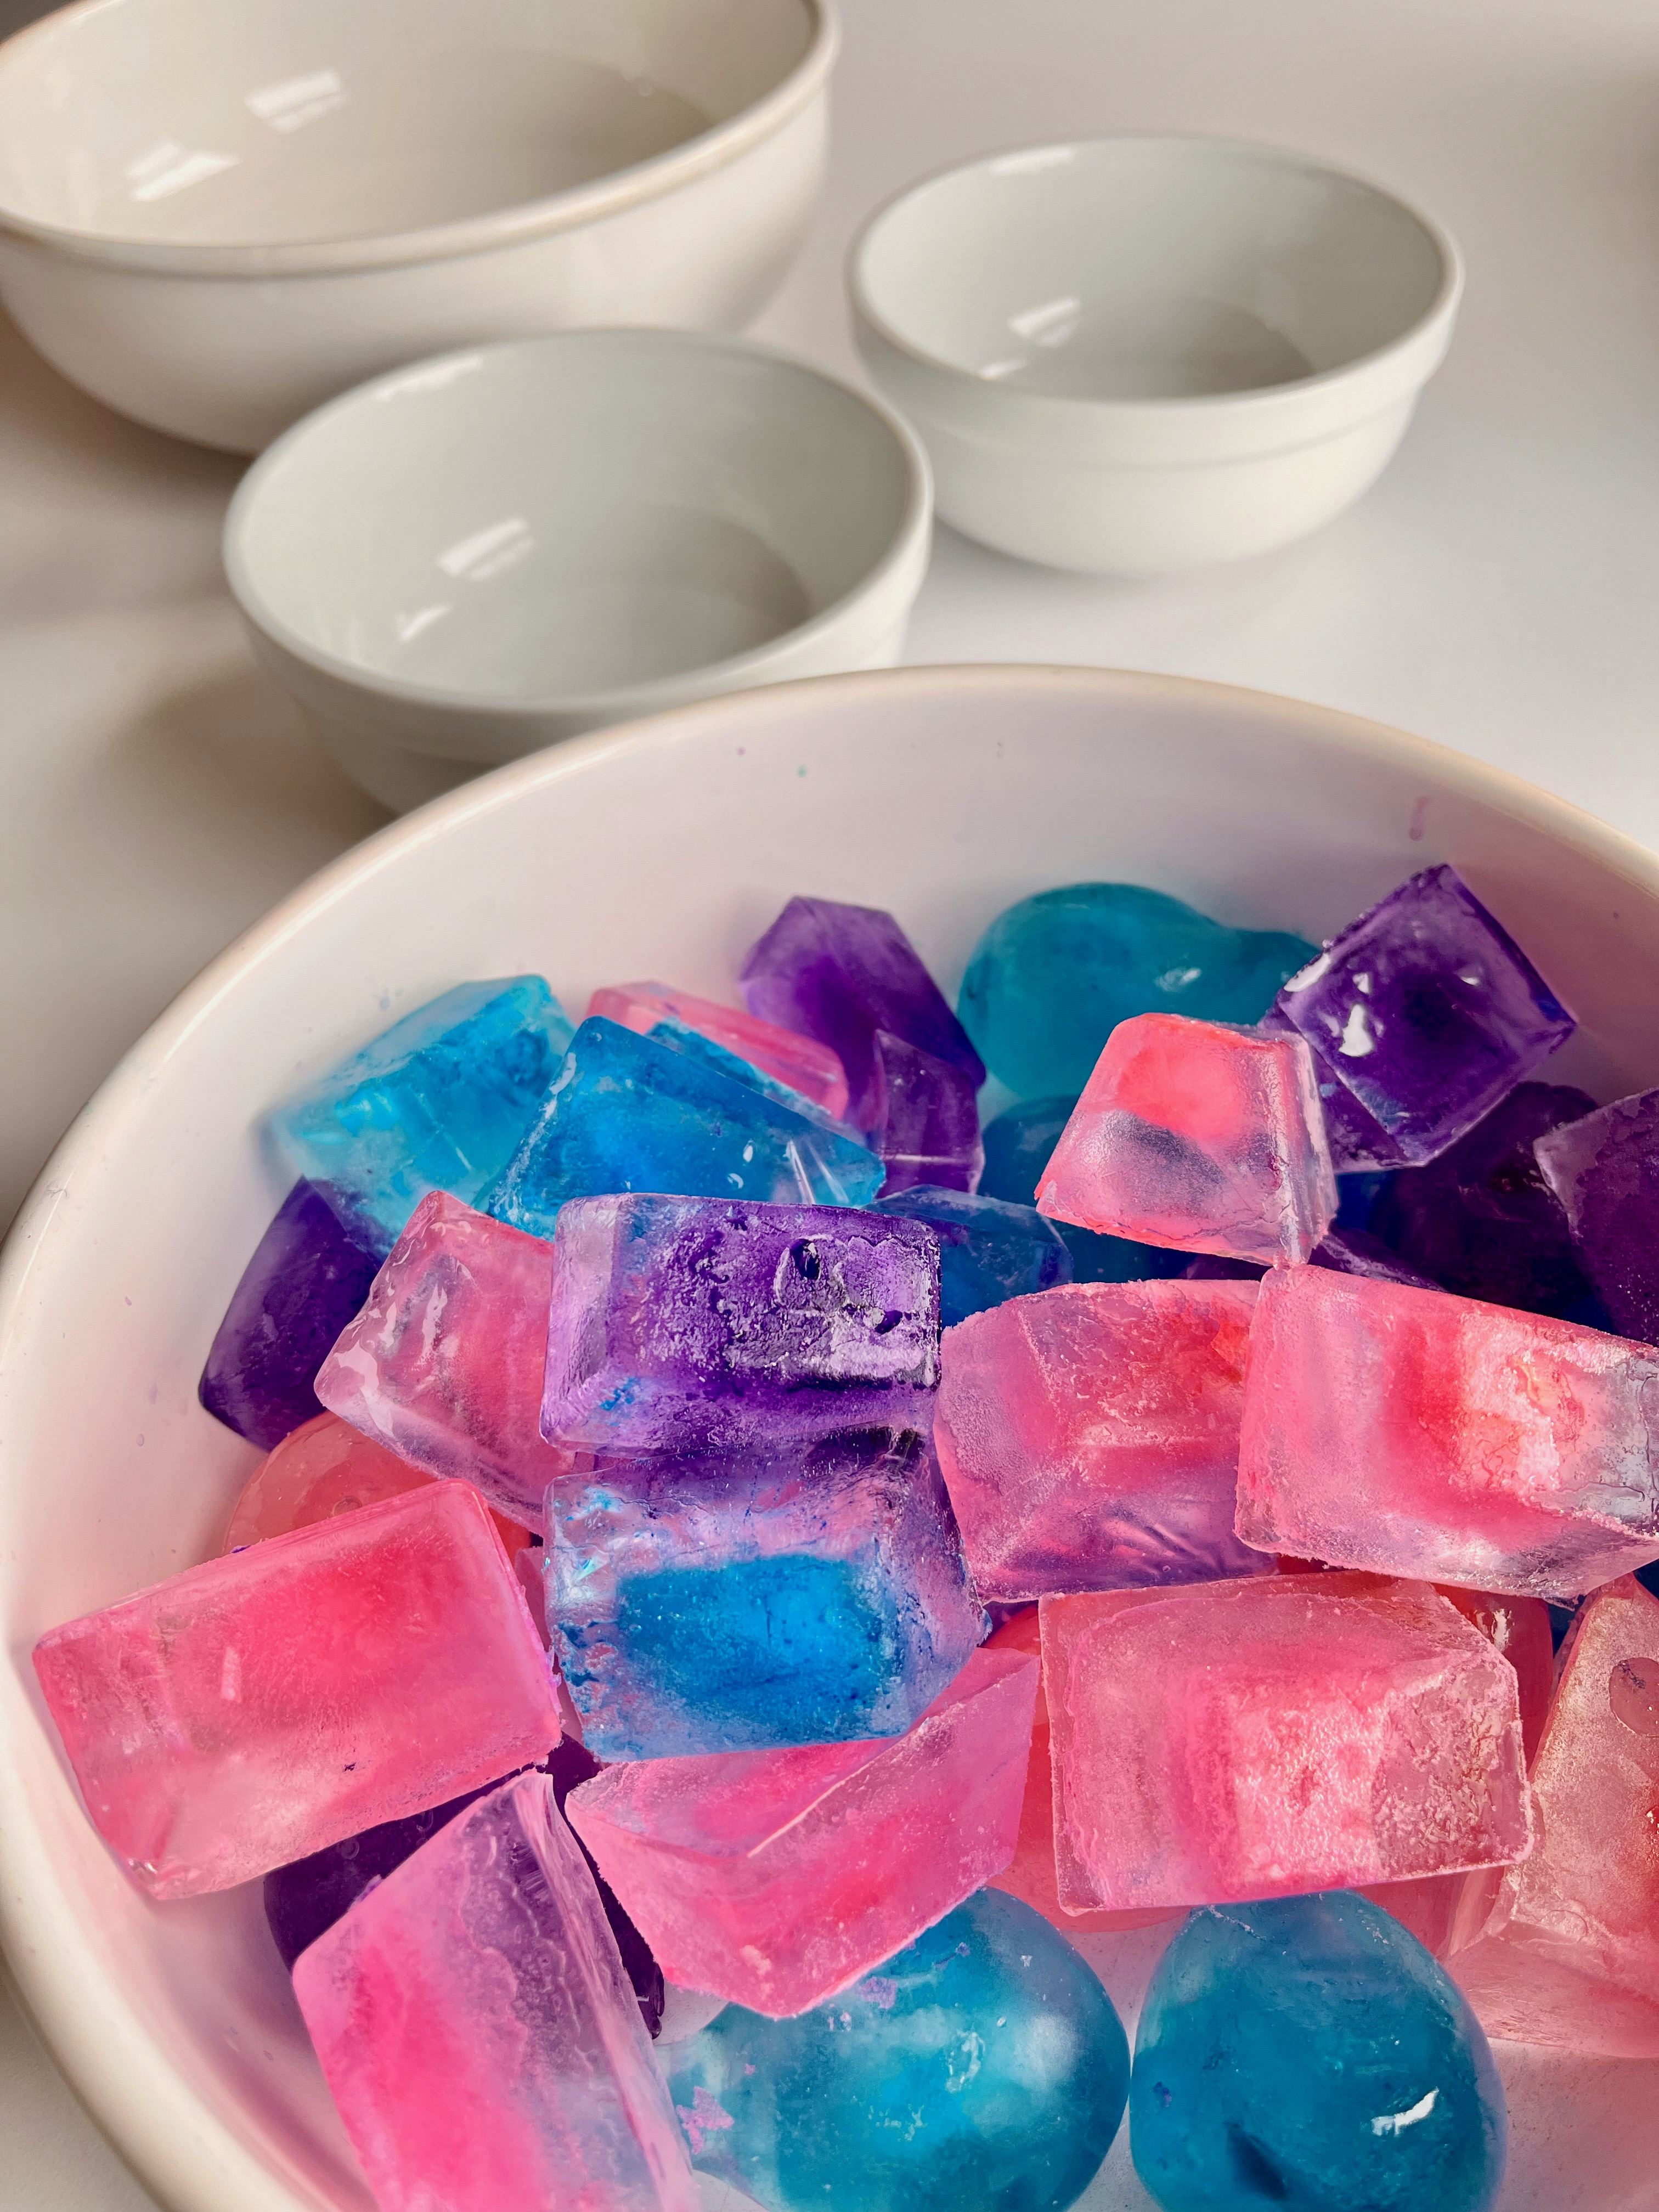
- Remove the cubes into a big bowl, cooking sheet with rim, or table with a waterproof tablecloth. (I also had plenty of smaller bowls on hand for experimentation.)
- Observe: What does the ice feel like? What happens if you hold it for a while?
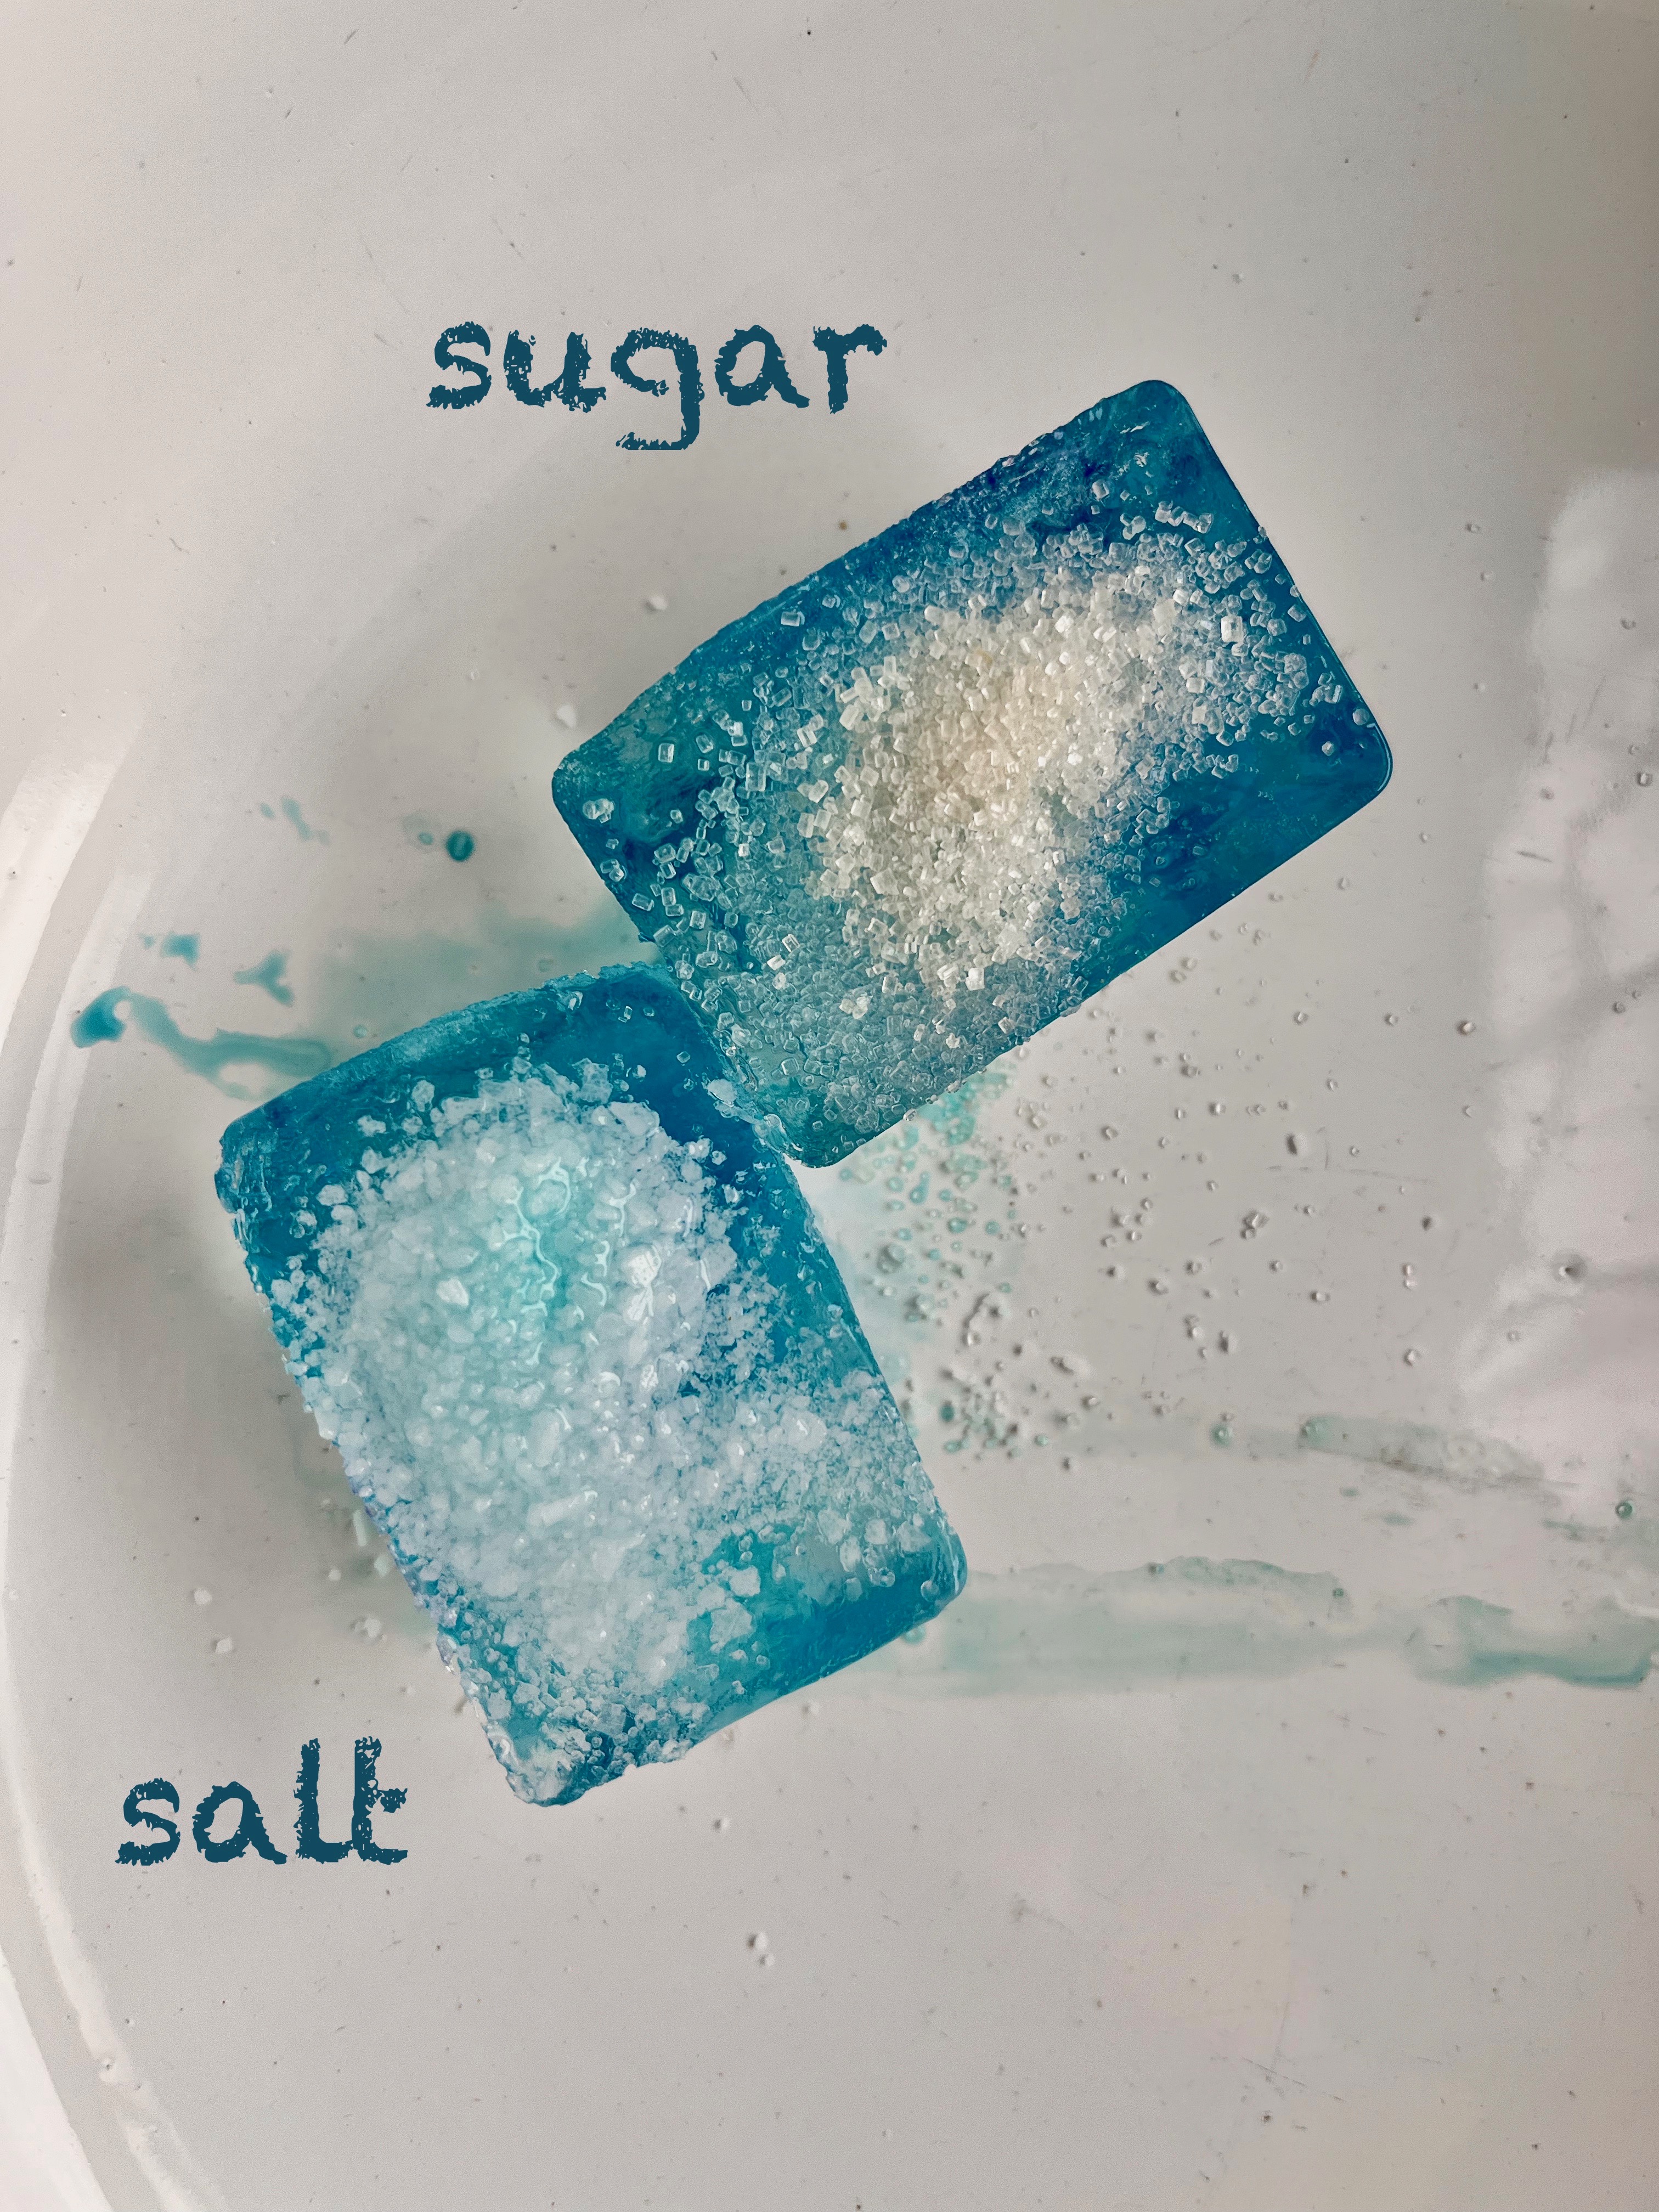
- Sprinkle salt on one ice cube, sugar on another. What do you notice?
- Place one cube in hot water and another in cold water. What changes do you see?
- Leave colored ice cubes on watercolor paper. What is left behind as the cubes melt?
- If you live in a cold climate and it’s winter, leave some ice cubes outside. What happens to them?


To learn more about Maria Gianferrari and find more Ice Cycle activities and resources, go to mariagianferrari.com; you can find illustrator Jieting Chen at jietingchen.com.