Quilt sandwich

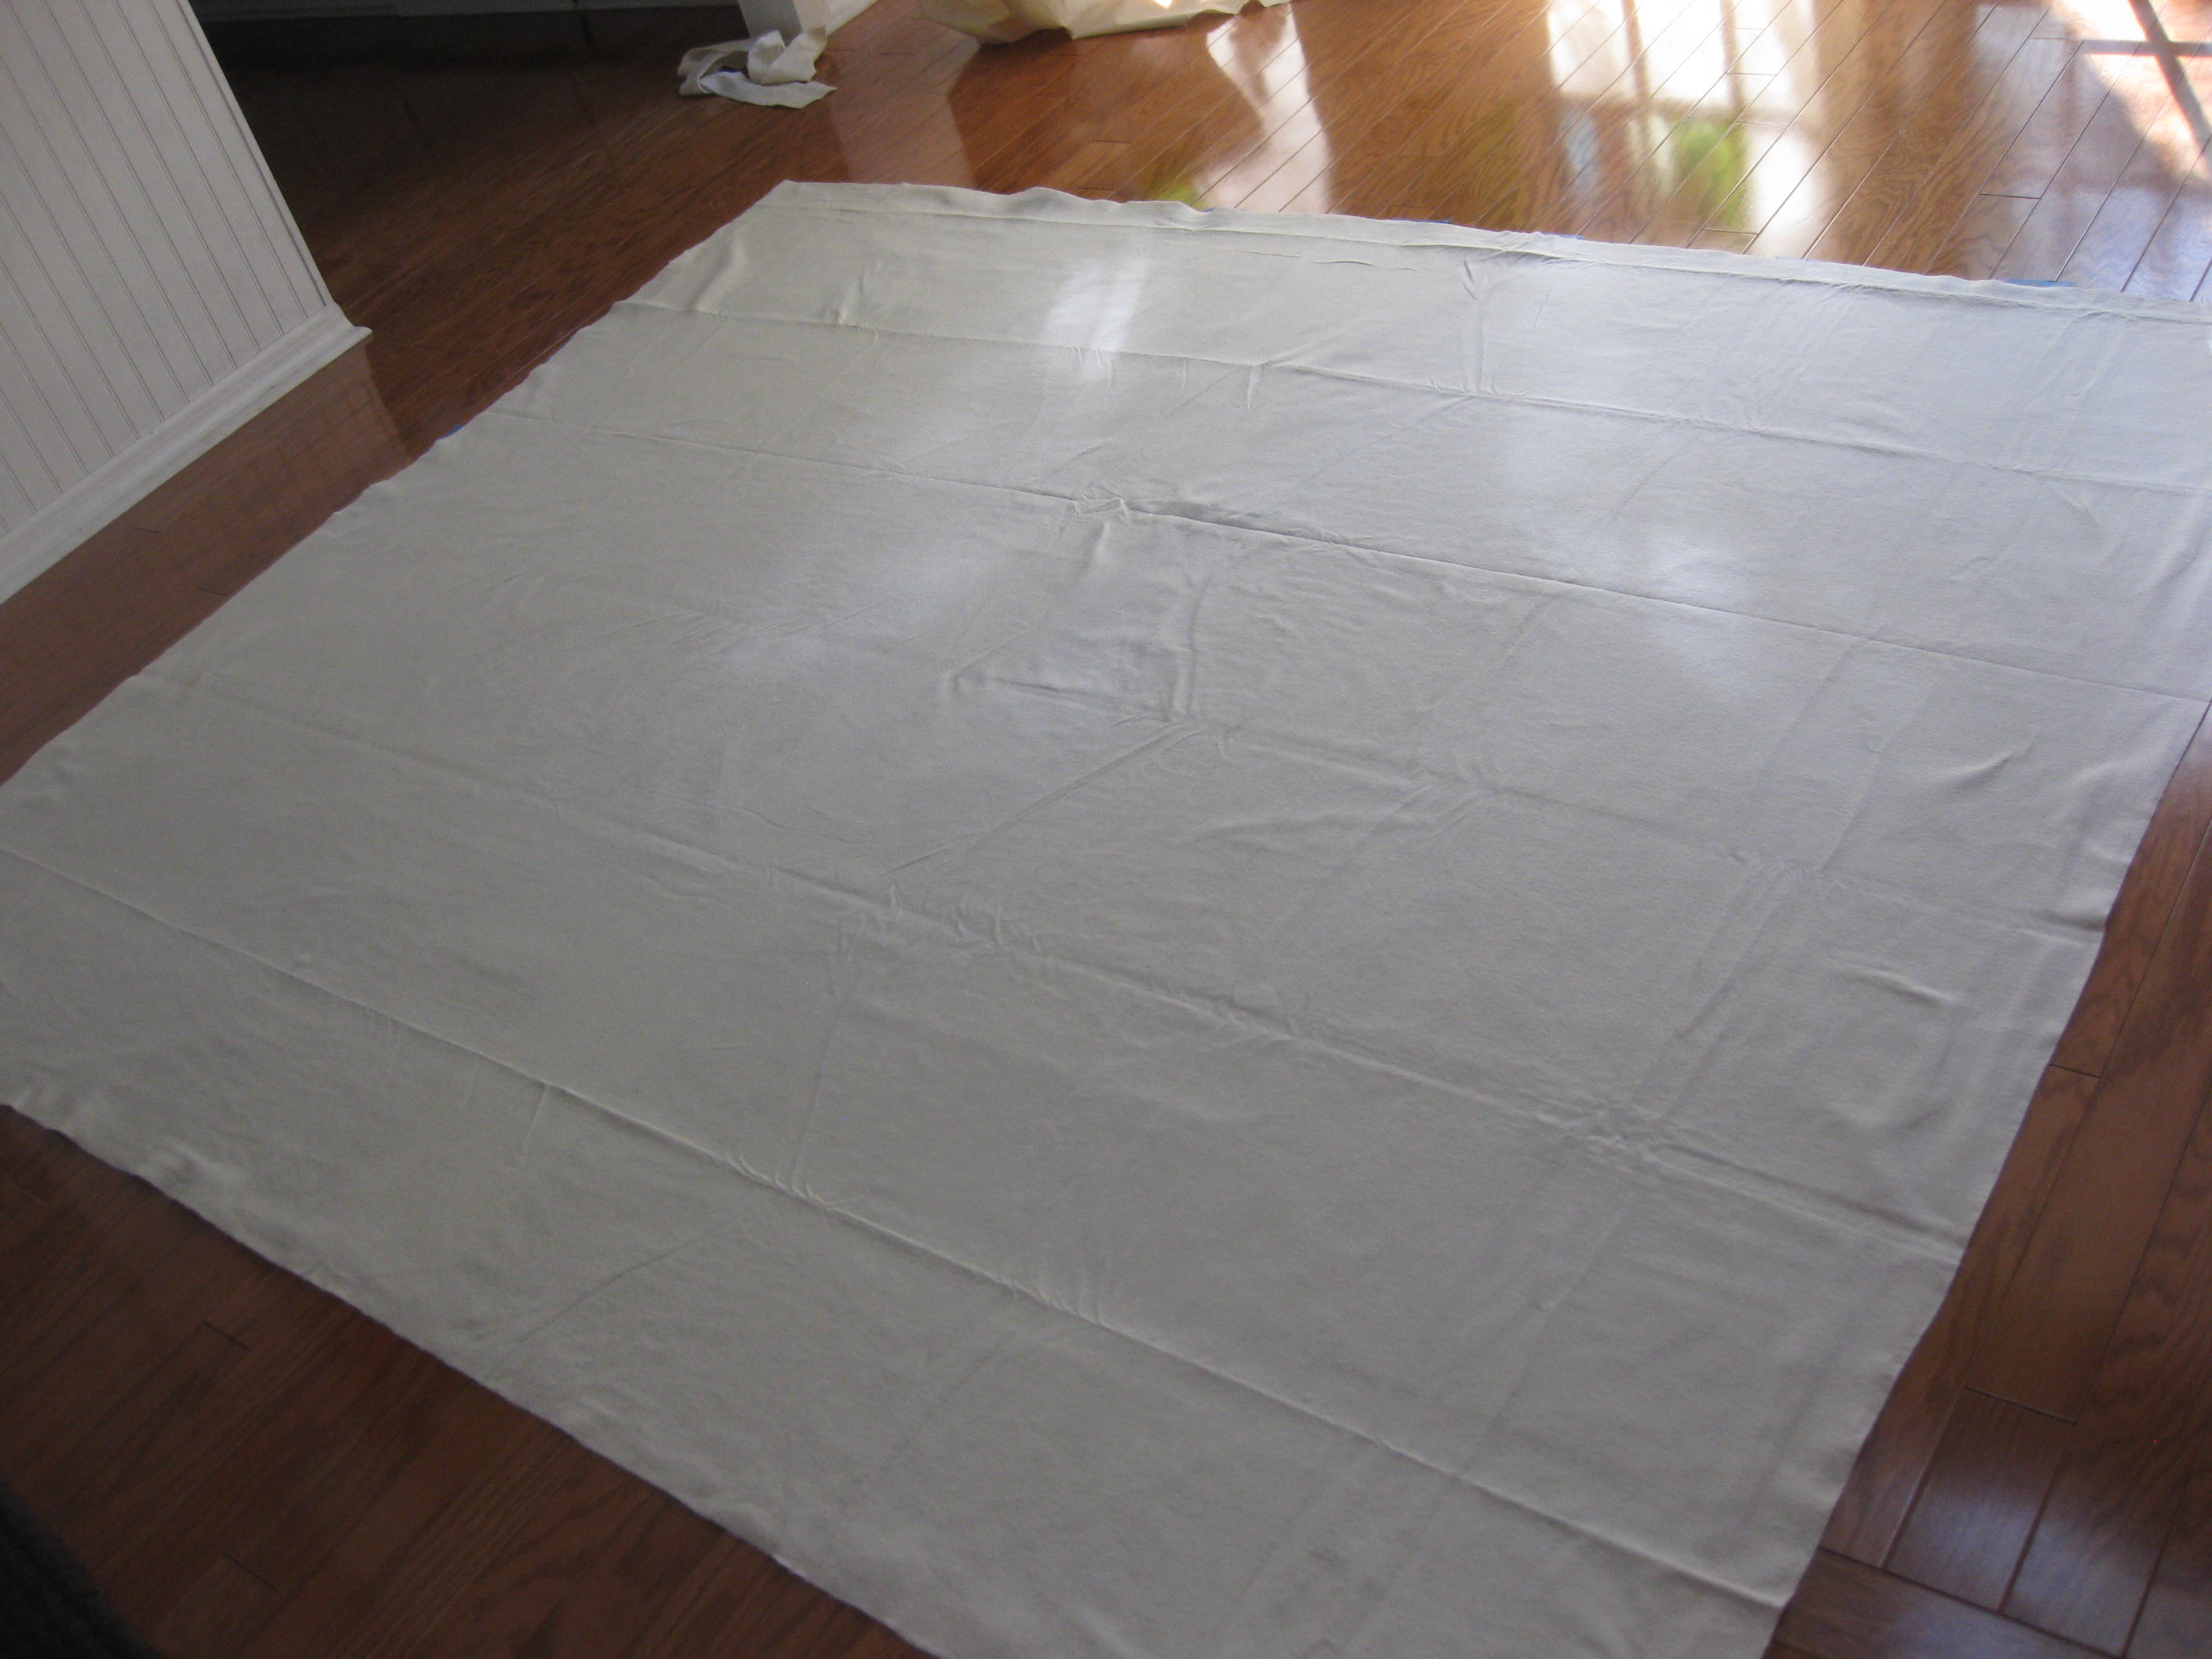
Here is a very quick tutorial about making a quilt sandwich–which can be super satisfying. First it is essential to clear a large space to spread out. Spread your quilt back, right side down, on the floor. Tape the edges (I use blue painter’s tape) to the floor so the fabric is smooth, but not taut. Pull off any stray threads.

IMG_1782

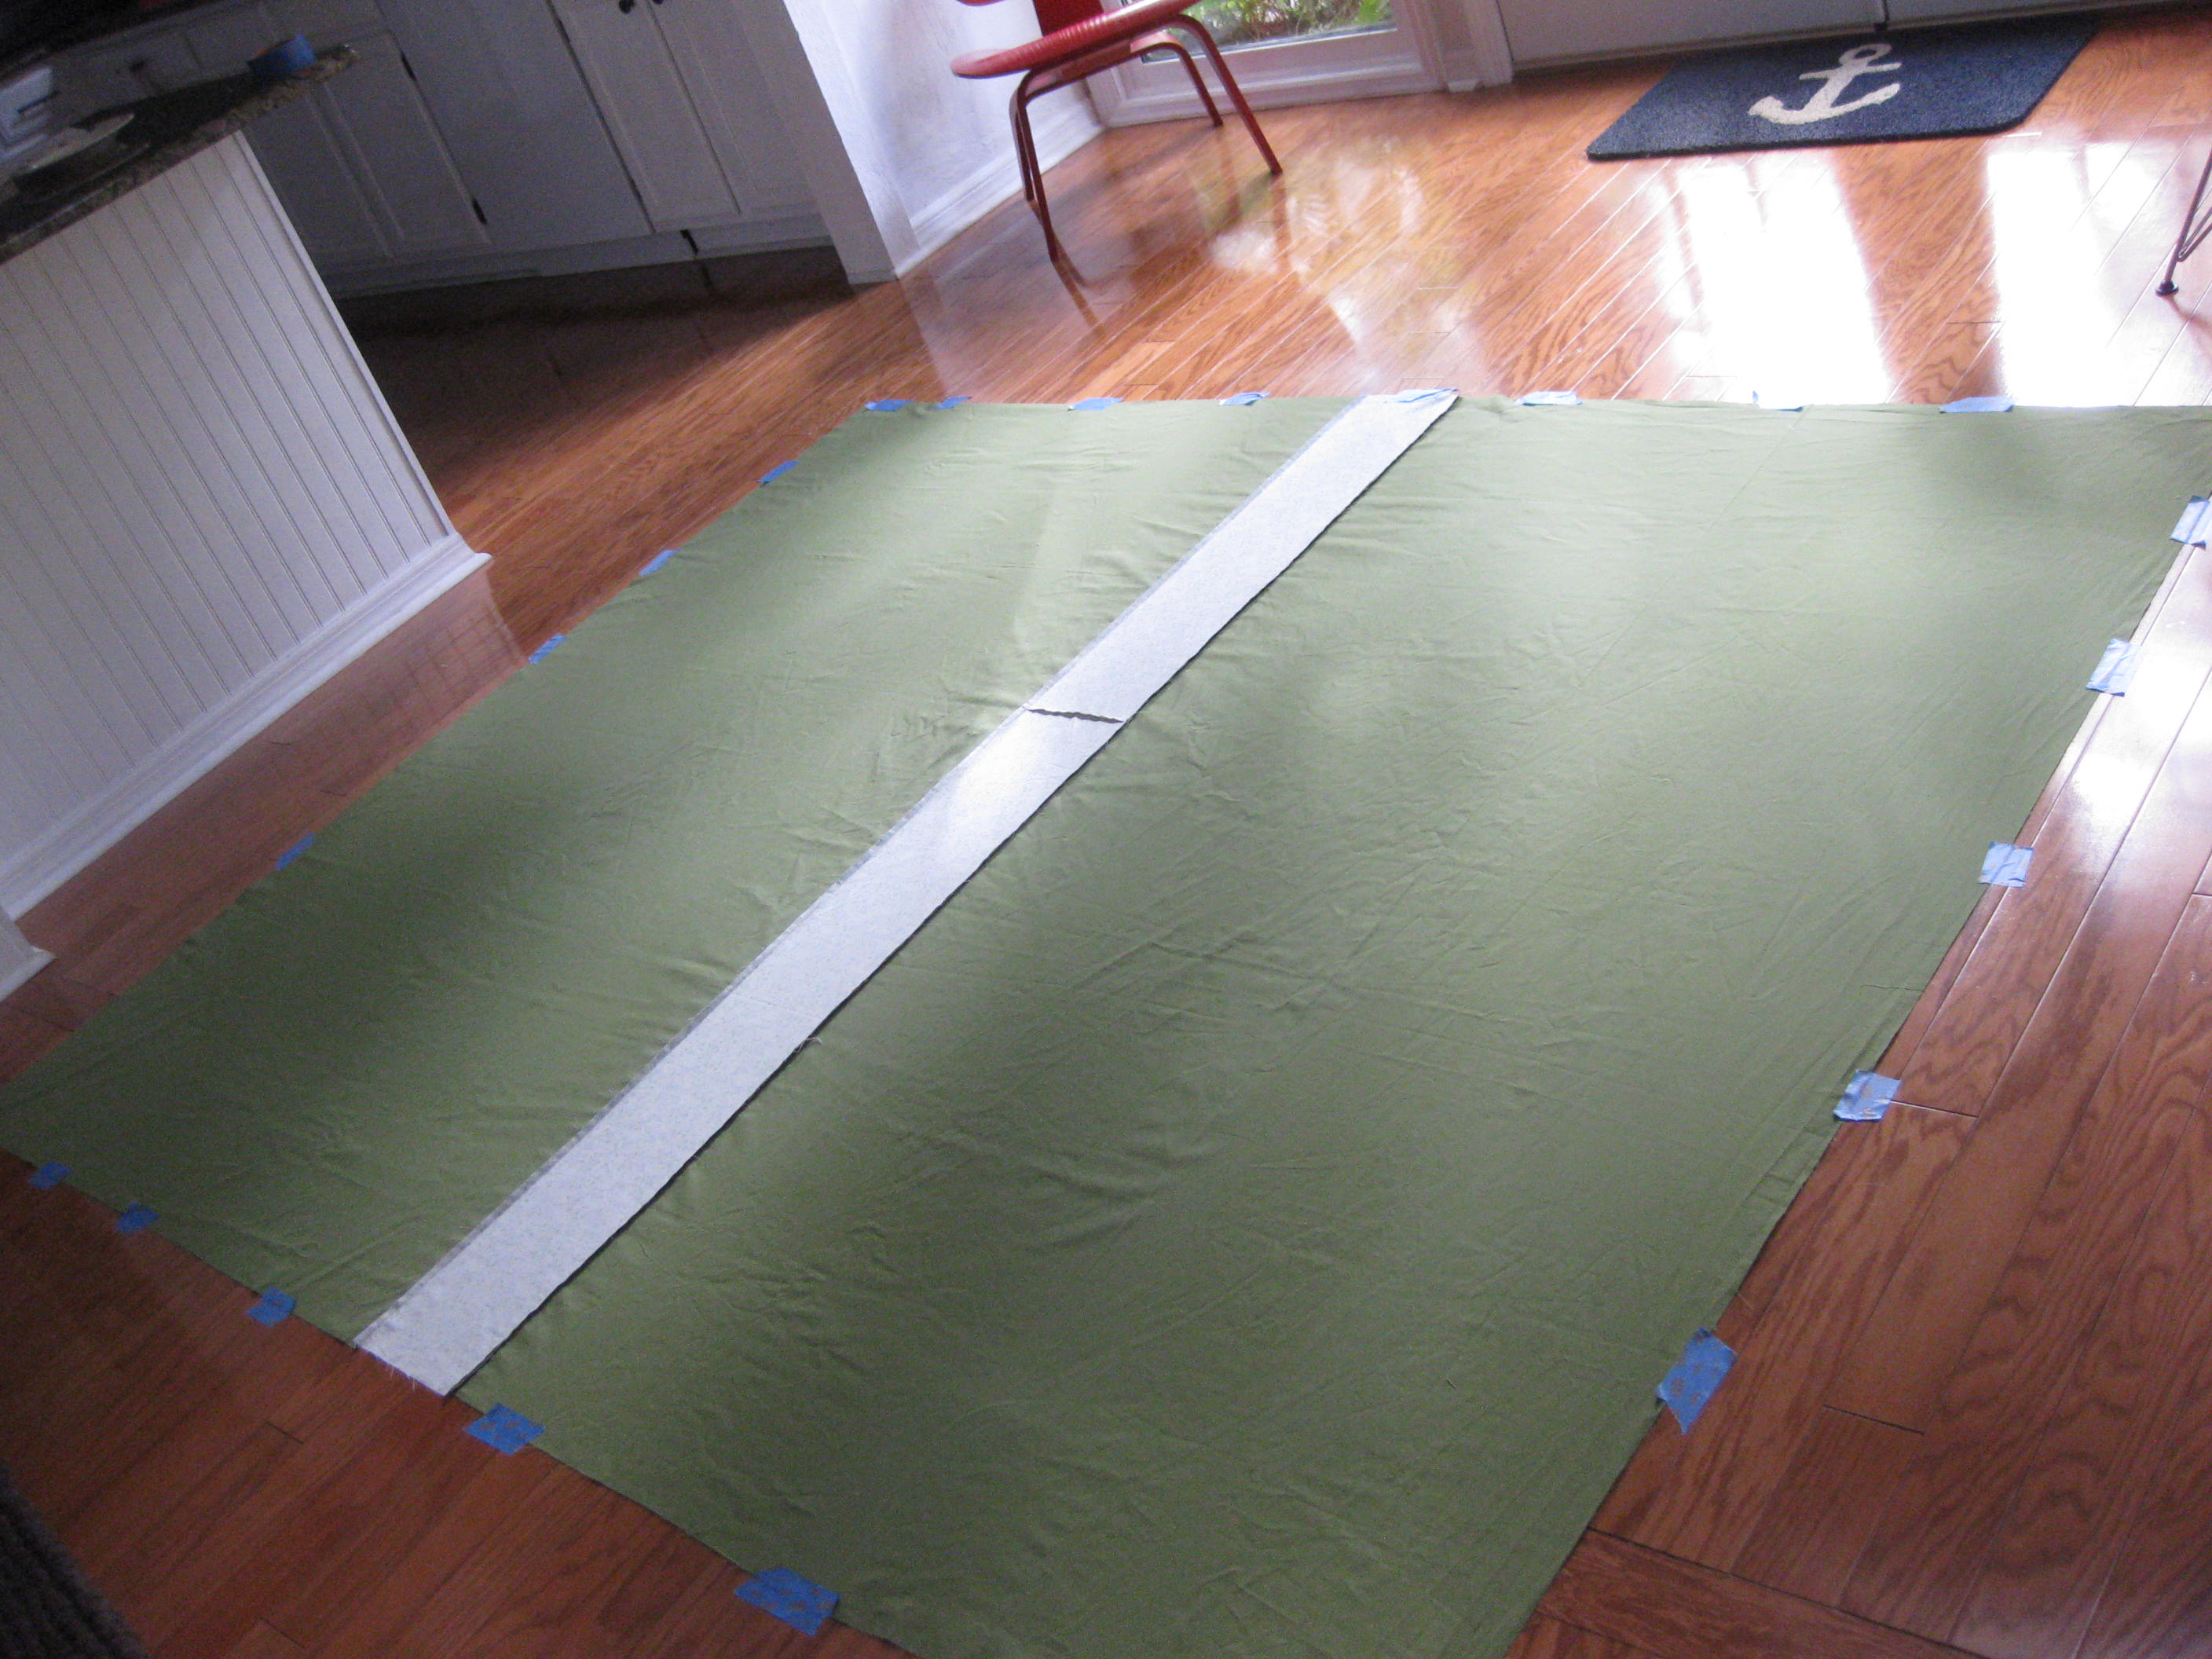
Next unfold your batting and, starting from the center, gently smooth out any wrinkles. The batting sticks to the fabric so you may need to lift the batting gently to smooth out some wrinkles. Once your batting is nice and smooth, trim any excess that extends beyond the edges of the backing.

IMG_1783

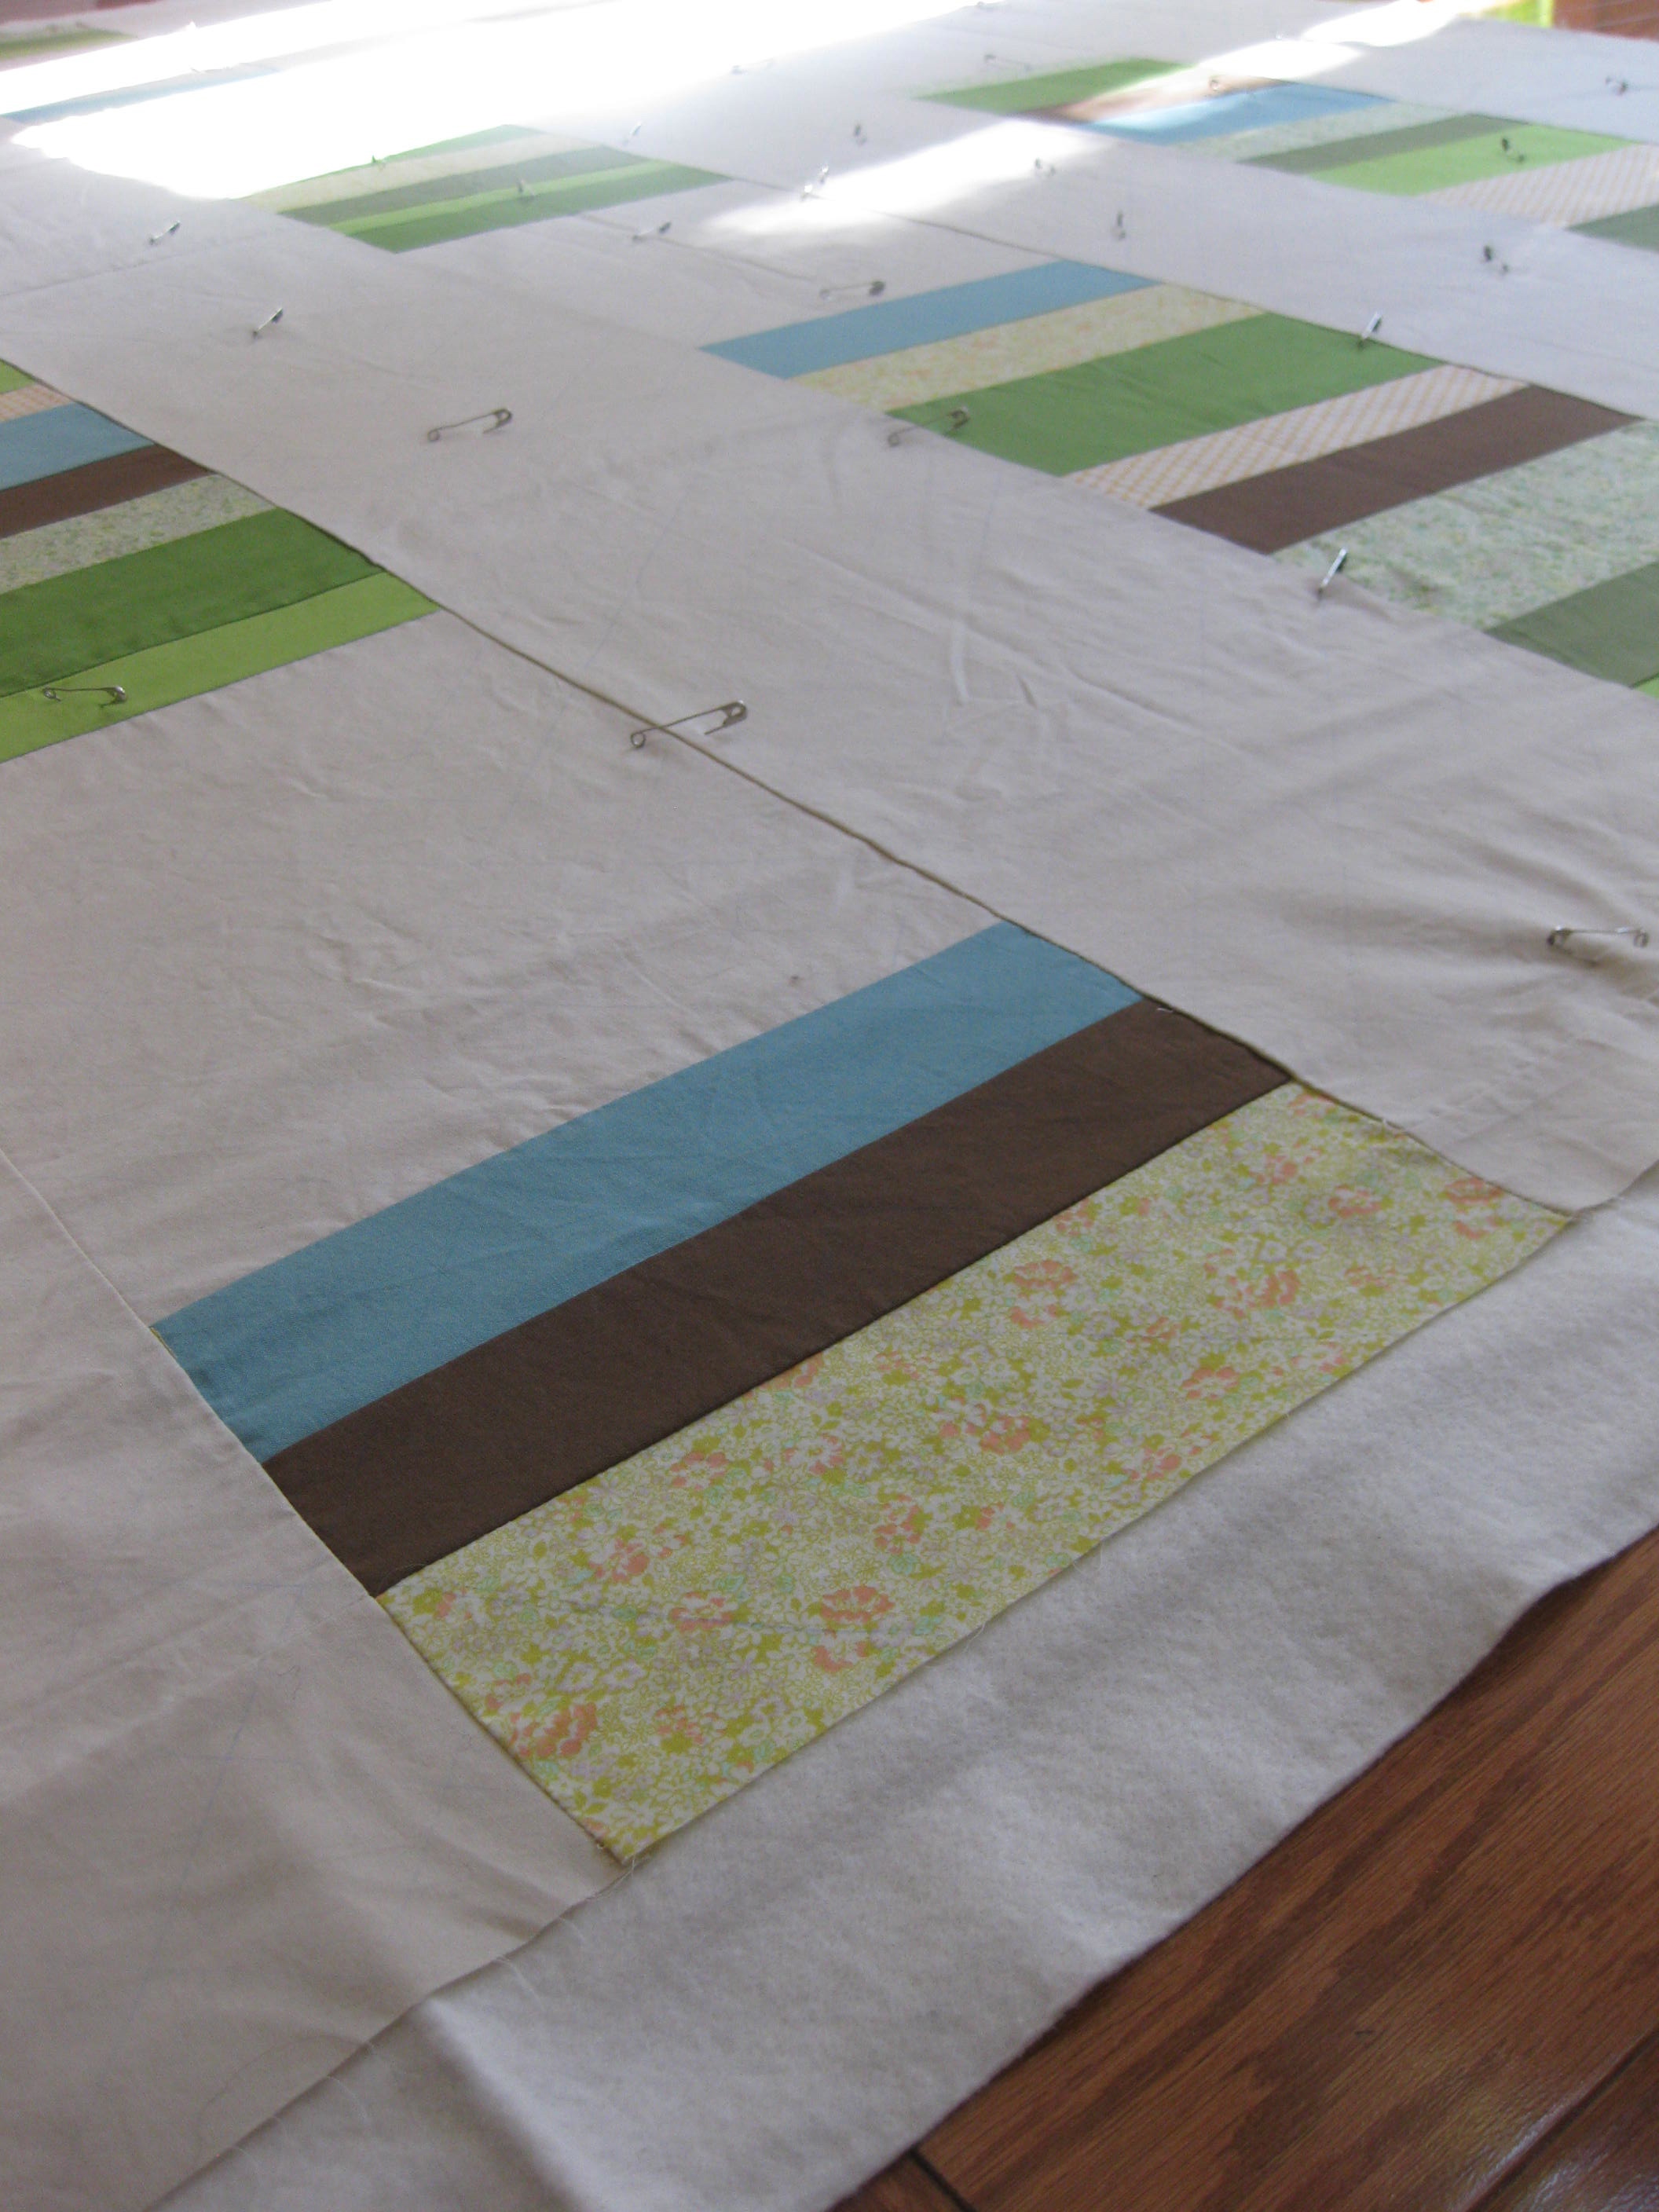
Then, lay your quilt top, right side up, on top of the batting. Your quilt top will be smaller than the backing and batting so you should be able to position it neatly. Again, starting in the center, smooth your quilt top onto the batting gently pushing any wrinkles to the edges. Finally, you can either baste or pin your sandwich together.  I prefer pins because I find pinning (with curved quilting safety pins) keeps my sandwich smooth. It is also faster than basting. Sometimes I baste the pinned quilt after I take it off the floor. The basting makes it easier when you are doing the quilting. Here is my quilt–all sandwiched together and ready to go.

IMG_1784

Winter Matchbox House!

Get out your fine-point Sharpies! I made a new Winter Matchbox House for the holidays for those of you with both time and matches on your hands.

I couldn’t manage to take a decent photo of the downstairs with my new camera. I’m not blaming my new camera per se, but it’s the only new variable here. I’m just saying. If I manage to take some better photos, I’ll post them.

Matchbox House

More elfin houses . . . for this one I drew floorplans that fit inside a matchbox.


If you take a childlike pleasure in coloring, or if you happen to have an actual child who likes to color (and has excellent fine motor skills), I made tiny coloring pages so you can make your own matchbox house.

The exterior wraps around a standard matchbox. Interior is supposed to fit the inside tray but may need some judicious trimming. I used Sharpies for saturated color and generous amounts of glue stick (after failed attempts with other sticky substances) to adhere. Enjoy! And send me pix, please.

LEGO Birthday Party!

If you’re wondering (in a few years), why I can’t afford to send my kids to college, the answer is simple.

We’ve drained the college fund to buy LEGOs.

But as they say, carpe diem. Seize the LEGOs. This is Zeke’s 6th birthday–but it’s his second LEGO-themed birthday party. And for the occasion, my mom baked LEGO cake!

For the record, it took her 7 hours. But she’s sharing her secrets on how to make a LEGO Birthday Cake here–so it won’t take you nearly as long. She also found help from Betty Crocker.

Other party highlights:

1. Pin the Button on the LEGO. By “button,” I mean those little knobby connectors on a LEGO brick. (Over the years I’ve learned that variations on Pin the Tail are always a party favorite. I’m not sure why!)

2. Wacky, Crazy LEGO contest. All contestants get a bowl of mixed-up LEGO pieces and they have to build something strange, weird and wonderful with them. We gave out minifigure surprise packs for prizes.

(Zeke is working diligently. Notice other revelers behind him are more intent on throwing balloons around.)

3. Goody bags. Candy LEGOs, free LEGO magazines (you can pick up a bunch at a LEGO store), and some grab-bag LEGOs (At the LEGO store near us, you can buy a big ziploc bag with an assortment of pieces for $7–a great deal.) Throw in some granola bars and sugarless gum for good measure.

Matchbox Chest of Drawers

We’re not pyromaniacs, really. But we do manage to go through matches at an alarming rate. And I always squirrel away the matchboxes–like clementine crates, I find them impossible to toss. So I guess that makes me a pyromaniac and a hoarder.

After I wrote about dollhouse love last month, I remembered making this matchbox chest of drawers as a kid. For those of you who share my affection for little things, this Lilliputian project is fun & quick. I used 4 matchboxes, a piece of polka-dot card stock, and those doodads (not brads–snaps?–but brads would do the trick). Here is a downloadable pdf with step-by-step instructions for making your own mini dresser.

I also admired this groovy homemade dollhouse in the April issue of Family Fun magazine (“House & Carton” by Amy Brown). This Family Fun link shows you how to make your own (from two cardboard boxes) complete with the fancy furnishings (all fashioned from egg cartons).

House & Carton

(Photo by Andrew Greto; ideas and craft stylings by Lynn Zimmerman. Reprinted with permission of Disney FamilyFun. Copyright April 2011.)

And while I’m on the topic of the miniature (I know, I know–again!) . . . I thought I’d mention the three-book series, Doll People, by Ann M. Martin and Laura Godwin, with exceptional black-and-white illustrations by Brian Selznick (including a cut-away of an antique dollhouse).

Yes, the doll people are alive & there’s a creepy baby doll in one of the stories–but the books are gentle and true to a kid’s perspective. They are emphatically not Toy Story. Toy Story 3, with its hints of torture and apocalypse, left my 5-year-old weeping in the theater aisle. And me, too, for that matter. But Zeke & I just finished these books & we loved them.