WIP–My First (Endless and Ongoing) Quilt

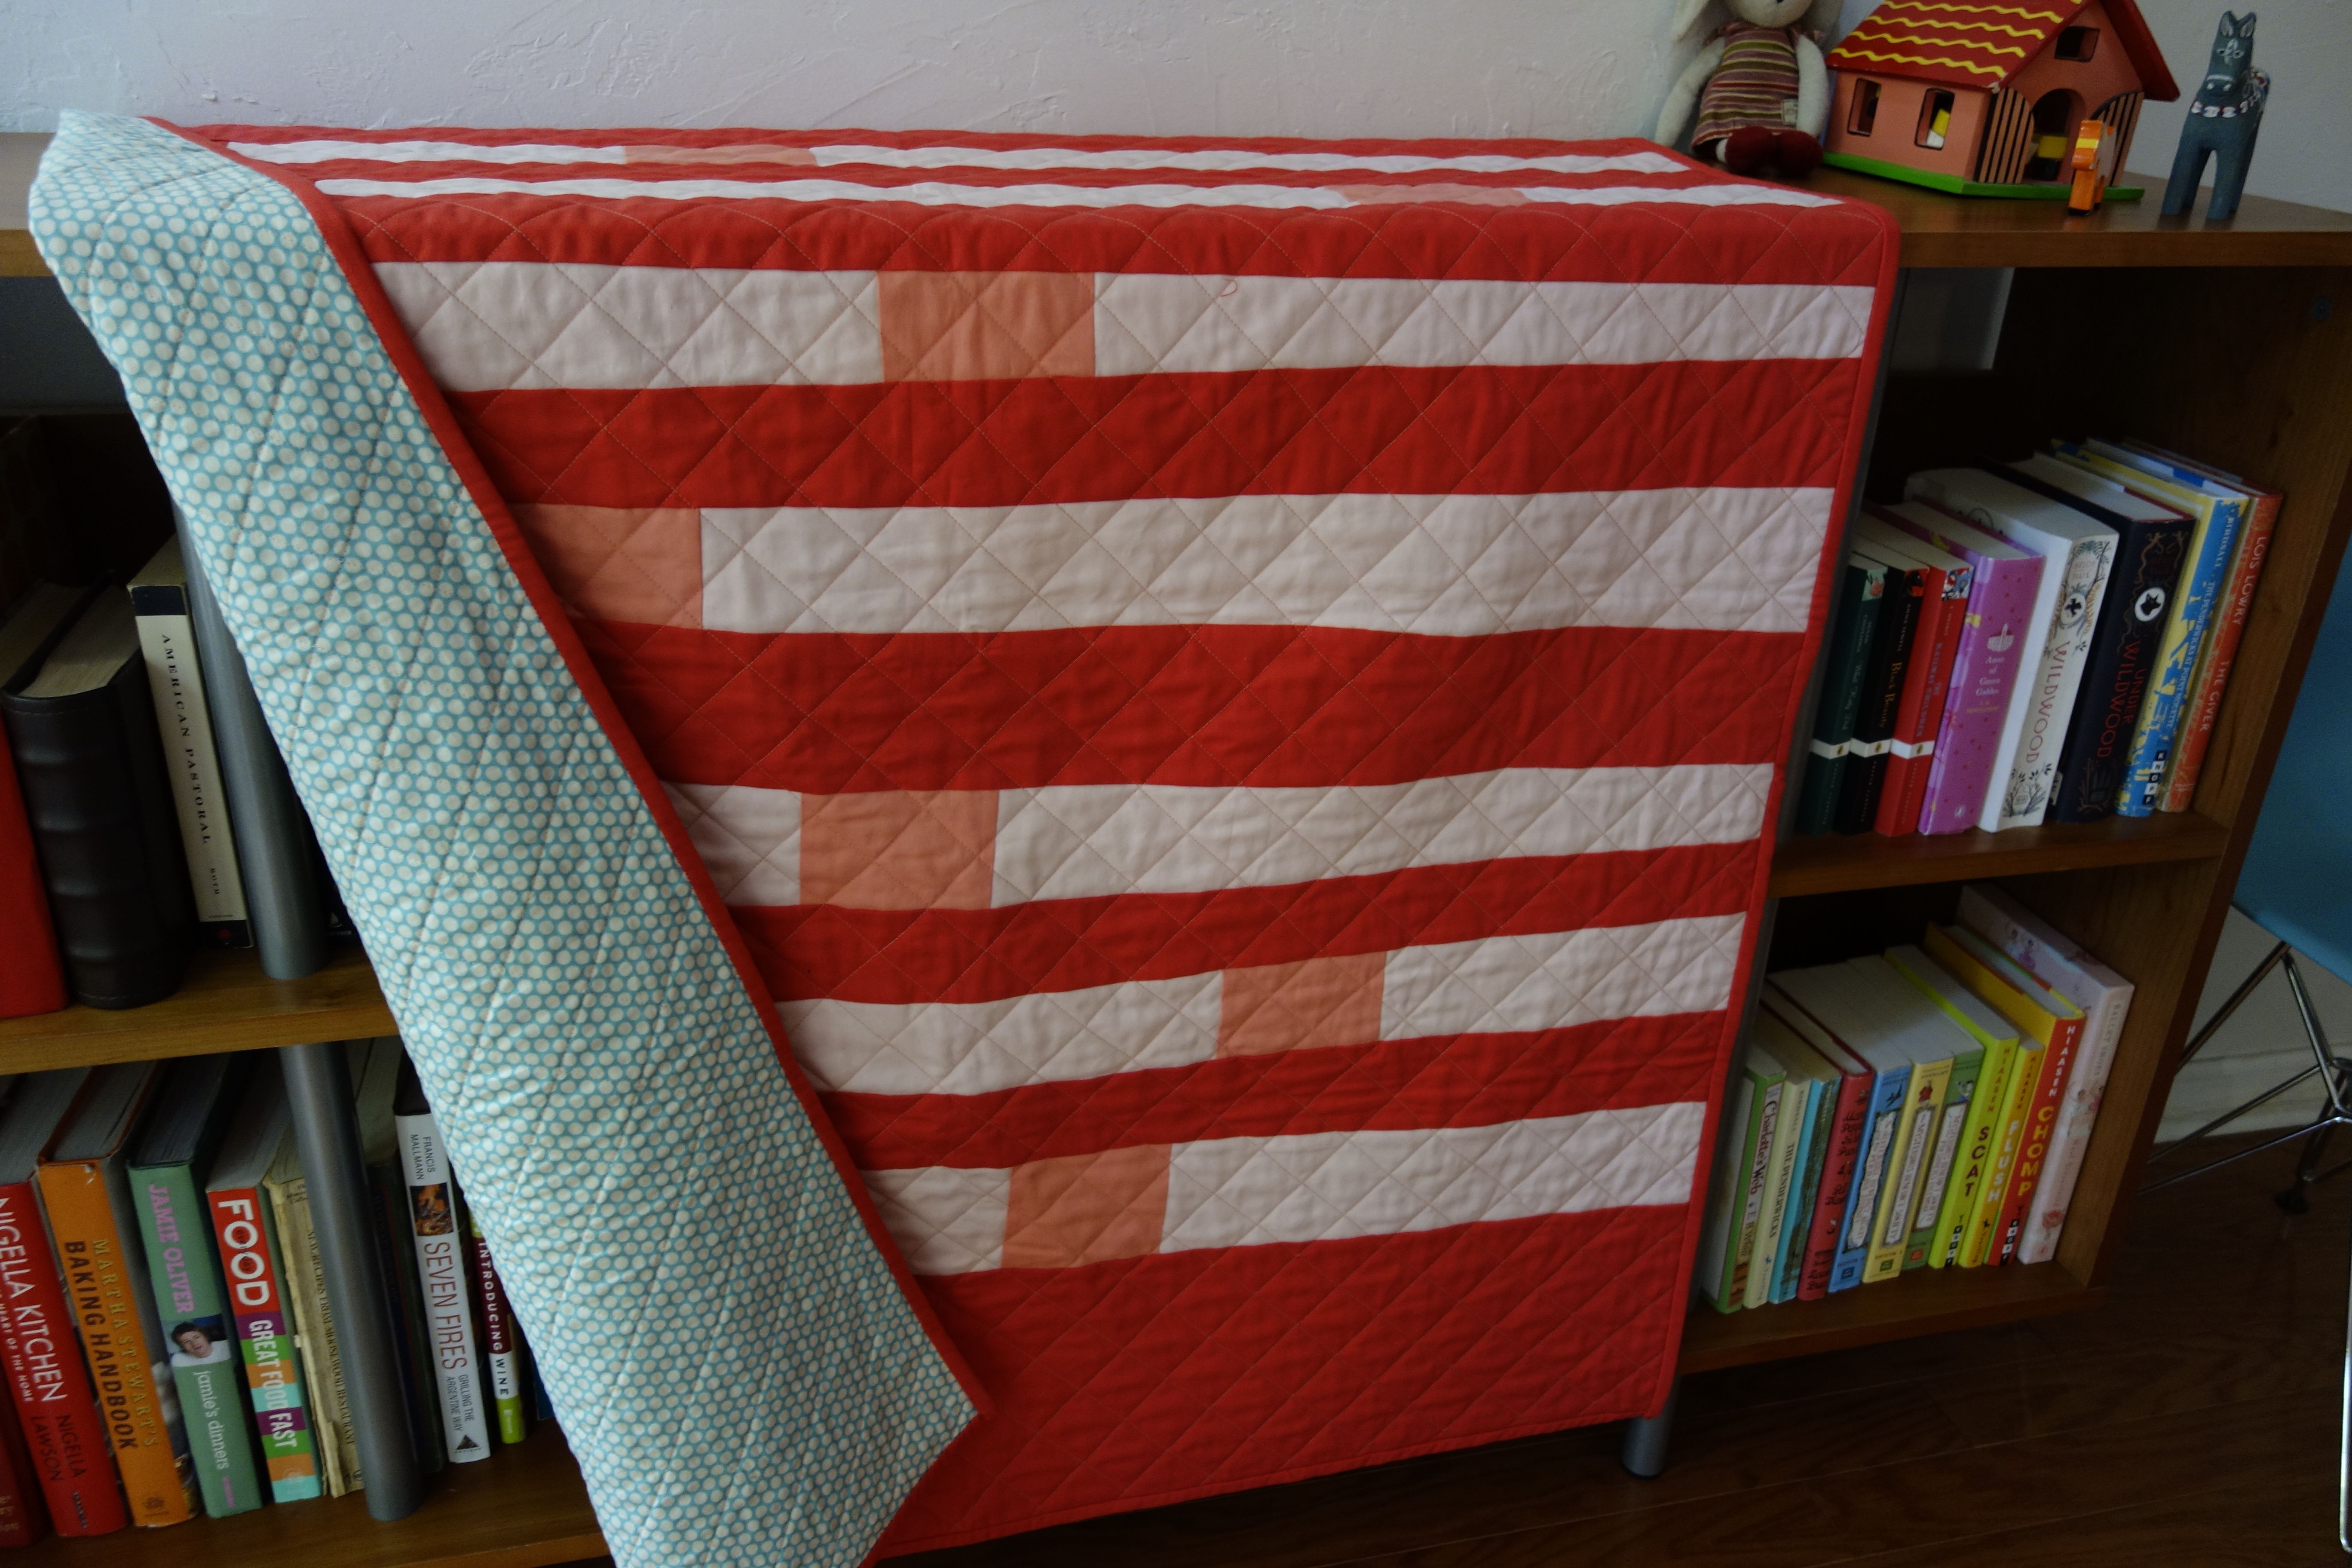
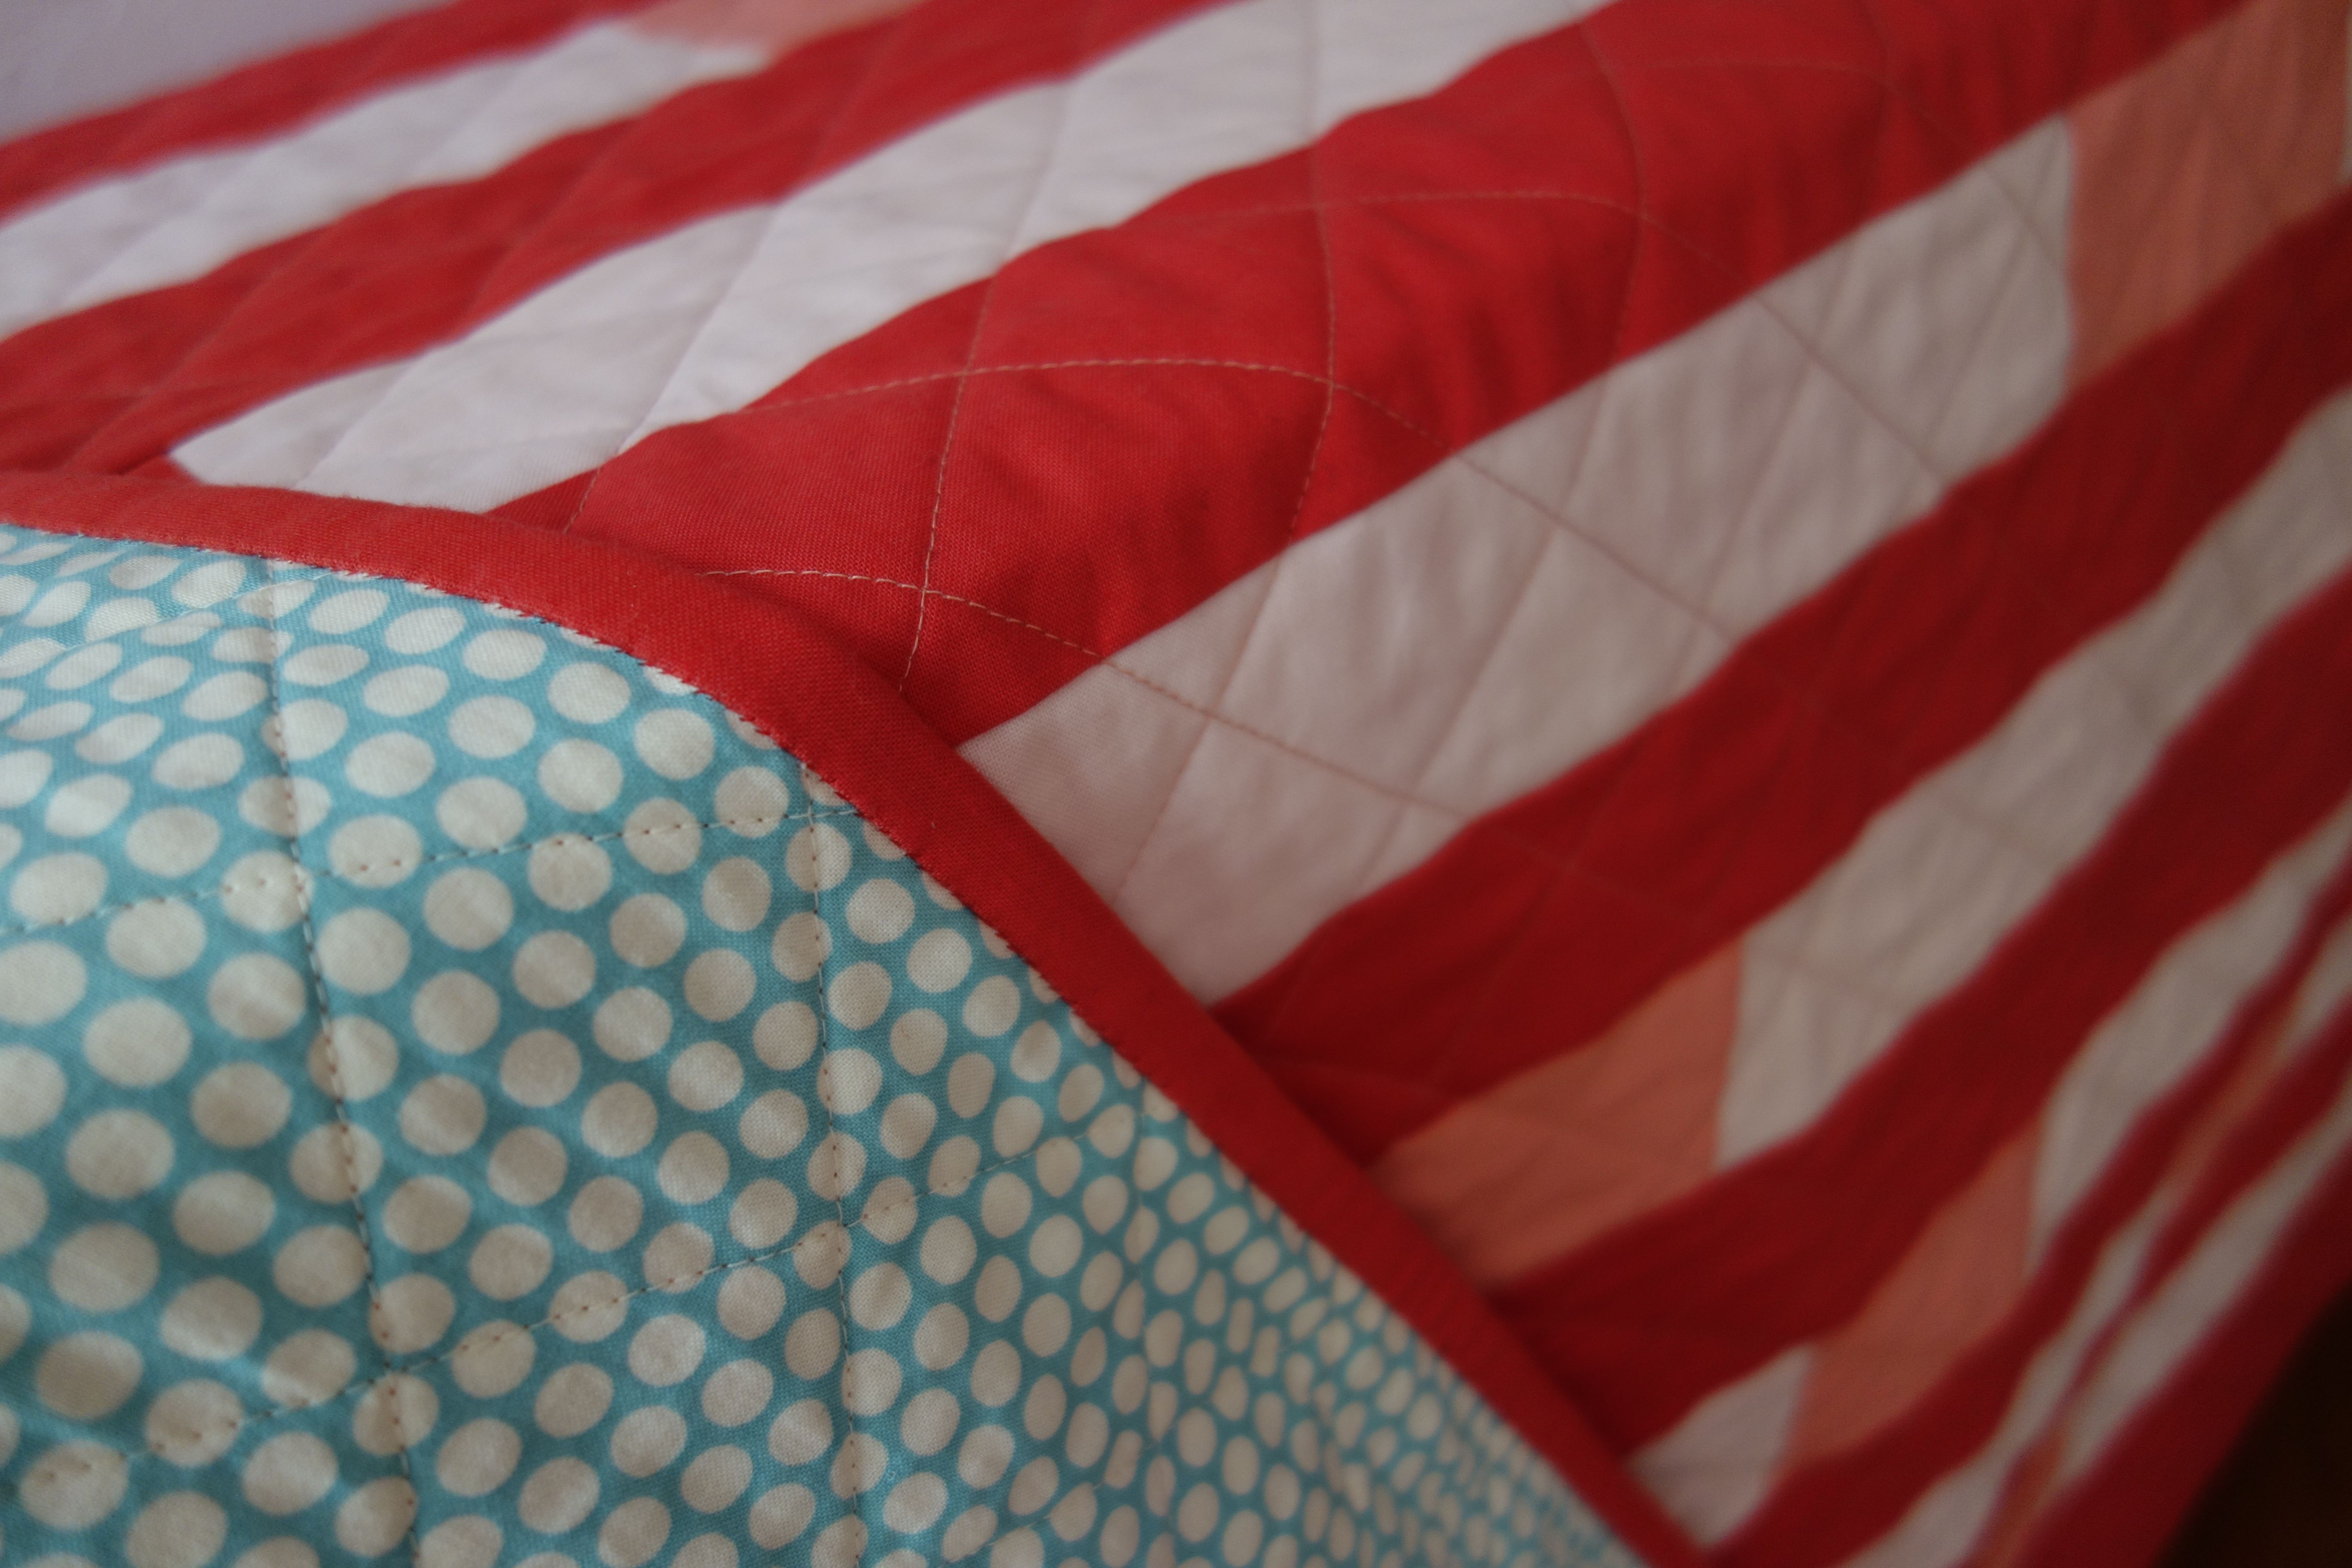
When I refer to the abbreviation WIP, I mean Work In Perpetuity. Sure, there’s progress, but it’s so slow. Who knew sewing a quilt would involve so much sewing? Maybe I should have guessed as much after dutifully cutting 278 4″ squares of fabric. Here are the squares “chain-pieced” into piles of pairs:

image

For newbies like me, chain-piecing means sewing two patches right side together and then just lifting the presser foot and feeding in the next pair to make a continuous chain. You cut the pairs apart later. Two other rookie things I’ve learned: there’s no backstitching in quilting, and quilters really dig a 1/4″ seam allowance (so if a pattern doesn’t give an allowance, bank on that one).

image

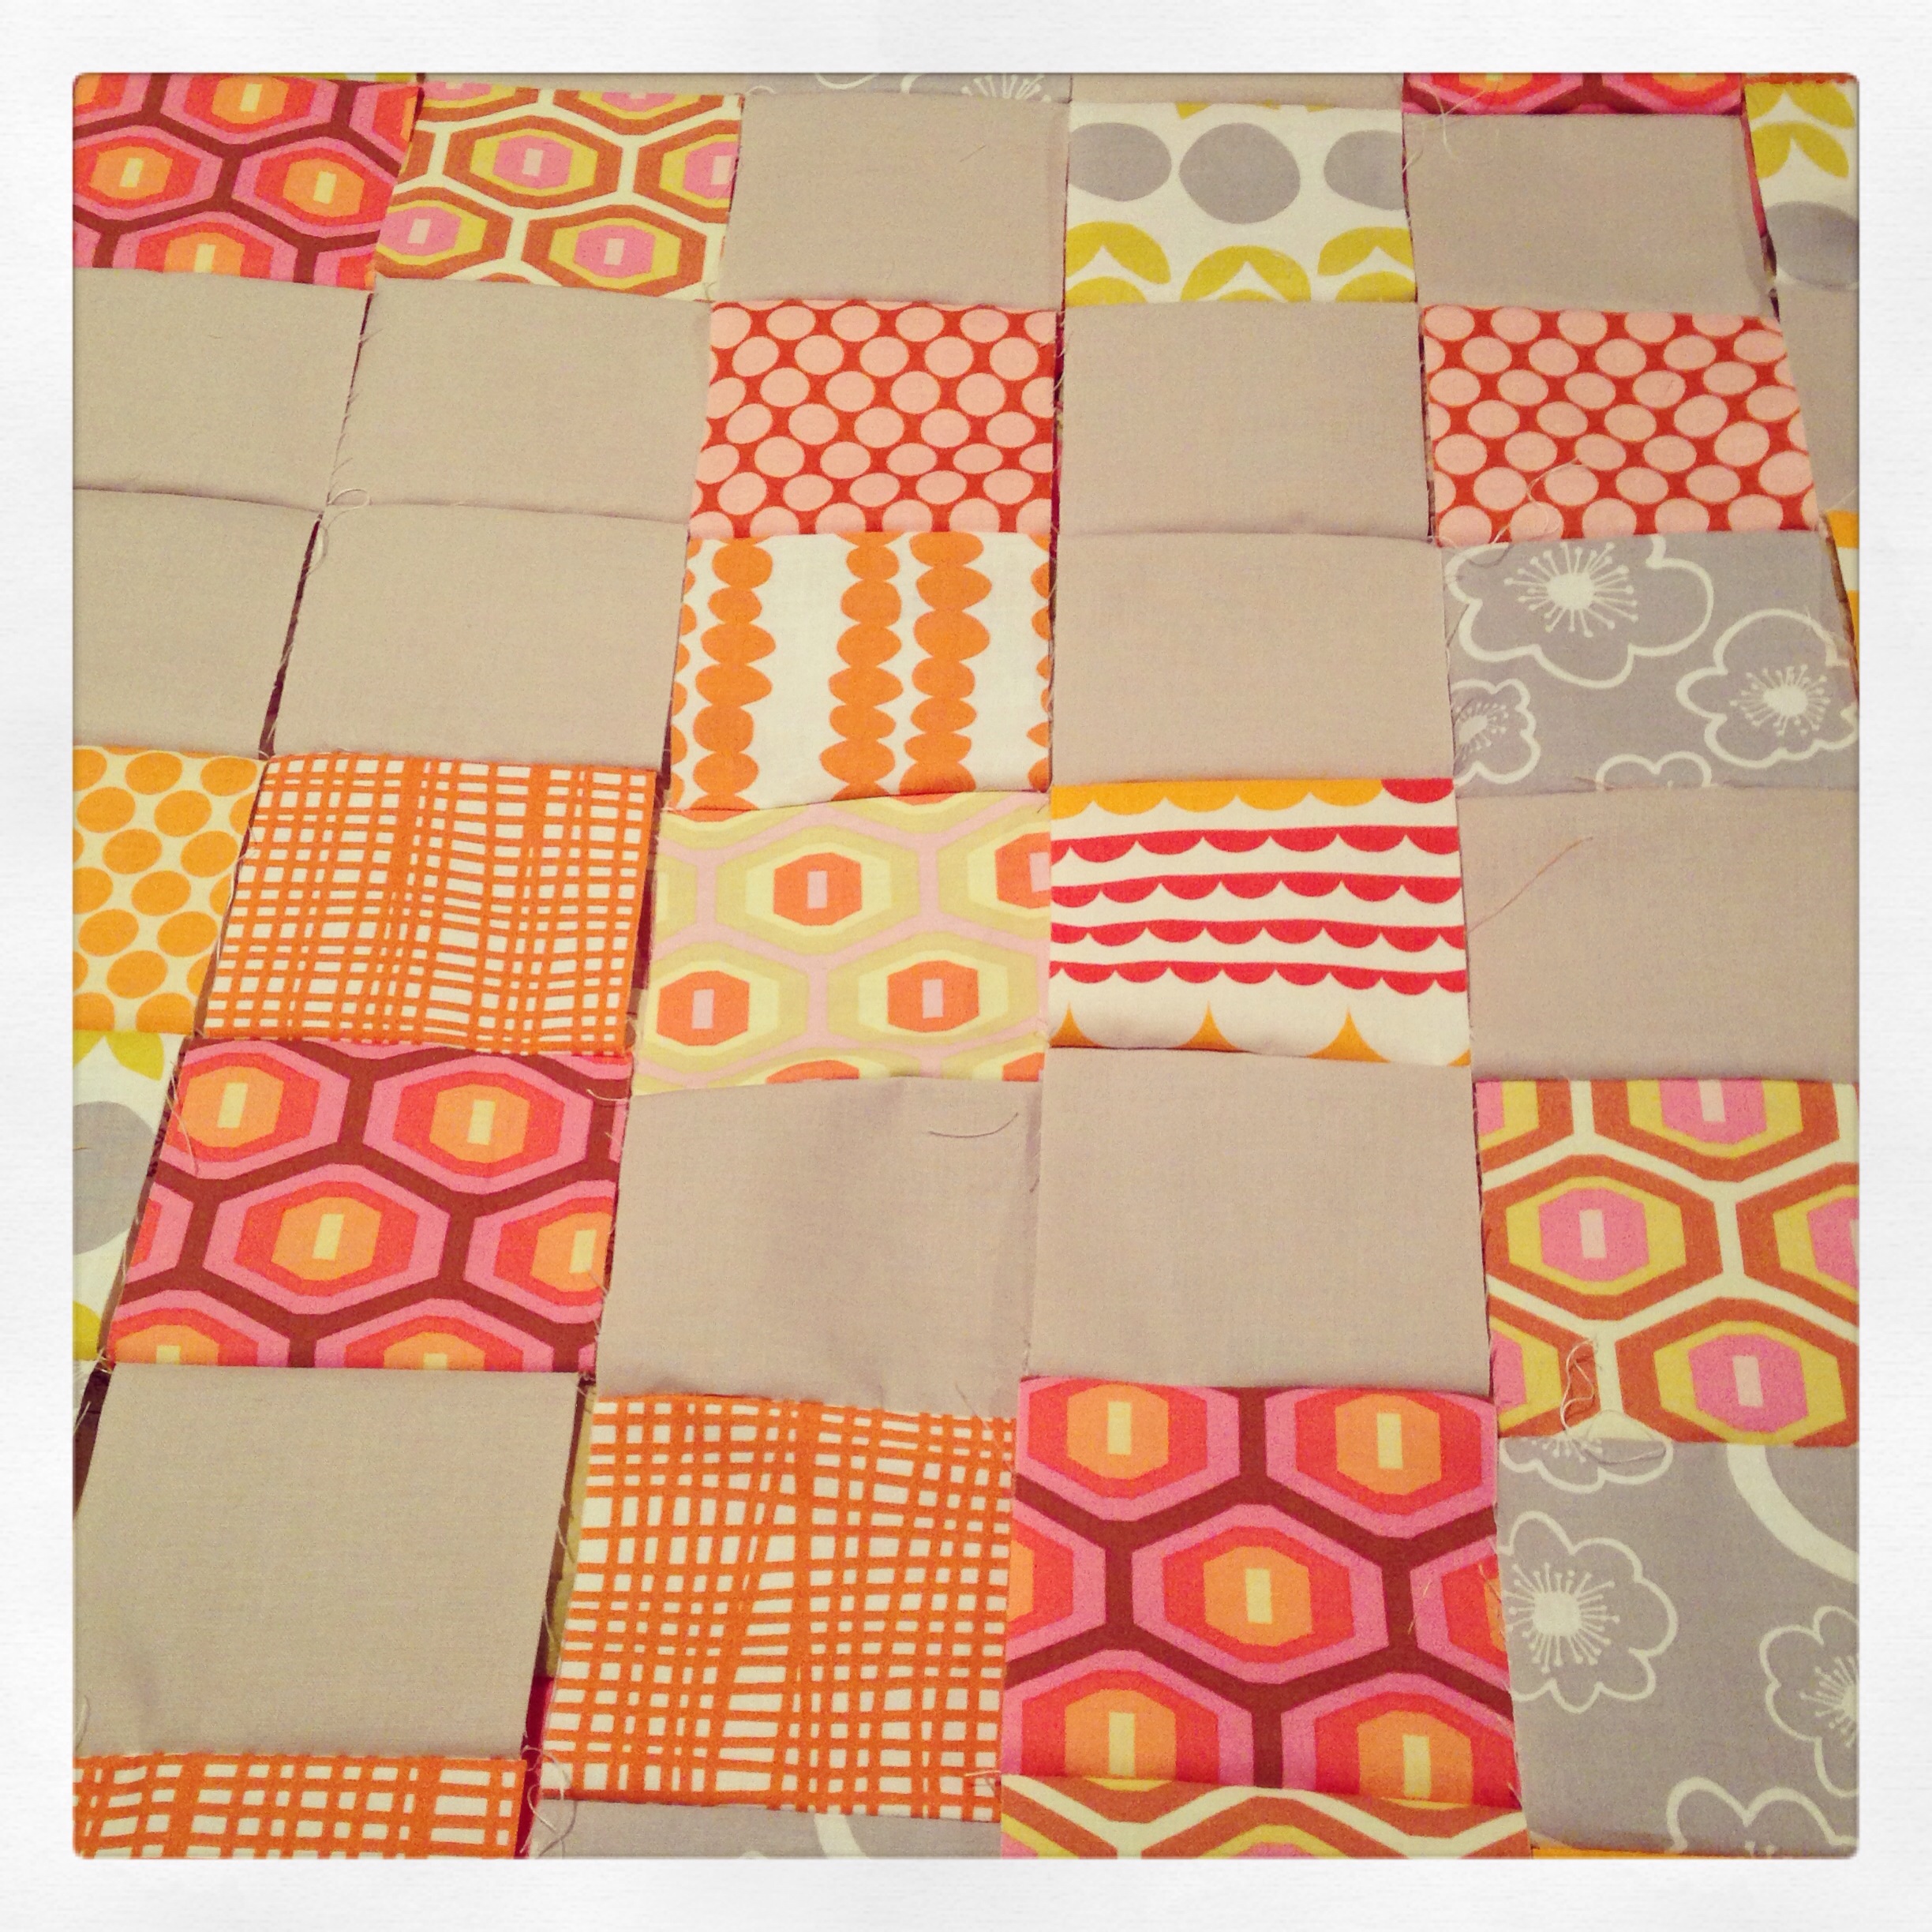
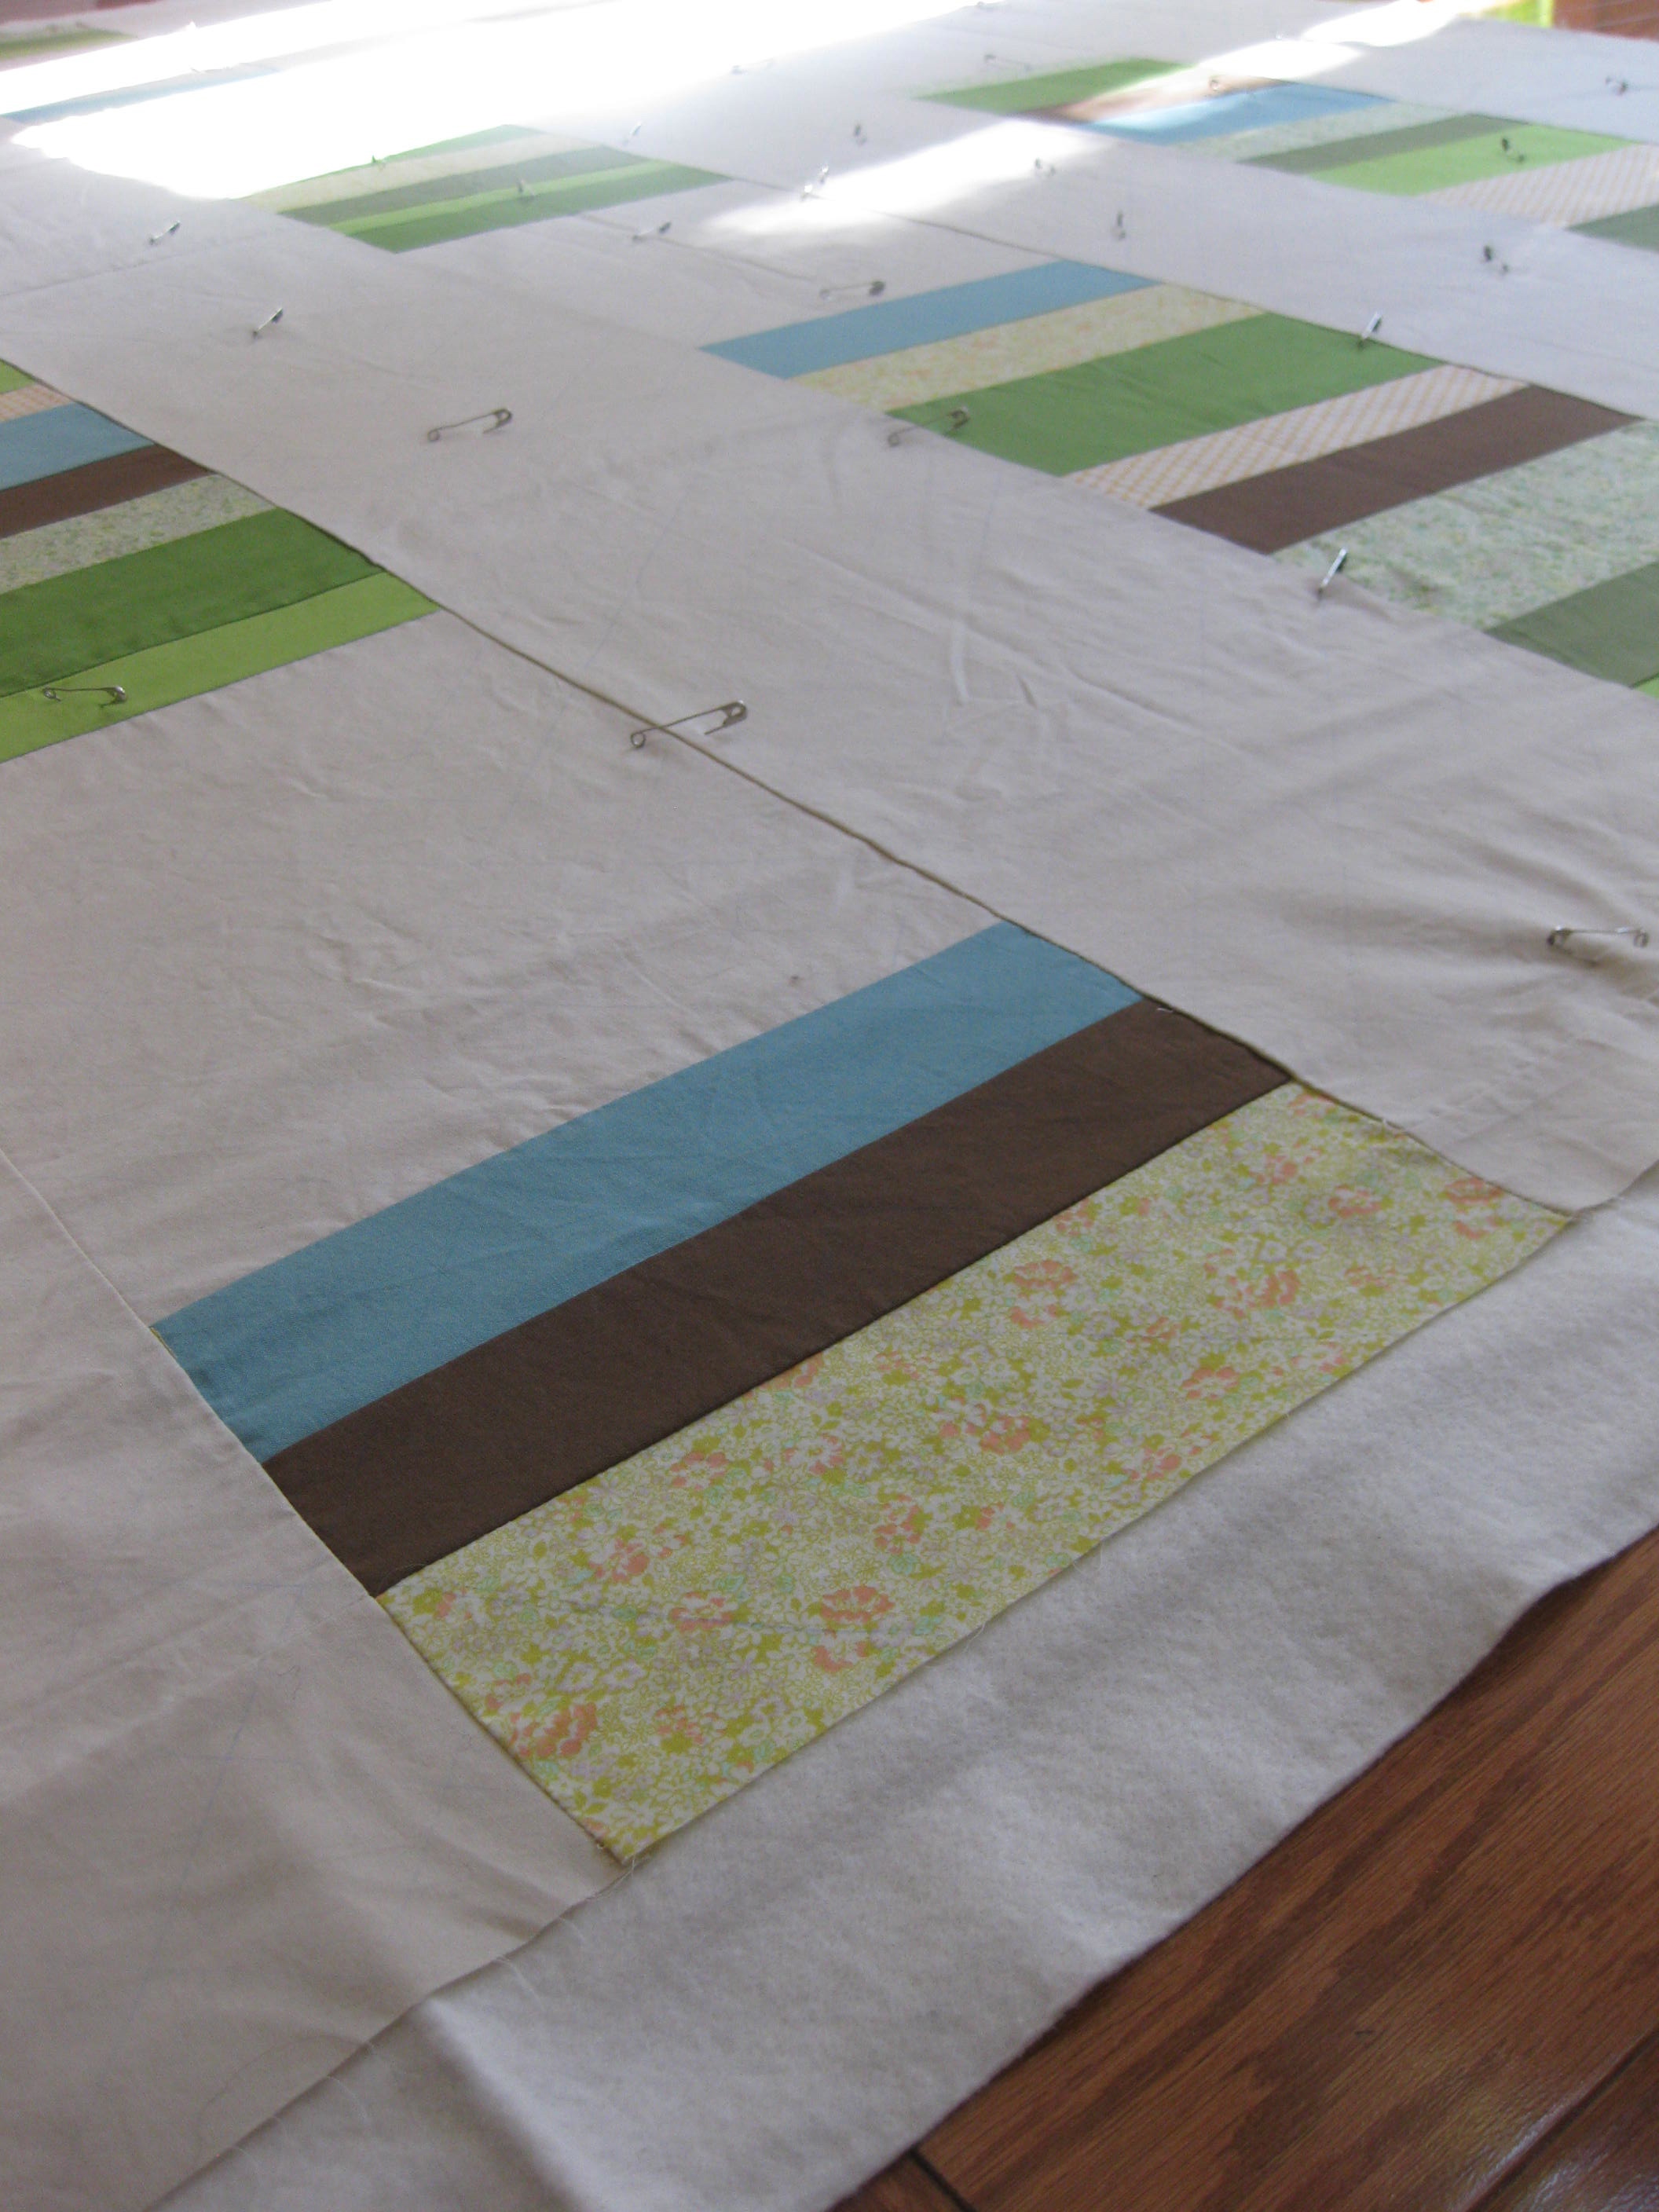
Now I’m sewing my pairs into strips. According to Alicia Paulson’s Ollalieberry Ice Cream quilt pattern, the squares should be random. Tell that to my brain! I can’t stop myself from trying to create patterns from the chaos!  Order out of entropy! Here Captain Wonderpaws overlooks my work:

image


Quilt photography

Image

I don’t want to confess how many hours I’ve spent trying to take some decent photos of my new quilt. It seems improbably difficult. The colors in this quilt are so pretty in person–not really a bright tomato red but a more subtle coral. I know most people take pictures of their quilts outdoors (hooray for natural light!), but I was so taken with the photography in Denyse Schmidt’s new book Modern Quilts, Traditional Inspiration that I wanted to try some interior photos. I just opened my Etsy shop (Brigit Gail), which except for the photography, is incredibly easy. Etsy recommends five photos per listing–compounding my difficulties. Here is the essential close-up….

Image

I think these photos turned out pretty well, but I have a bright pink quilt that is harder to capture than a unicorn. I’m off to try hanging it on a wall to see if I have any better results.

Finished picnic quilt

IMG_1814

February in Florida is picnic weather–bright and sunny, no humidity and no mosquitoes. So this weekend, I am packing up some delicious fare and taking my family on a picnic. This quilt replaces a woolen picnic blanket that is far too hot and itchy for picnicking anywhere but the Scottish highlands. The backing is olive green, and I used a delicate floral for the binding–perfect for the great outdoors.

IMG_1819

Quilt sandwich

Here is a very quick tutorial about making a quilt sandwich–which can be super satisfying. First it is essential to clear a large space to spread out. Spread your quilt back, right side down, on the floor. Tape the edges (I use blue painter’s tape) to the floor so the fabric is smooth, but not taut. Pull off any stray threads.

IMG_1782

Next unfold your batting and, starting from the center, gently smooth out any wrinkles. The batting sticks to the fabric so you may need to lift the batting gently to smooth out some wrinkles. Once your batting is nice and smooth, trim any excess that extends beyond the edges of the backing.

IMG_1783

Then, lay your quilt top, right side up, on top of the batting. Your quilt top will be smaller than the backing and batting so you should be able to position it neatly. Again, starting in the center, smooth your quilt top onto the batting gently pushing any wrinkles to the edges. Finally, you can either baste or pin your sandwich together.  I prefer pins because I find pinning (with curved quilting safety pins) keeps my sandwich smooth. It is also faster than basting. Sometimes I baste the pinned quilt after I take it off the floor. The basting makes it easier when you are doing the quilting. Here is my quilt–all sandwiched together and ready to go.

IMG_1784

Quilting backing how-to

This quilt top started with some dainty floral fabric (Olympus Soleil) that went on sale, and the idea to make a picnic quilt. I used an easy stacked coin pattern and worked the florals in with mostly green solids. For the backing, I decided to use the same solid olive fabric that I plan to use for the binding. As often happens, I got around to making the quilt months after I bought the fabric. Since then, I’ve borrowed little bits and pieces from the yards of olive that I bought, so now I don’t have quite enough for the binding and backing. In come the scraps.

A quilt backing needs to be 3 inches bigger on all sides than the quilt top. My quilt will be 80 x 85″. Somehow I need to make an 86 x 91″ rectangle from 150 x 42″ of fabric for the backing. Backing should be made from large pieces of fabric so it isn’t too bulky with seams and doesn’t compete with the front. I will make four rectangles that are 37 x 42, and then make an 86 x 18 ” strip from the largest scraps to fill the gap in the length, I can put this strip at the top or in the middle (keeping in mind that three inches of the backing edges will be cut away when the quilt sandwich is complete). I’ll also need to add two inches to the width, and I think I’ll use one of the other solid greens from the front.

If you do have enough of one piece of fabric, then you just piece it together to make the size rectangle you need. Which, of course, is simpler and looks very elegant. Denyse Schmidt’s quilts often have nicely contrasting solids (and sometimes bold prints) for quilt backs that remind me of a pretty coat lining.