Embroidered Hearts

Before we kick into full valentine production at my house, cutting and decorating paper hearts for my kid’s multidinous classmates (maybe this is the best argument for keeping class sizes small), I thought I’d sneak in a little stitching.

It all started with this freebie download for bear and bunny dolls  from wee wonderfuls. I stitched bunny, but not bear because . . .

 . . . I was taken by the urge to create these lumpy little stuffed embroidered hearts! 

I had hoped they’d be reminiscent of these embroidered birds,  but alas, not quite. I learned that it’s really hard to turn small shapes right side out after sewing. Also that I haven’t mastered sewing perfect curves on my machine. And the elusive invisible stitch? I keep trying . . .  

But I did my messy best and enjoyed the embroidery. I used muslin for the front and for the back, scraps of printed cotton and denim and (pink!) cordoroy from recycled pants. The heart paper is from Paper Source in Cambridge. Happy Valentine’s Day, friends!

Paper Rollercosters

This paper craft for kids comes straight from one of my favorite museums: the Peabody Essex in Salem, Mass. Yes, it has an amazing Asian art and Maritime art collection (including a room-size model of the S.S. Queen Elizabeth, which never fails to impress us). But sometimes we go just to hang out in the sunny atrium designed by architect Moshe Safdie, admire the sky, and pretend it’s not 4 degrees outside.

The paper rollercoaster craft (offered as part of the PEM’s “Eye Spy, Playing with Perception” exhibit through May) had the qualities of a good kids’ project: simple enough for little guys to enjoy and interesting enough to engage bigger kids. Plus you probably have all the stuff you need right in your house: glue sticks, strips of colored paper, and a piece of paper for a base.

Dab one end of a paper strip and press to the base. Twist, bend, or loop–then glue the other end and press. 

    My 10-year-old made his rollercoaster a continuous circuit. My five-year-old’s design defied the laws of physics, but he thought it looked really cool.


 On the way home, we drove by the Salem harbor,

 and it was winter again.

Curtains

Here are some curtains I made using the purl bee pattern lovely lined curtains. In case you haven’t noticed, I am seriously enamored with all things purl. In case you are thinking of trying the pattern, it might be worth noting that it recommends pulling a thread to make a straight line for cutting, which is a very clever trick. After a painstaking hour of pulling tiny bits of thread, I couldn’t stand it and zipped through the fabric with my rotary cutter–so satisfying! But, as the pattern forewarns, it’s pretty much impossible to cut a straight line 60-inches long. As you can see below, my lovely lining peeks out from the bottom of one panel, but it’s really only noticeable upon close inspection. The fabric is from Joelle Hoverson’s collection Cake Rock Beach. I love the seaweed pattern, which reminds me that Brooklyn is actually very close to the ocean!

Darling Clementine, Part 2

OK, for Part 2 of the Darling Clementine Project, I thought I would sew a groovy vintage-y oilcloth liner for a clementine crate. I thought this print with oranges would be perfect:Green Oranges OilclothYou can order it at http://www.warmbiscuit.com. But I decided to take my chances and buy a yard of whatever was in stock at the nearby Tags Ace Hardware. (Not many hardware stores carry oilcloth–only those in yuppie strongholds like Porter Square in Cambridge, Mass.) Anyway, I chose the only fruit-themed print they had: red cherries on white.

I decided that it would be better to build up the clementine crate with bass wood strips (from my local craft store). That way, the liner would have an edge to fold over and it wouldn’t obscure the Darling Clementine graphic on the side of the box. I tried stapling the wood strips first, then hammering in brads, but the wood corners of the box were surprising strong. So, I used wood glue, which worked well.

Sewing the liner went pretty quickly (except getting the tension right for the oilcloth). For complete, step-by-step directions, a downloadable pdf is here: Darling Clementine Project.


Not sure what I’m going to store in it: clementines, maybe?

Doll’s bed

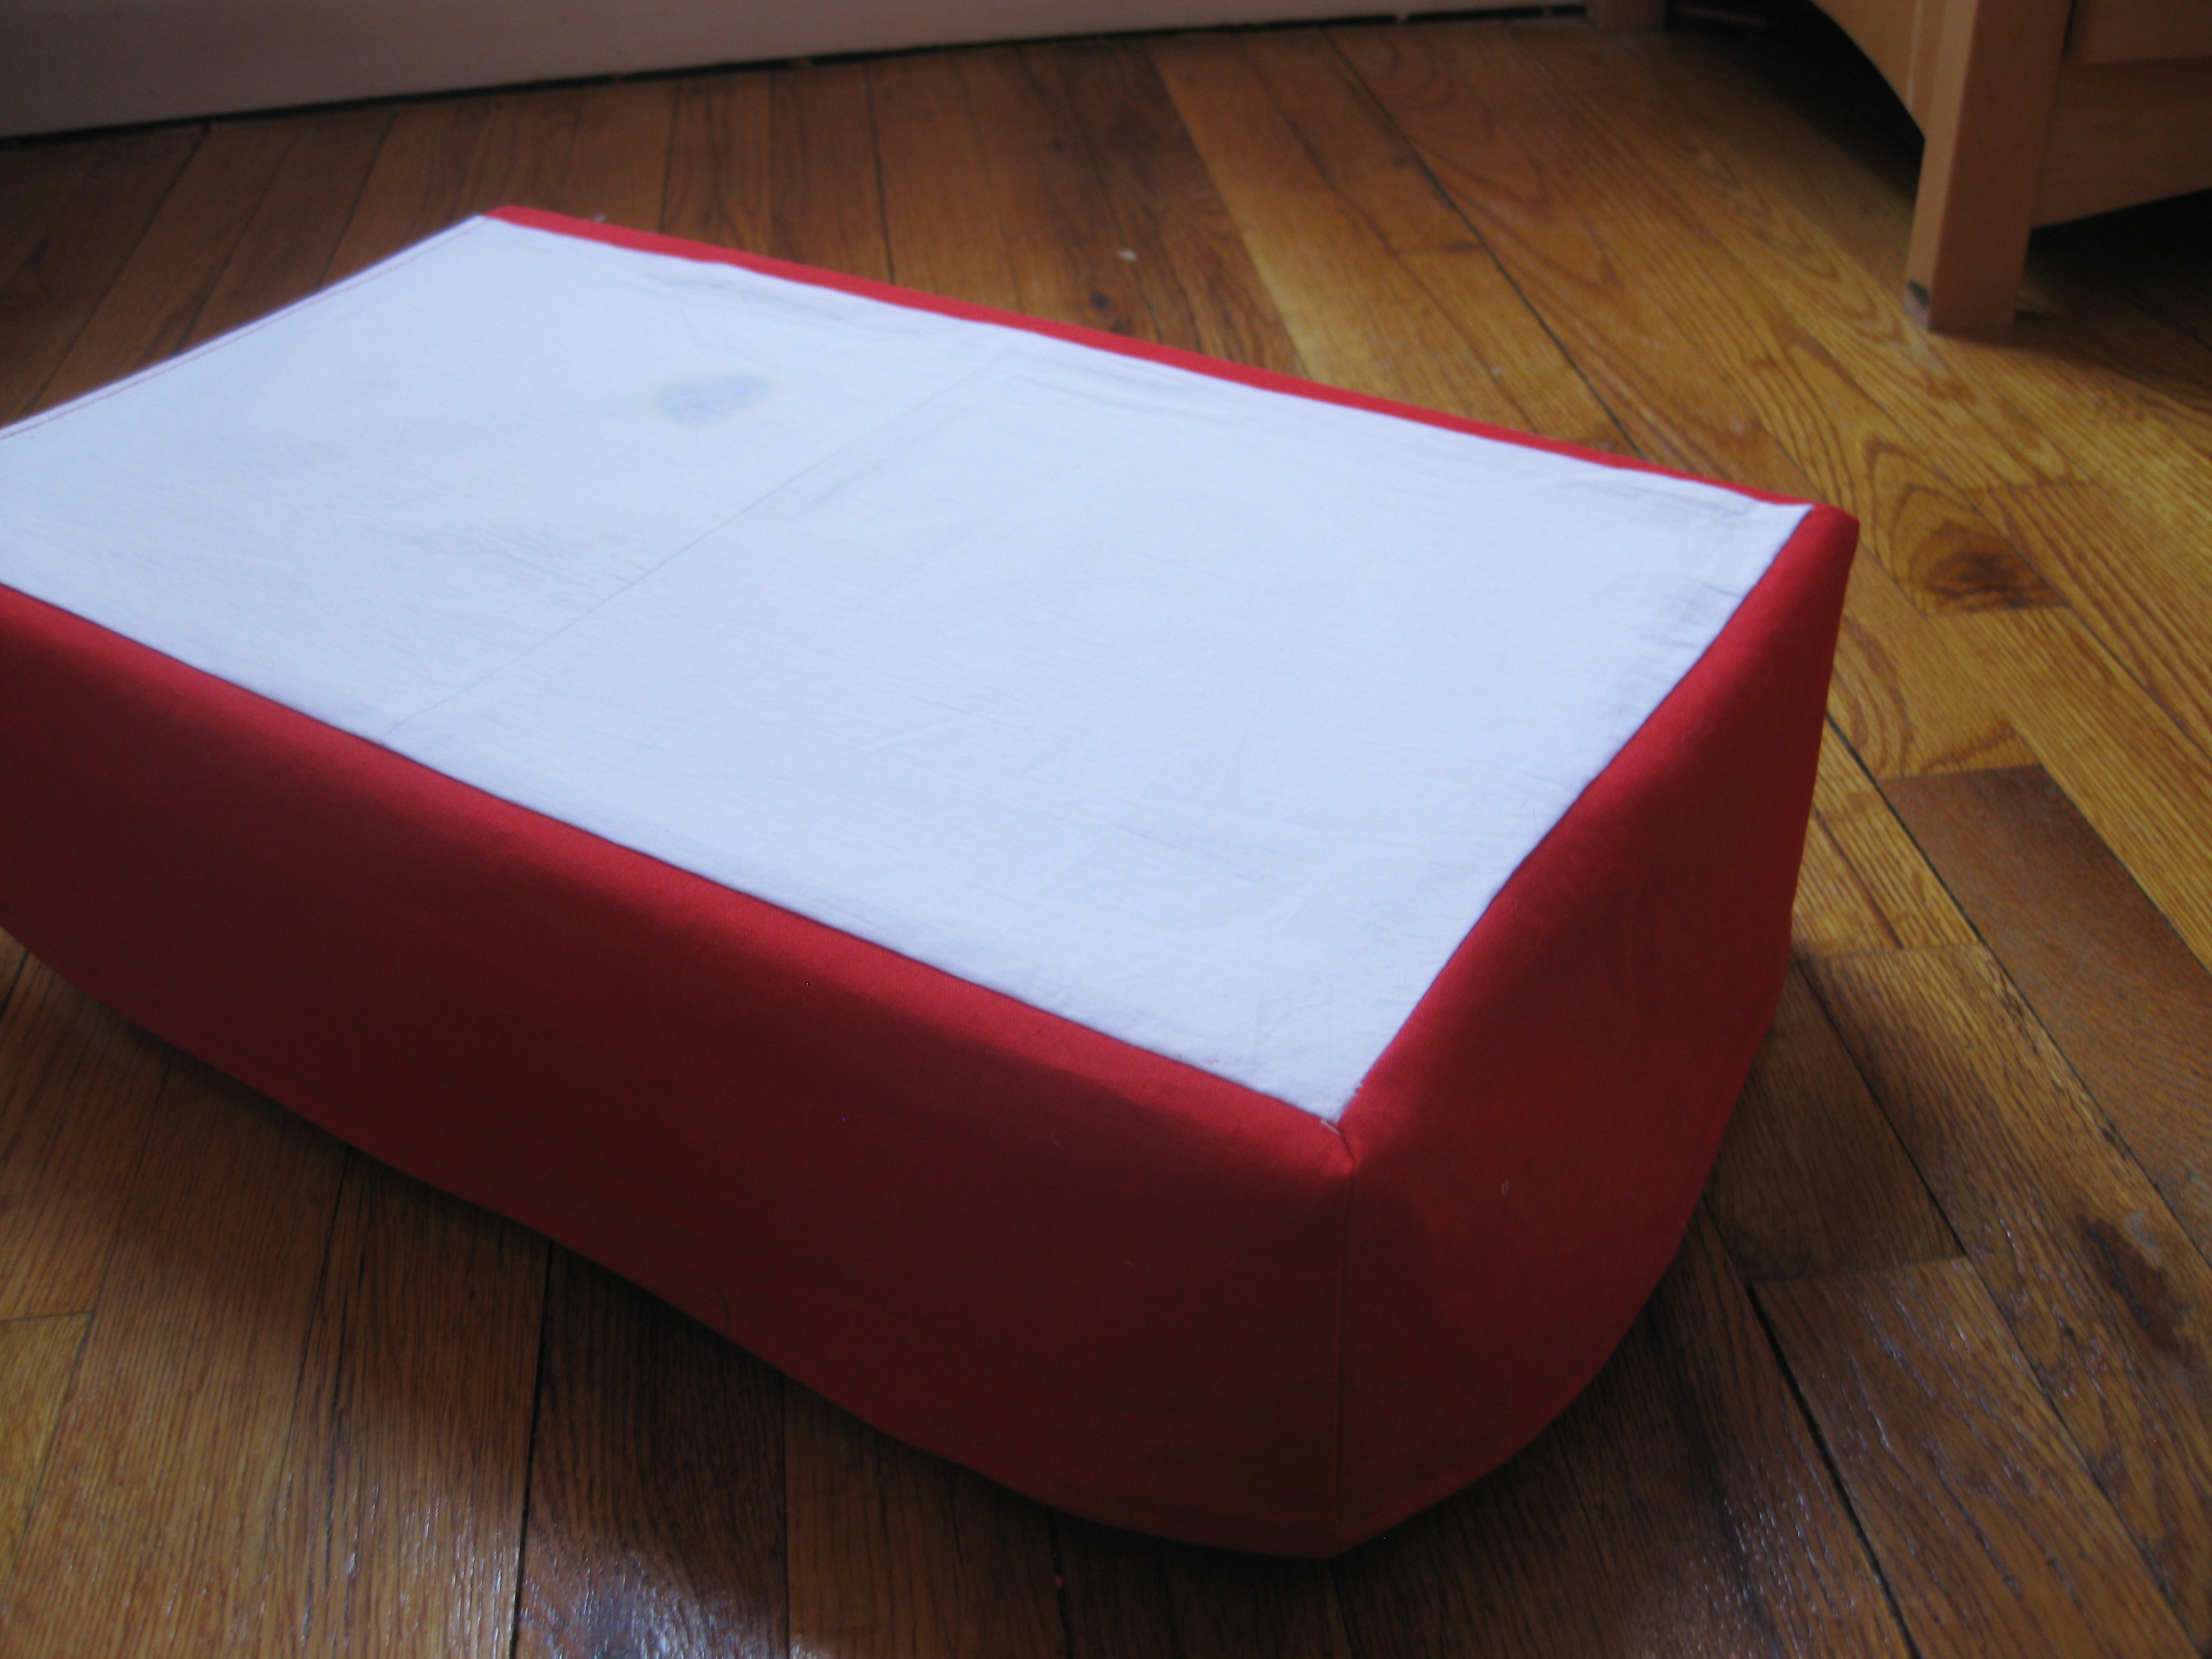
My daughter got a new American Girl doll for Christmas, so a new bed was needed for the dormitory. A free weekend, a sturdy box, and some left over fabric, and Eve soon had a cozy bed of her own. We started with box from a new pair of boots, and added some foam-core board to the top to make it the right length. (Bonus: the bed opens up to store dolls’ shoes, socks, accessories, and a few musical instruments.)

My daughter chose the fabrics she wanted to use from my scrap box. To make the bed skirt, I attached three panels of red cotton/linen to a rectangle of muslin in a simple box shape. I made a mattress out of plain white cotton with cotton batting.  Same for the pillow, but I tore up the batting to make it more fluffy. Then, my daughter, who was given an embroidery kit from my granny, embroidered the pillow case–all by herself!

Finally, the quilt was really quick to make. My daughter wanted one fabric for the top, so I pieced together a few scraps to make a rectangle, and then used white for the backing. Rather than binding the quilt, I sewed regular seams and just turned it inside out. I also tried quilter’s knots to quilt the layers together, for the first time. All around, we’re pretty pleased with how this turned out–without spending a penny!

Have you made anything for American Girls? We’d love to hear about your excuses to play with your kids’ toys!