Easy and Fun Valentine to Make with Kids

Arrow through the heart? Make that, Number 2 pencil through the heart! Our valentine project this year is totally old school: super simple, low cost, and homemade from stuff we have around the house.

What you need:
Pencils
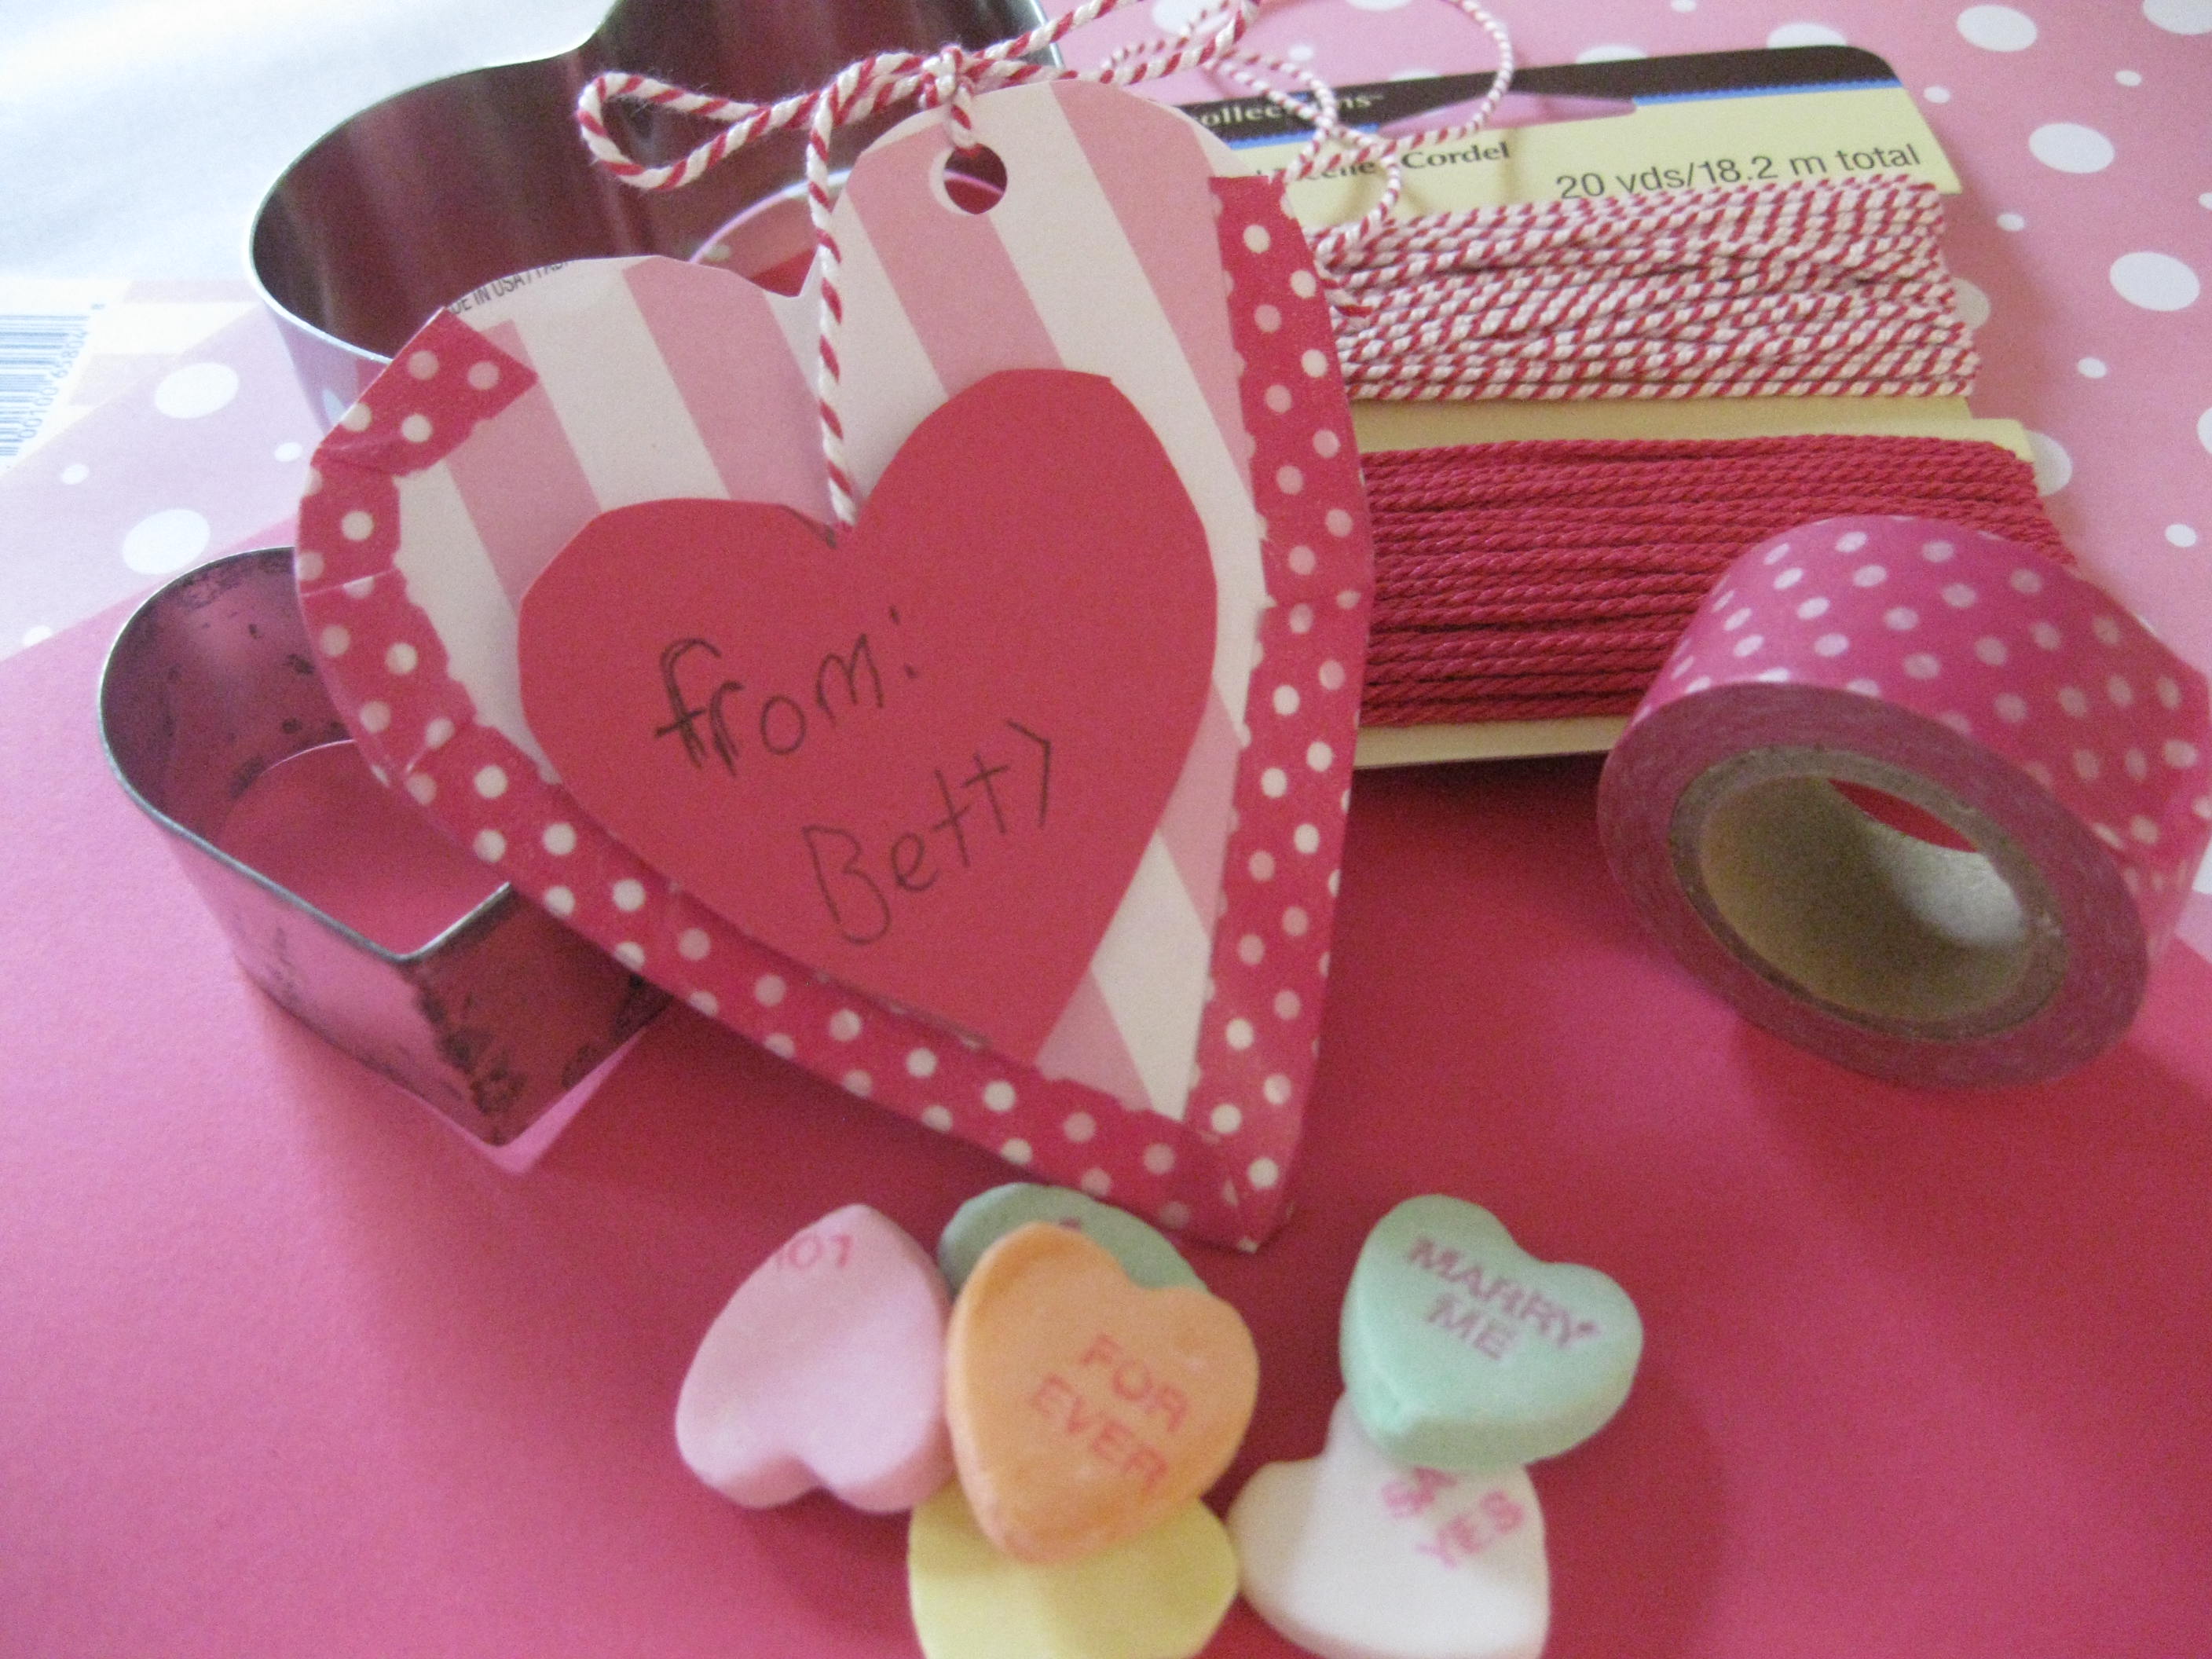
Washi tape or masking tape in different colors (we used Scotch masking tape from Michael’s)
Construction paper
Scissors
X-acto

Optional: Stamps and stamp pad

Step 1: Cut out hearts from construction paper (about 5 x 5″). Let the kids do this step. Lopsided? Looking more like a liver than a heart? Remember: it’s part of the charm!

Step 2: This is a step for a grown-up. Cut two 1.5″ slits with your X-acto, one in the upper left quadrant of the heart shape, one in the bottom right quadrant.

Step 3: Decorate with stamps, stickers. Go crazy, kids! Bedazzle!

Step 4: Wrap pencils in strips of washi tape. Don’t worry, your valentines will be able to sharpen their washi-covered pencils.

Step 5: Insert pencil through your valentine heart. Now repeat 24 times–fewer, if you’re lucky enough to have lower class sizes at your school. . .

Paper heart pouch

IMG_1813

These paper heart pouches, with conversation hearts inside, are perfect for class valentines. They have  a little bit of candy, and are easy enough for kids to make before they get bored and wander off. We traced hearts using cookie cutters and taped two together with washi tape, leaving the top open. Then we punched a hole through the top and tied the opening shut with some baker’s twine. To finish them off, we taped a heart to the end of the twine for a label.

Heart Crayons

I’m squeezing in one last post before Monday for those of you who

1.) enjoy the smell of melting wax emanating from your toaster oven.

2.) own crayons so ancient they are growing a fur of mold.

3.) like to celebrate Valentine’s Day by smashing things with a hammer.

You will need crayons (pink, red, white, purple), the aforementioned hammer and toaster oven, a heart-shaped candy mold, and fingernails long enough to tear at the crayons’ very resistant paper wrappers. I used a silicone heart mold from Ikea, meant for making ice cubes. Not a good idea, but it worked. I have definitely destoyed the mold from ever being used again for its original purpose.

I smashed the crayons to smithereens (inside a paper bag), divided the colored bits into the molds, and placed the tray in the oven at 250F.  Watch out: the crayon wax melts quickly (in less than a minute), and if you wait too long, the colors blend together and look like purple soup.

 Cooling on the counter (note those uneaten clementines).

 Voila.

postscript:

The mailman brought this little package . . .

and inside were pink & gray striped mittens!

My five-year-old cracked up when I tried them on and my fingers poked through.

Thank you, Brig! They are absolutely beautiful.

Little purse

Last year, I went on a business trip for two weeks–to Los Angeles, in February. I have to confess it was pretty fantastic, but I missed Valentine’s Day, my wedding anniversary, and two major snowstorms. I left this little purse and some felt barrettes behind as a present to make up for missing Valentine’s Day (to one of my loved ones, at least). There wasn’t much I could do about the snowstorms, except not gloat about the sunshine.

The idea for the purse came from a linen basket in the wonderfully cute book Zakka Sewing. I changed the square shape to the old-lady-purse shape, but the pattern was very helpful in figuring out how to attach the straps neatly.

The felt barrettes were adapted from the purl bee pattern for rose barrettes.

You might want to try making one of these projects for your own sweetheart!

Embroidered Hearts

Before we kick into full valentine production at my house, cutting and decorating paper hearts for my kid’s multidinous classmates (maybe this is the best argument for keeping class sizes small), I thought I’d sneak in a little stitching.

It all started with this freebie download for bear and bunny dolls  from wee wonderfuls. I stitched bunny, but not bear because . . .

 . . . I was taken by the urge to create these lumpy little stuffed embroidered hearts! 

I had hoped they’d be reminiscent of these embroidered birds,  but alas, not quite. I learned that it’s really hard to turn small shapes right side out after sewing. Also that I haven’t mastered sewing perfect curves on my machine. And the elusive invisible stitch? I keep trying . . .  

But I did my messy best and enjoyed the embroidery. I used muslin for the front and for the back, scraps of printed cotton and denim and (pink!) cordoroy from recycled pants. The heart paper is from Paper Source in Cambridge. Happy Valentine’s Day, friends!