Read & Make: Strollercoaster + Rainbow Scratch Paper

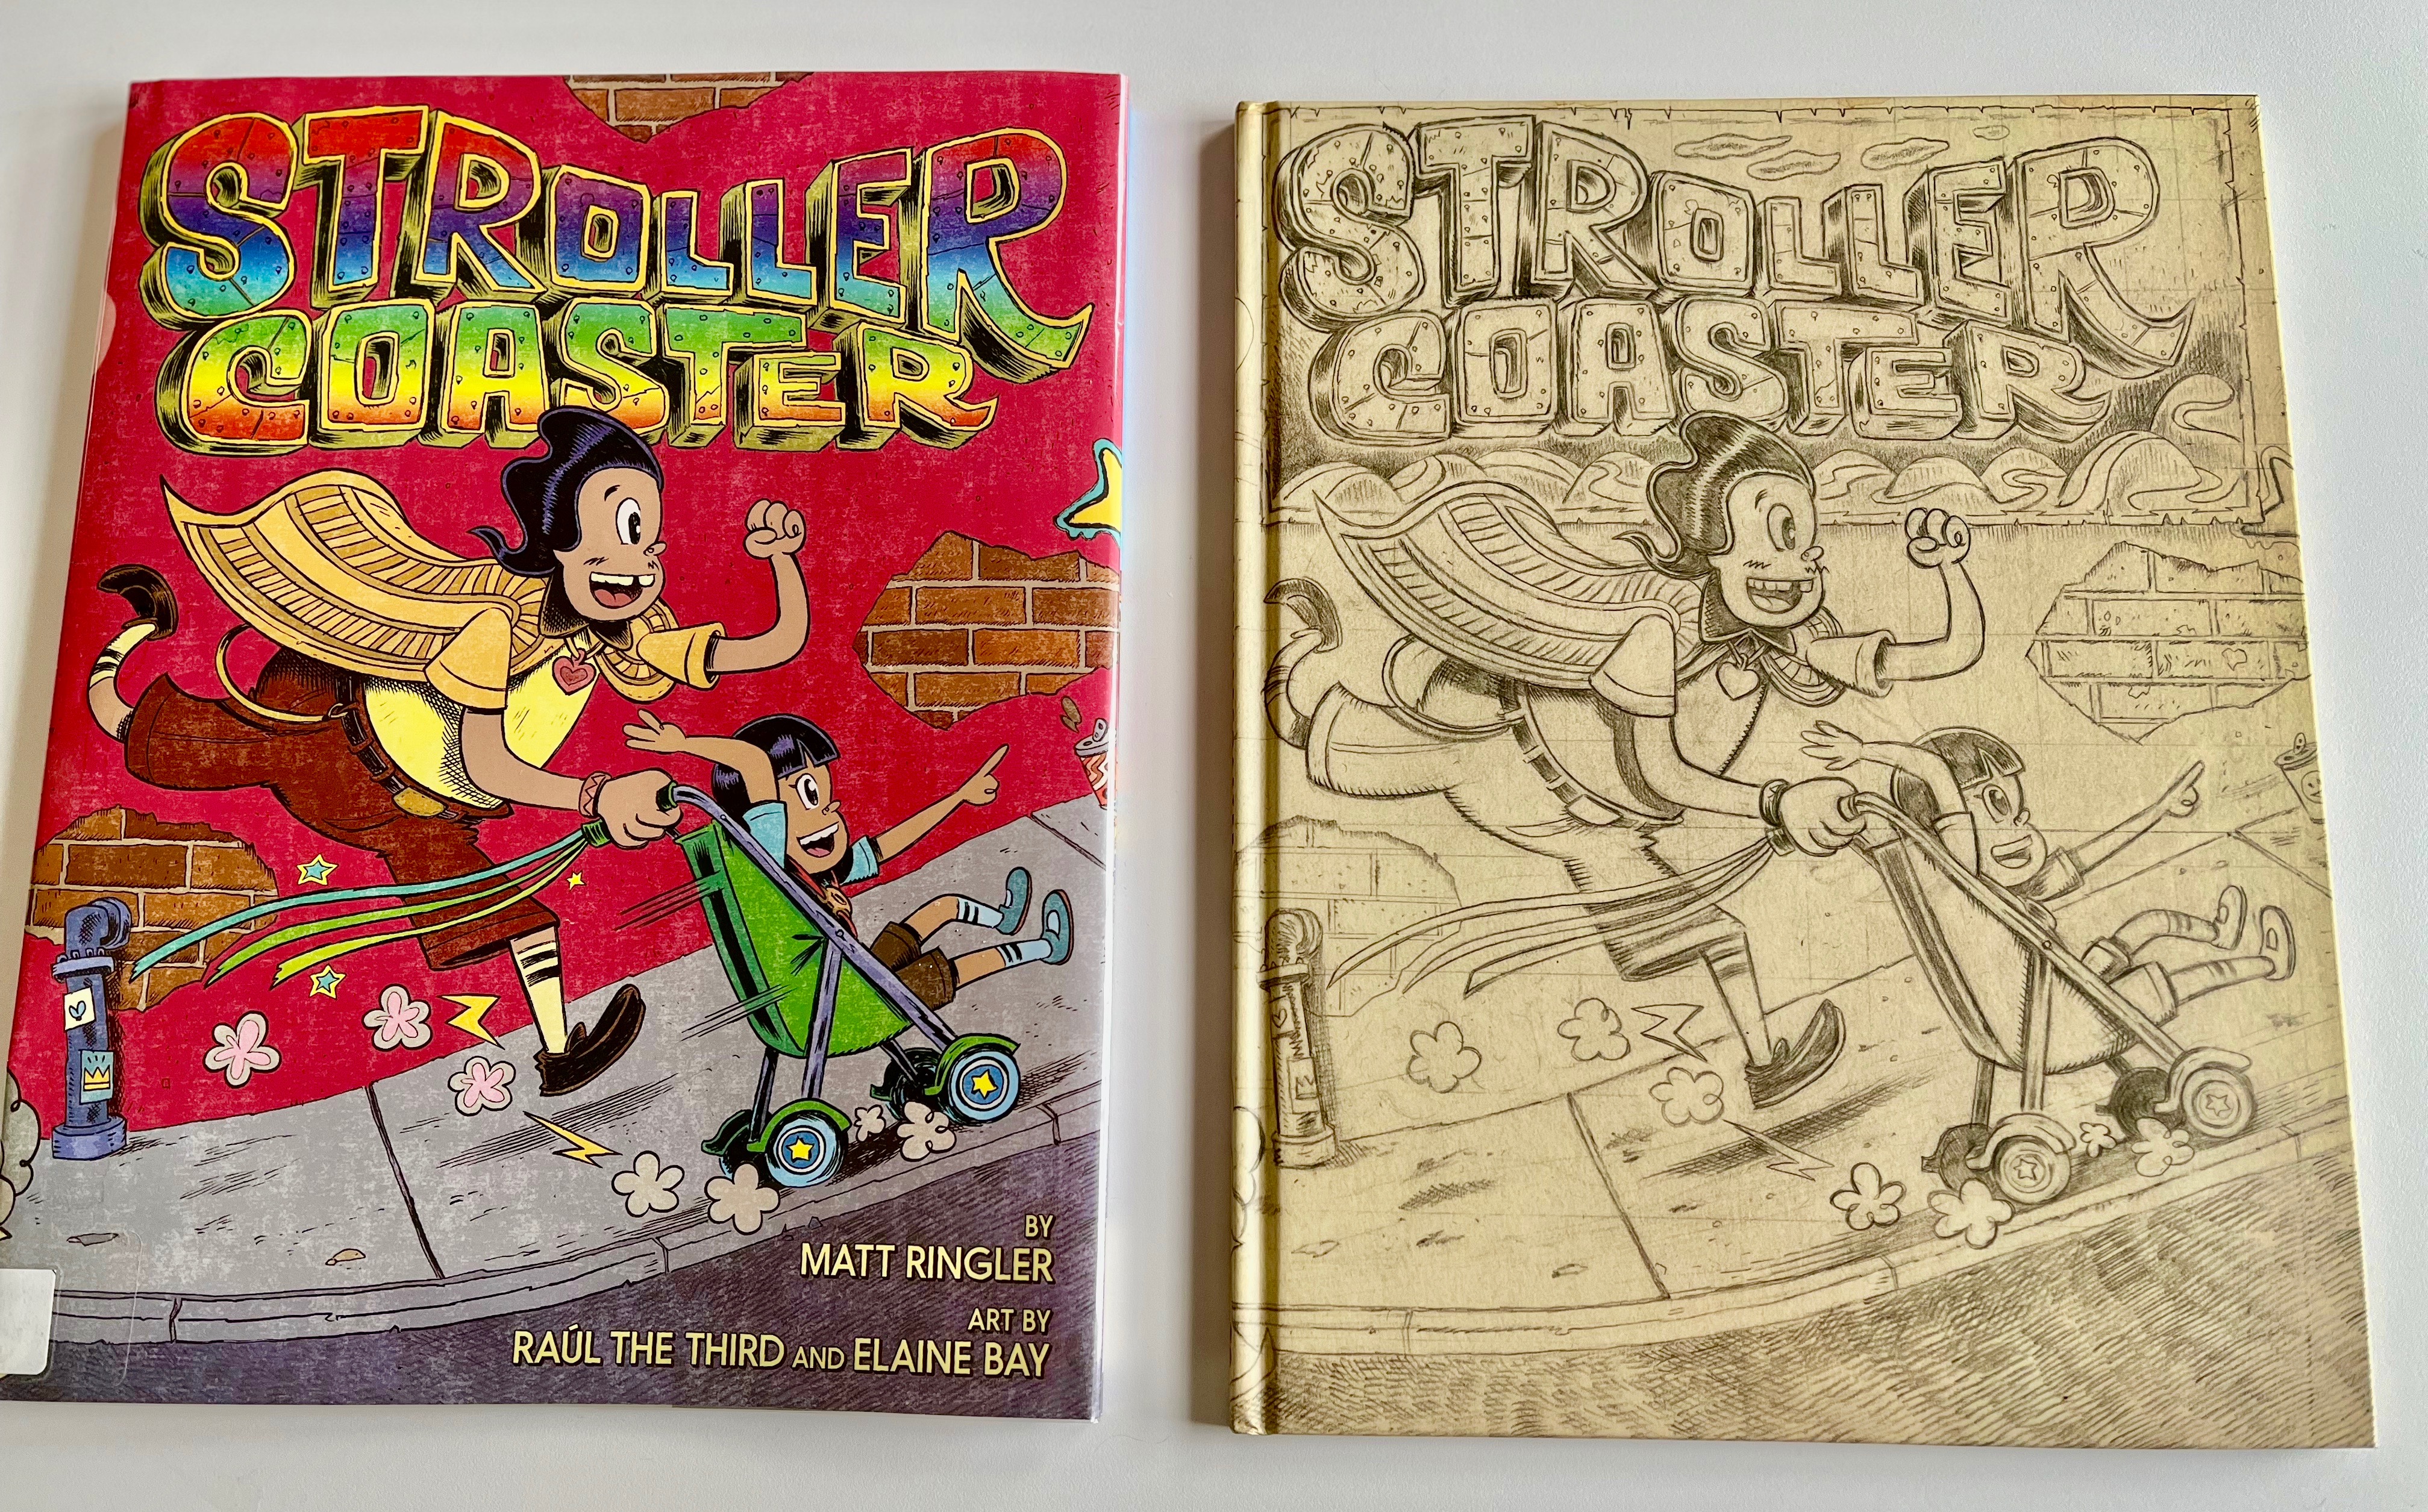
Strollercoaster by Matt Ringler with art by Raul the Third and Elaine Bay is an exuberant celebration of urban street life (as well as the exuberance of a toddler on a rollicking ride right before she falls asleep for a much needed nap). Raul the Third is known (in his Vamos series and the Lowriders in Space graphic novels) for packing his drawings with details-silly scribbles, sly references, and delightful oddities. Strollercoaster is no different: there are many treasures tucked in each streetscape. Then there’s this: a cover beneath the cover! Young readers will be fascinated to find Raul’s earlier pencil drawing under the rainbow riot of the dust jacket (thanks to Elaine Bay’s coloring instincts).

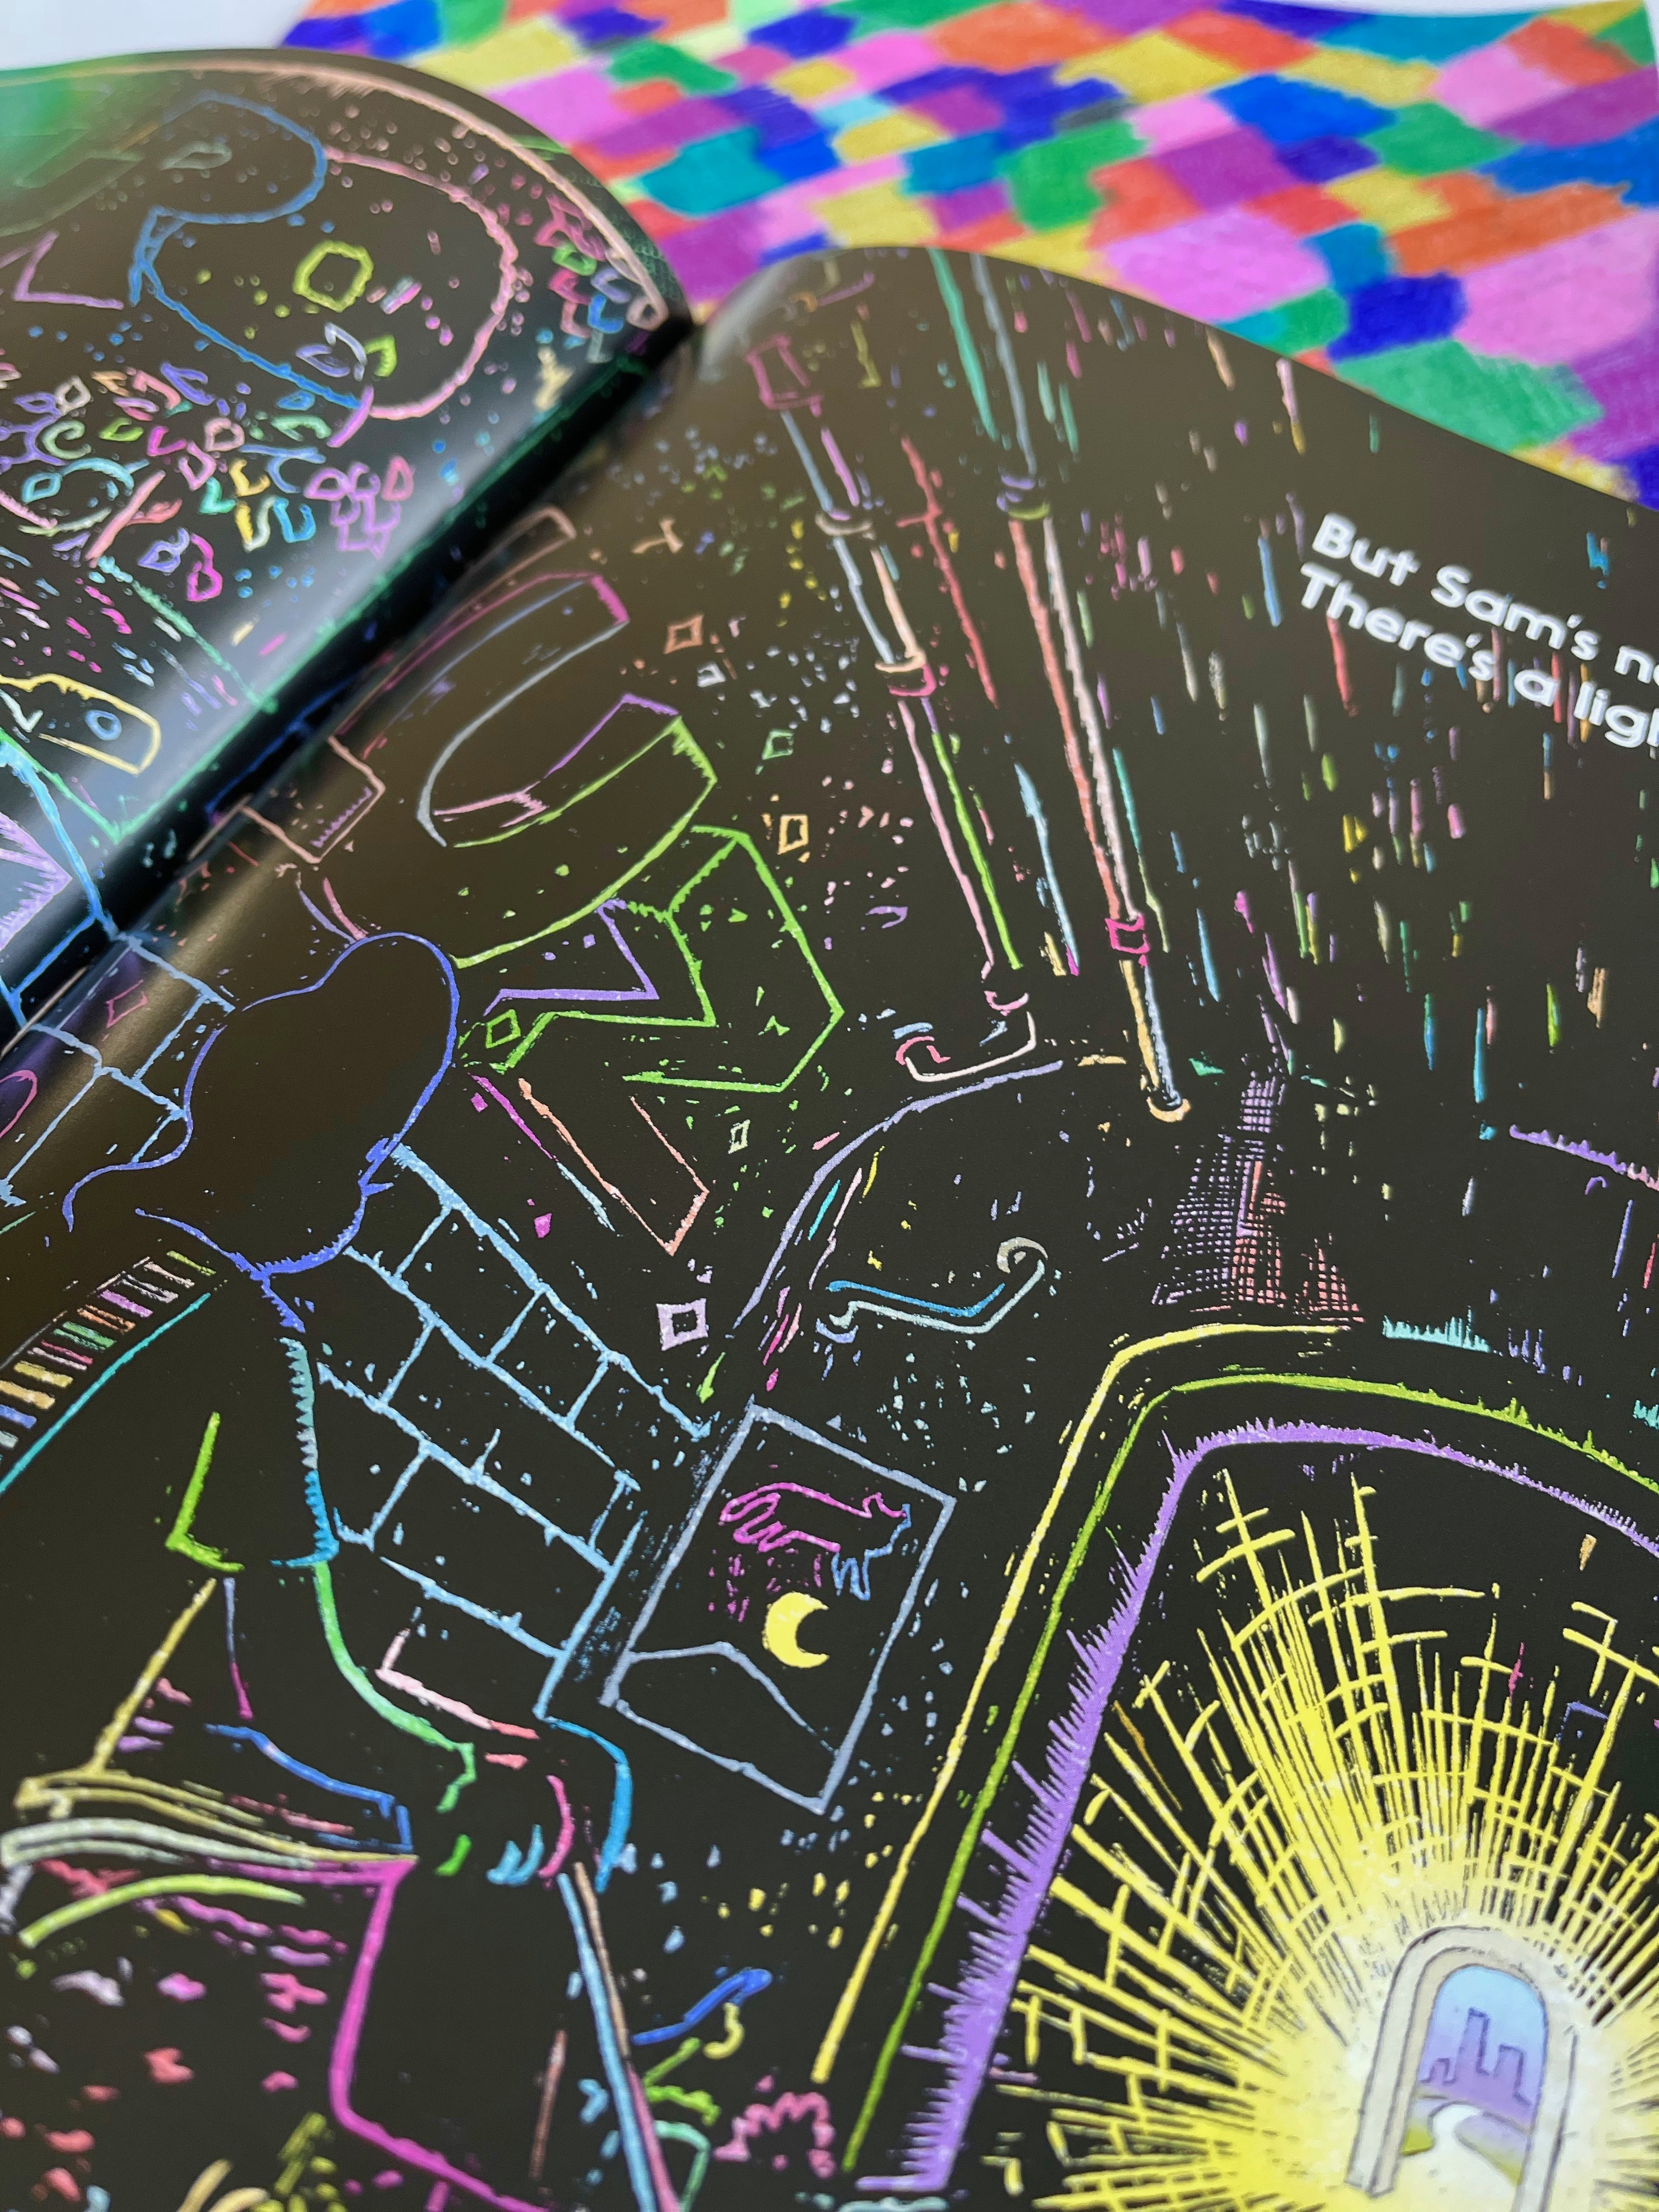
I love this fast-paced, “speedy” scene as Papa corre/runs down the sidewalk! I was inspired when the stroller duo ducks into a dark tunnel (with the word “oscuro” graffitied on its wall). Those rainbow outlines popping through the black reminded me of one of my fave childhood art projects! So I set to work . . .

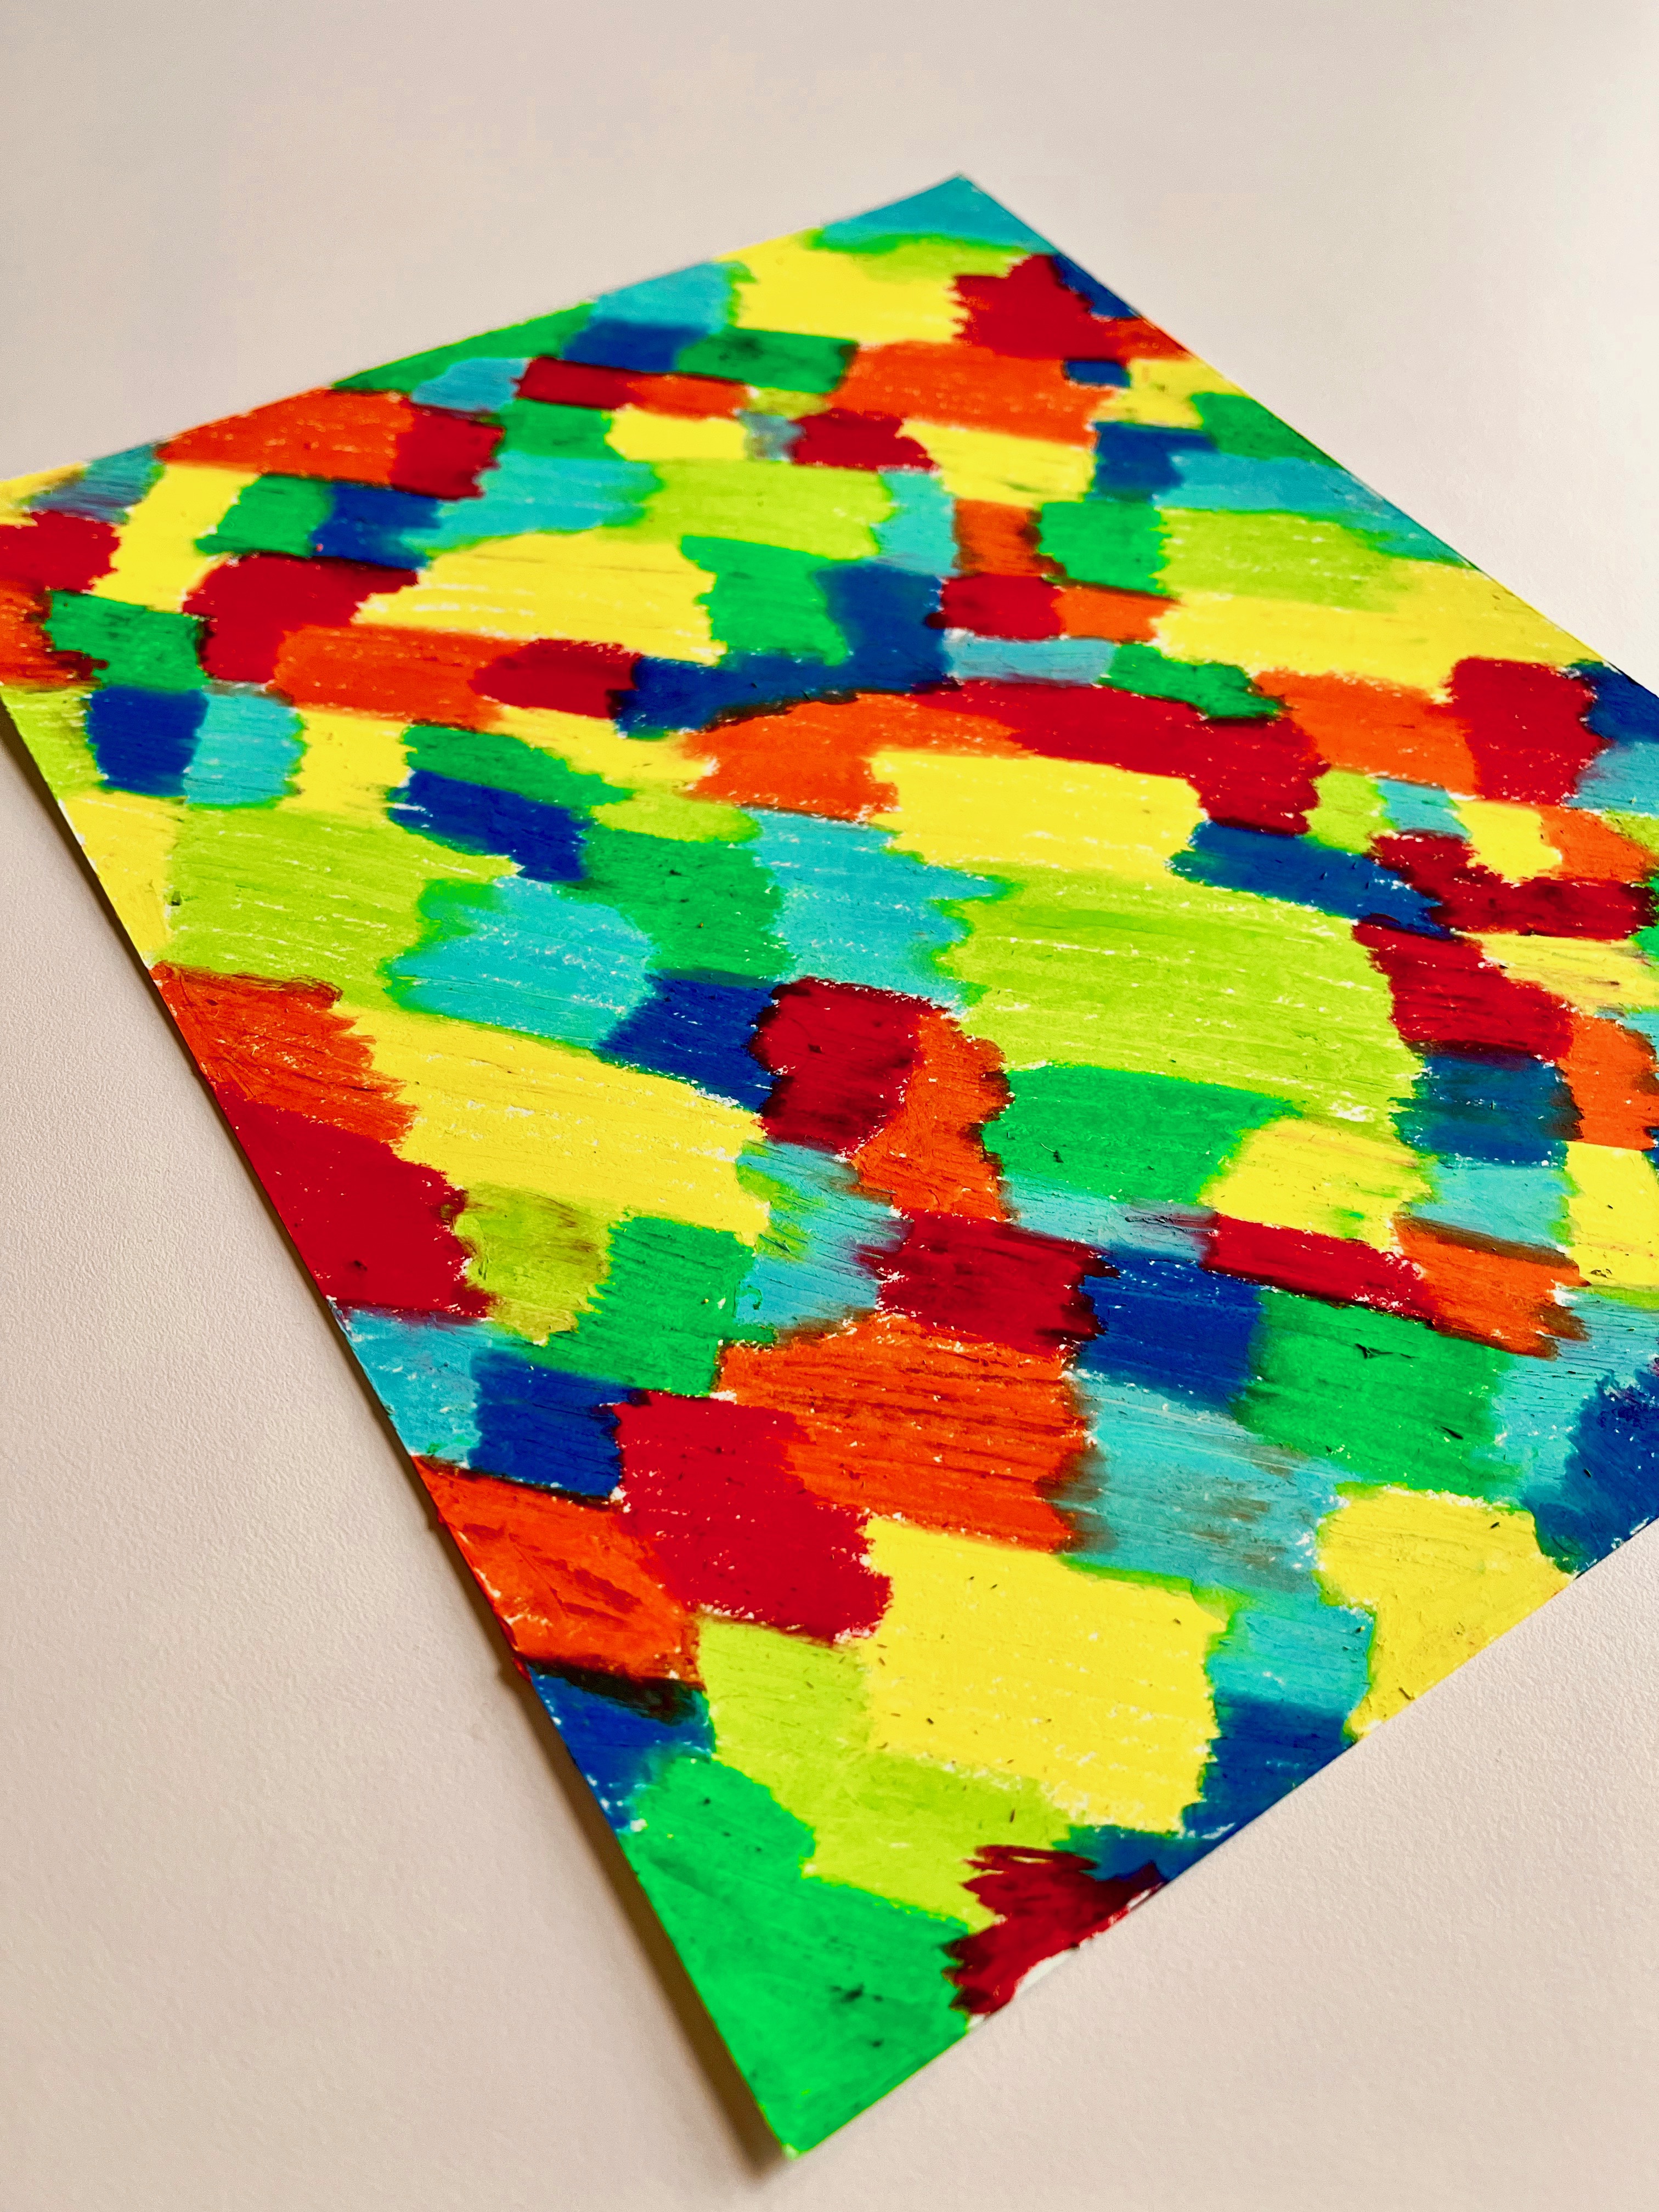
PROJECT: Make Rainbow Scratch Paper to create your own magic drawings!

MATERIALS:

  • Card stock paper
  • crayons in fun colors
  • tempera or acrylic black paint
  • paintbrush
  • wooden skewer (something to scratch with)

DIRECTIONS:

Using crayon in bright, rainbow hues, your paper *entirely* with patches of color. (I tried both crayon and oil pastels or cray-pas and ended up liking the crayon much better. The paint stuck to the cray-pas, making it harder to scratch).

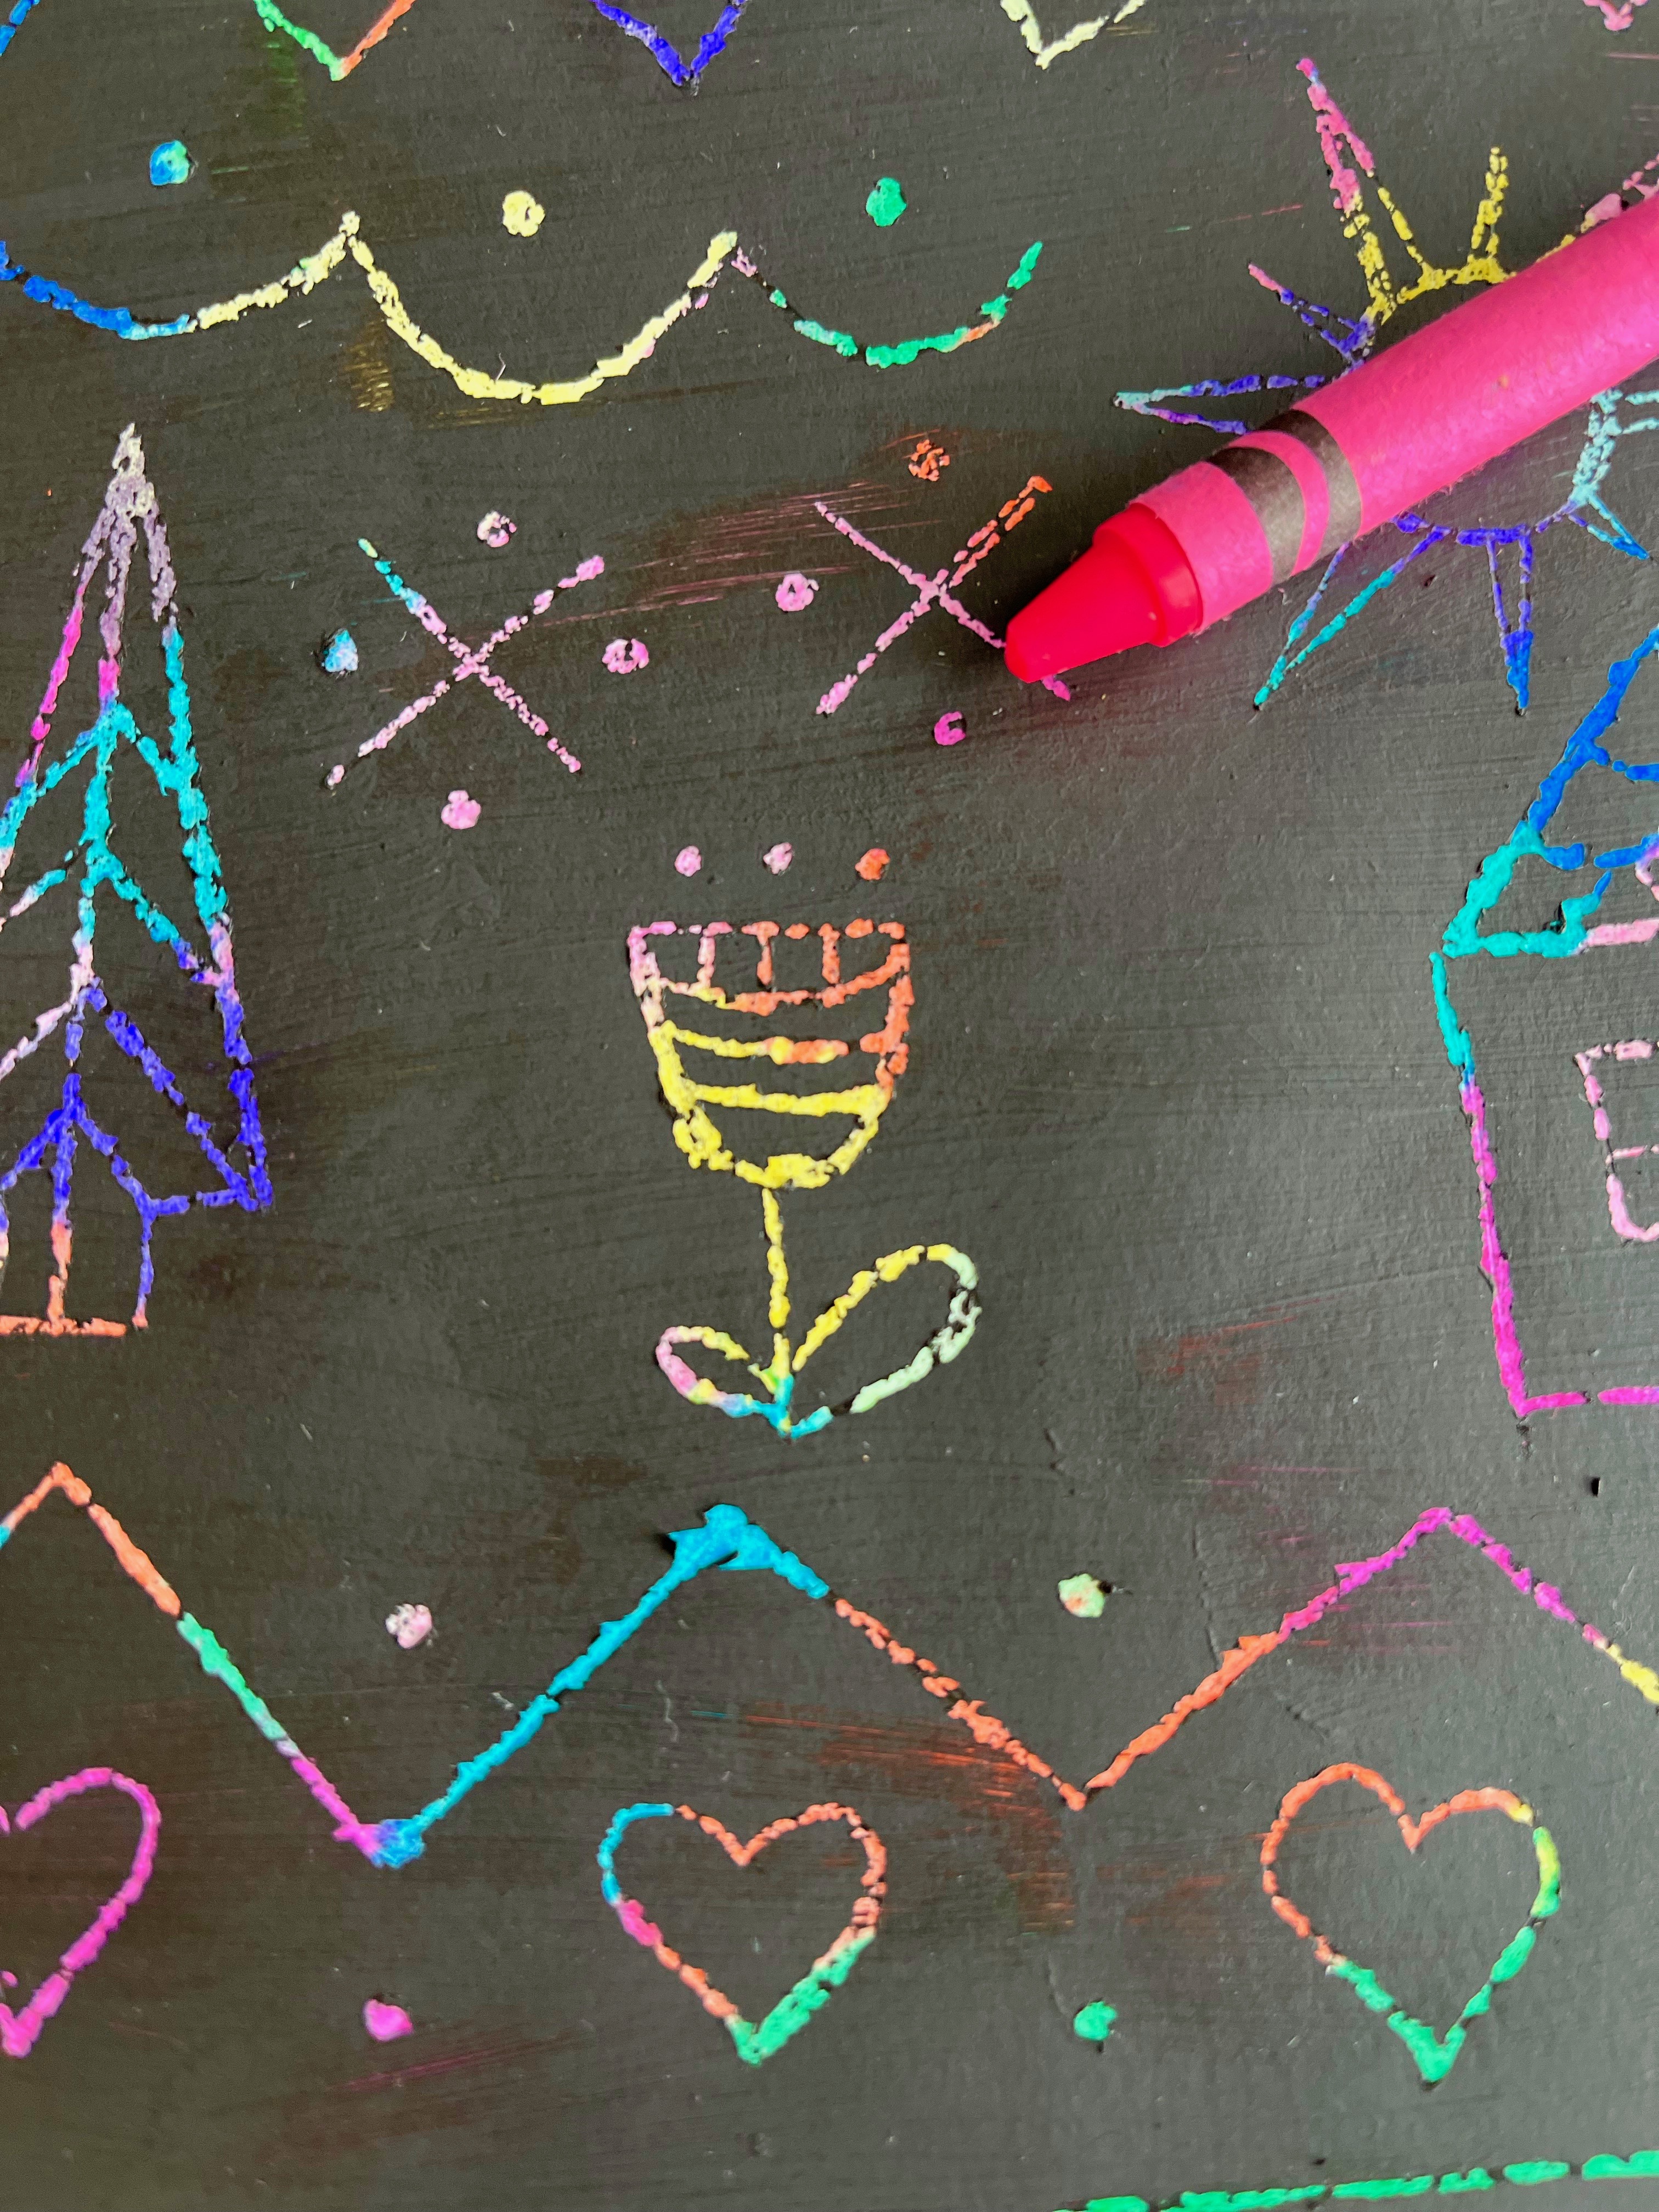
Next, cover your paper entirely with black paint (I used acrylic. It covered well and scratched off well).

Once dry, start scratching–drawing or writing words, whatever. It’s all magic as your lines reveal bits of bright teal, emerald, fuchsia, goldenrod–all the more gem-like in contrast with the black.

Read & Make/ Unbound: The Life + Art of Judith Scott

This book! If you are looking for a story about self-expression, creativity, the deep river of sisterhood, AND the experience of a person living with a disability, Unbound ticks all the boxes and then some. Joyce Scott and her twin Judith, who is born with Down’s Syndrome and also deaf, are keenly, wordlessly connected as children. Their effortless bond, subsequent devastating separation and much later reunion form the backbone of the story, all written in beautiful, heartfelt vignettes. Joyce’s determination to nourish Judith’s mind and spirit lead them to a studio called the Creative Growth Art Center, and eventually to a “new language” for Judith–an art form that’s intricate, entwined, intriguing, and all her own.

Caldecott Honor winner Melissa Sweet is the perfect illustrator for this picture book. Sweet often uses found objects in her playful, color-filled art, a nice correlation with Judith’s sculptures. Sweet makes sure to note that she is *interpreting* Judith’s art in her illustration. There’s only one photo of Judith’s sculpture in the end notes so make sure to look up more examples of her amazing work!

PROJECT: Wrap and weave string around twigs, sticks or other found objects, just like Judith!

MATERIALS: Use what you have or can find, such as:

  • twigs
  • wooden spools or popsicle sticks
  • cardboard tubes or flat cardboard shapes
  • embroidery floss
  • fabric scraps
  • yarn
  • twine or string

I gathered some sticks outside and added a wooden spool and clothespin. I used embroidery floss, fabric pieces, yarn, and cotton loops from a potholder loom kit. I tucked in loose ends and occasionally knotted some ends. I didn’t try to simulate Judith’s sculptures, I just did my own thing. The project involved more decision-making than I anticipated–it was very engrossing to wrap new colors and connect different objects into the shape/form I wanted. I took an early photo but I kept going since–I wasn’t quite done! Even though I didn’t try to recreate Judith’s art, it gave me insight and respect for her art. If you try it, send me a pic!

MORE TO EXPLORE:

Penguin Random House information about Unbound

Melissa Sweet’s website description of Unbound

“Textile artist Judith Scott: Uncovering innate talent,” textileartist.org

Make: Mini Lid Flyers!

I’ve been (virtually) visiting schools with my picture book, FLIP! How the Frisbee Took Flight, and having so much fun making and experimenting with make-your-own flying objects. Together with students, I’ve made DIY discs out of all sorts of materials: paper plates, aluminum pie pans, origami paper, and, for one oversized experiment, a fabric-covered hula hoop (watching this ginormous creation fly was truly epic).

What is left? Well, now that I’ve gone big, it’s time to go tiny.

I collected a bunch of 3″ diameter, see-through lids from cylindrical chip containers, i.e., Pringles, or the slightly healthier kind we get from The Good Crisp Company. (While I wish I could blame my kids for eating most of the chips, I’m pretty sure it was mostly me.) But back to our craft–with an easy flick, the lids fly impressively well. I’m sure other plastic lids–from yogurt containers or cream cheese or whatever could work well, too–but I chose these lids because they were see-through so I could decorate them the way I wanted to. Here’s how I made my mini lid flyers:

MATERIALS:

see-through 3″ plastic lids

origami or construction paper in fun colors

clear cellophane tape plus scissors and glue stick

DIRECTIONS:

1.With a pencil, trace around the lid on a piece of your colored paper.

2. Cut out; trim to make sure it fits inside your lid and then trim a bit more so there’s some space to tape the paper inside of your lid.

3. Decorate however you like! Use marker or collage like I did and create rainbows, stripes, spirals, smiley faces–whatever pleases you. If you’re collaging, I recommend using glue stick.

4. Cut tiny pieces of your clear tape and tape your design all around the edges of your paper circle and adhere to the inside of your lid. Voila! Now you can terrorize your siblings or cats or parents with these mini Frisbees 🙂

Check out www.margaretmuirhead.com for more information about Flip! You can order your copy at Indiebound, Target, Barnes & Noble, Amazon or at your favorite neighborhood book shop.

Make: Crochet Discs

My friend Janet is a crochet wonder! She made these foldable, flyable, crocheted Frisbees for me to celebrate the publication of my book FLIP! How the Frisbee Took Flight (out *this* week)! You can tuck one in your pocket and take it to the park or fling it around your house–it won’t dent your walls or a human person.

When it comes to crochet, I’m a true novice. But if you’re interested in stitching a yarn flying disc, I found this super sweet video with clear, easy instructions by Jayda InStitches. Let me know if you give it a twirl!

Check out www.margaretmuirhead.com for more information about Flip! You can order your copy at Indiebound, Target, Barnes & Noble, Amazon or at your favorite neighborhood book shop. 

Make: Giant Frisbee!

Here’s another activity to celebrate my new picture book, Flip! How the Frisbee Took Flight, and this one is a goodie. In fact, it’s one of the funnest projects I’ve done. And yes, I know, “funnest” is not a word–but it best expresses how satisfying it is to make a giant flying disc.

I’m sorry I didn’t photo-document the process better. The whole thing felt like a wild experiment with an uncertain outcome. But . . . it worked! I recommend trying this one at home.

MATERIALS:

  • 1 hula hoop (I used child’s size hoop.)
  • 1 yard of cotton or nylon fabric (or enough to cover the hoop).
  • Iron
  • Scissors or pinking shears
  • Hot glue gun

INSTRUCTIONS:

  1. Iron your fabric so it’s wrinkle free. I used cotton because that’s what I had on hand. I also tried to make it look a splashy by sewing together four colors but that’s optional and an extra step.
  2. Lay out your fabric on a large working surface and place the hoop on top. If necessary, trim fabric so there’s about 5″ inches of fabric outside the circumference of the hoop.
  3. With a hot glue gun, squeeze drops of glue on a 5-6″ segment of the hoop.
  4. Fold the fabric over the glue and shape to the curve of the hoop.
  5. Repeat adding glue to a segment of the hoop and folding the fabric over it. Make sure to pull the fabric taut as you go.
  6. Once it’s all glued, trim off the extra fabric. Tuck the remaining fabric in. (I added glue here and there to make sure the fabric ends were tucked in well.

That’s it. Take it outside and give it a spin!


Check out www.margaretmuirhead.com for more information about Flip! You can order your copy at Indiebound, Target, Barnes & Noble, Amazon or at your favorite neighborhood book shop.