Sock Dog

We’re just back from a long weekend in the Deep North at my brother’s house–skiing, ice skating, and, in my case, suffering from a stomach bug. What is more pleasant than a puking houseguest? you might ask. I’m pretty sure Ben Franklin coined a pithy adage about it.

Not only was my beautiful sister-in-law, Toni, gracious about my digestive turmoil, but she also let me photograph her latest sewing projects.  

She made this polka dot pooch from a couple of old socks. Such a cute pup! The pattern comes from Martha Stewart Crafts (step-by-step instructions here). You can also find it in Martha Stewart’s Encyclopedia of Sewing and Fabric Crafts.

Toni also made this pretty drawstring  bag from a pattern in Heather Ross’s Weekend Sewing.


And this canvas bag (perfect size for an IPad or say, those paper things formerly known as books) from Simple Sewing by Lotta Jansdotter.

Thank you ever so much, T. I promise not to return for a while. Love, m.

Heart Crayons

I’m squeezing in one last post before Monday for those of you who

1.) enjoy the smell of melting wax emanating from your toaster oven.

2.) own crayons so ancient they are growing a fur of mold.

3.) like to celebrate Valentine’s Day by smashing things with a hammer.

You will need crayons (pink, red, white, purple), the aforementioned hammer and toaster oven, a heart-shaped candy mold, and fingernails long enough to tear at the crayons’ very resistant paper wrappers. I used a silicone heart mold from Ikea, meant for making ice cubes. Not a good idea, but it worked. I have definitely destoyed the mold from ever being used again for its original purpose.

I smashed the crayons to smithereens (inside a paper bag), divided the colored bits into the molds, and placed the tray in the oven at 250F.  Watch out: the crayon wax melts quickly (in less than a minute), and if you wait too long, the colors blend together and look like purple soup.

 Cooling on the counter (note those uneaten clementines).

 Voila.

postscript:

The mailman brought this little package . . .

and inside were pink & gray striped mittens!

My five-year-old cracked up when I tried them on and my fingers poked through.

Thank you, Brig! They are absolutely beautiful.

Embroidered Hearts

Before we kick into full valentine production at my house, cutting and decorating paper hearts for my kid’s multidinous classmates (maybe this is the best argument for keeping class sizes small), I thought I’d sneak in a little stitching.

It all started with this freebie download for bear and bunny dolls  from wee wonderfuls. I stitched bunny, but not bear because . . .

 . . . I was taken by the urge to create these lumpy little stuffed embroidered hearts! 

I had hoped they’d be reminiscent of these embroidered birds,  but alas, not quite. I learned that it’s really hard to turn small shapes right side out after sewing. Also that I haven’t mastered sewing perfect curves on my machine. And the elusive invisible stitch? I keep trying . . .  

But I did my messy best and enjoyed the embroidery. I used muslin for the front and for the back, scraps of printed cotton and denim and (pink!) cordoroy from recycled pants. The heart paper is from Paper Source in Cambridge. Happy Valentine’s Day, friends!

Darling Clementine, Part 2

OK, for Part 2 of the Darling Clementine Project, I thought I would sew a groovy vintage-y oilcloth liner for a clementine crate. I thought this print with oranges would be perfect:Green Oranges OilclothYou can order it at http://www.warmbiscuit.com. But I decided to take my chances and buy a yard of whatever was in stock at the nearby Tags Ace Hardware. (Not many hardware stores carry oilcloth–only those in yuppie strongholds like Porter Square in Cambridge, Mass.) Anyway, I chose the only fruit-themed print they had: red cherries on white.

I decided that it would be better to build up the clementine crate with bass wood strips (from my local craft store). That way, the liner would have an edge to fold over and it wouldn’t obscure the Darling Clementine graphic on the side of the box. I tried stapling the wood strips first, then hammering in brads, but the wood corners of the box were surprising strong. So, I used wood glue, which worked well.

Sewing the liner went pretty quickly (except getting the tension right for the oilcloth). For complete, step-by-step directions, a downloadable pdf is here: Darling Clementine Project.


Not sure what I’m going to store in it: clementines, maybe?

Doll’s bed

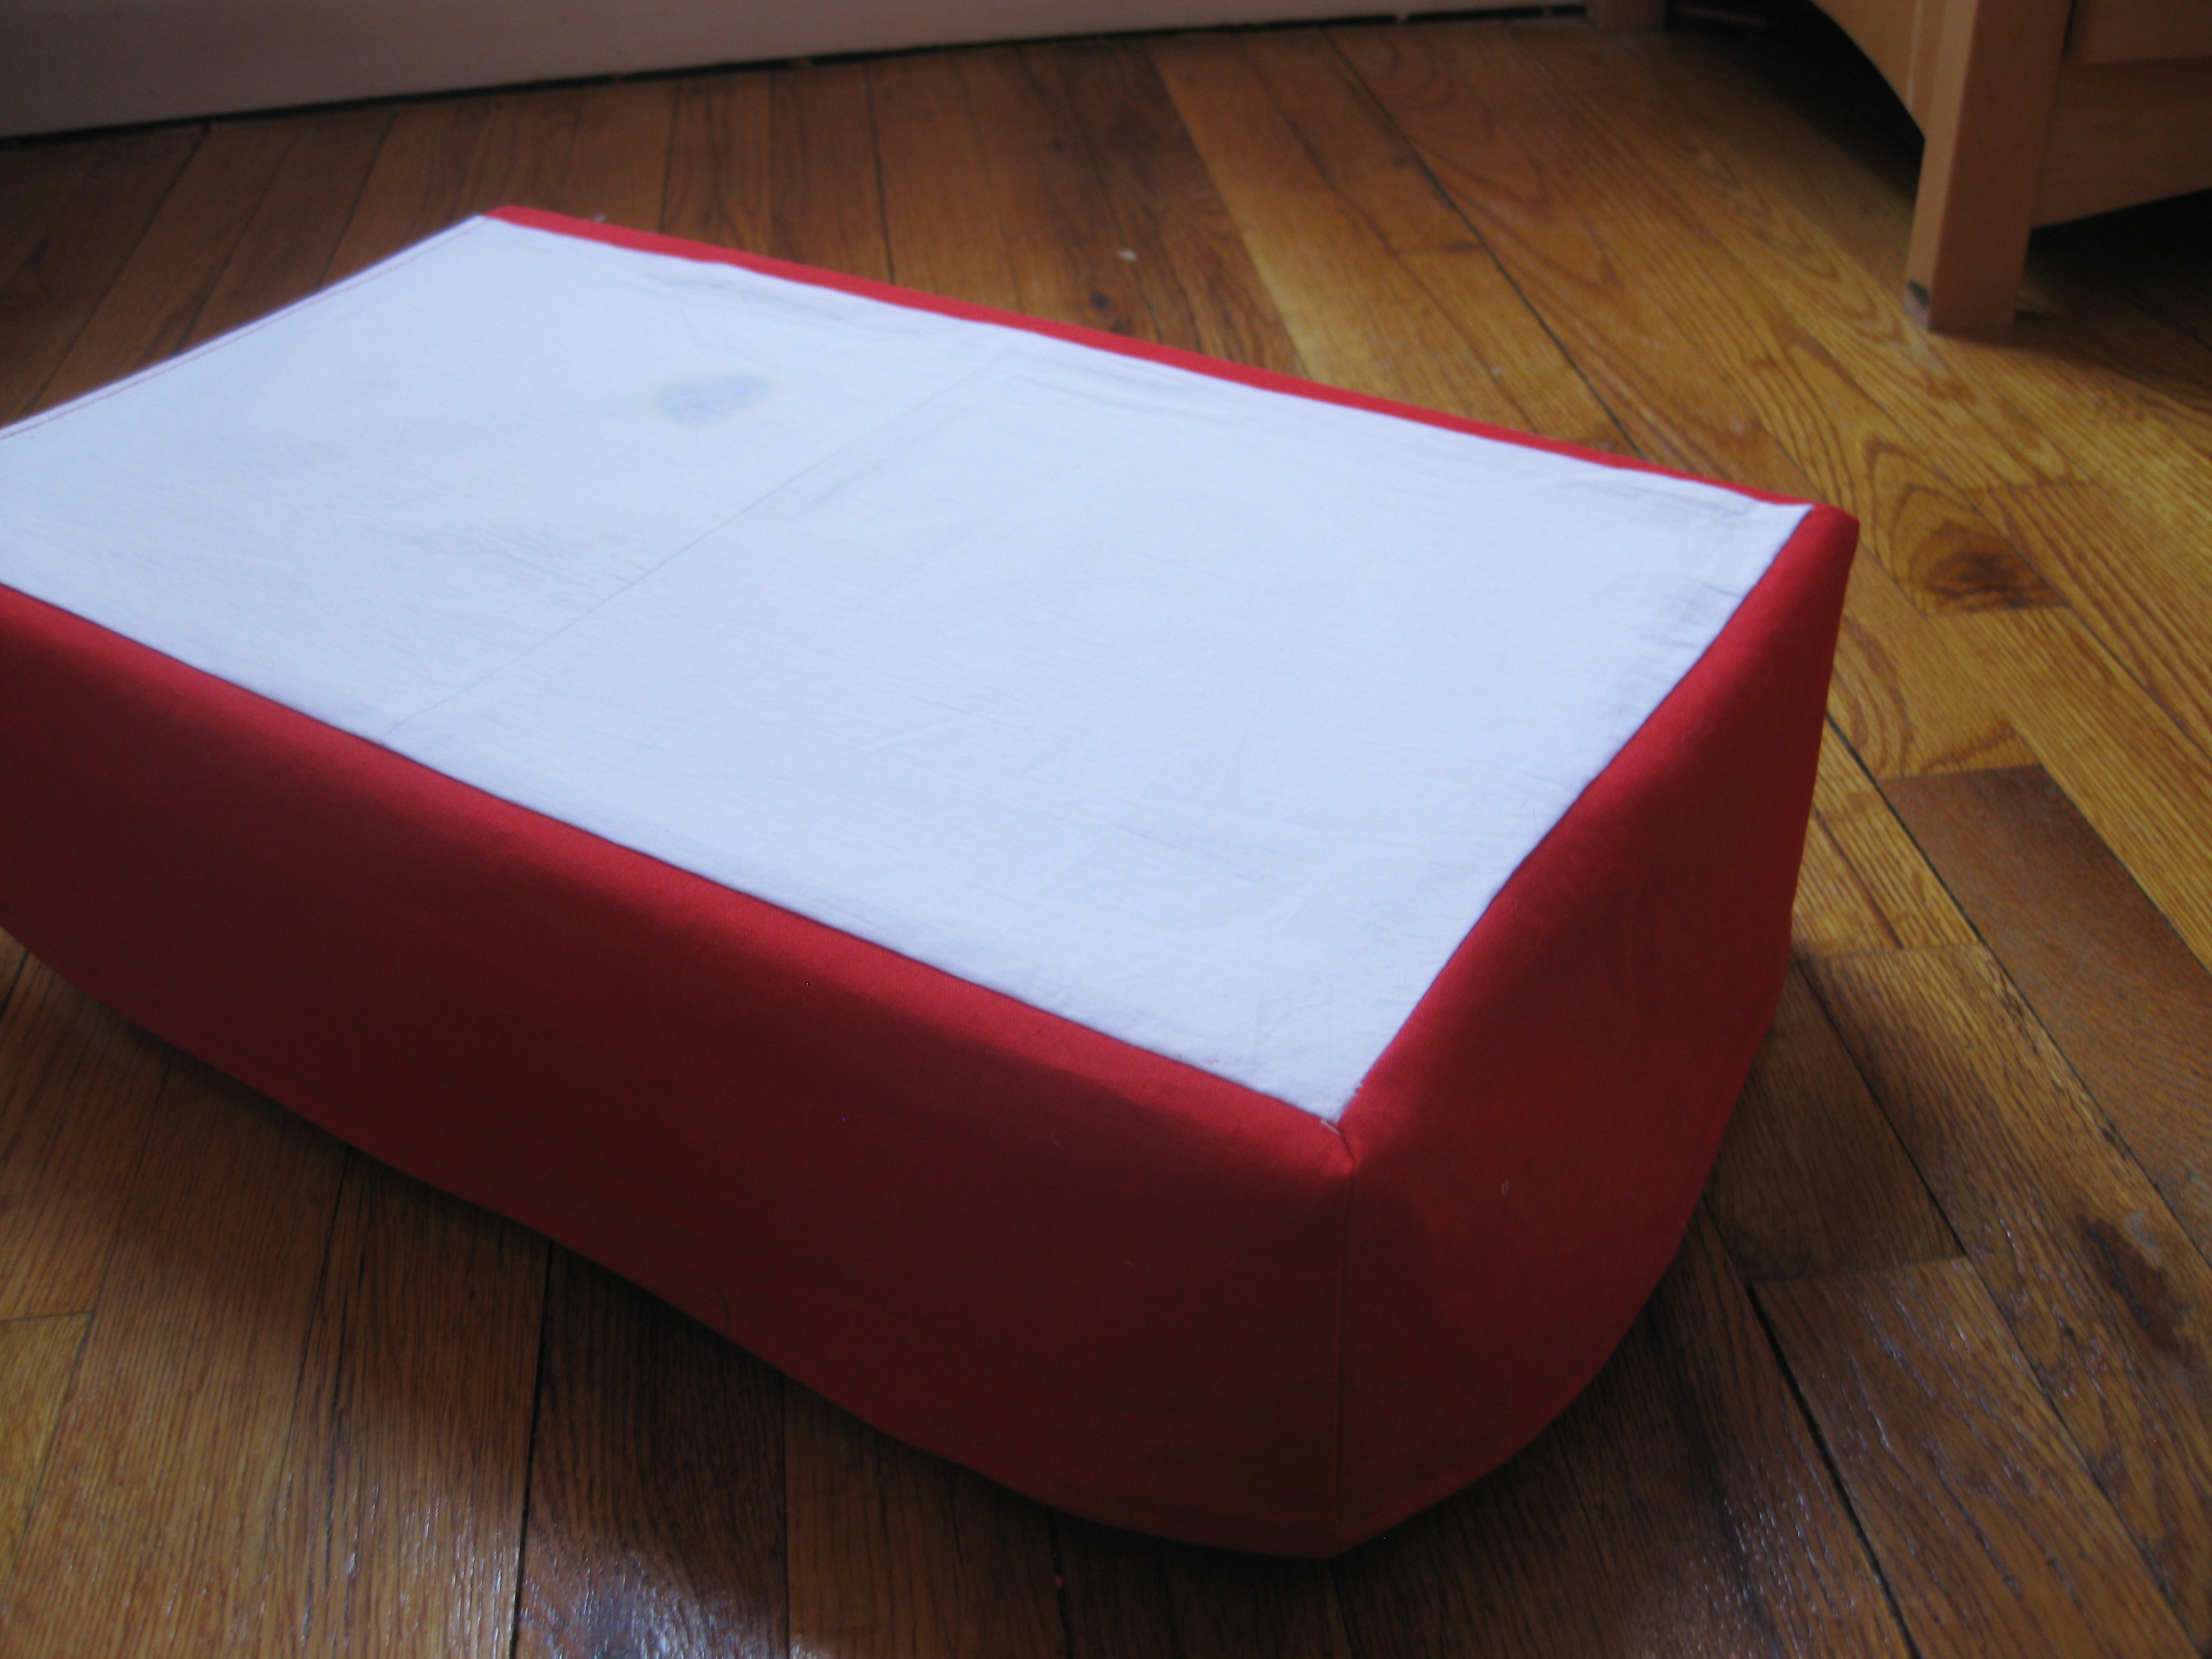
My daughter got a new American Girl doll for Christmas, so a new bed was needed for the dormitory. A free weekend, a sturdy box, and some left over fabric, and Eve soon had a cozy bed of her own. We started with box from a new pair of boots, and added some foam-core board to the top to make it the right length. (Bonus: the bed opens up to store dolls’ shoes, socks, accessories, and a few musical instruments.)

My daughter chose the fabrics she wanted to use from my scrap box. To make the bed skirt, I attached three panels of red cotton/linen to a rectangle of muslin in a simple box shape. I made a mattress out of plain white cotton with cotton batting.  Same for the pillow, but I tore up the batting to make it more fluffy. Then, my daughter, who was given an embroidery kit from my granny, embroidered the pillow case–all by herself!

Finally, the quilt was really quick to make. My daughter wanted one fabric for the top, so I pieced together a few scraps to make a rectangle, and then used white for the backing. Rather than binding the quilt, I sewed regular seams and just turned it inside out. I also tried quilter’s knots to quilt the layers together, for the first time. All around, we’re pretty pleased with how this turned out–without spending a penny!

Have you made anything for American Girls? We’d love to hear about your excuses to play with your kids’ toys!