BOOK GIVEAWAY & Craft: Rain And The Reading Horse

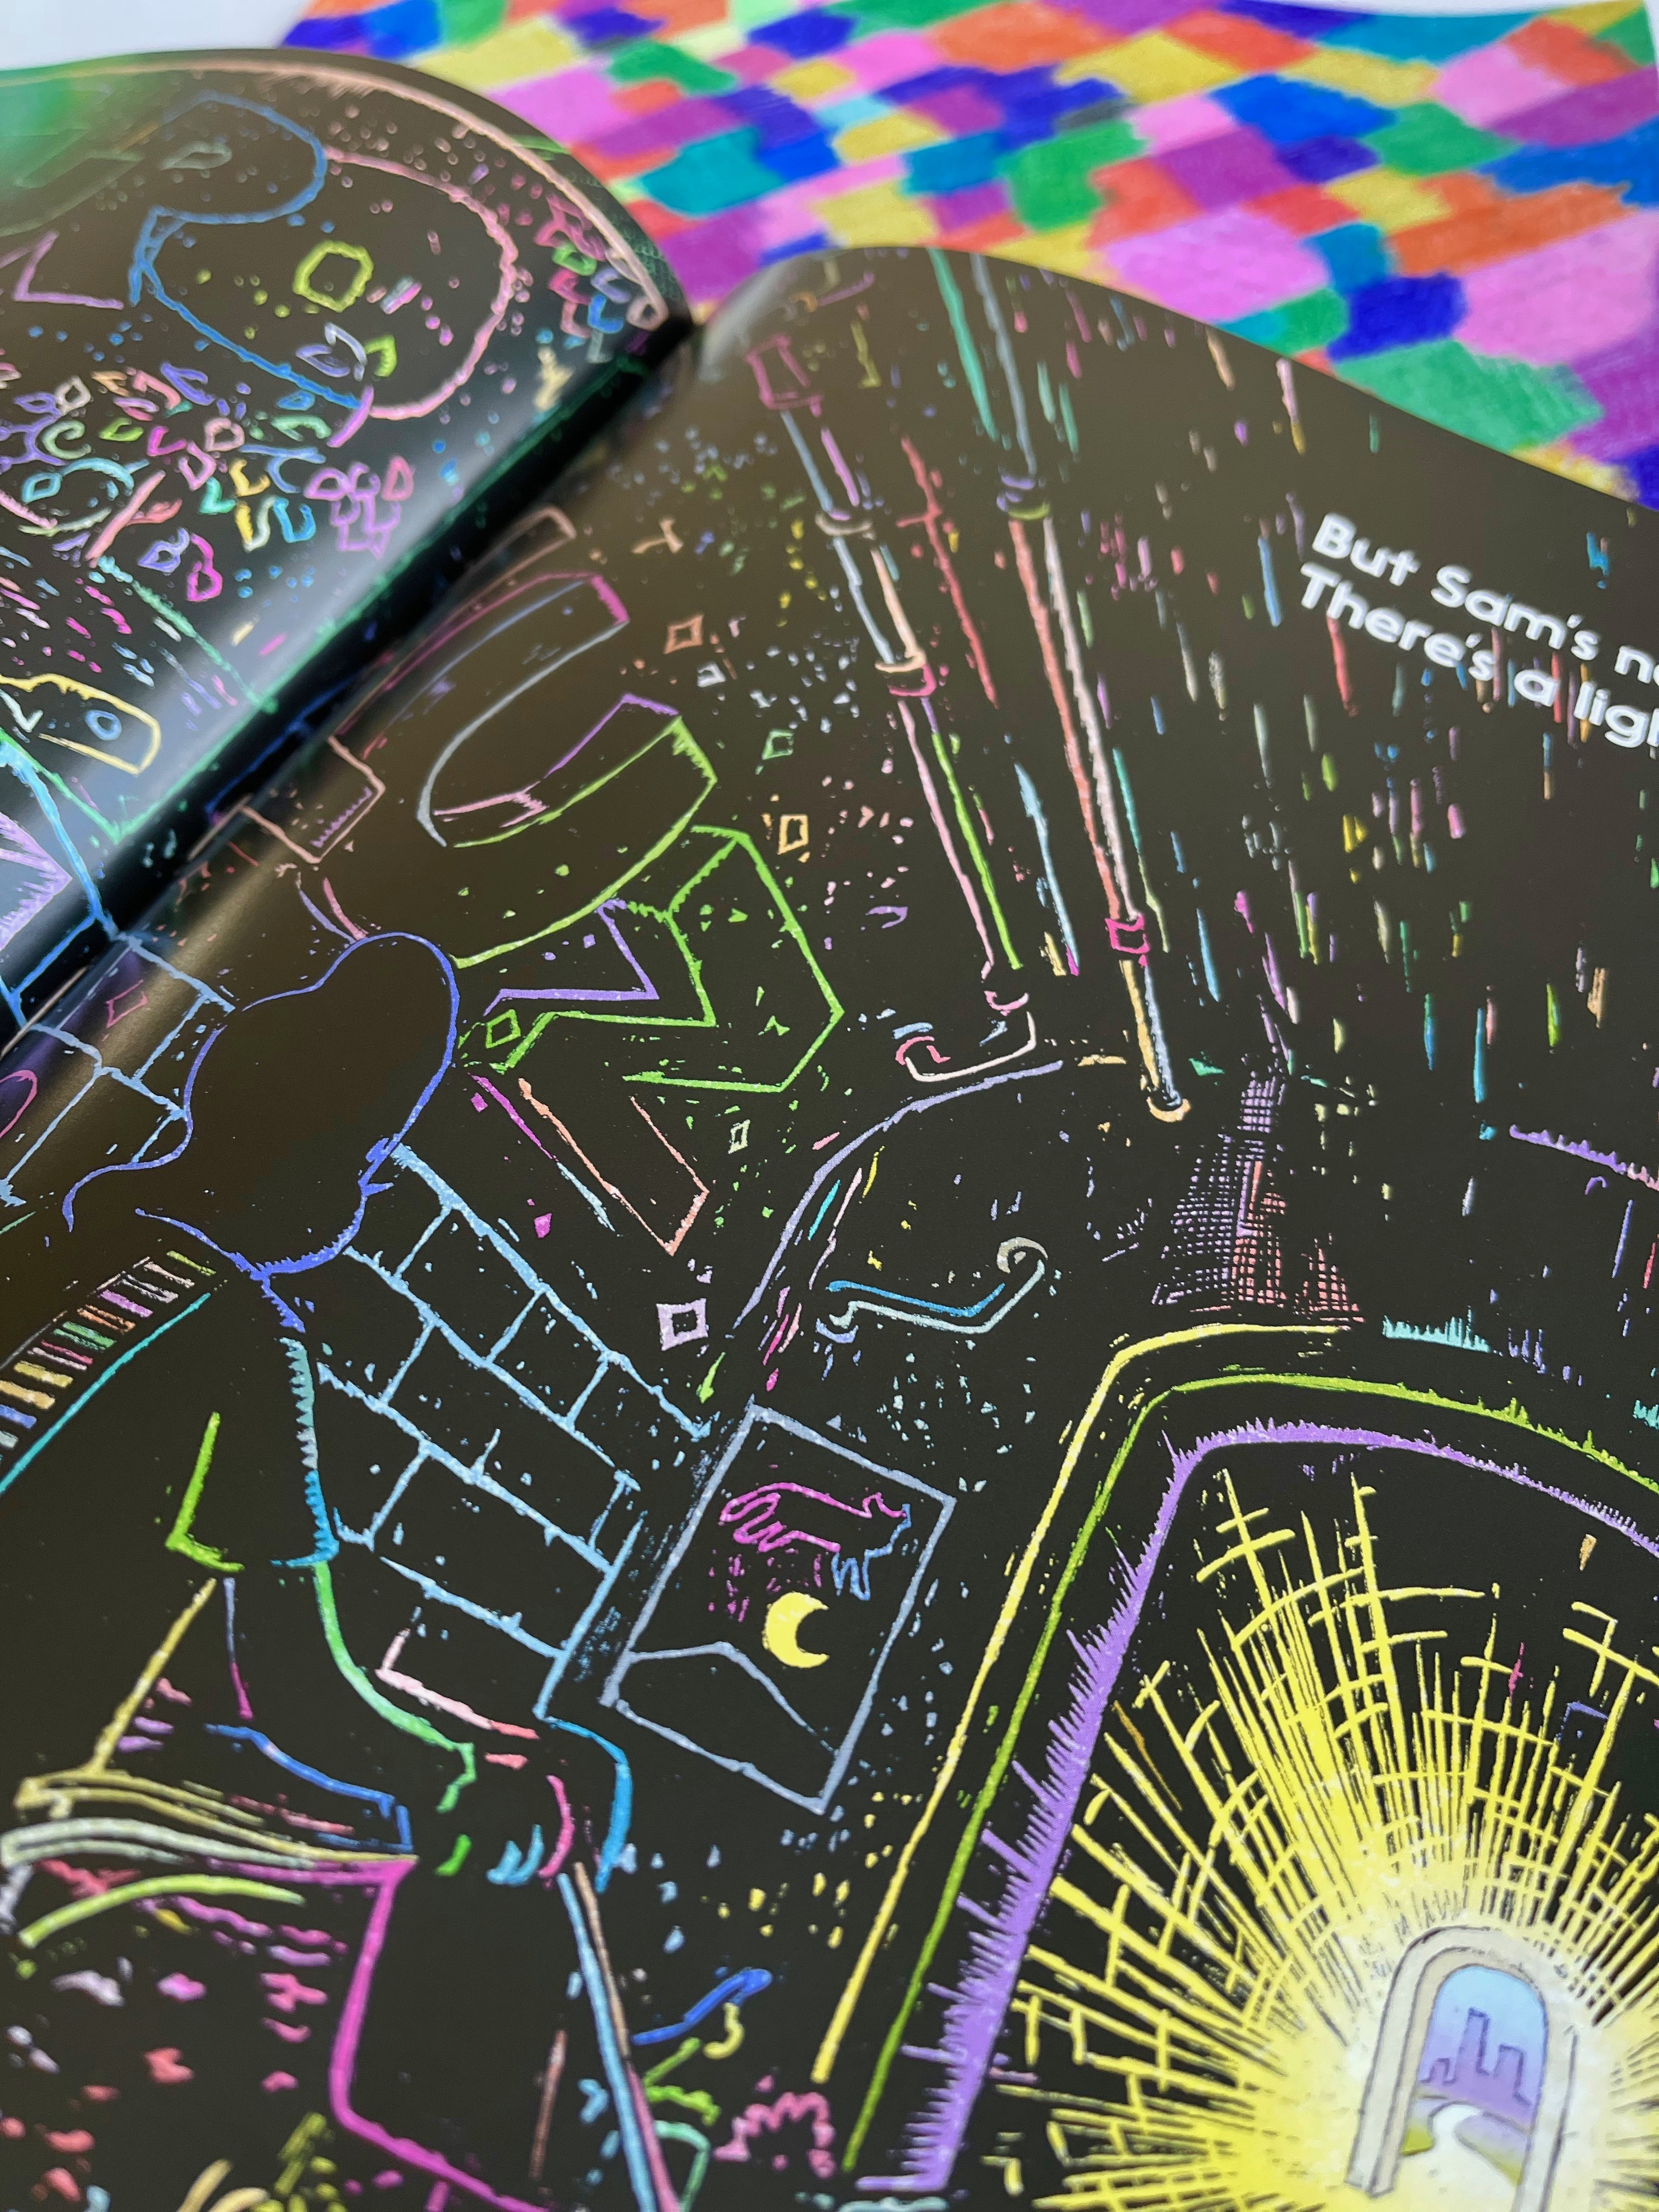
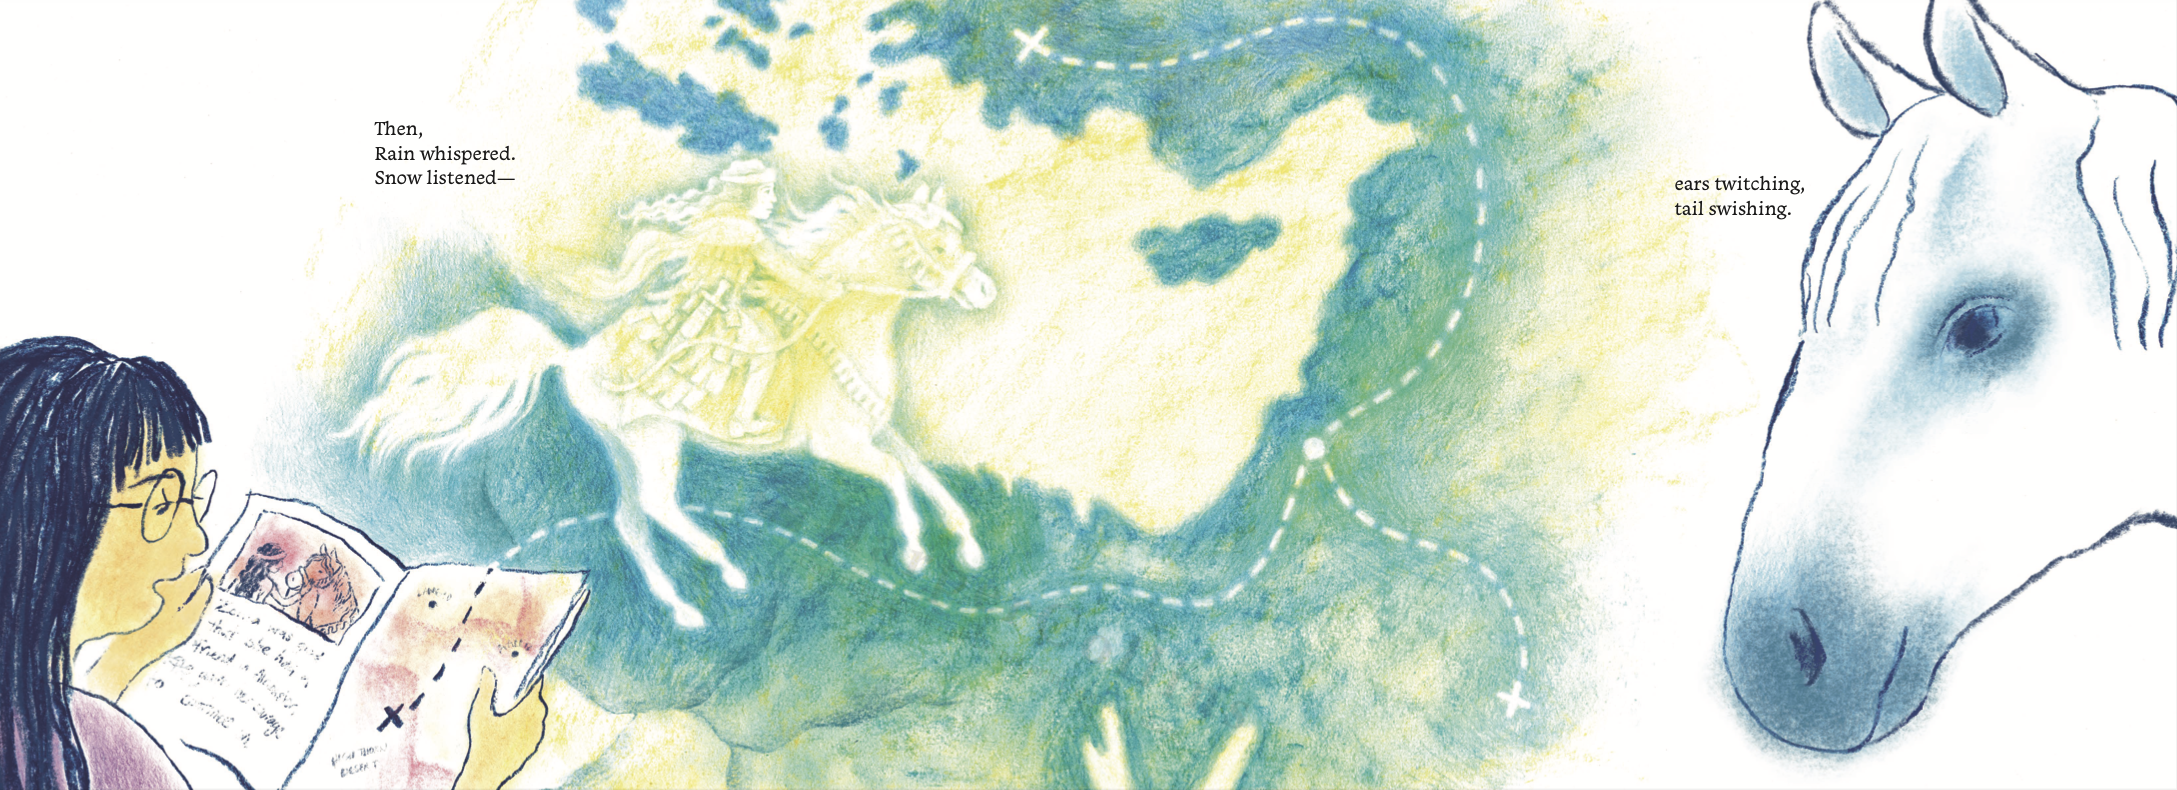
Learning a new skill makes us all feel vulnerable. When the learning is hard going, we can feel embarrassed or even ashamed. Sometimes we just need the space to breathe deeply and a gentle presence to act as a patient witness to our efforts. In the heartfelt picture book, Rain and the Reading Horse, authored by Maria Gianferrari and illustrated by Hannah Salyer, a young girl who is struggling to read finds her own pace and path to learning with a little bit of help. She discovers peace in the rhythms of barn chores and the calm company of a horse named Snow. Gianferrari’s lovely, well-chosen prose, matched with Salyer’s dreamlike painting, creates a story that will inspire children for whom reading does not come easily. Sometimes we all need a creature, who stands by without expectation or judgment, to hear us.

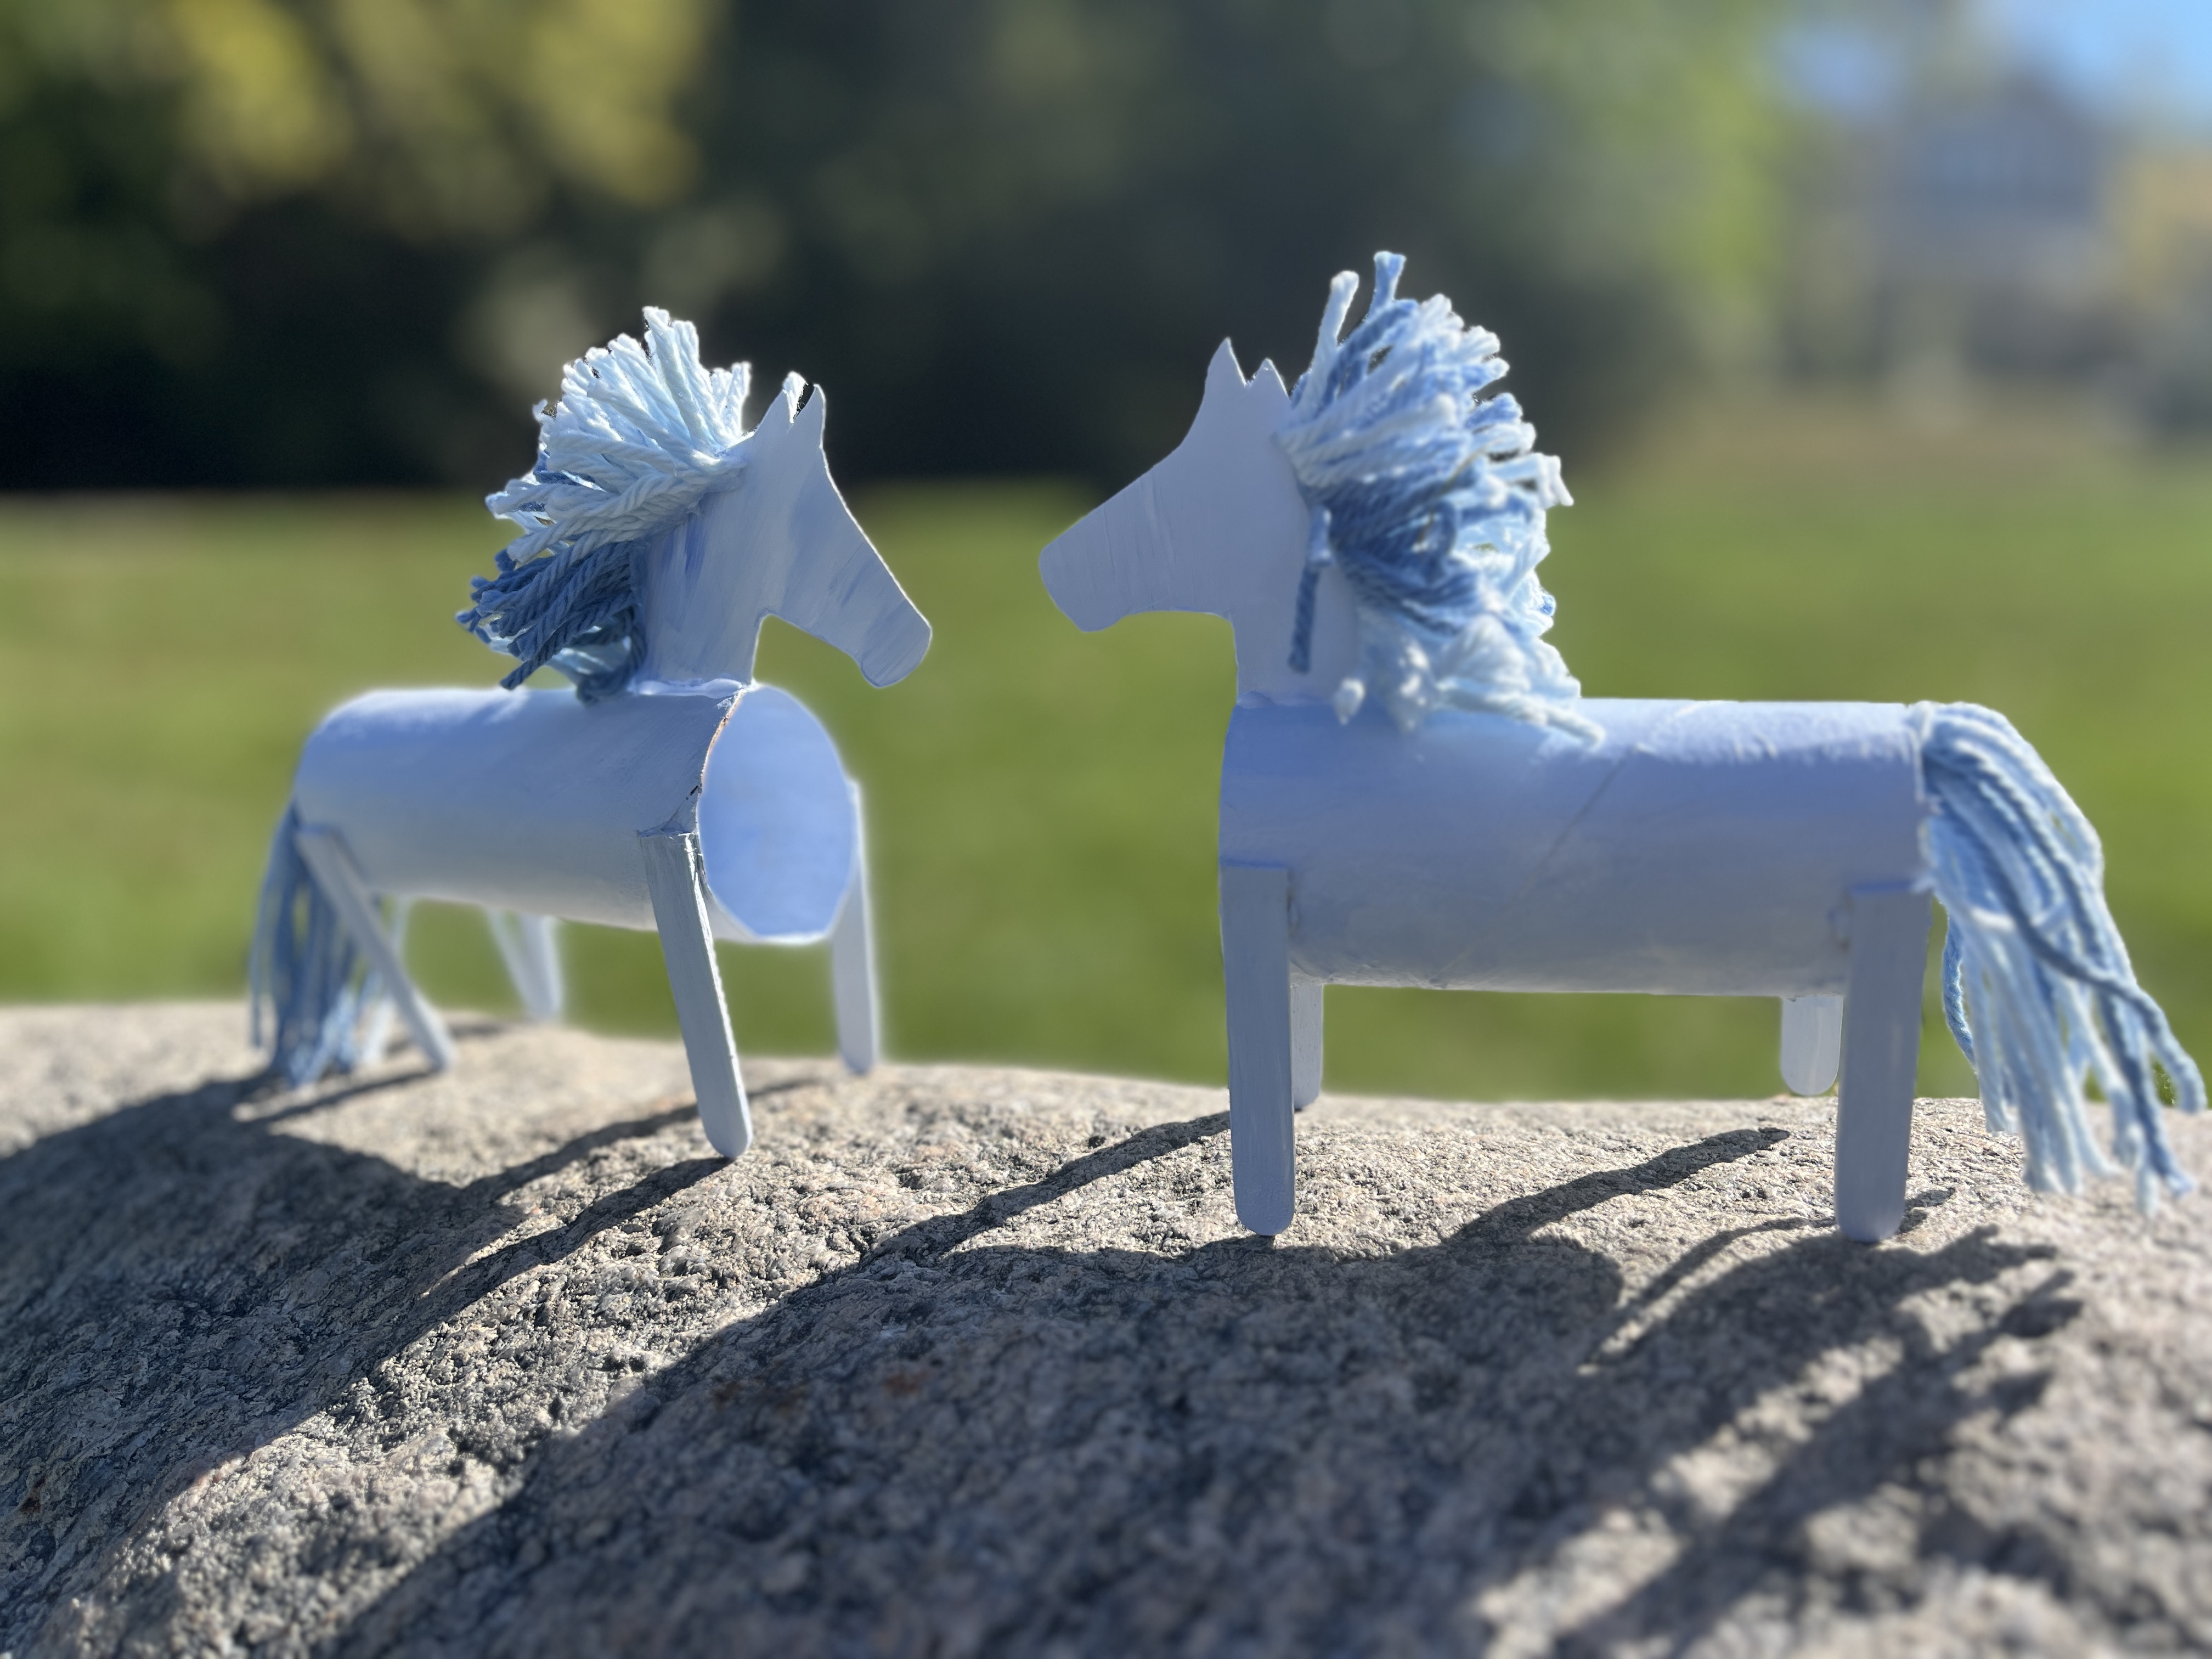
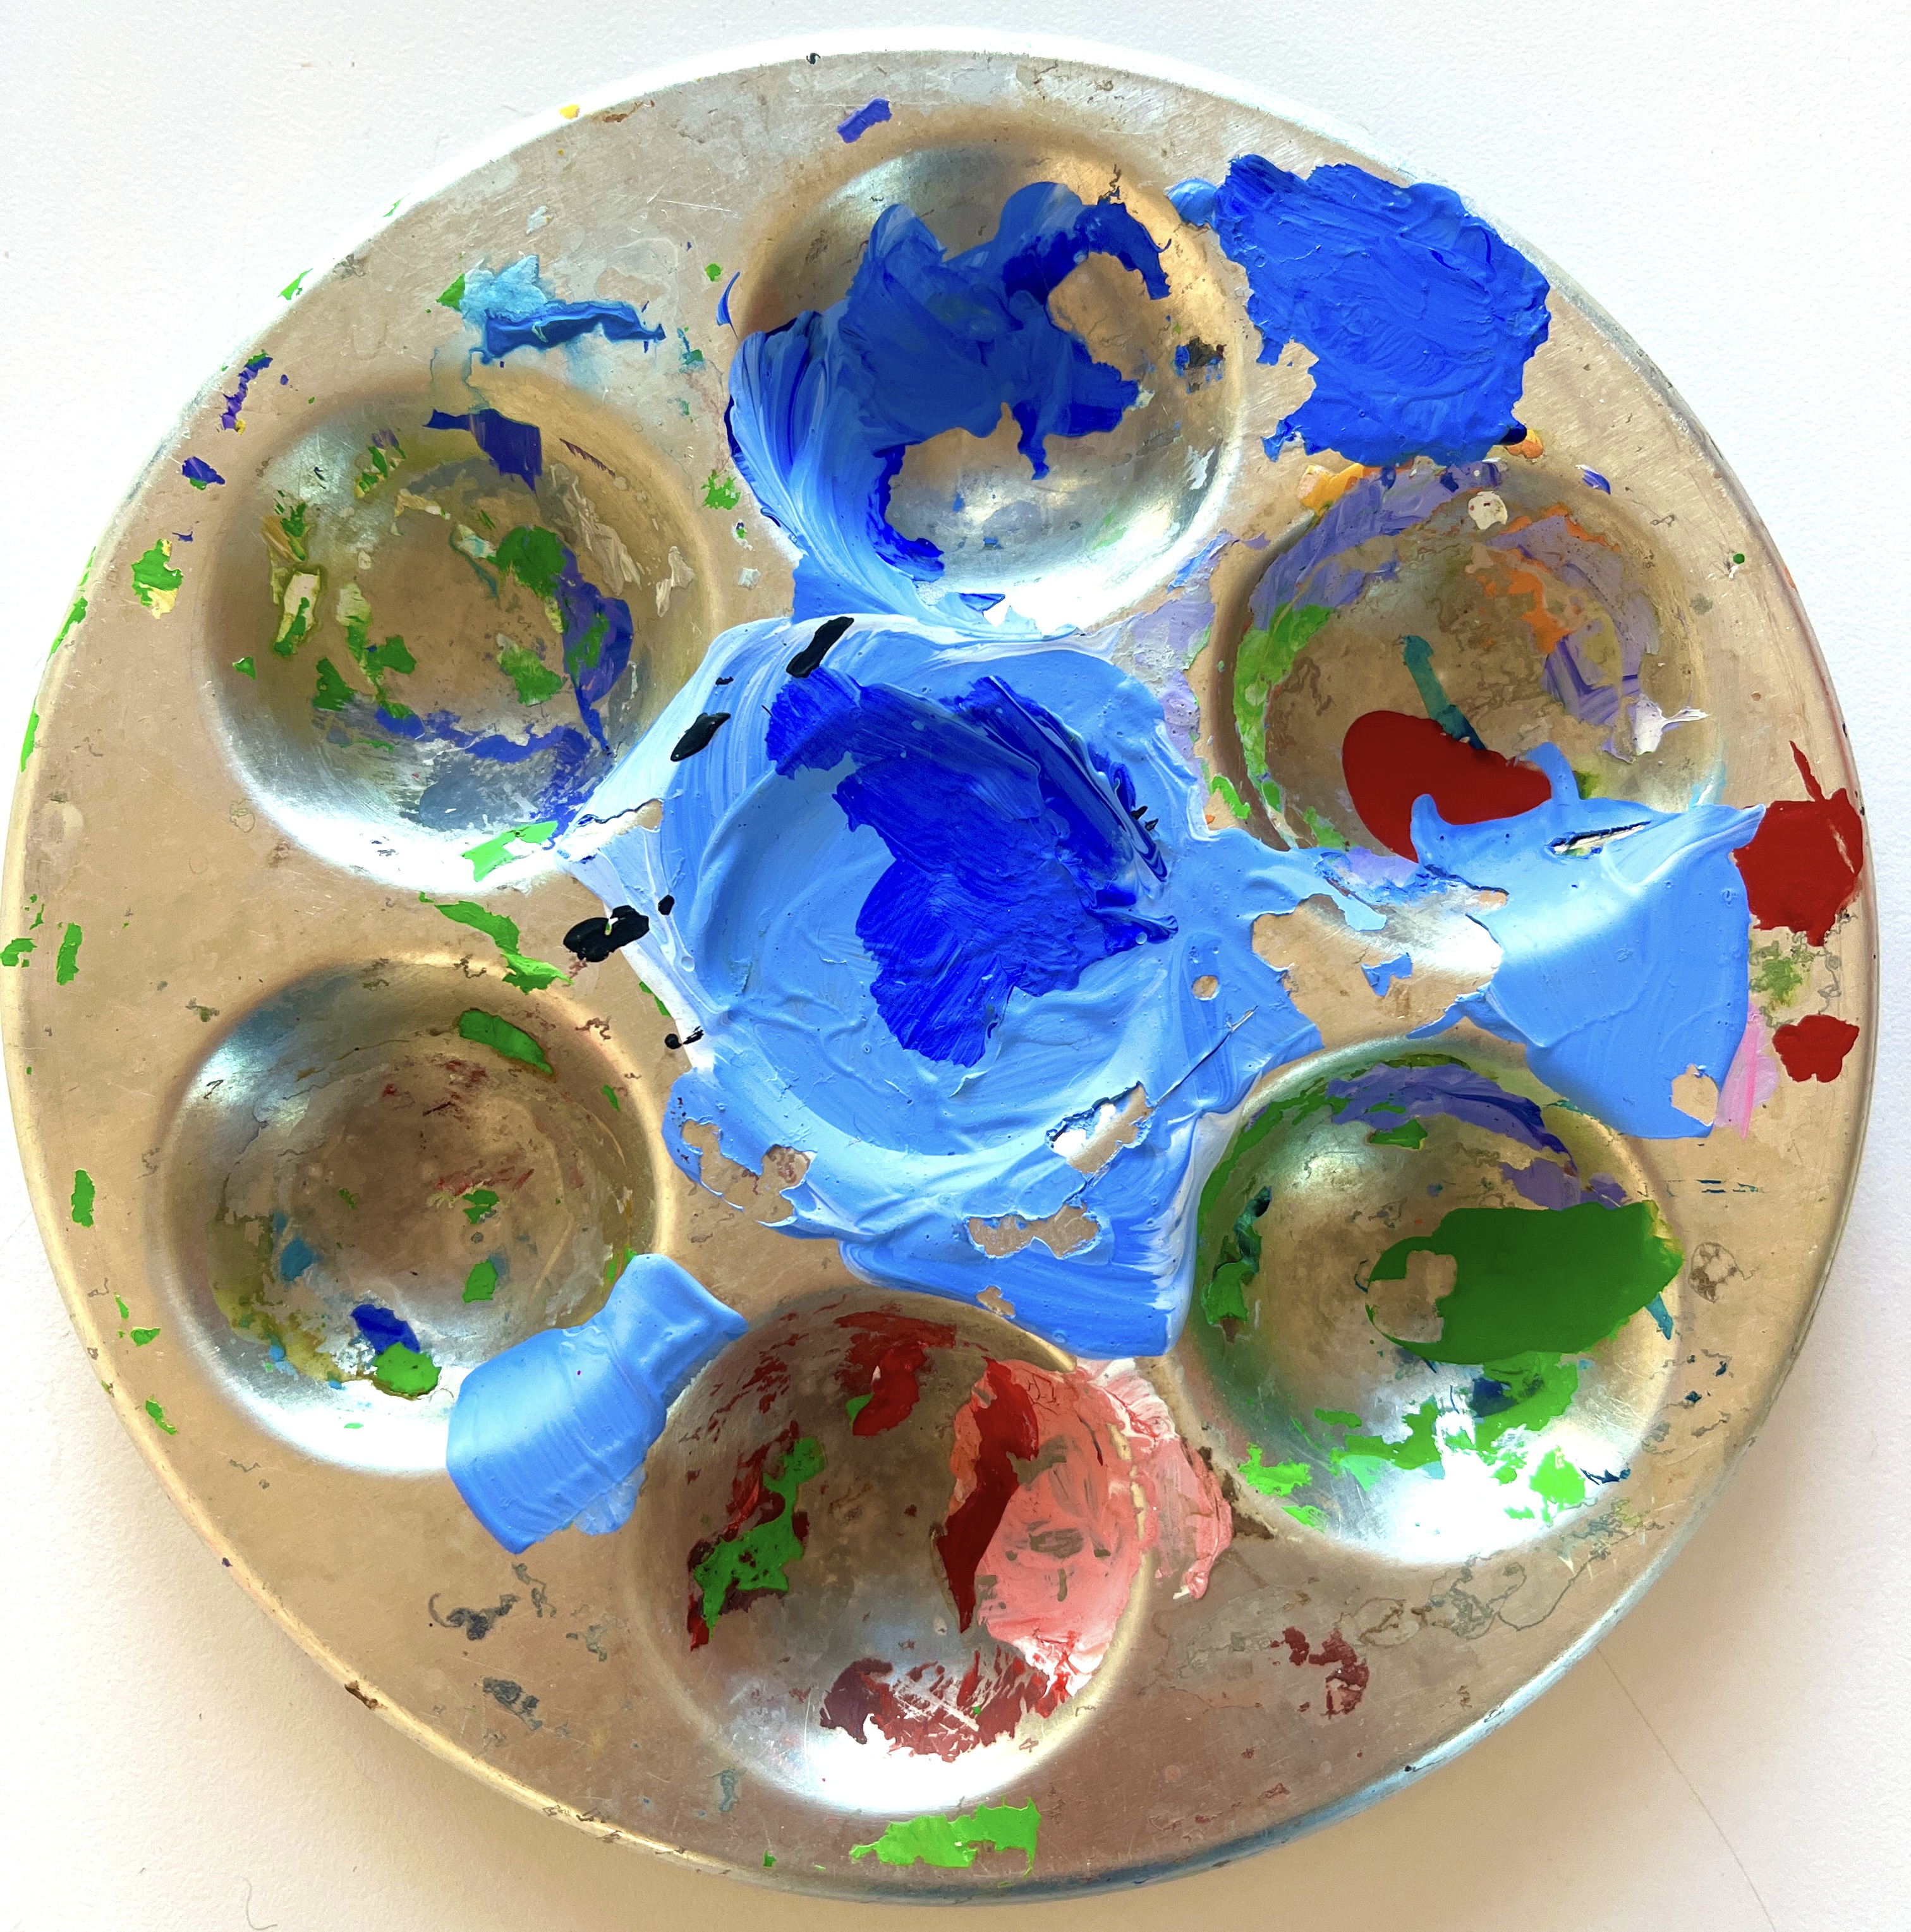
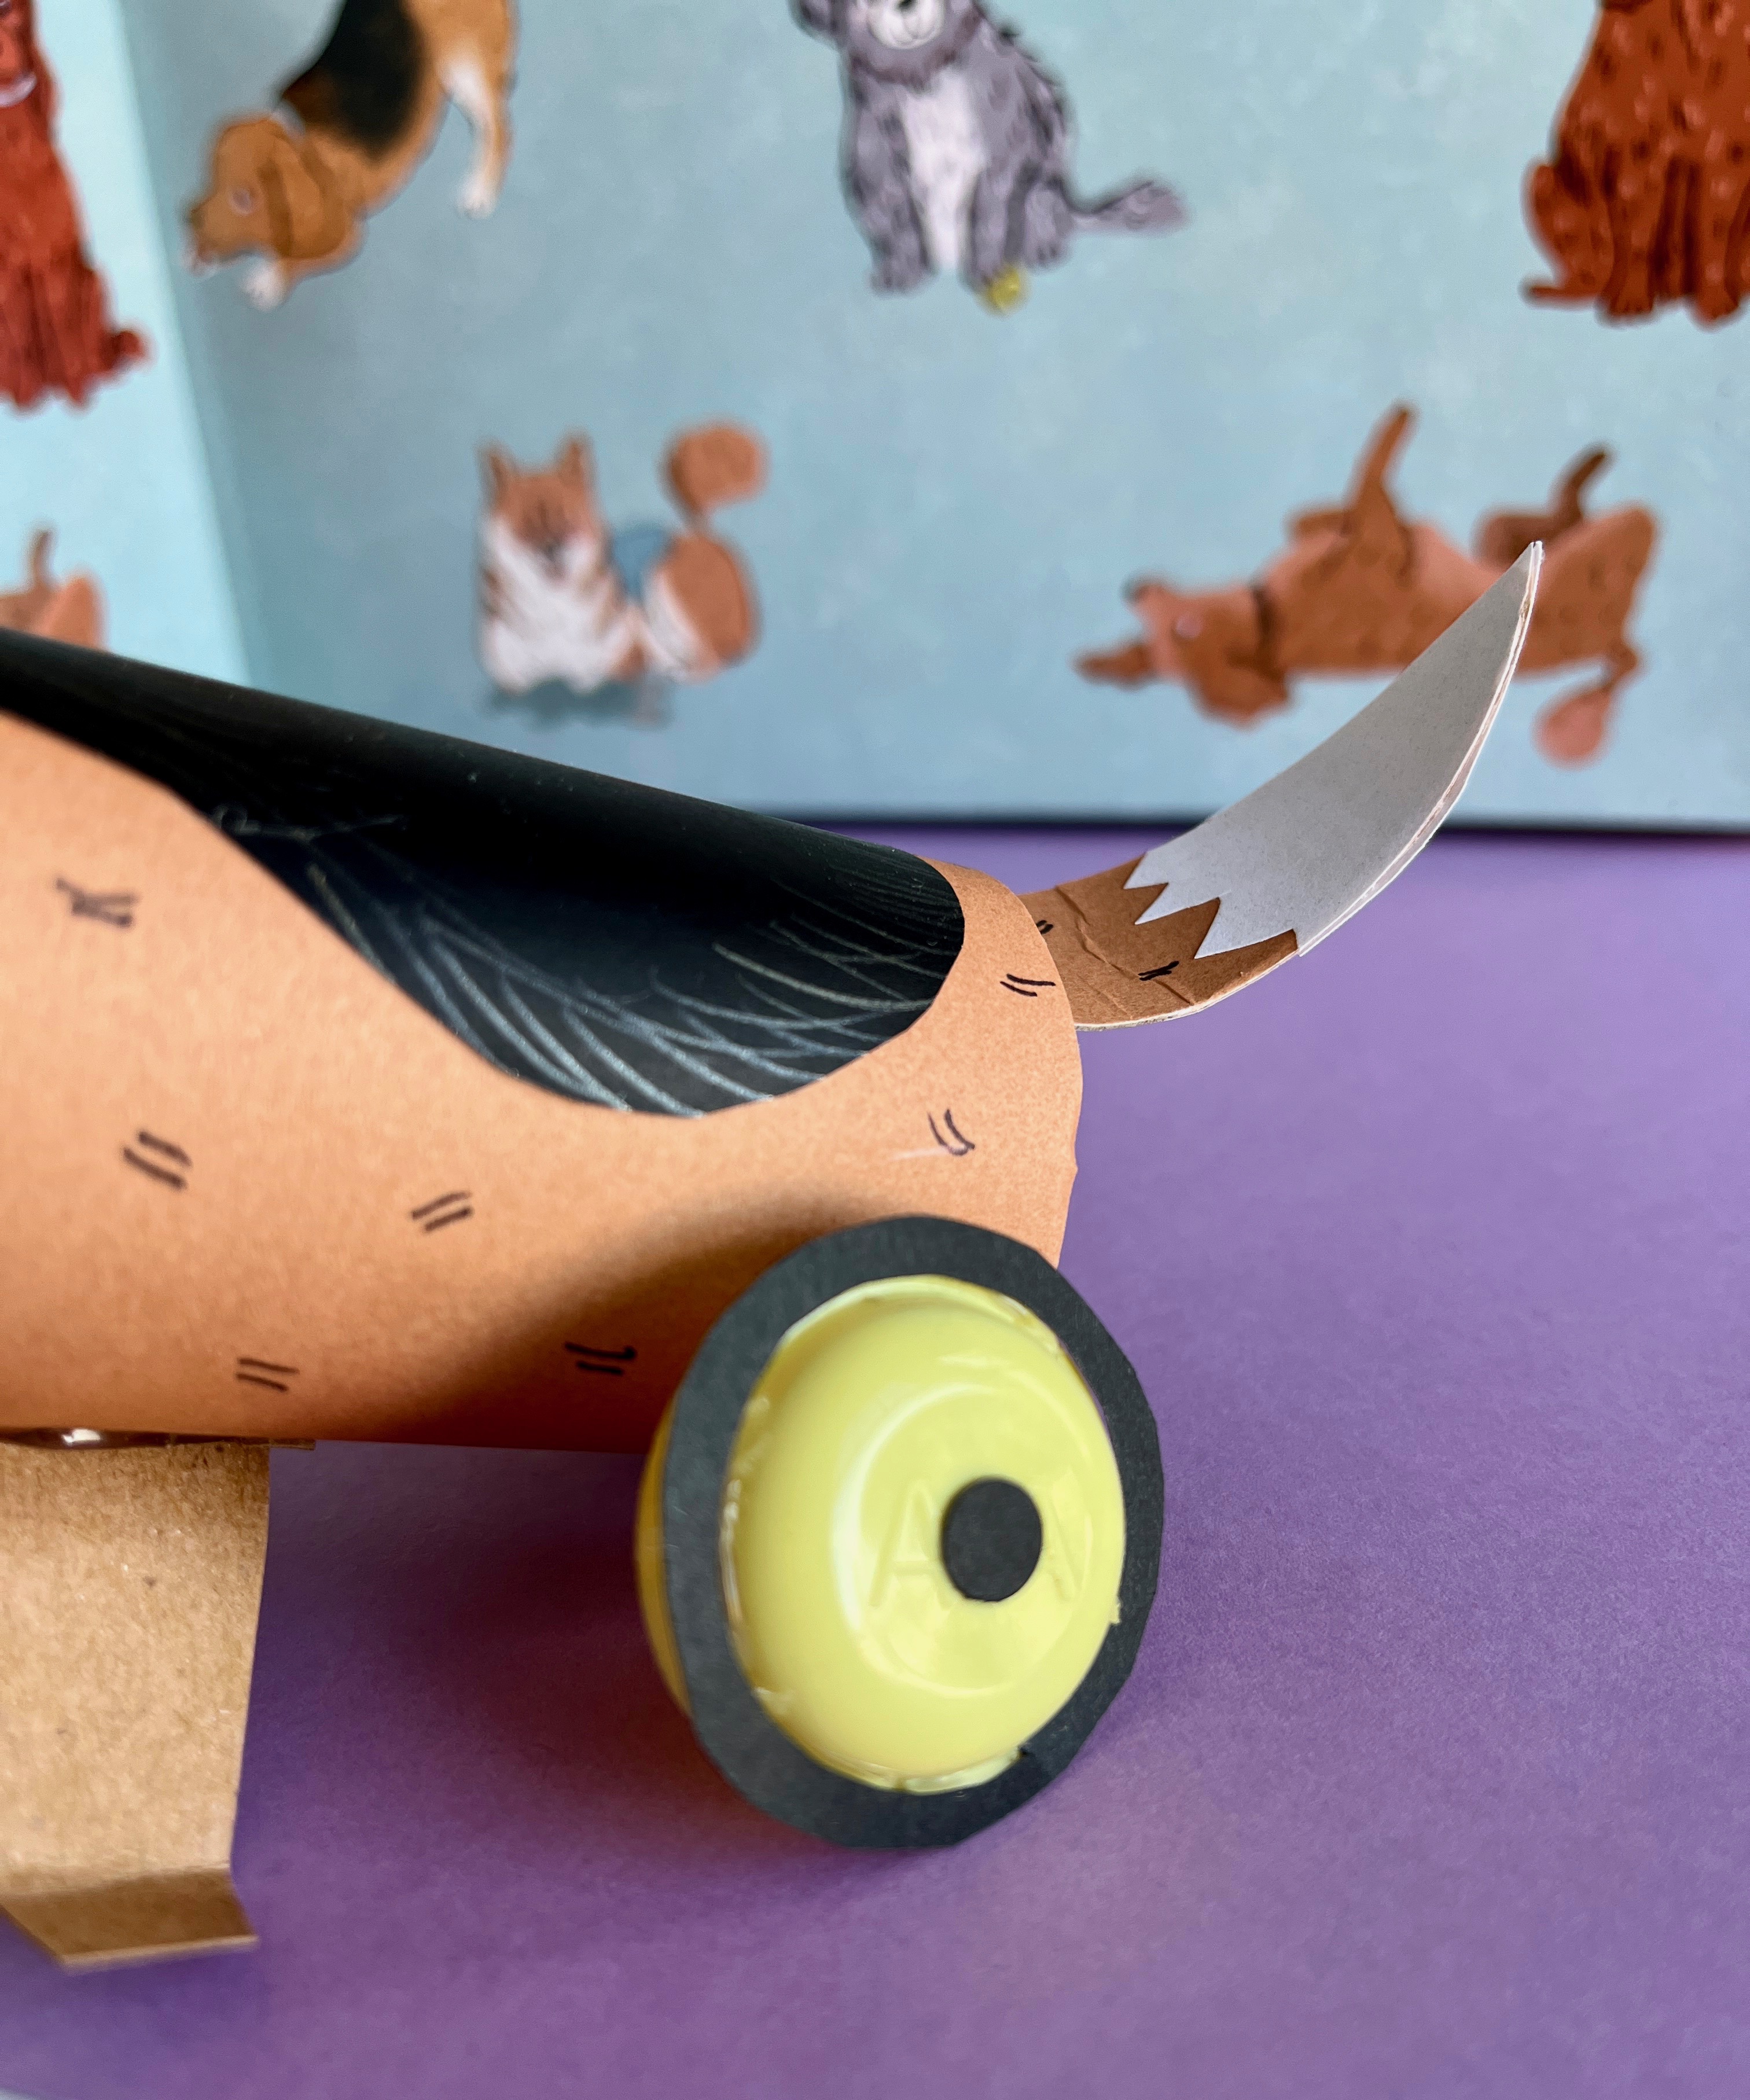
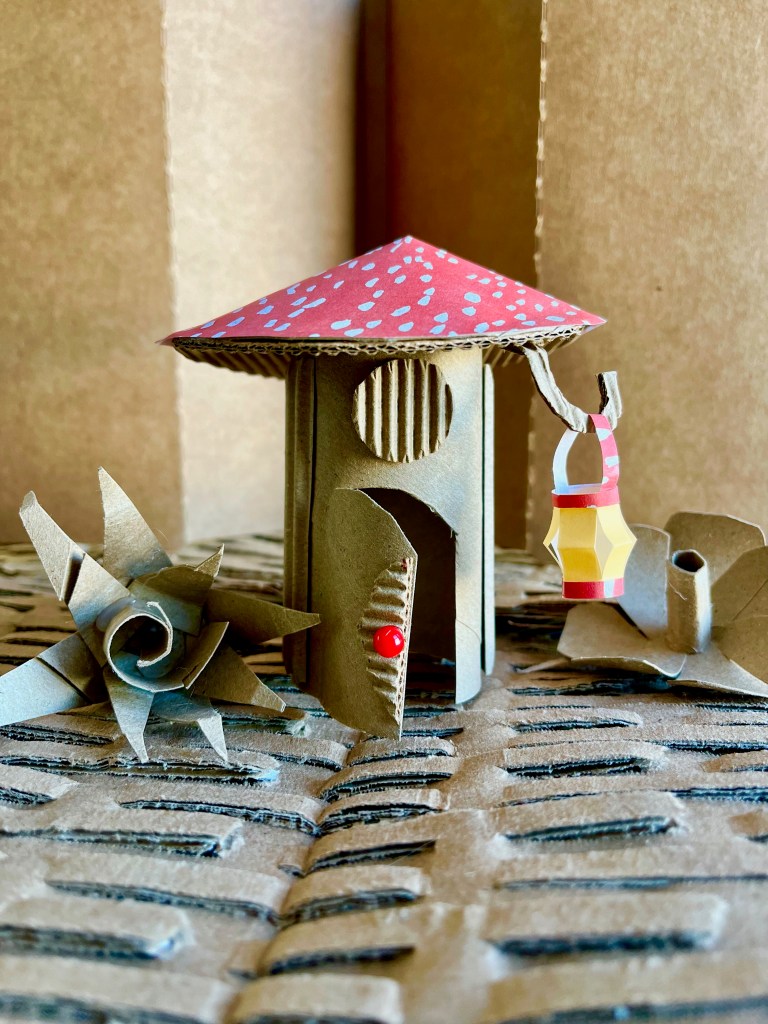
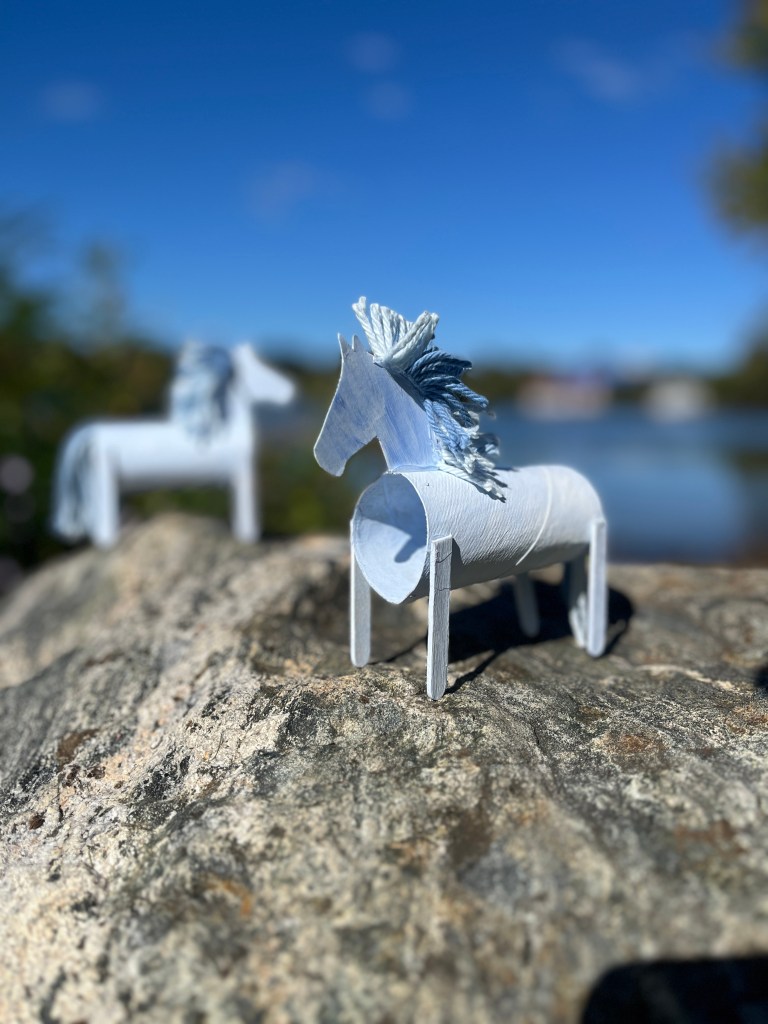
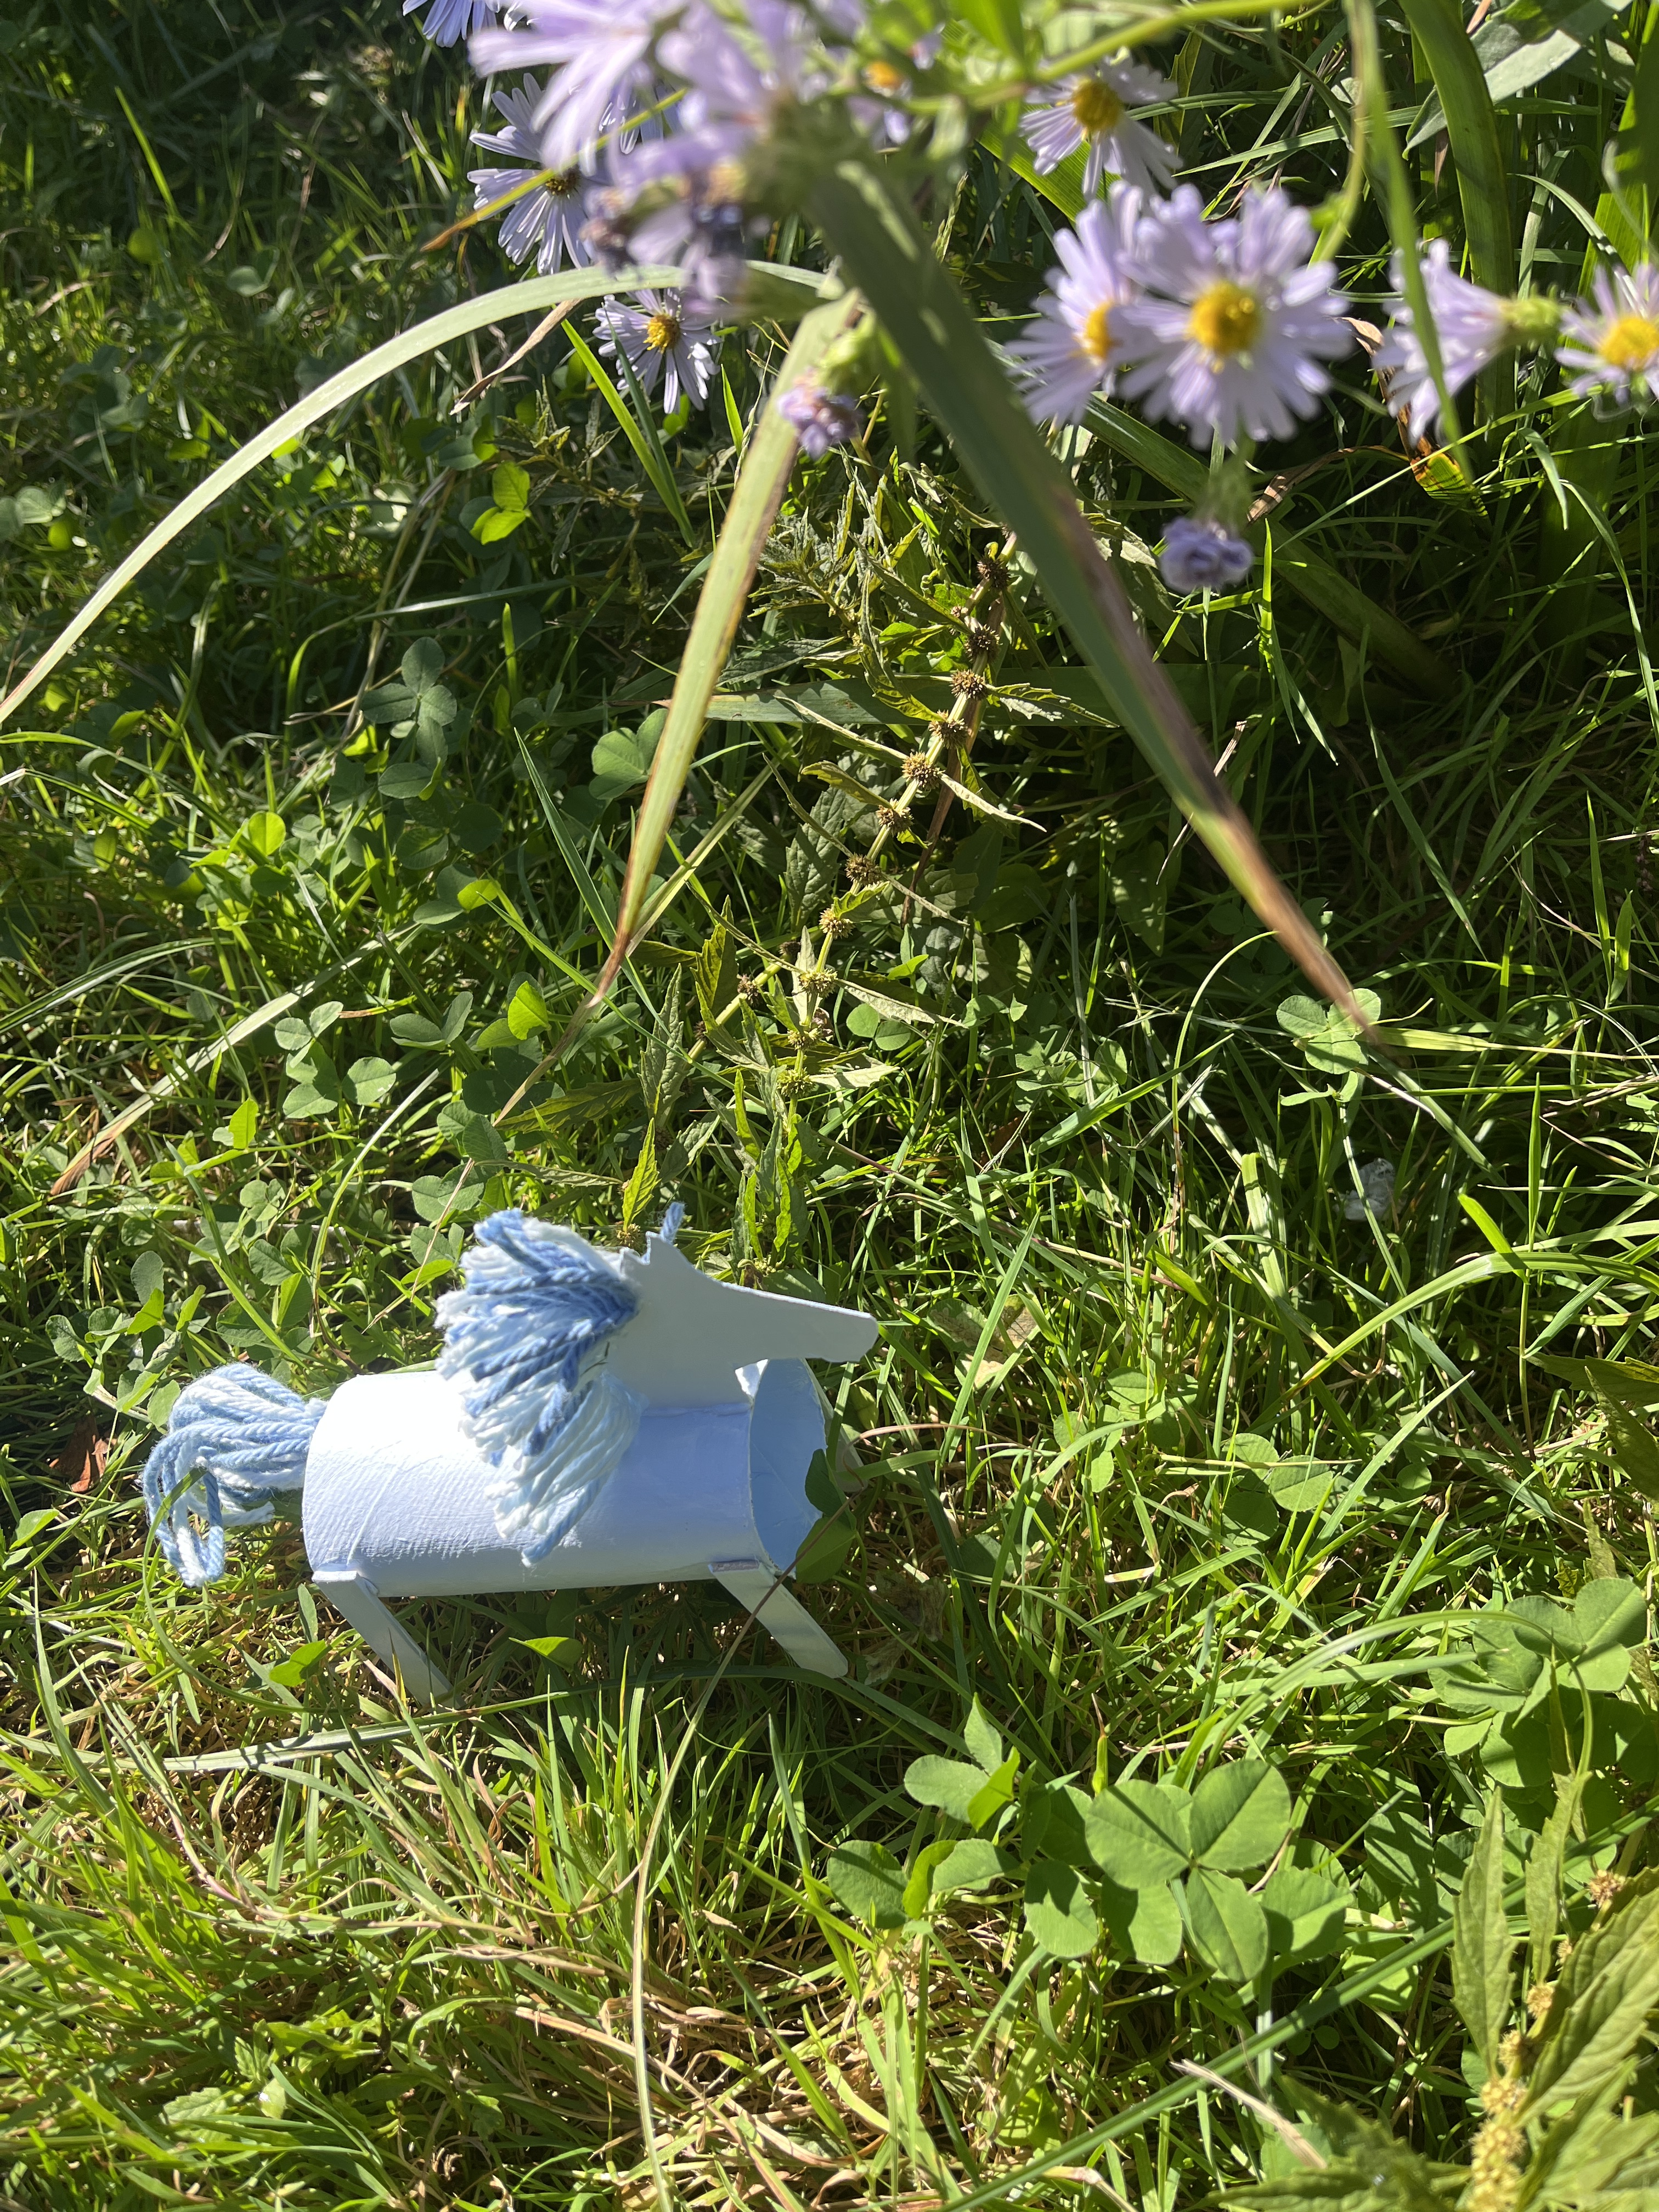
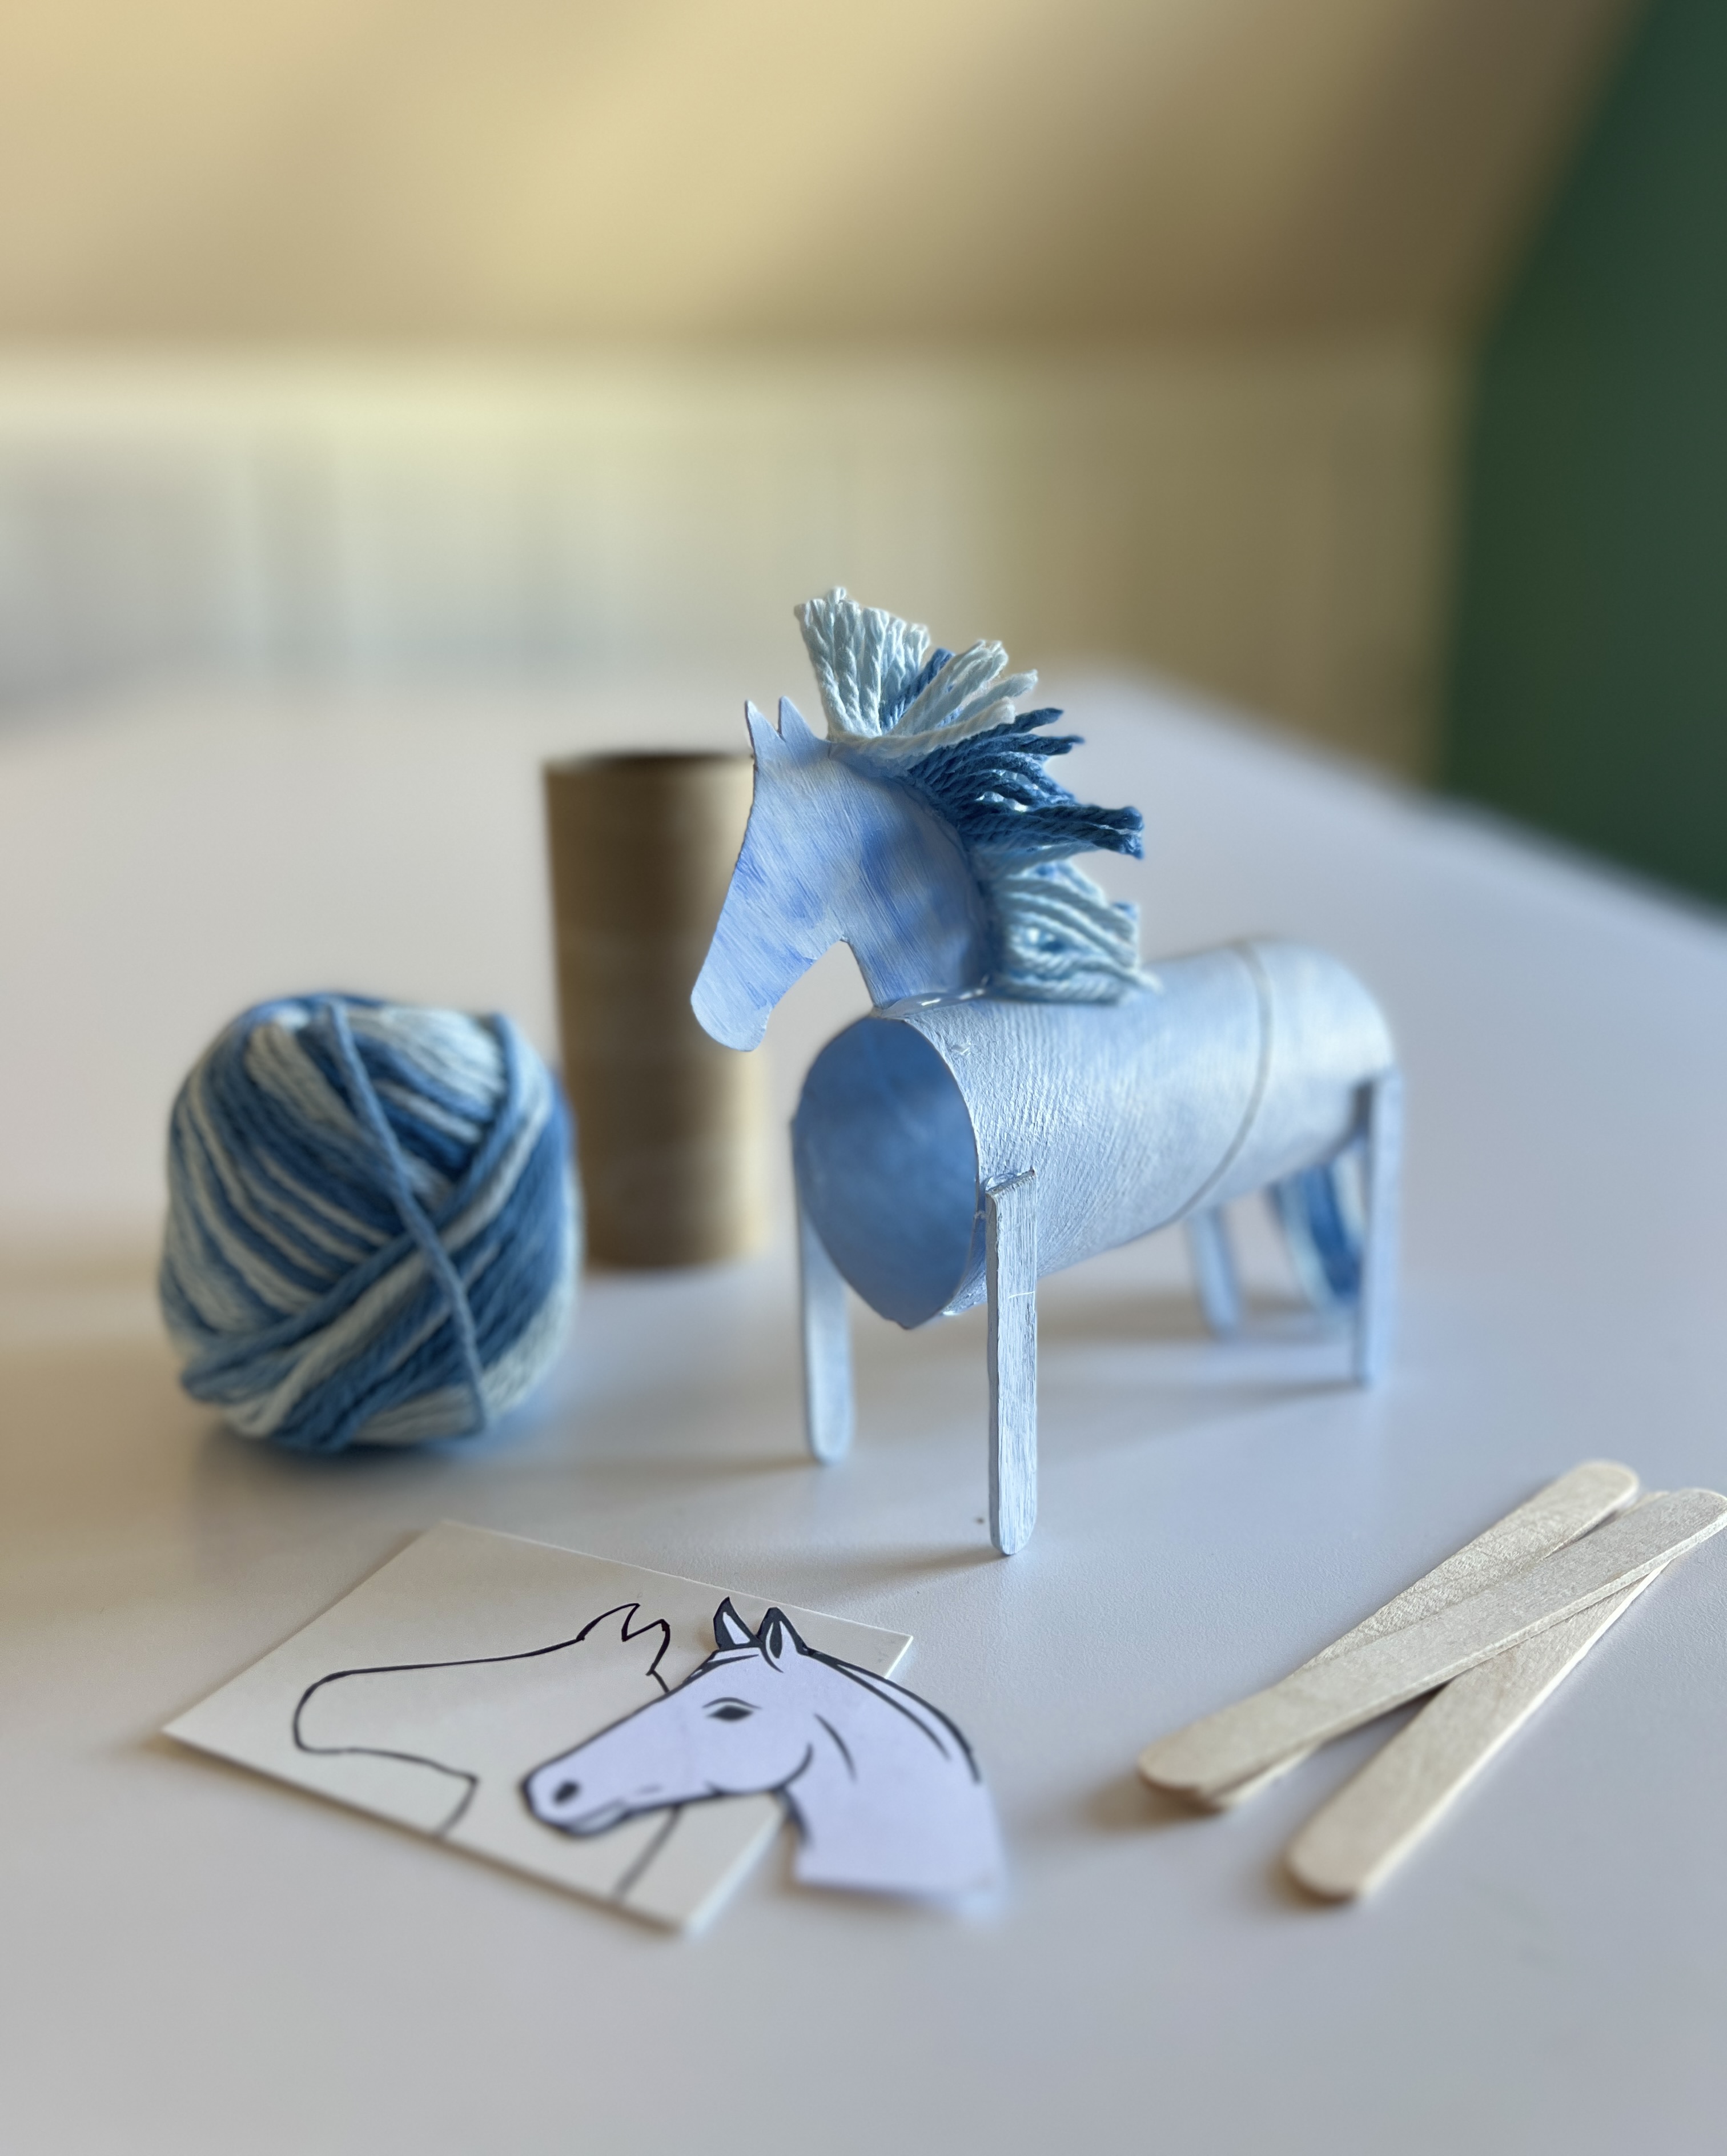
To celebrate the publication of this hopeful, gentle book, I created a pair of small reading horses out of recycled cardboard. To honor Salyer’s delicate, blue-tinged illustrations, I painted my horses light blue and by chance, I happened to have variegated blue yarn in my craft cabinet for their tails and manes.

After I made my miniature horses, I walked them to the pond near my house for a photo shoot. I wonder what passersby thought of that! Next, I will corral them and introduce them to the students in my school library. I’m sure emerging readers will love to practice with these tiny reading horses as their audience.
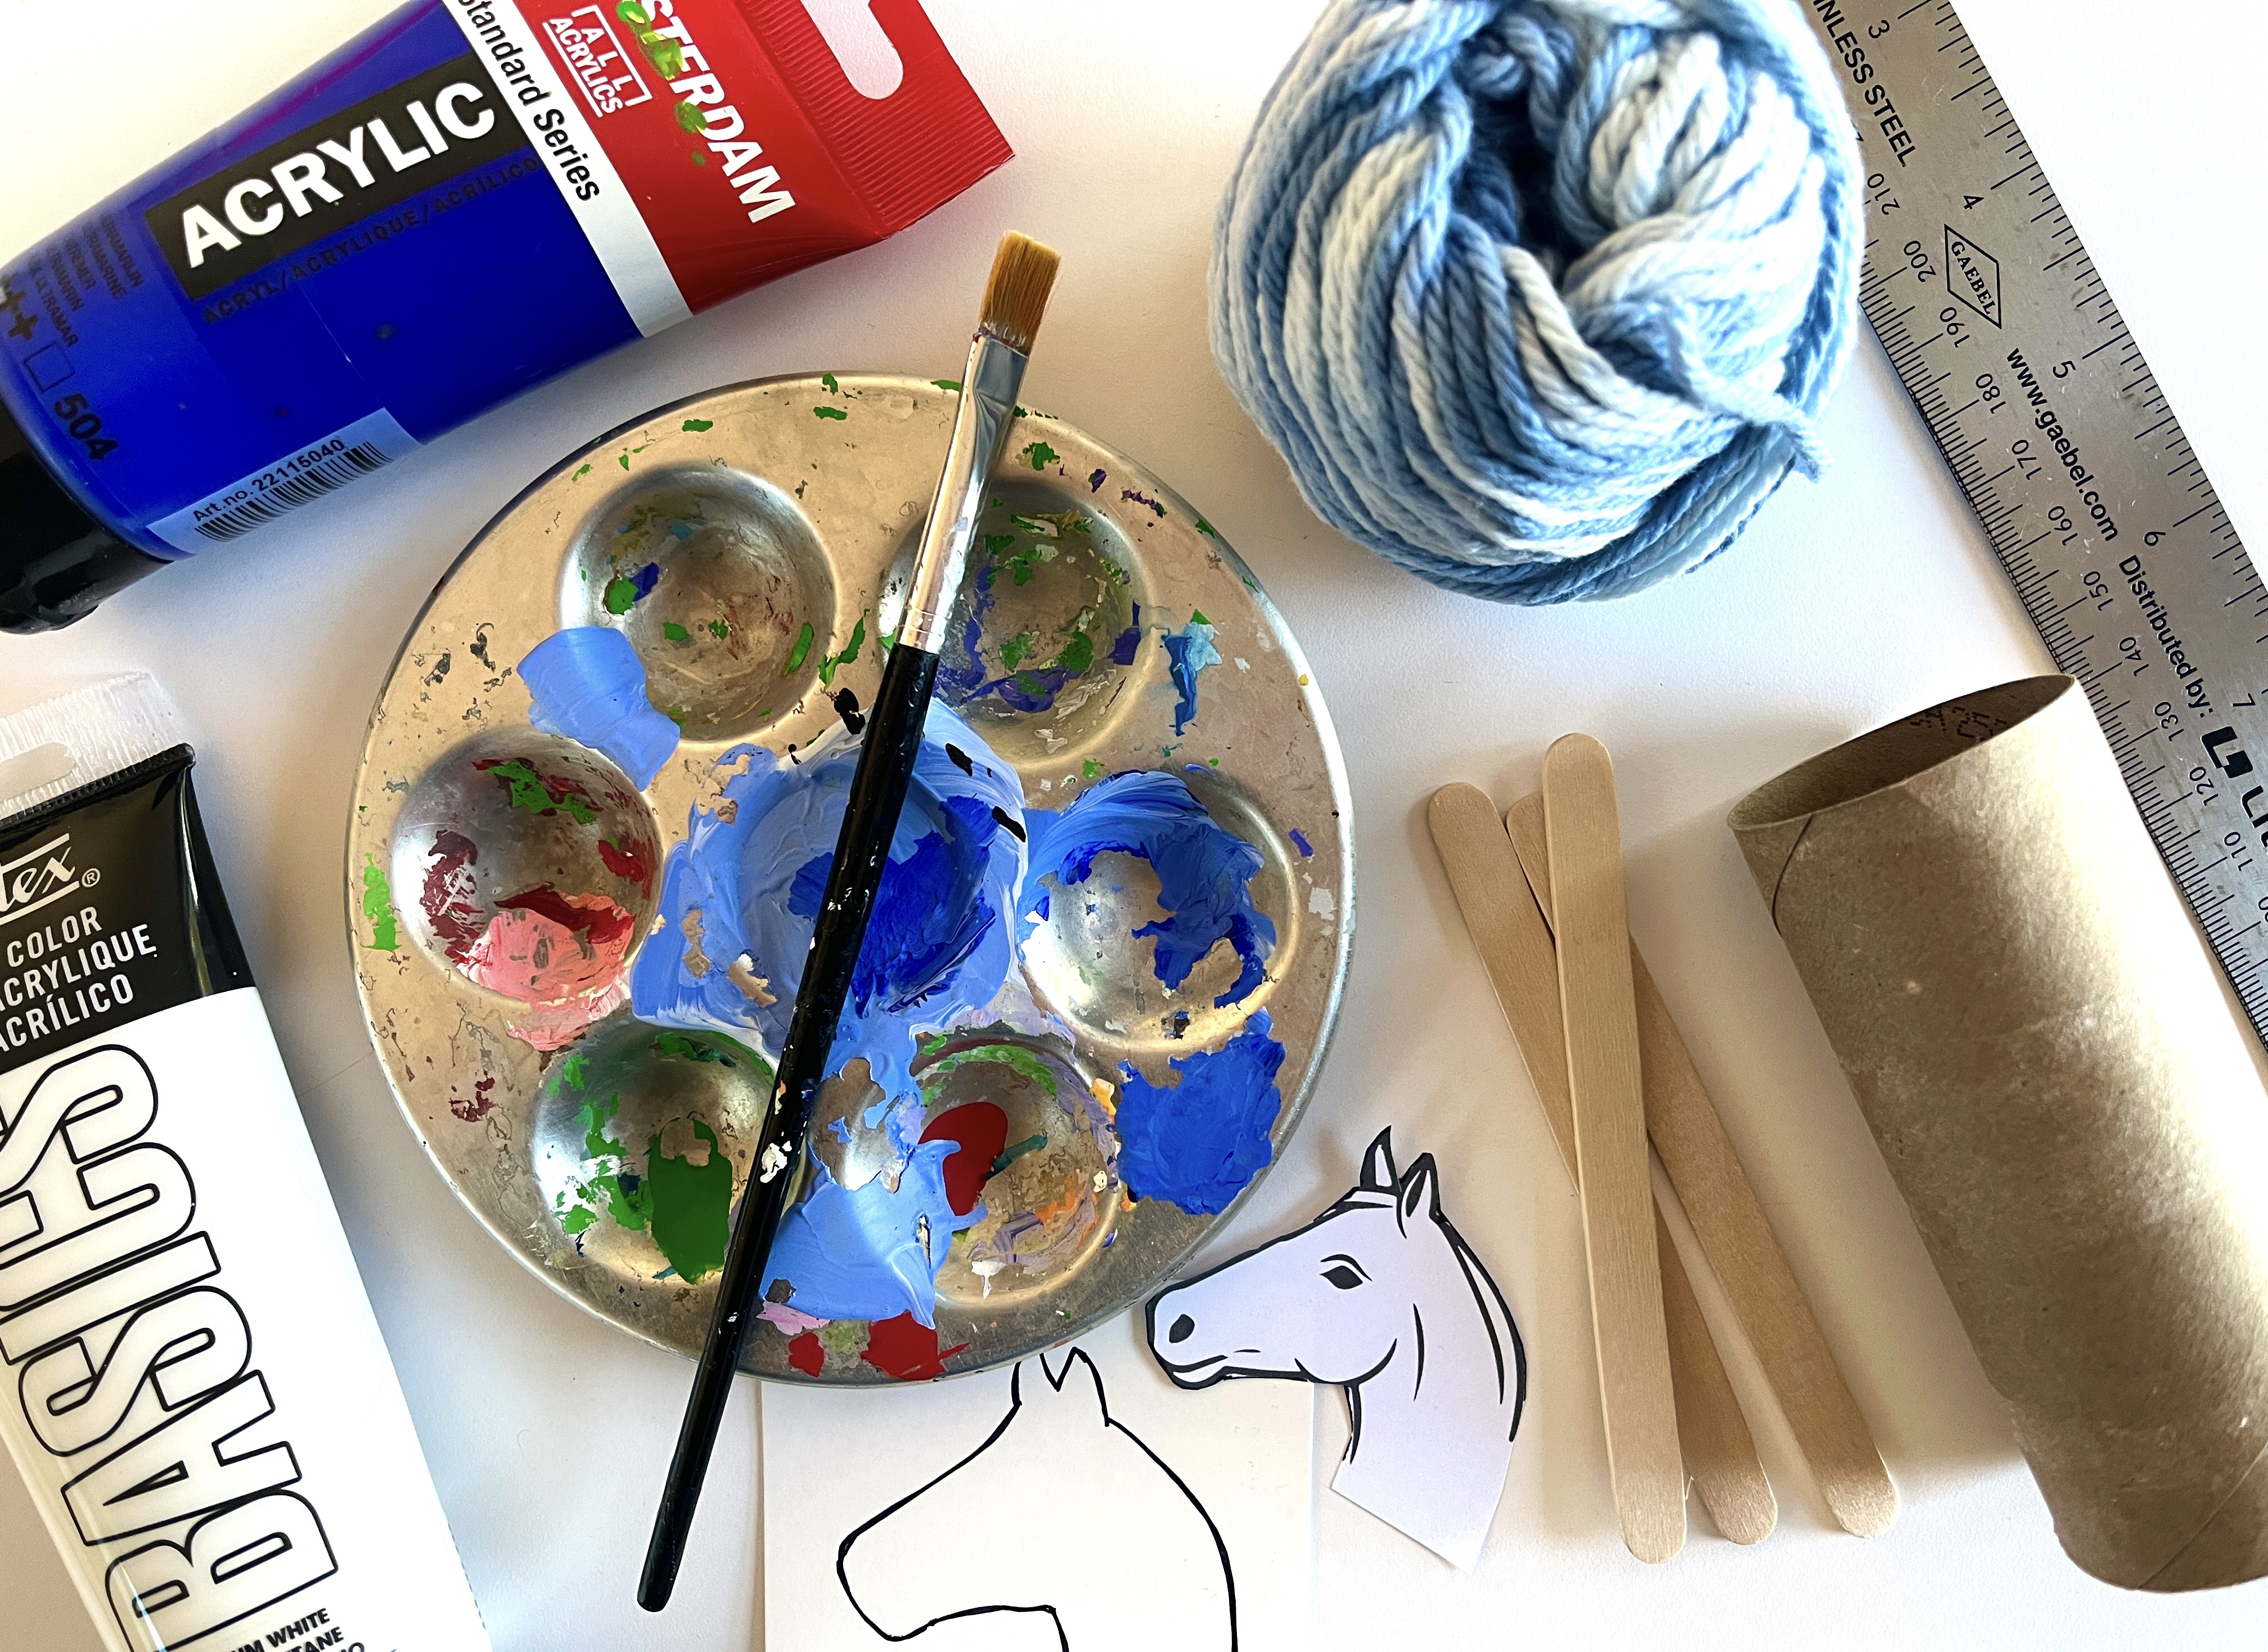
MATERIALS:

  • Toilet paper roll
  • Water-based paint
  • Craft sticks (4)
  • Yarn
  • Hot glue gun (low temperature for kids)
  • Cardstock
  • Ruler

DIRECTIONS:

  1. Paint the toilet paper roll
  2. Trace the profile of a horse’s head onto cardstock, cut it out and paint it. You can add a face if you’d like!
  3. Trim the tips off the 4 craft sticks (I thought I might need an X-acto but it was easy to snip off the end of the craft sticks with a regular scissors.)
  4. With hot glue, adhere the horse head and the four craft stick legs to your cardboard roll. Paint the legs once the glue is dry.
  5. Wrap yarn into a “pony tail,” knotting it on one side. Glue the knot to the inside of the roll and then trim the tail as needed.
  6. This is the hardest step! Wrap yarn around the ruler. Glue one edge and trip the other. Then glue the “mane” to one side of the horse’s head. Repeat this step with the other side. This makes a thick, beautiful mane!

Hannah Salyer’s work, including Packs: Strength in Numbers and Ancestory: The Mystery and Majesty of Ancient Cave Art, has been recognized by American Illustration and the Society of Illustrators. She teaches art to students of all ages, has a ceramics practice, and is co-founder of Underland Gallery.

Book Craft and GIVEAWAY: To Dogs, With Love

The giveaway is now closed. Thank you for participating!

To Dogs, With Love by Maria Gianferrari and illustrated by Ishaa Lobo, is a sweet thank you to our four-legged companions that give us so much. This book reminds readers of the unique healing that dogs bring to the life of a child as pets and as therapy animals. Dogs bring comfort to classrooms, hospitals, legal settings, prisons–any setting where children face challenges and benefit from the “calm and connected” presence of the enduring devotion of humankind’s best friend.

To celebrate the publication of To Dogs, With Love, I created a cardboard roll craft. After all, toilet paper rolls are ubiquitous in every household! I had fun fashioning dog faces inspired by Ishaa’s adorable illustrations and figuring out ways to make therapy dog vests and little wheels for a two-legged friend. Here are directions for a kid-friendly version of these cardboard creations:

Materials:

  • Cardboard rolls
  • Cardstock or construction paper in different colors
  • Paint or markers
  • Scissors
  • Glue stick and hot glue

Directions:

  1. Dog face: On cardstock, draw a heart-shaped face and cut out. Draw and cut out tear-shaped or pointy ears. Position and use glue stick ti adhere ears to your doggy head.
  2. Dog body: trim the cardboard roll to the length that you want. Decorate your dog’s body (cardboard roll) with paint or markers.
  3. Tail and legs: Cut out two strips from a different cardboard roll. These strong, curled pieces will become the legs that can support the body. Fold the end of each strips to make feet. You can cut out a tail from the same roll or from cardstock.
  4. Put it all together: This requires an adult and hot glue! Adhere all the pieces to make your new canine companion.

For Maria Gianferrari, dog love is the most pawsitive medicine of all! To Dogs, with Love is Maria’s seventh book featuring beloved canine characters, following Being a Dog: A Tail of Mindfulness, Operation Rescue Dog, Hello Goodbye Dog, Officer Katz and Houndini, and the Penny & Jelly series.

Ishaa Lobo is the illustrator of The Mystery of the Love List by Sarah Glenn Marsh; To Dogs, with Love byMaria Gianferrari; and There’s Always Room for One More by Robyn McGrath. Her next book, Bigfoot’s Big Heart, written by Sarah Glenn Marsh, will be released next year. See her work at ishaalobo.com

Book Craft and GIVEAWAY: Fungi Grow and Mushroom House Craft

The giveaway is now closed. Thank you for participating!

Fungi Grow by Maria Gianferrari and illustrated by Diana Sudyka is a delightful homage to the funny, fantastic world of mushrooms. Maria’s winsome rhymes and fascinating factoids, matched with Diana’s dreamy, mulchy paintings are as delightful as a walk in the woods and as surprising as spotting a Red Chanterelle!

Inspired by Fungi Grow, this Mushroom House craft uses all of my favorite ingredients: whimsy, simplicity and recyclables! I pilfered the recycling bin for a mix of cardboard textures, and that classic craft mainstay–the cardboard toilet paper roll (no one ever runs out of these.)

MATERIALS:

  • Cardboard toilet paper roll
  • Cardstock paper (or cereal box-cardboard)
  • Scissors
  • Hot-glue gun or glue stick
  • Paint

Optional: cupcake liners, coffee filters, corks, whole-punched paper, origami paper, textured cardboard odds and ends–get silly and creative!

DIRECTIONS:

  1. With scissors, cut a curved “door” at the base of your toilet paper roll (leaving one side attached to serve as the “hinge.”
  2. For the mushroom cap, cut out a circle of your card stock or cereal box cardboard (or any paper of your choice). Circles can be lopsided and imperfect. Start big and trim smaller as desired.
  3. Cut one slit to the center of your circle. This will allow you to overlap the paper and create your cap.
  4. If you are using card stock or cardboard, use hot glue to adhere (adults only). Thinner paper will hold with glue stick. Confused about this bit? Watch the video below:

5. Glue the mushroom cap to its stem.
6. Now is the time to paint! Let it get messy. Add bits of paper, buttons, beads–bedazzle!
7. Finally, invite little critters to move inside. . .

Which mushrooms are real?

Maria Gianferrari’s yard is full of fungi. From branching corals and pointy stinkhorns to smoky puffballs and colorful jack-o’-lanterns, everything’s coming up mushrooms! Someday she hopes to find some morels—she’ll even share them with a squirrel. Maria’s favorite edible mushroom is the hearty portobello. She lives in Massachusetts.
Diana Sudyka grew up hearing stories of her grandfather, an ardent forager, bringing home chicken of the woods and maitake mushrooms for meals. Her favorite edible mushroom is the delicious morel that popped up in her yard last spring. Diana lives with her family in Evanston, Illinois.

BOOK GIVEAWAY & Craft: Ice Cycle: Poems About the Life of Ice

The Book Giveaway is now closed. Thank you for participating!

PROJECT: Experimenting with colored ice cubes

Icebergs, floebergs, brinicles, frazil, ice flowers and frost. Maria Gianferrari’s book of poems, Ice Cycle, beautifully illustrated in pastel pinks and blues by Jiening Chen, explores the many shapes and structures of ice. Gianferrari’s rhymes and rhythms “swirl and twirl” and “plume and bloom,” bring to life the fascinating–and surprisingly varied–forms of our favorite frozen substance.

To celebrate the publication of this wonderful book, I wanted to create an activity that would enchant and beguile young scientists. Why not create some hands-on frosty fun to observe and learn?

MATERIALS

  • ice tray
  • multicolor food dye
  • water
  • a freezer!
  • large bowl or cooking sheet with rim
  • small bowls
  • salt
  • sugar
  • optional: watercolor paper

DIRECTIONS:

This project is all about tactile exploration. The food dye adds extra interest to the transformation from liquid to solid to liquid again, but it may also tint little hands and clothes–so if that sounds messy to you, by all means–skip the coloring!

  1. Add a drop or two of food dye to bowl/s of water. Small scientists can observe what happens to the dye as it dissolves into the water.
  2. Place your ice trays in the freezer and wait and wait and wait. If you want, your scientist might check in a couple of times to see what is happening to the water over time.
  3. Remove the cubes into a big bowl, cooking sheet with rim, or table with a waterproof tablecloth. (I also had plenty of smaller bowls on hand for experimentation.)
  4. Observe: What does the ice feel like? What happens if you hold it for a while?
  5. Sprinkle salt on one ice cube, sugar on another. What do you notice?
  6. Place one cube in hot water and another in cold water. What changes do you see?
  7. Leave colored ice cubes on watercolor paper. What is left behind as the cubes melt?
  8. If you live in a cold climate and it’s winter, leave some ice cubes outside. What happens to them?

To learn more about Maria Gianferrari and find more Ice Cycle activities and resources, go to mariagianferrari.com; you can find illustrator Jieting Chen at jietingchen.com.

Read & Make: Strollercoaster + Rainbow Scratch Paper

Strollercoaster by Matt Ringler with art by Raul the Third and Elaine Bay is an exuberant celebration of urban street life (as well as the exuberance of a toddler on a rollicking ride right before she falls asleep for a much needed nap). Raul the Third is known (in his Vamos series and the Lowriders in Space graphic novels) for packing his drawings with details-silly scribbles, sly references, and delightful oddities. Strollercoaster is no different: there are many treasures tucked in each streetscape. Then there’s this: a cover beneath the cover! Young readers will be fascinated to find Raul’s earlier pencil drawing under the rainbow riot of the dust jacket (thanks to Elaine Bay’s coloring instincts).

I love this fast-paced, “speedy” scene as Papa corre/runs down the sidewalk! I was inspired when the stroller duo ducks into a dark tunnel (with the word “oscuro” graffitied on its wall). Those rainbow outlines popping through the black reminded me of one of my fave childhood art projects! So I set to work . . .

PROJECT: Make Rainbow Scratch Paper to create your own magic drawings!

MATERIALS:

  • Card stock paper
  • crayons in fun colors
  • tempera or acrylic black paint
  • paintbrush
  • wooden skewer (something to scratch with)

DIRECTIONS:

Using crayon in bright, rainbow hues, your paper *entirely* with patches of color. (I tried both crayon and oil pastels or cray-pas and ended up liking the crayon much better. The paint stuck to the cray-pas, making it harder to scratch).

Next, cover your paper entirely with black paint (I used acrylic. It covered well and scratched off well).

Once dry, start scratching–drawing or writing words, whatever. It’s all magic as your lines reveal bits of bright teal, emerald, fuchsia, goldenrod–all the more gem-like in contrast with the black.