

I’m squeezing in one last post before Monday for those of you who
1.) enjoy the smell of melting wax emanating from your toaster oven.
2.) own crayons so ancient they are growing a fur of mold.
3.) like to celebrate Valentine’s Day by smashing things with a hammer.

You will need crayons (pink, red, white, purple), the aforementioned hammer and toaster oven, a heart-shaped candy mold, and fingernails long enough to tear at the crayons’ very resistant paper wrappers. I used a silicone heart mold from Ikea, meant for making ice cubes. Not a good idea, but it worked. I have definitely destoyed the mold from ever being used again for its original purpose.
I smashed the crayons to smithereens (inside a paper bag), divided the colored bits into the molds, and placed the tray in the oven at 250F. Watch out: the crayon wax melts quickly (in less than a minute), and if you wait too long, the colors blend together and look like purple soup.
 Cooling on the counter (note those uneaten clementines).
 Voila.
postscript:
The mailman brought this little package . . .

and inside were pink & gray striped mittens!

My five-year-old cracked up when I tried them on and my fingers poked through.
Thank you, Brig! They are absolutely beautiful.


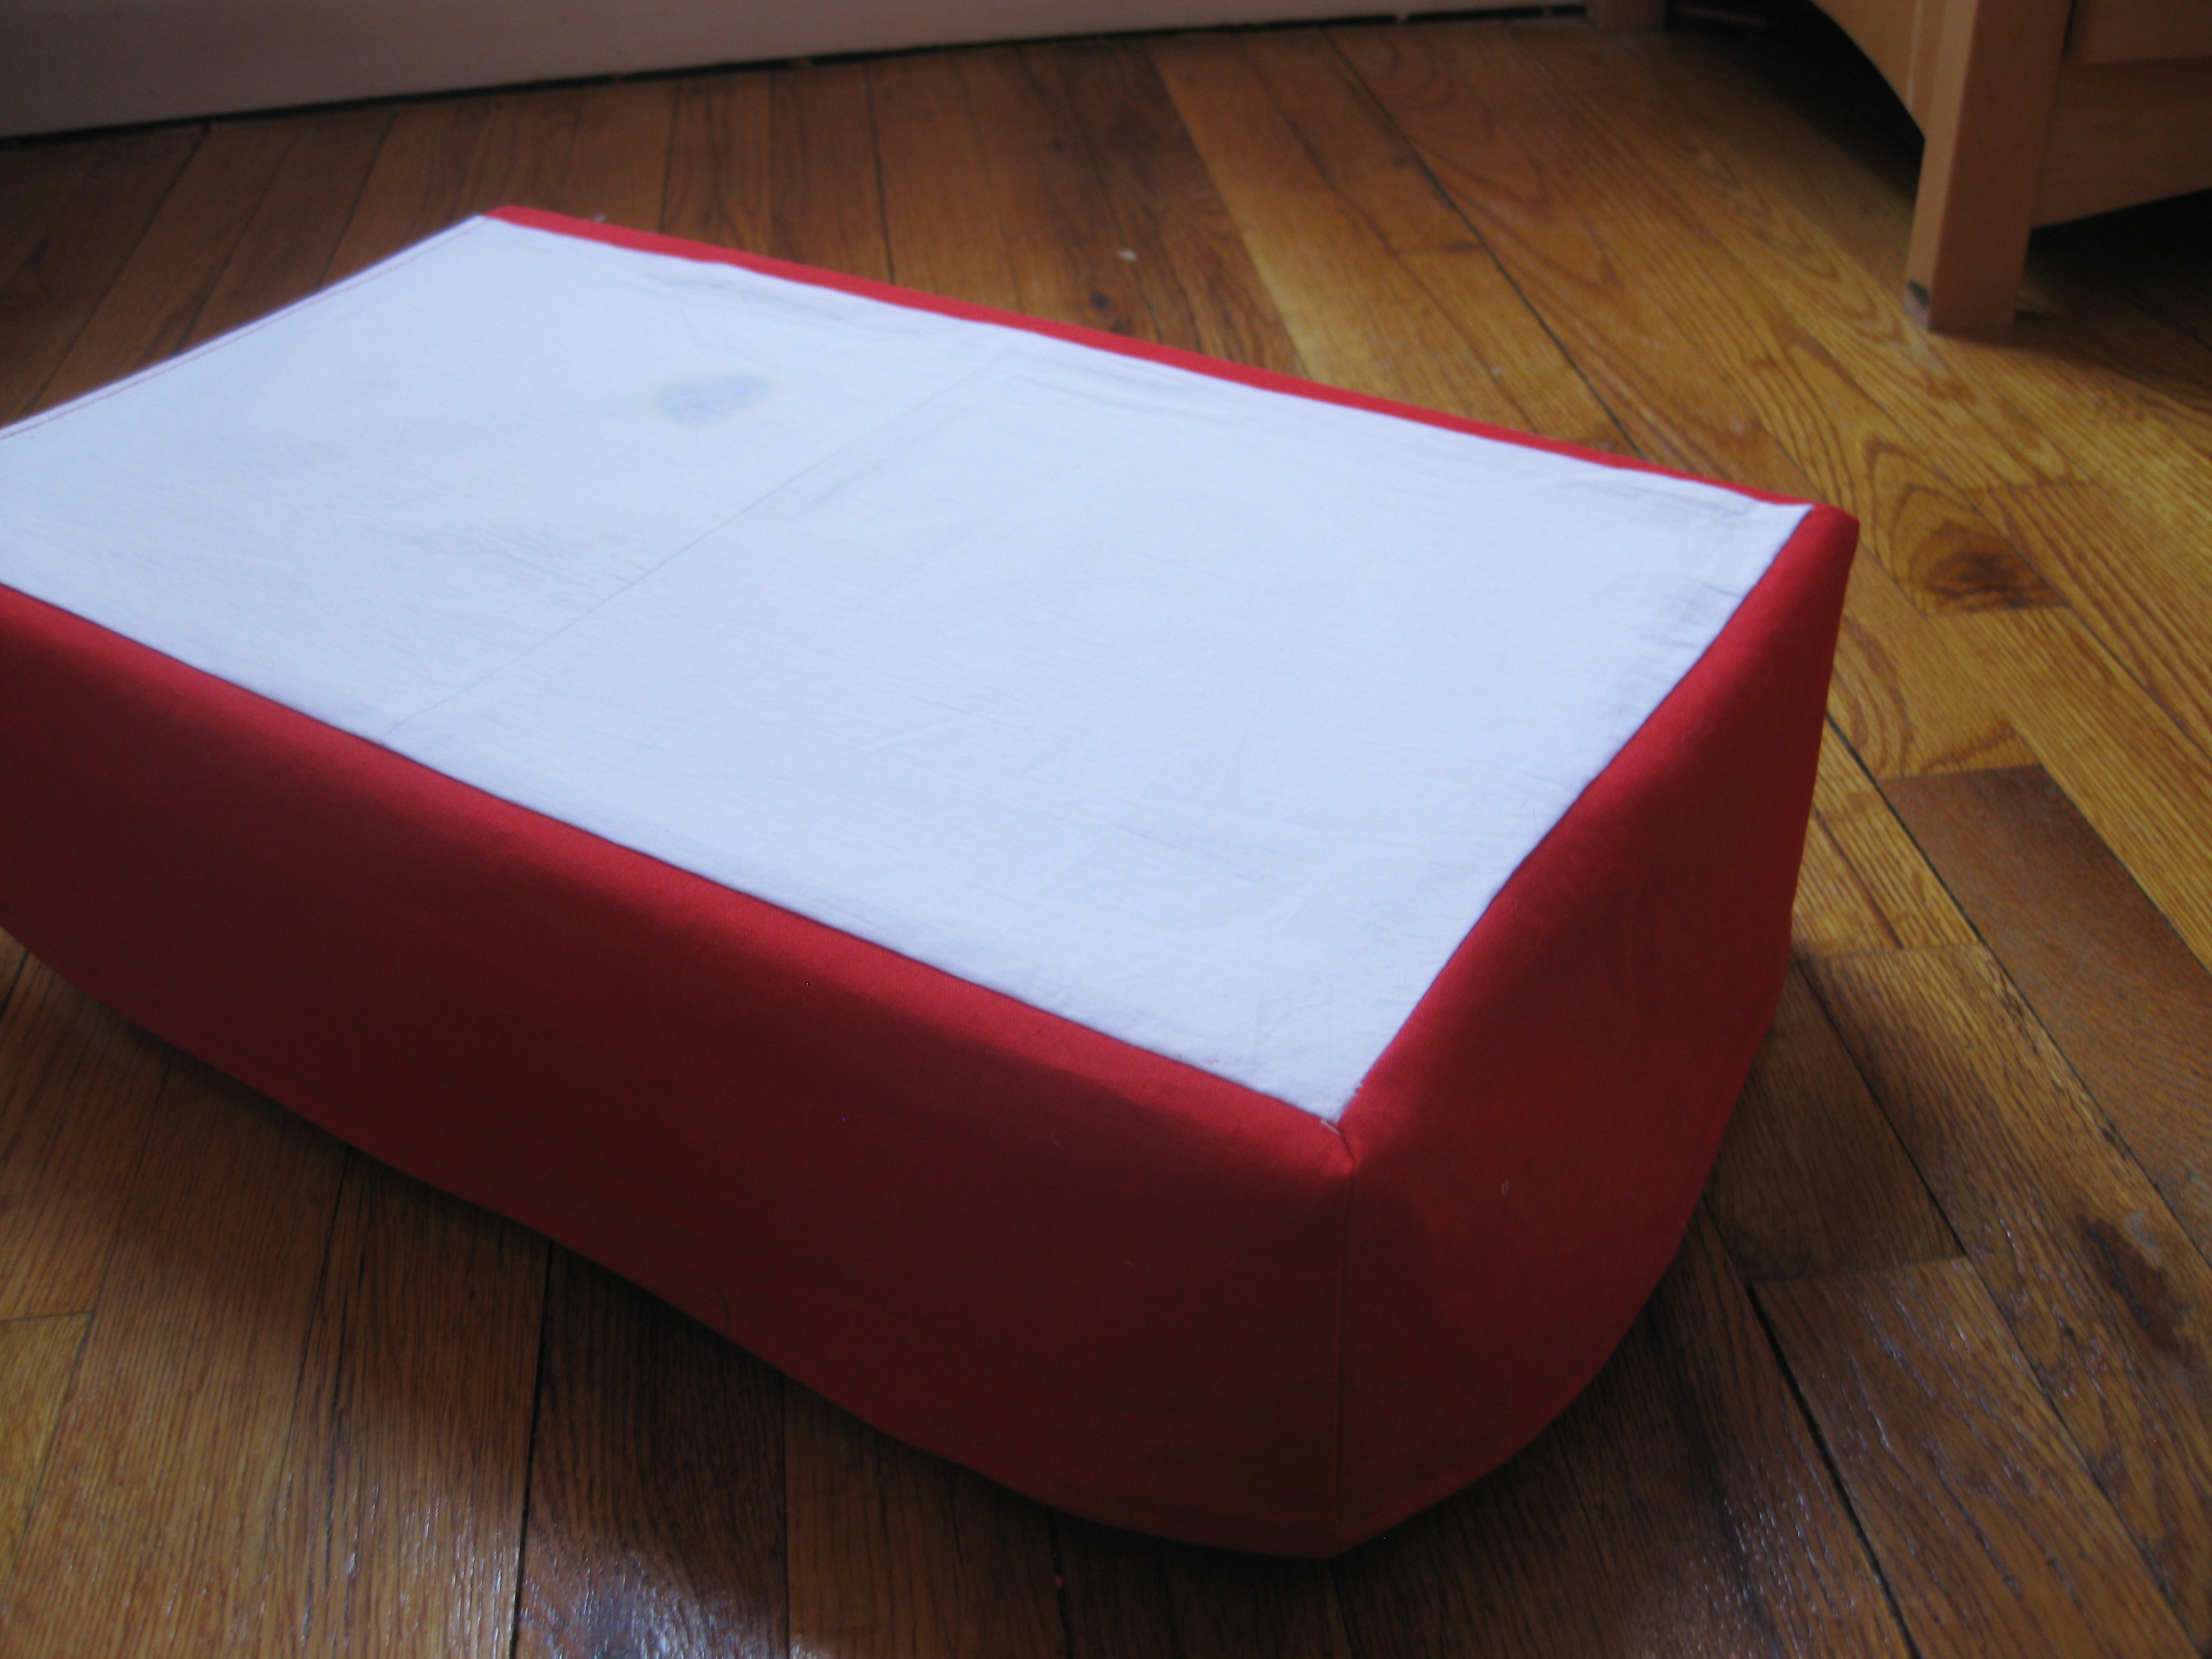
 My daughter got a new American Girl doll for Christmas, so a new bed was needed for the dormitory. A free weekend, a sturdy box, and some left over fabric, and Eve soon had a cozy bed of her own. We started with box from a new pair of boots, and added some foam-core board to the top to make it the right length. (Bonus: the bed opens up to store dolls’ shoes, socks, accessories, and a few musical instruments.)
 My daughter chose the fabrics she wanted to use from my scrap box. To make the bed skirt, I attached three panels of red cotton/linen to a rectangle of muslin in a simple box shape. I made a mattress out of plain white cotton with cotton batting. Same for the pillow, but I tore up the batting to make it more fluffy. Then, my daughter, who was given an embroidery kit from my granny, embroidered the pillow case–all by herself!


