May 5 is Japanese Children’s Day, a holiday during which Japanese families celebrate the health and well-being of their children. As part of the celebration, families fly carp wind socks, or koinobori, outside of their homes. Koi are a symbol of power, energy, and determination. This is my miniature version. Instead of fluttering in the wind, my koinobori display will sit on the kitchen table.
What you need:
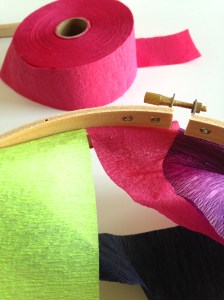
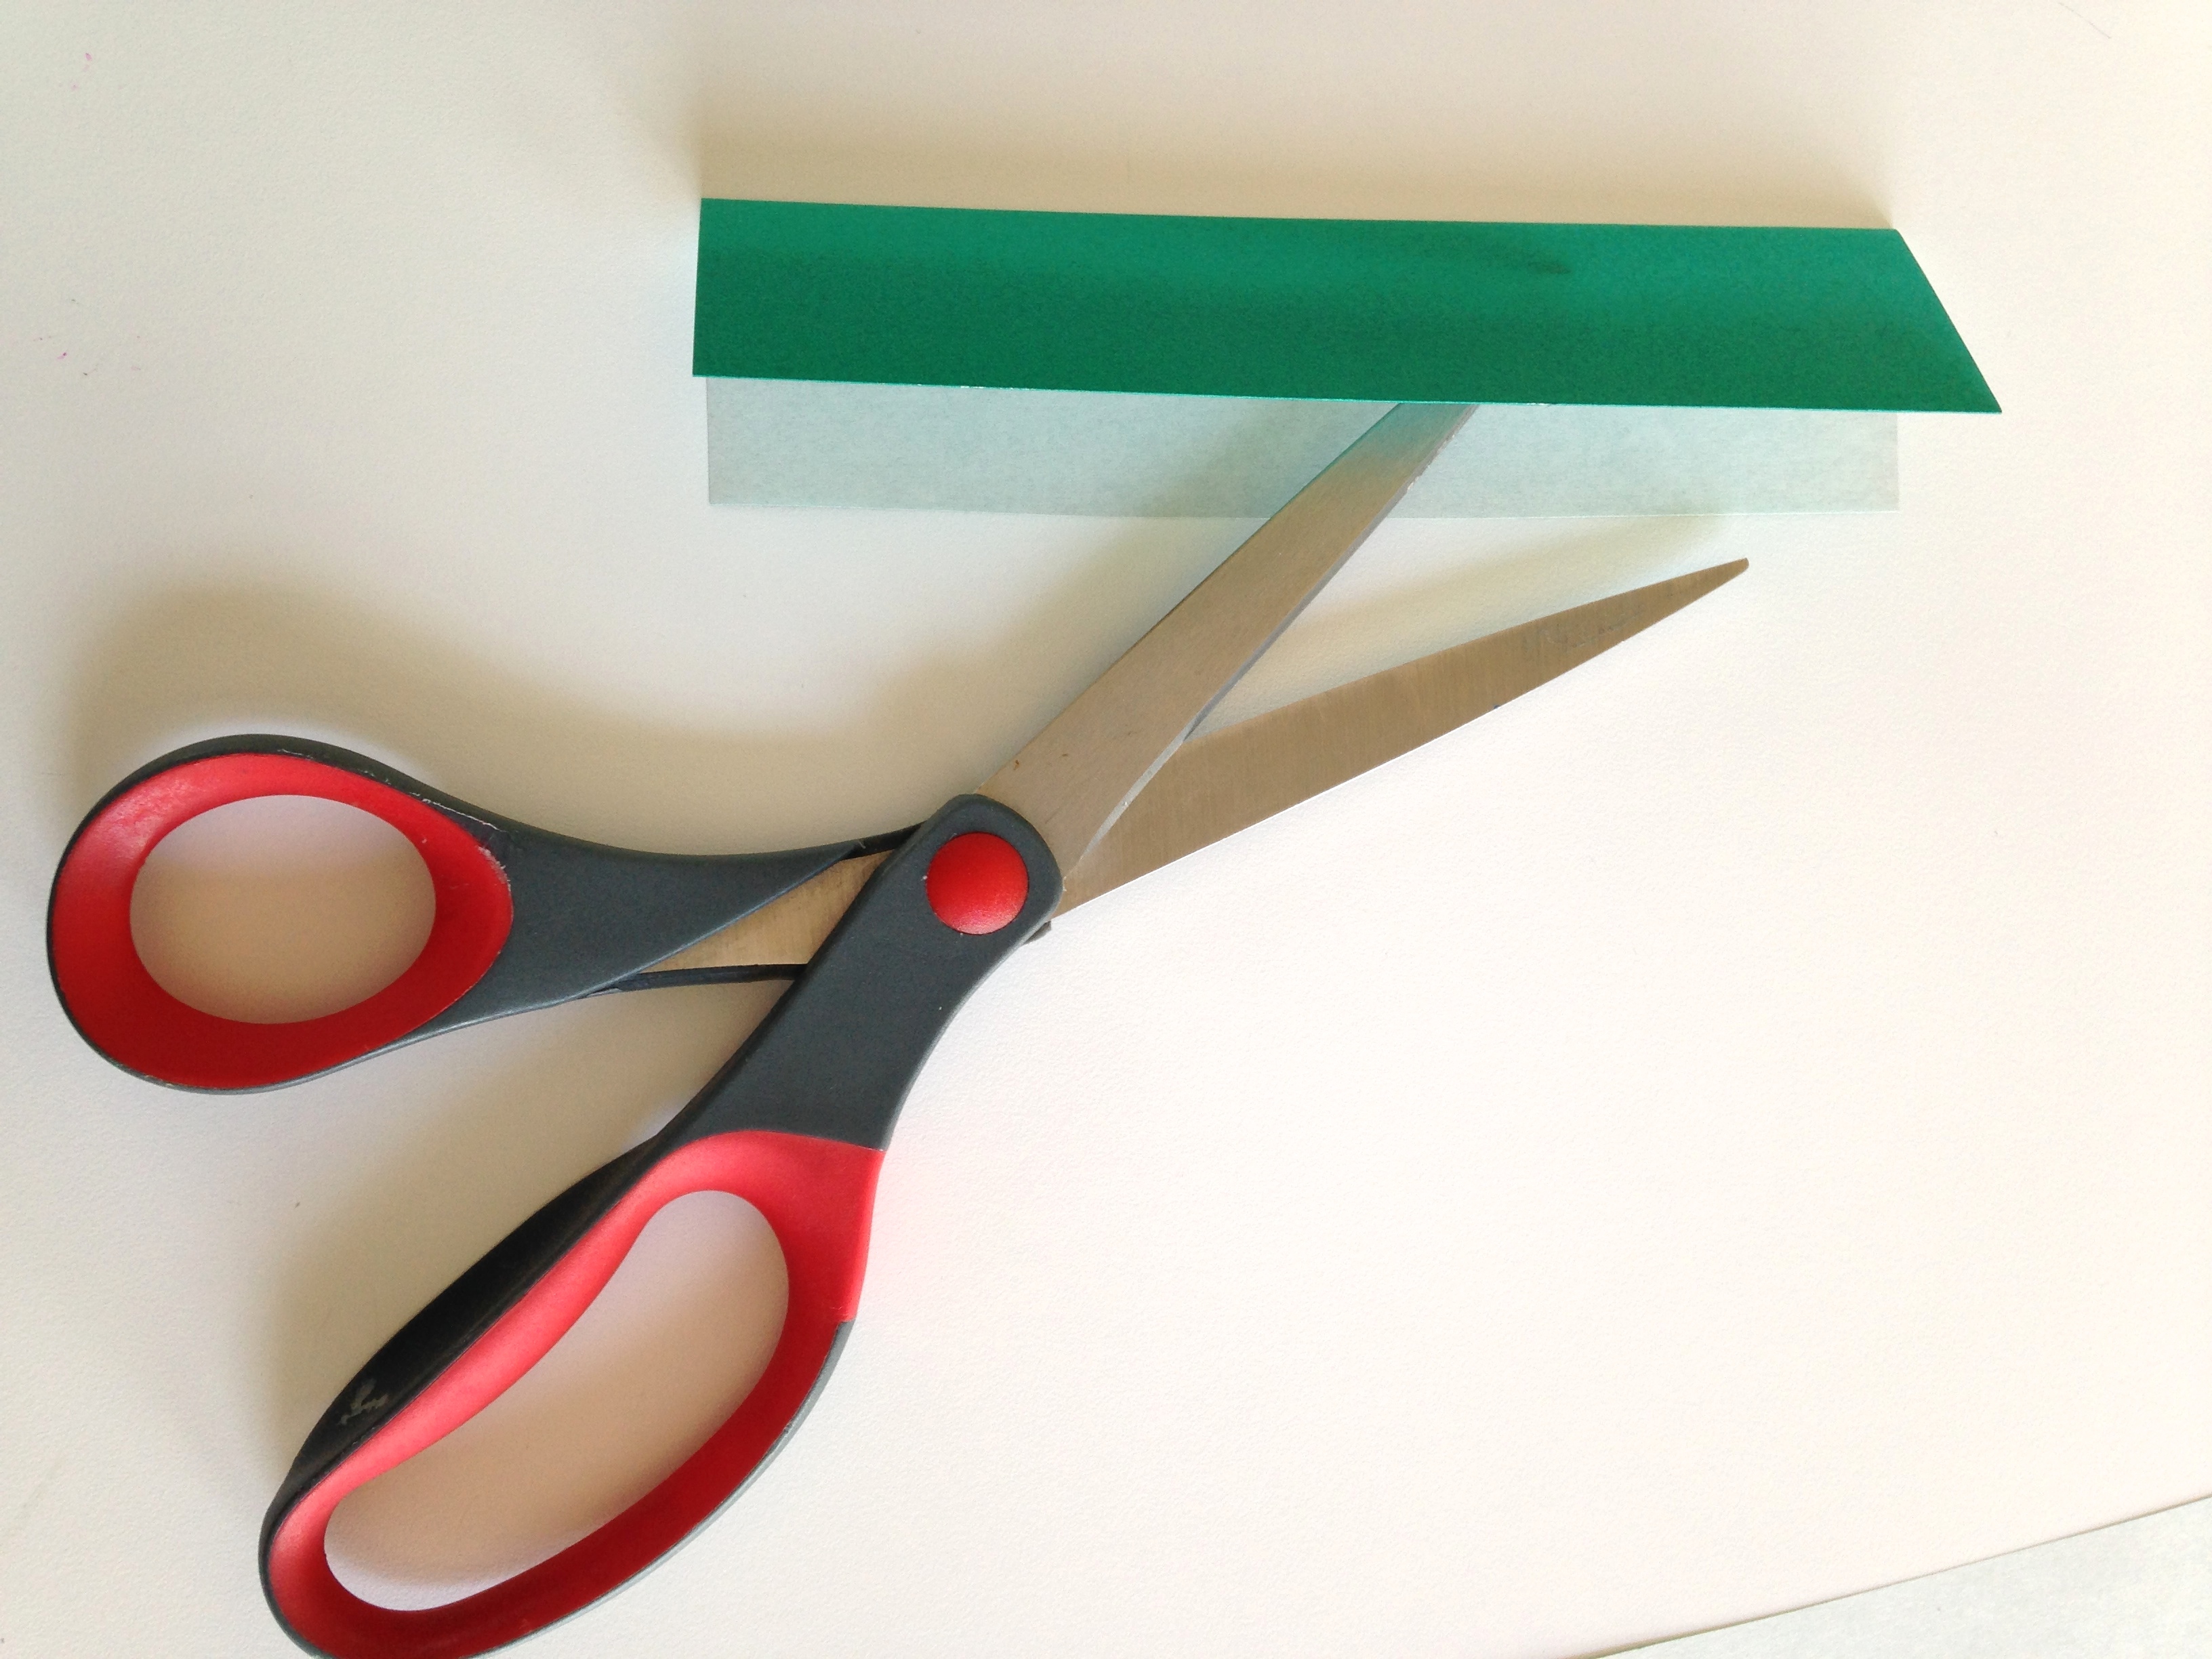
scissors, glue stick, origami paper, googly eyes, wood stick, spools (or something to serve as a base for your koinobori pole)

Step 1
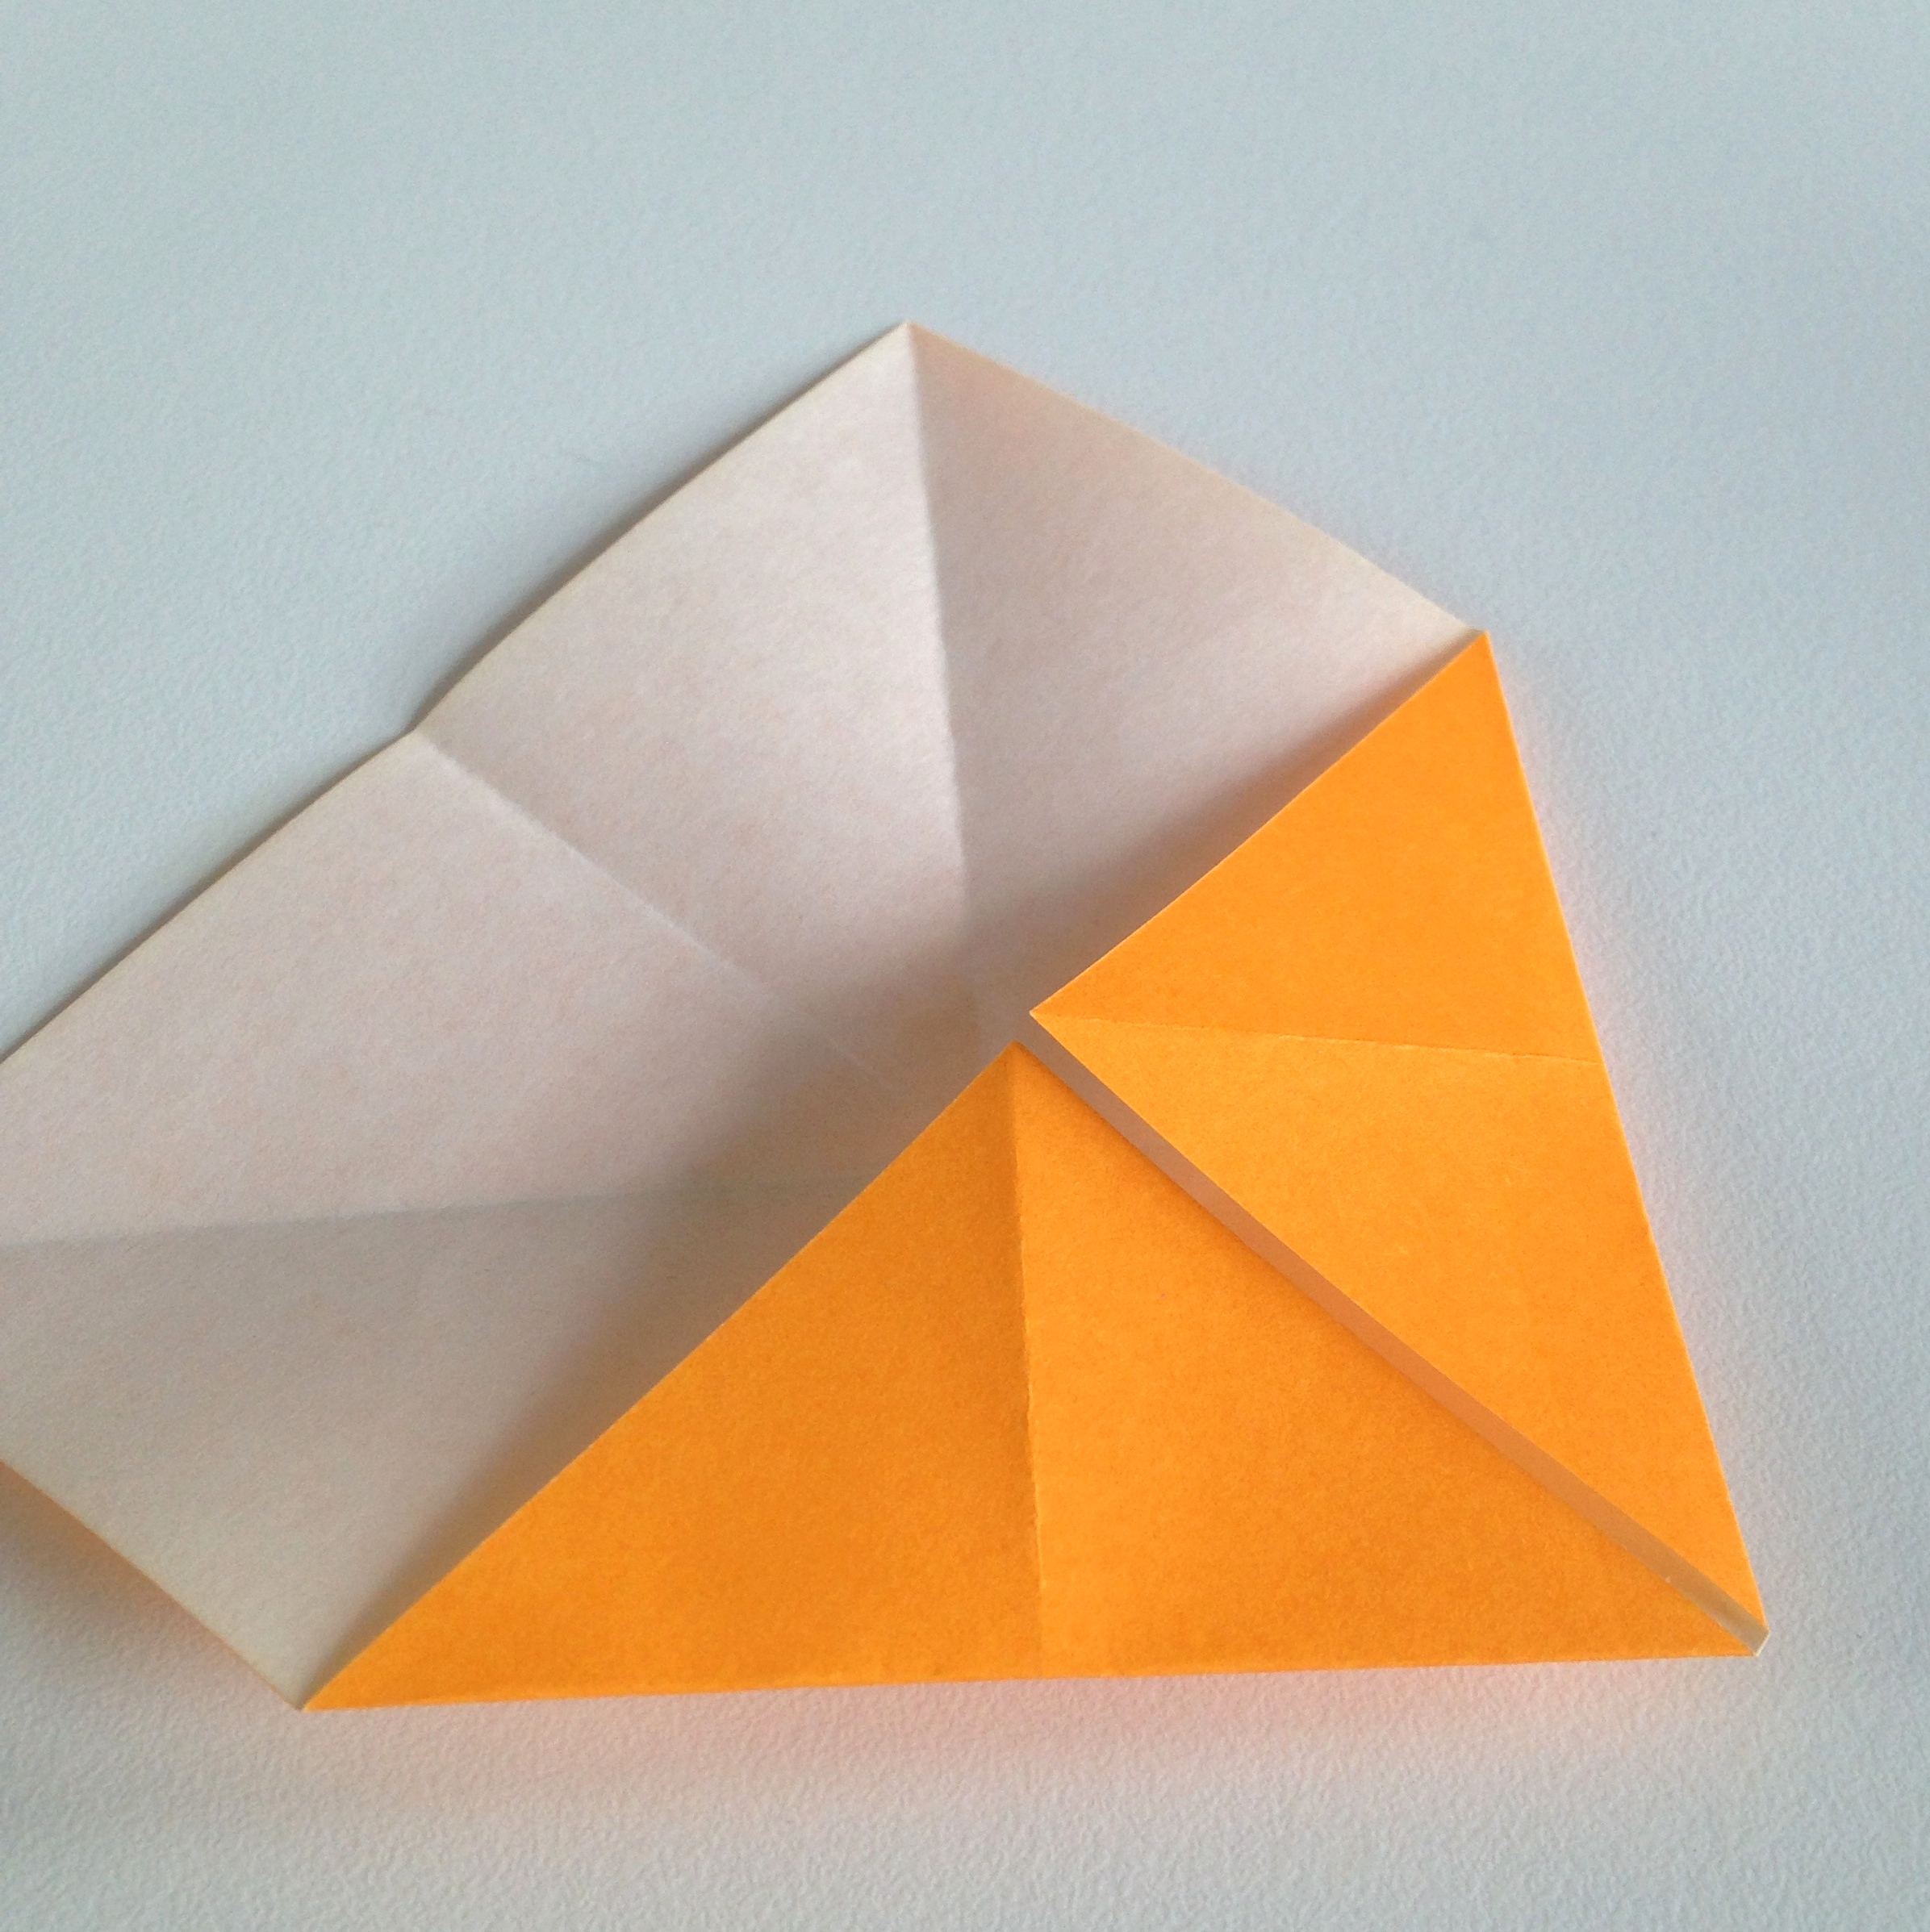
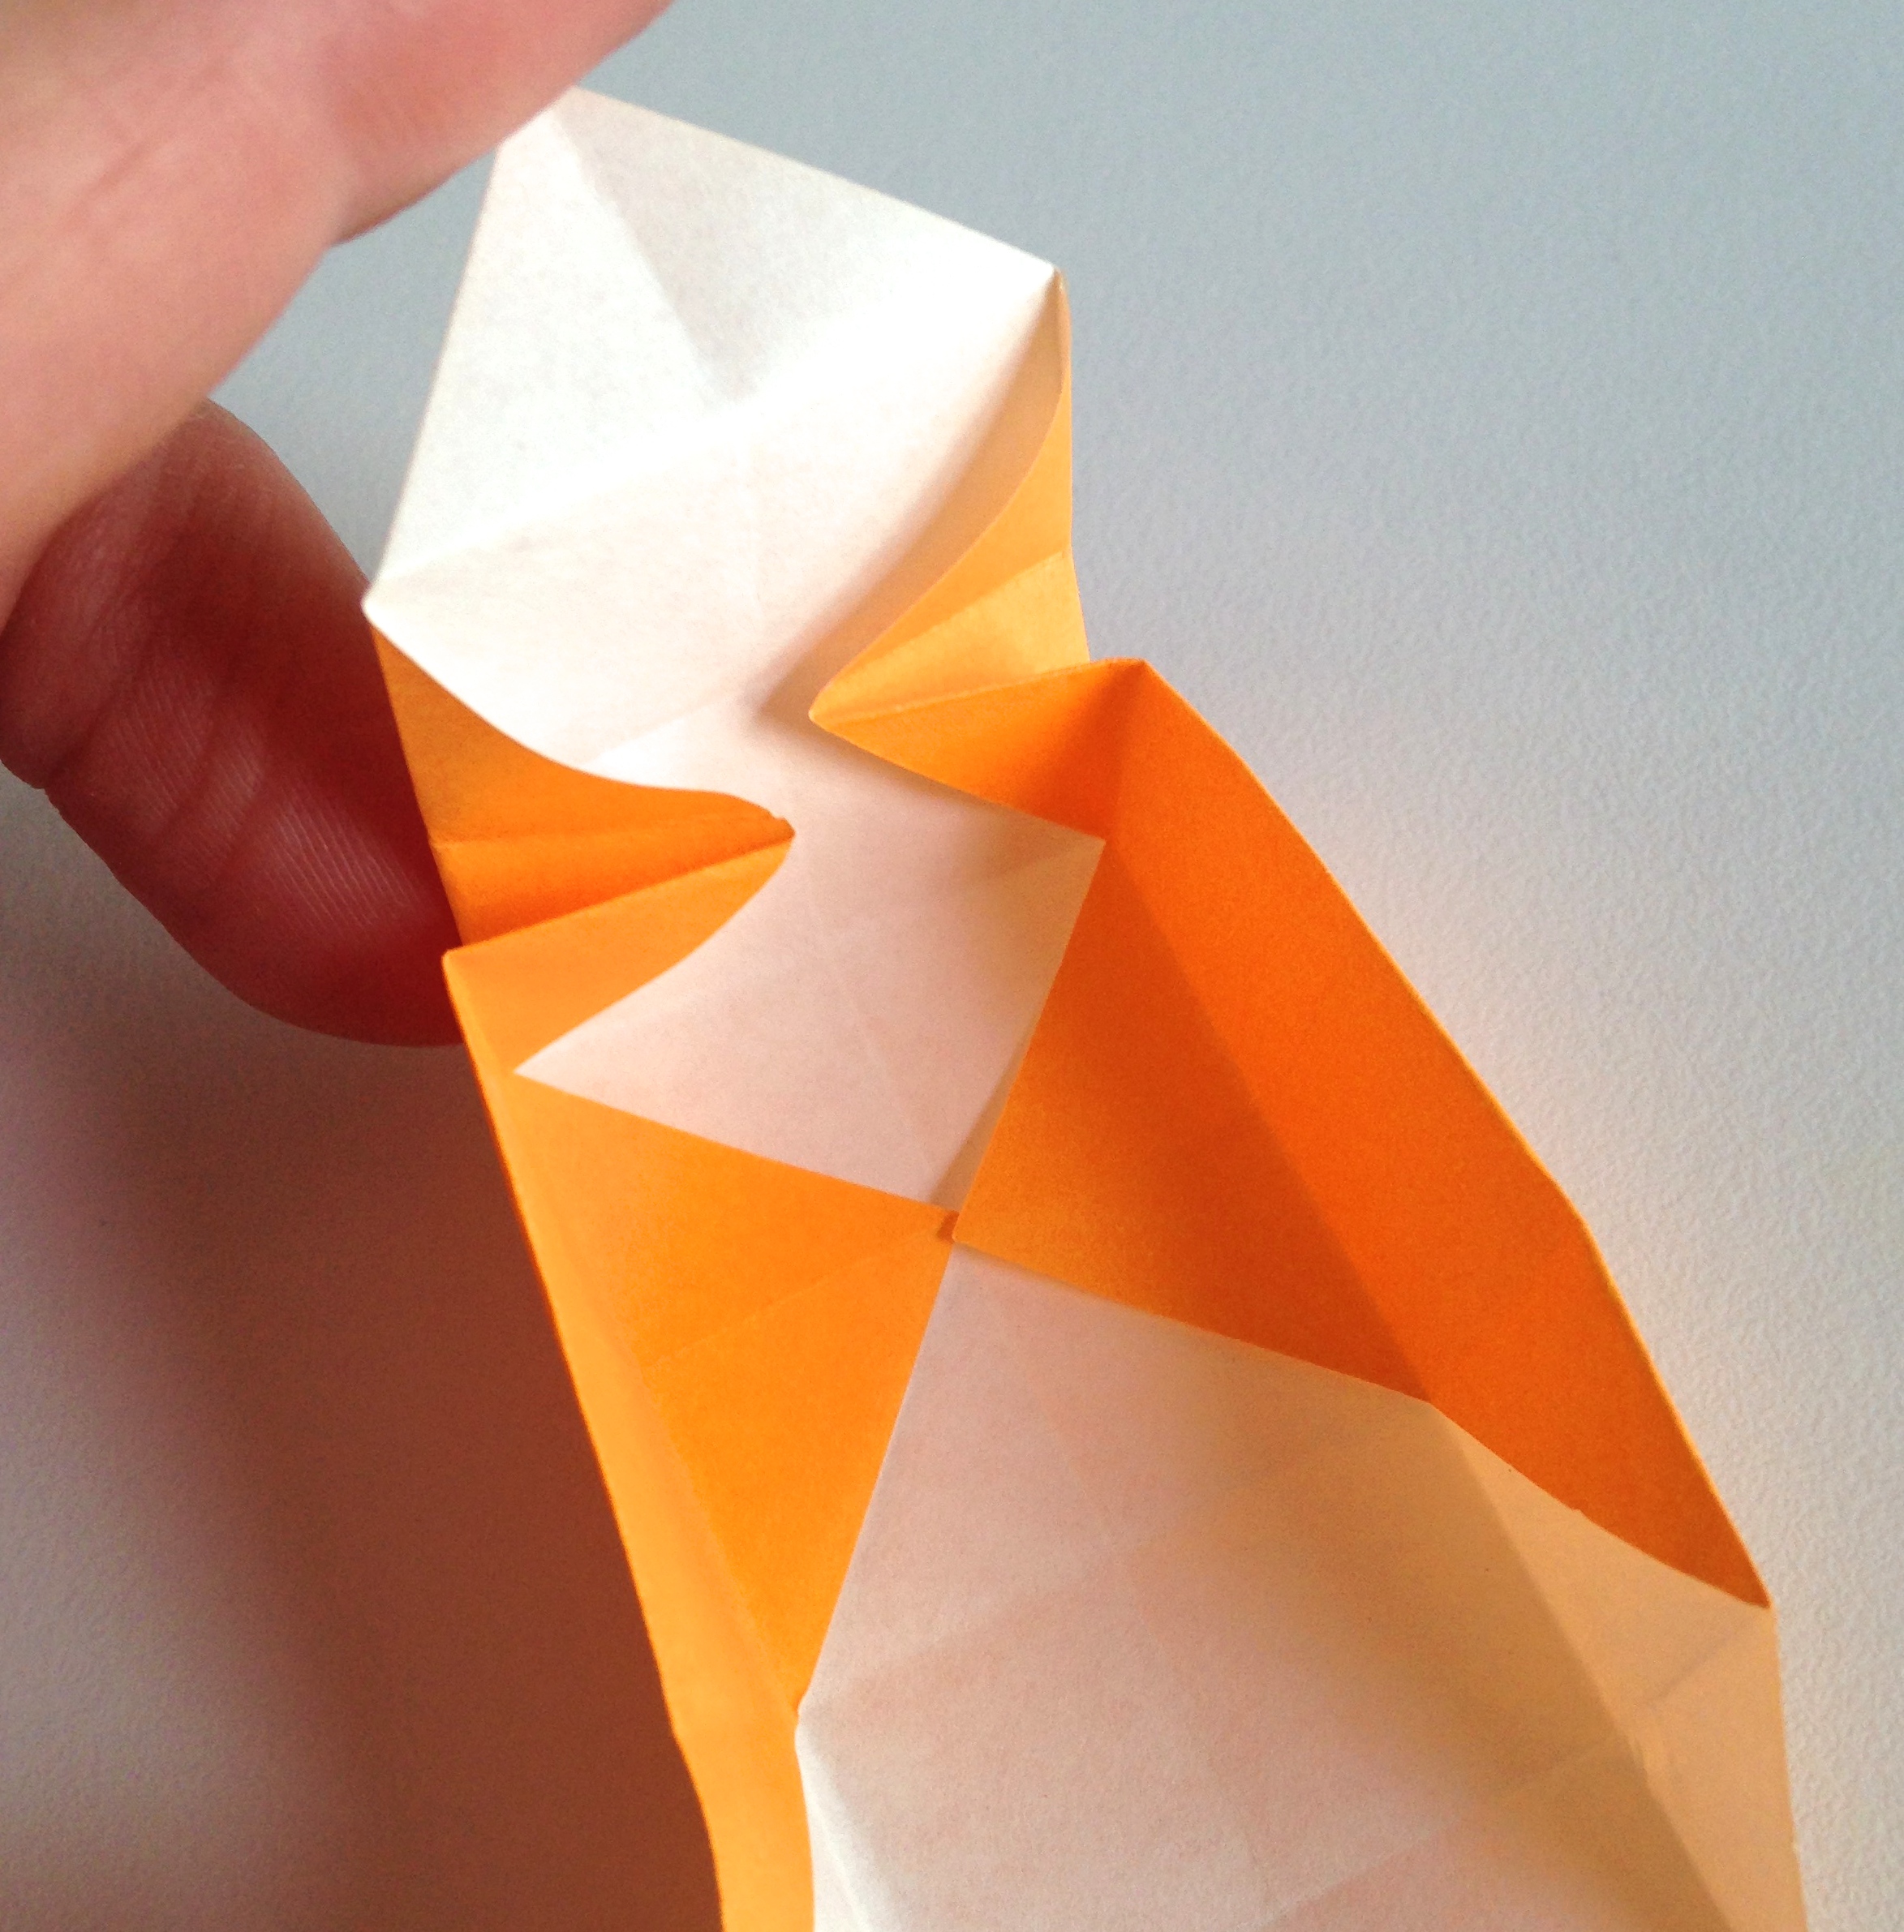
With the white side of your paper facing up, fold lengthwise about 1/2″–this fold will serve as an inside fold to be used to glue your koinobori together. Now fold lengthwise again–about 1 1/4″ for larger fish; for smaller carp, about 1″. (Larger koinobori represent the parents in the family; the smaller koinobori represent the children, descending from oldest to youngest.)

Step 2
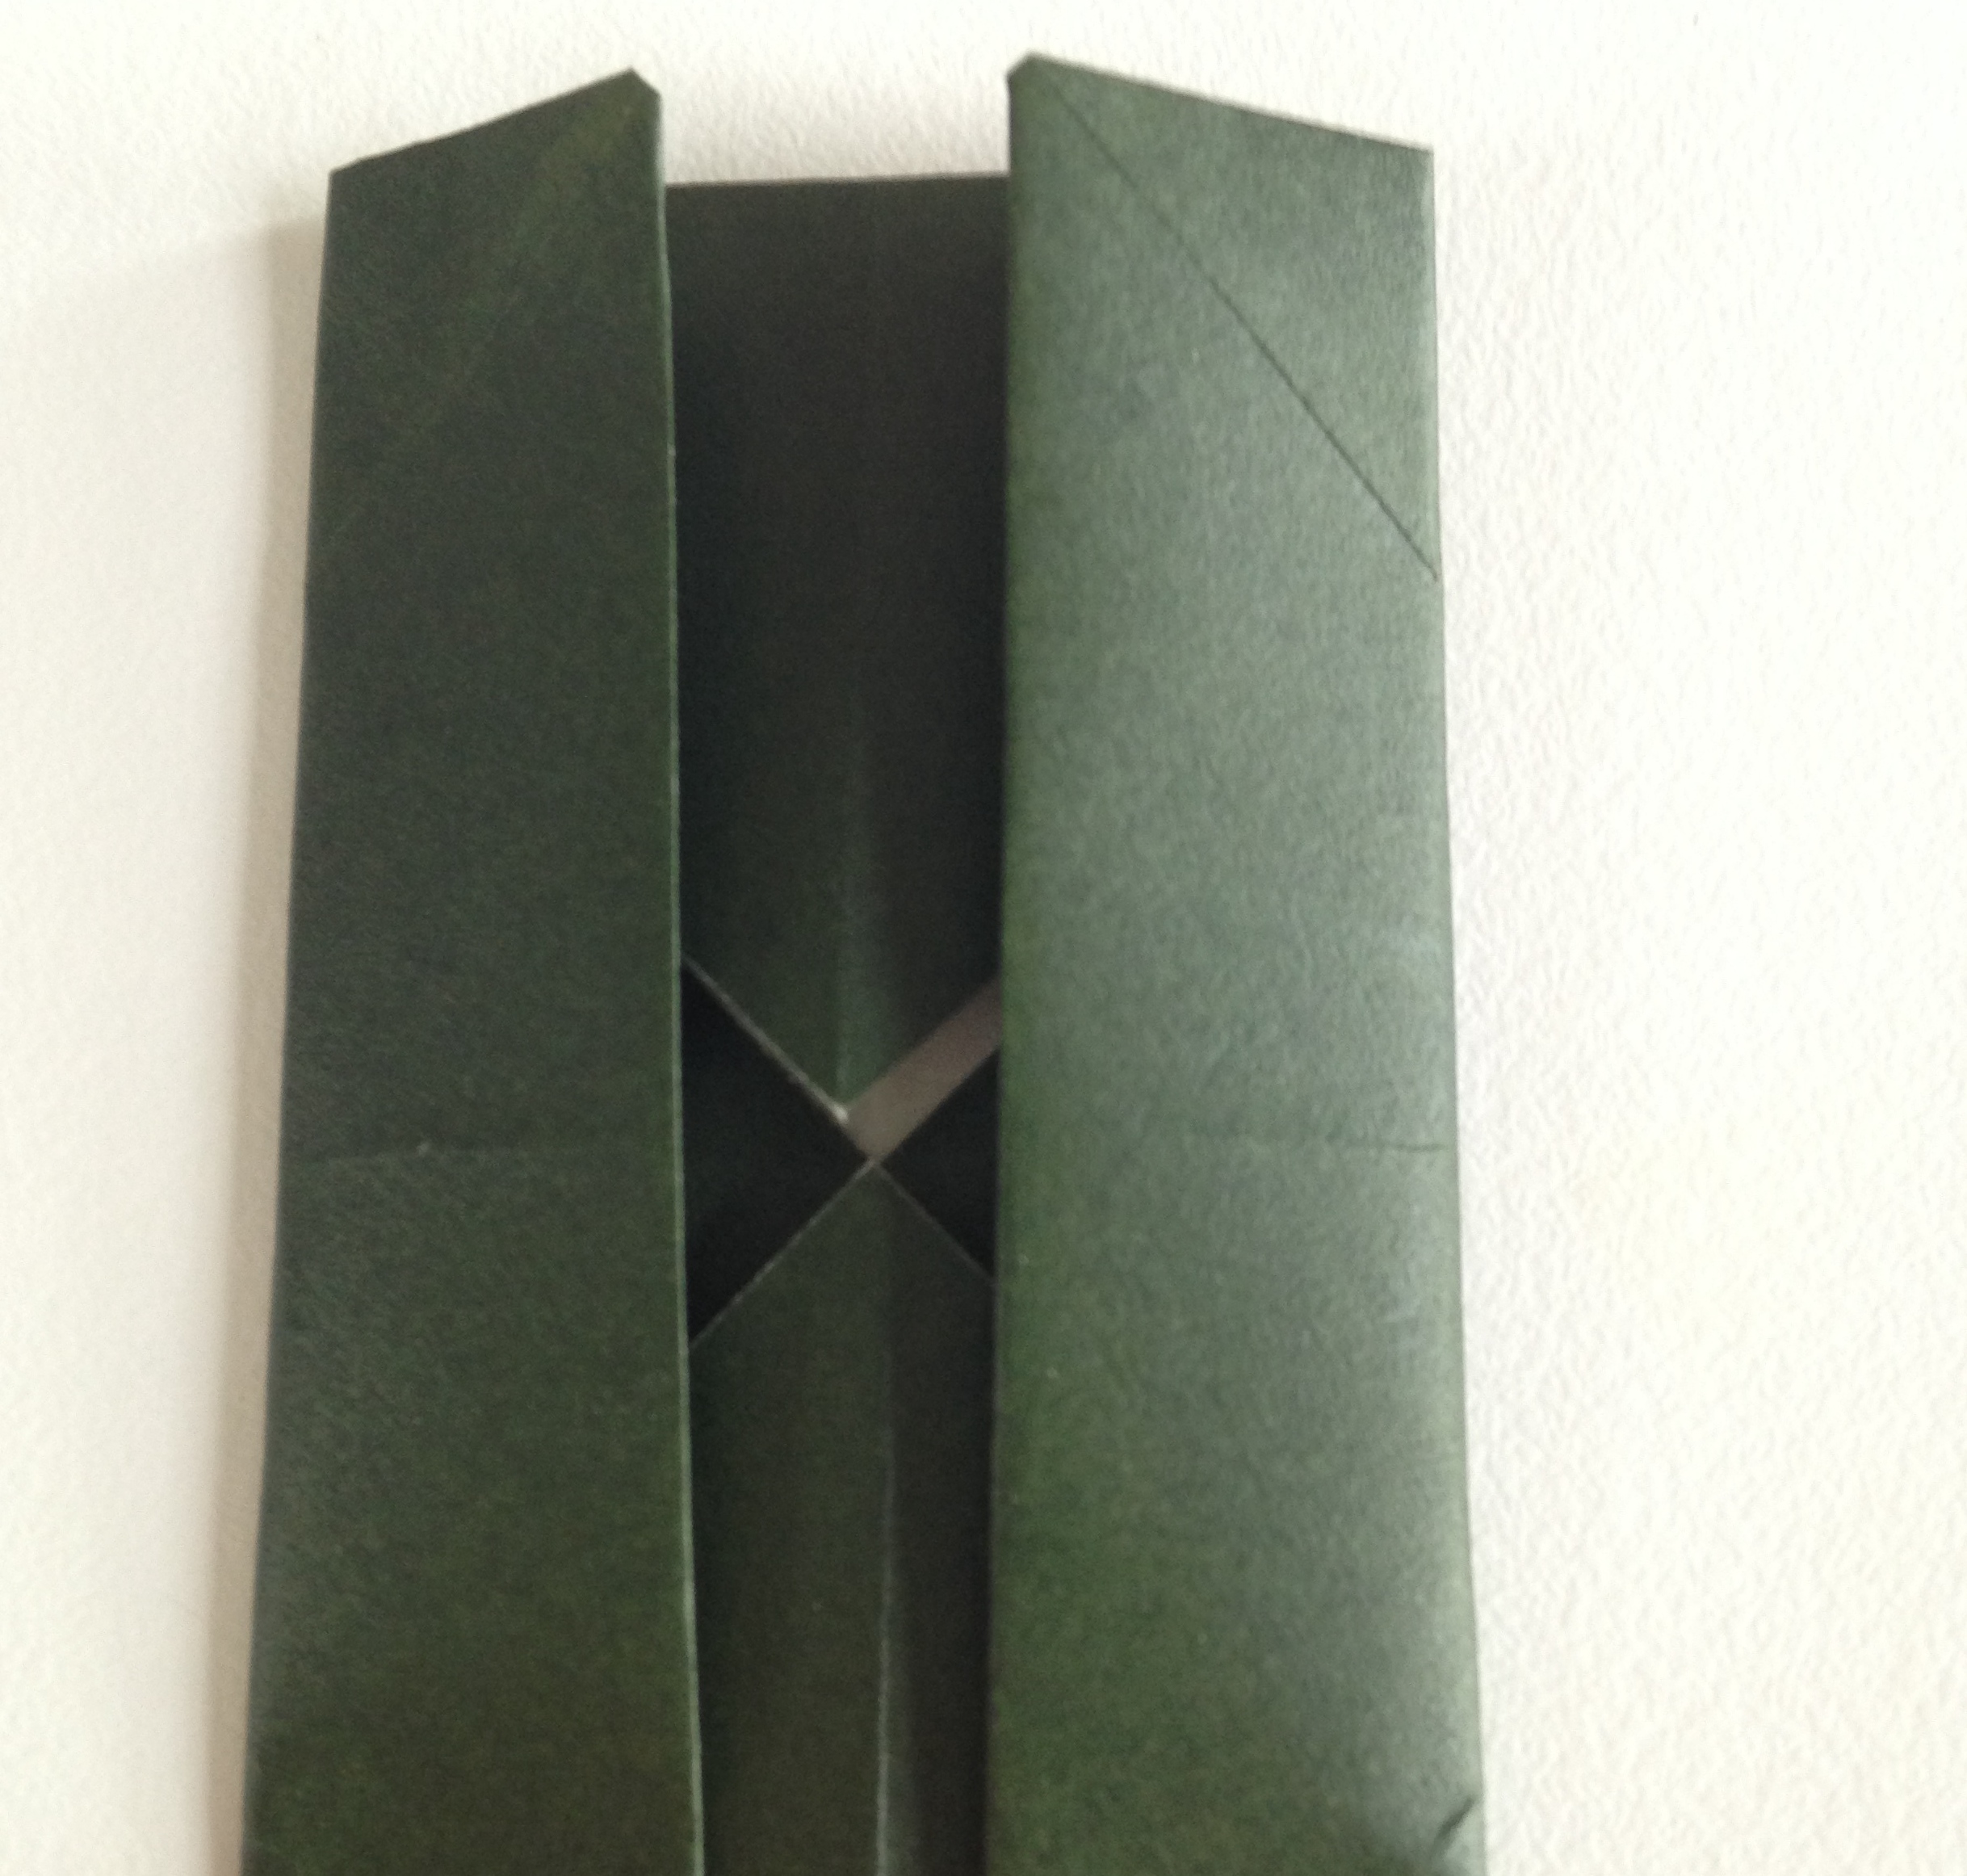
With paper folded, draw a pencil line at the edge of the fold. This will be a guide for trimming off excess paper. You should now have a rectangular sandwich with one 1/2″ inside fold.
Step 3
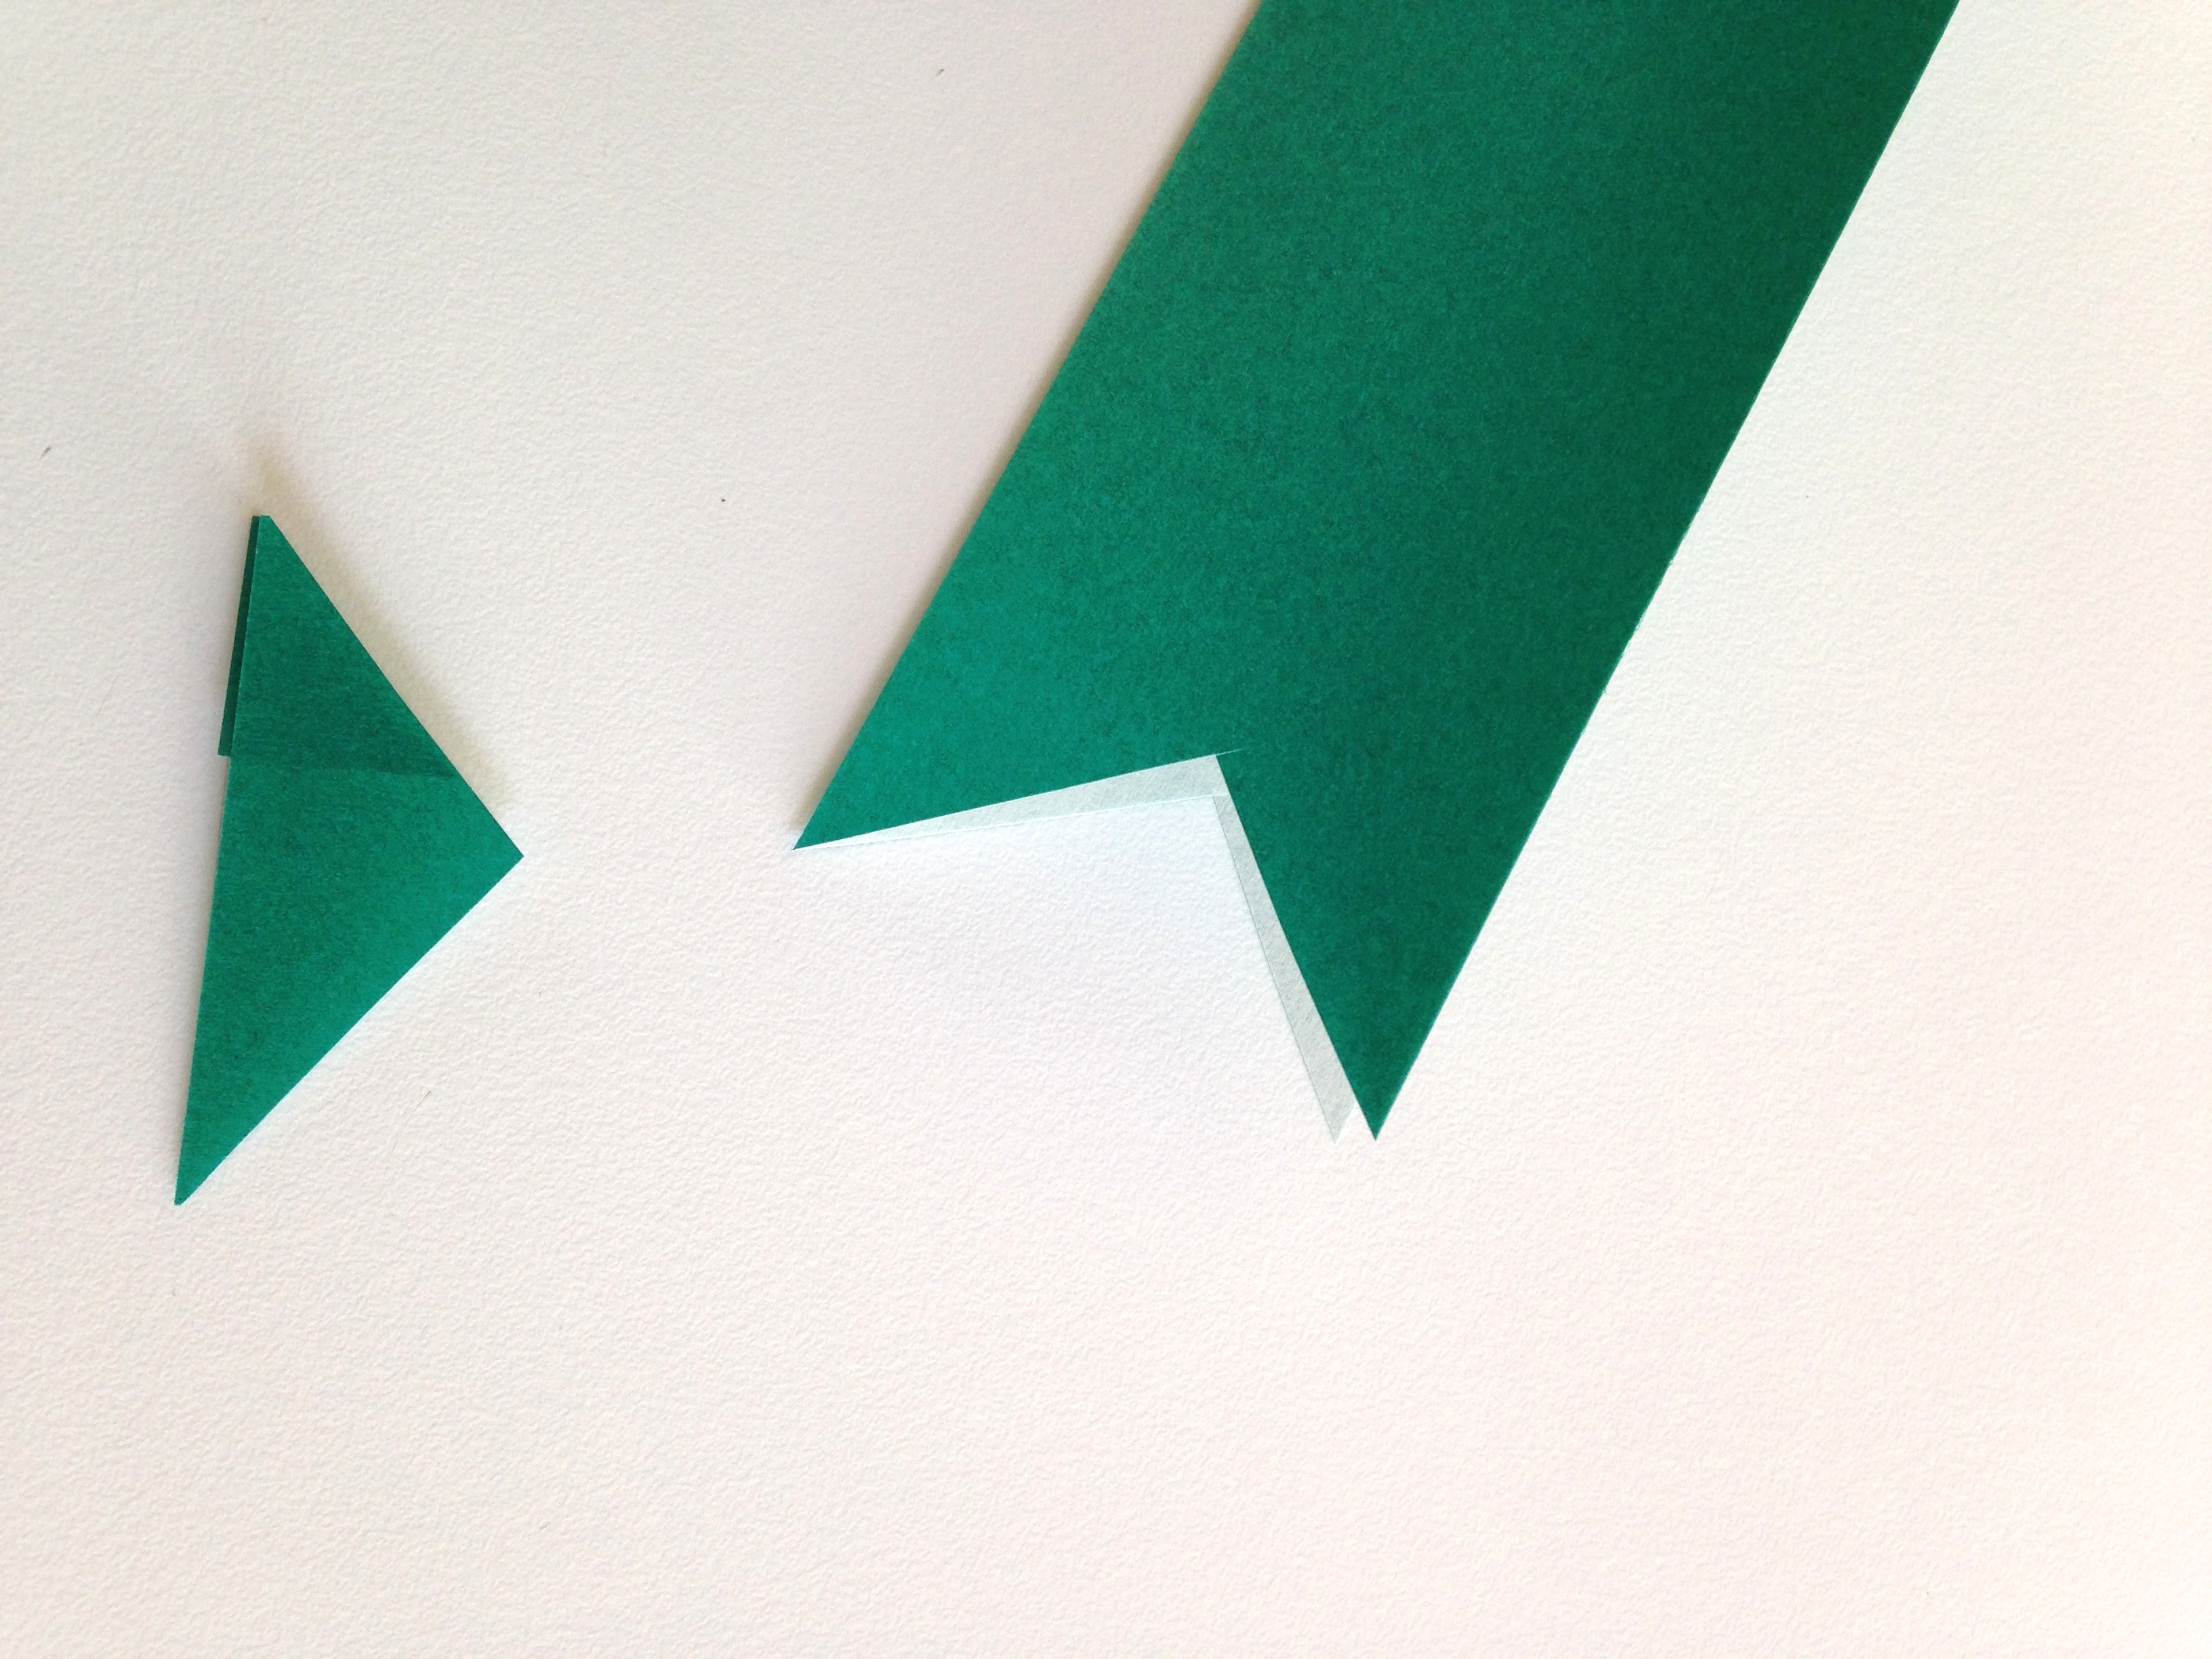
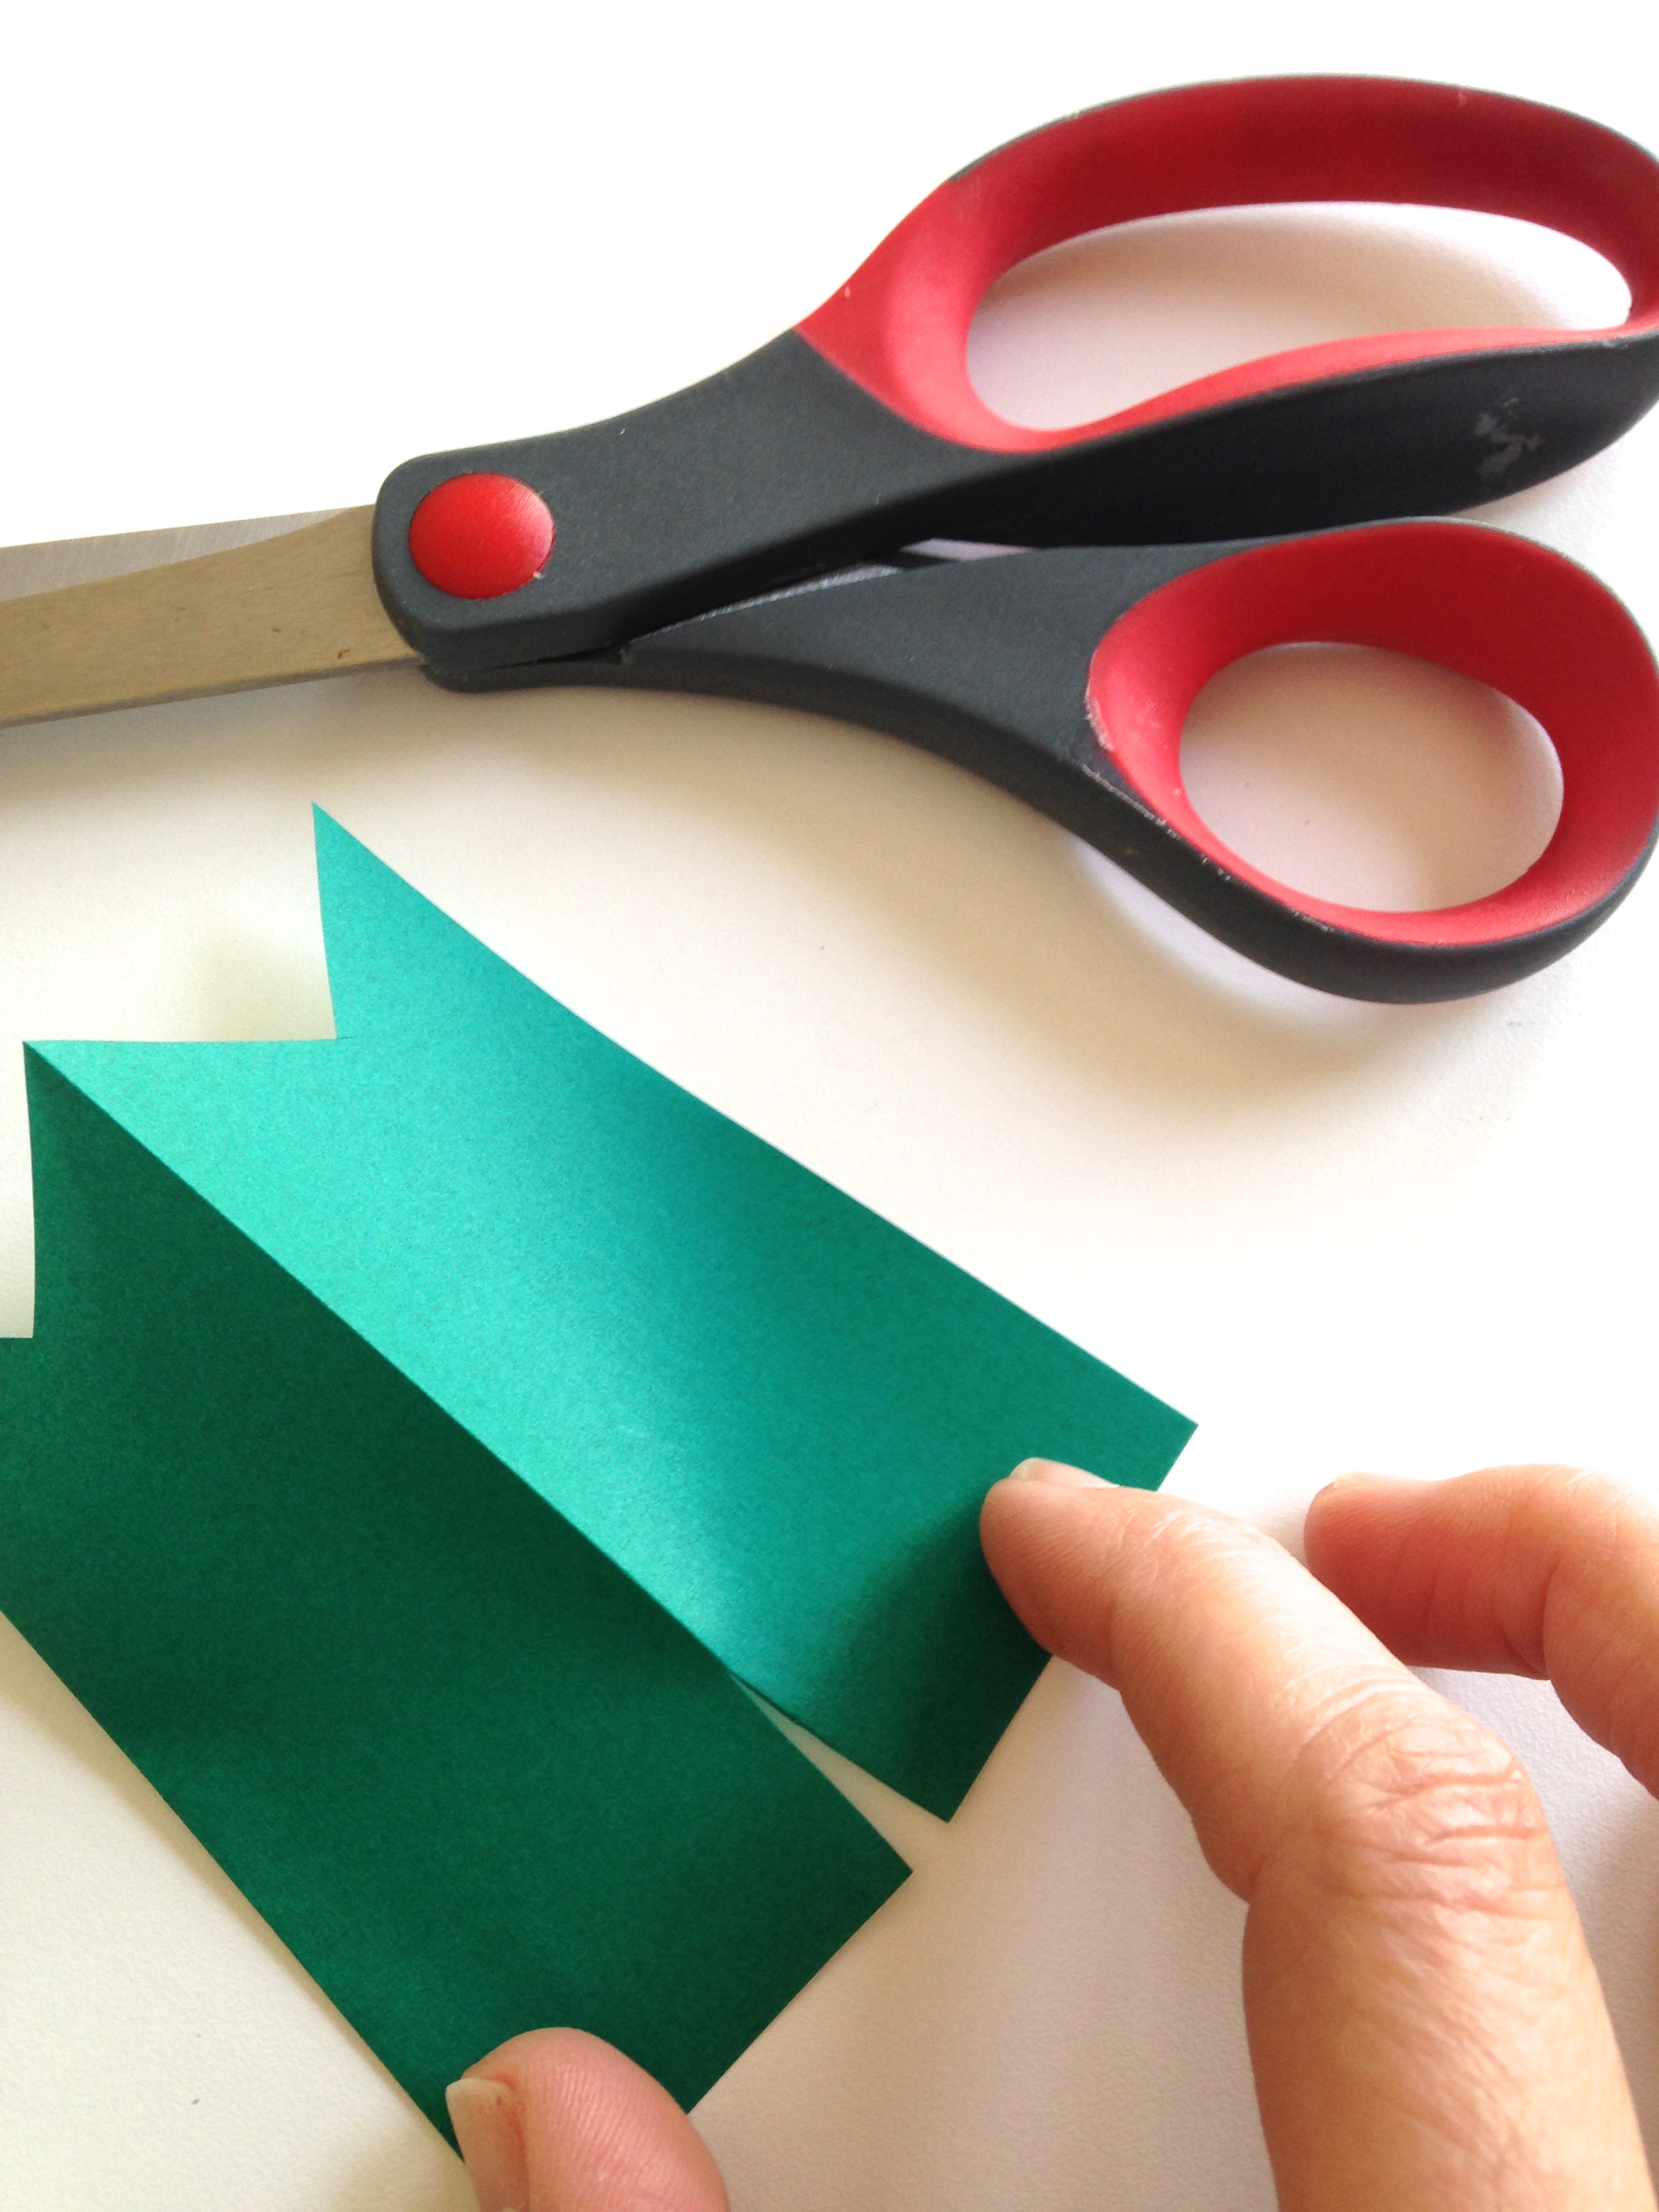
Trim triangle shape from one end of your folded rectangle to make the carp’s tail; then trim your rectangle to a length that suits you. I made larger carp about 3 1/2″ long; for smaller carp, I trimmed them at 2 3/4″.
Step 4
At the center fold, cut a 1/2″ or 3/4″ incision (at the opposite end as the carp’s tail). This will be where you fit your carp streamer to the pole (your wooden stick).
Step 5
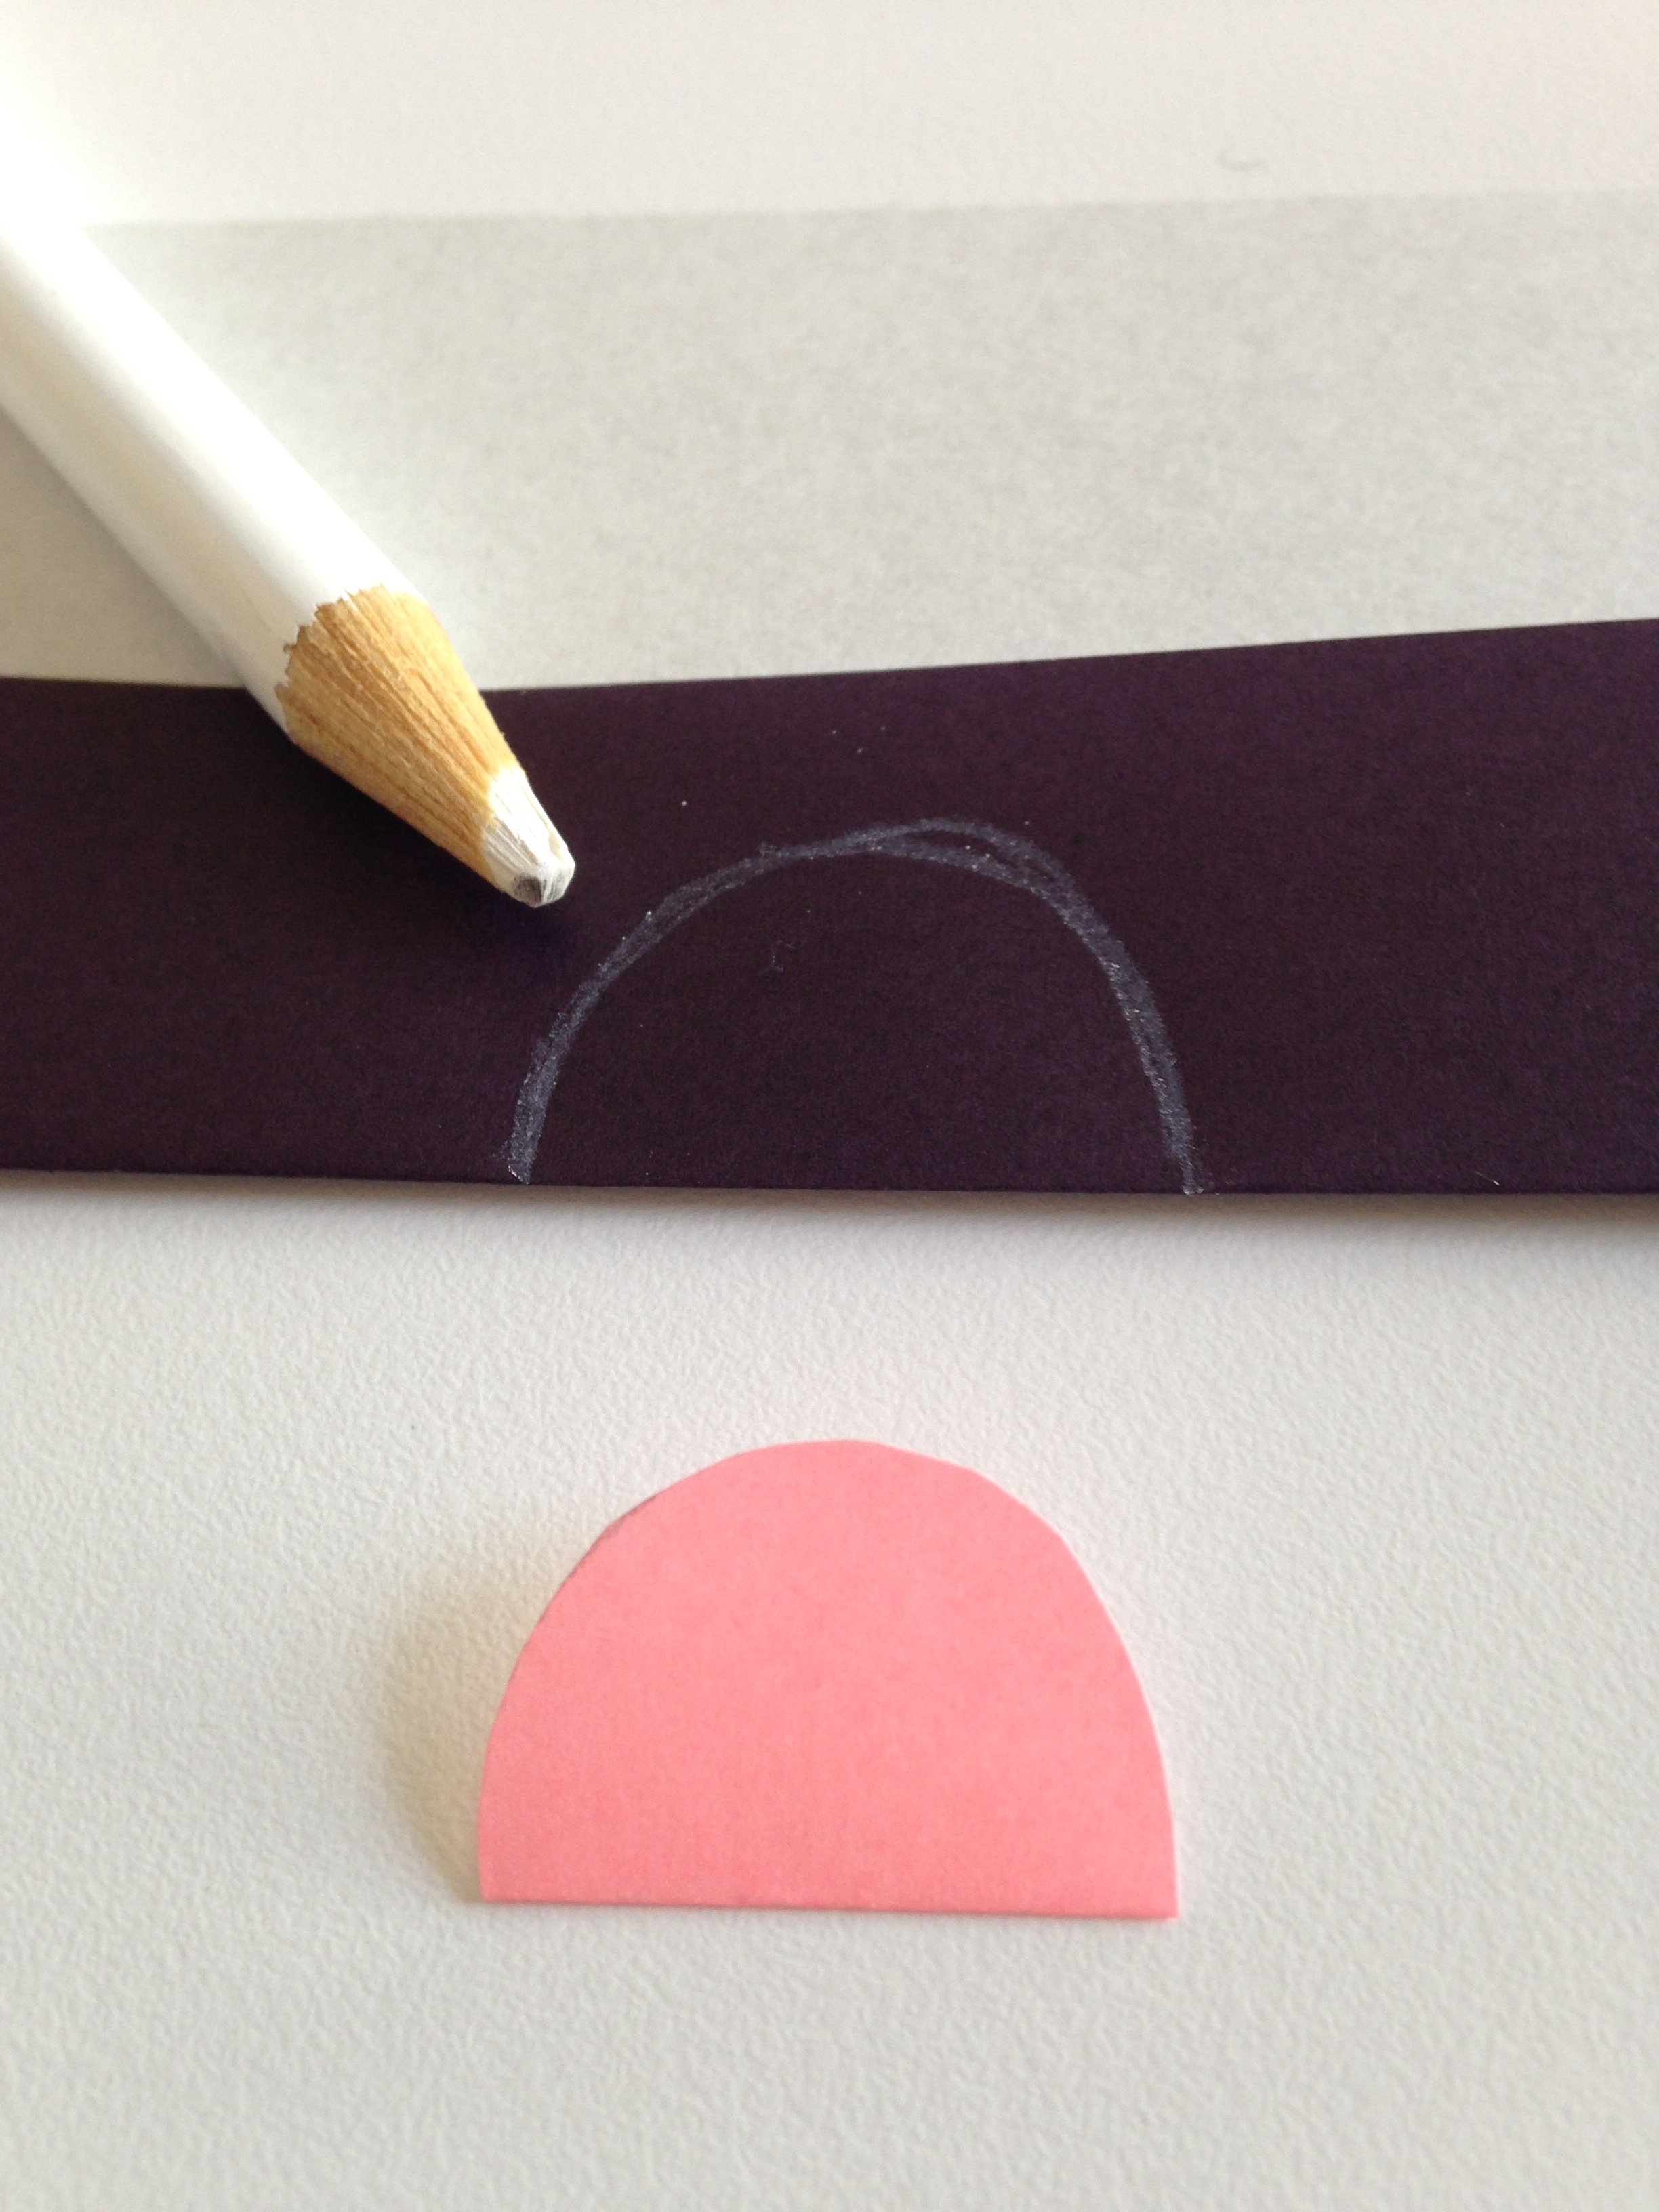
Time to make the fish scales. Fold a piece of origami paper (you can use the leftover paper from the koinobori you’ve already made). Trace a a half circle (I used a small spool). Cut out your fish scale and use it to trace and make more fish scales. Glue one side of your scale and adhere to your koinobori. I used two fish scales per carp.
Apply the googly eye!
Step 6
Apply glue stick around the incision at the center fold and along the inside fold. Position where you want the koi to go on the “pole.” Wrap the incision around the wood stick and press; then press together along the inside fold. One koinobori should be in place!

Once all of your koinobori have been glued in position, use modeling clay or a wooden spool to create a weighted base.