
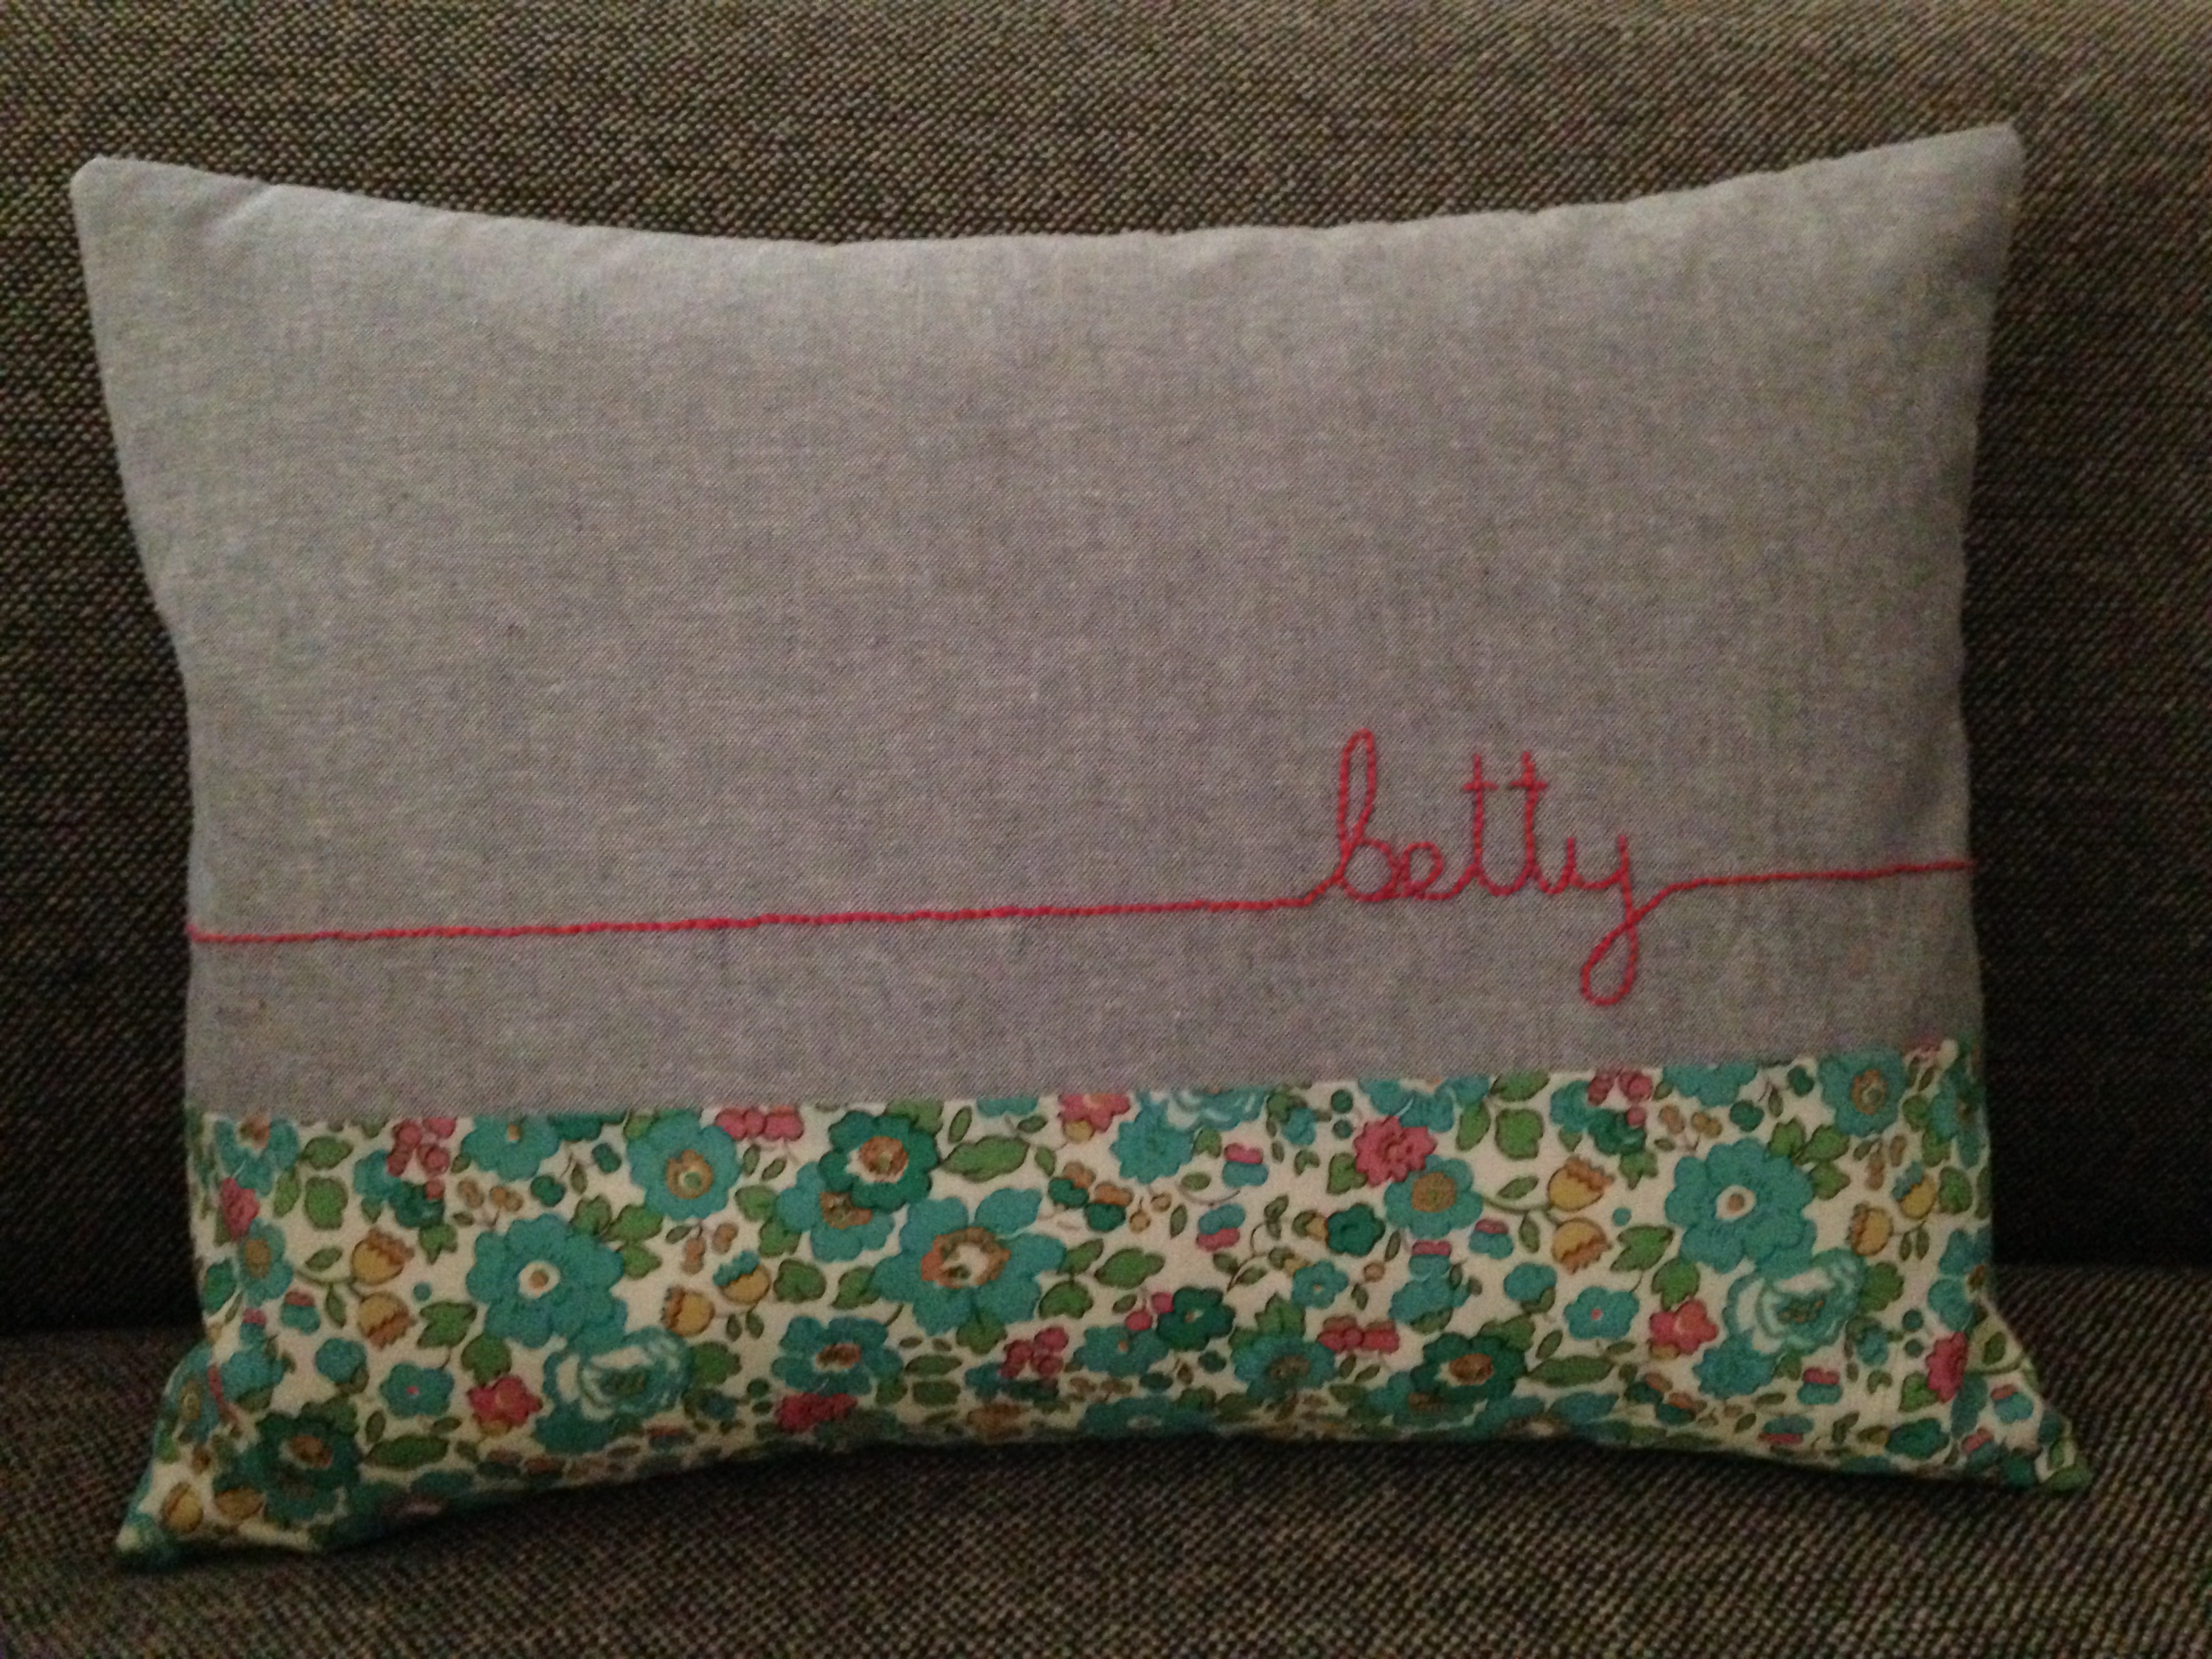
My daughter has a common/uncommon name and it’s a rare day when her name appears on any souvenirs worth bringing home. A Betty spoon rest is pretty easy to find, but anything an eleven-year-old would actually want not so much. So while she was away at camp (a.k.a. the greatest place on earth) I made her this little pillow for her newly designed bedroom. I followed the cottage magpie tutorial that I use for all my cushions. This pillow is a “small boudoir” (oh la la) size (12×16 “). Here are the steps to make your own namesake pillow.
Materials: About half a yard of main fabric (I used yarn dyed Essex) and a small piece of a printed fabric. About half a yard of unbleached muslin. Embroidery thread. Pillow insert. Fun button.
1. Front panel. Cut one piece of the printed fabric 17 x 5.5″ and one piece of your main fabric 17 x 8.5″. Sew the two pieces together along the long edge using a quarter inch seam. Press the seam toward your main fabric.
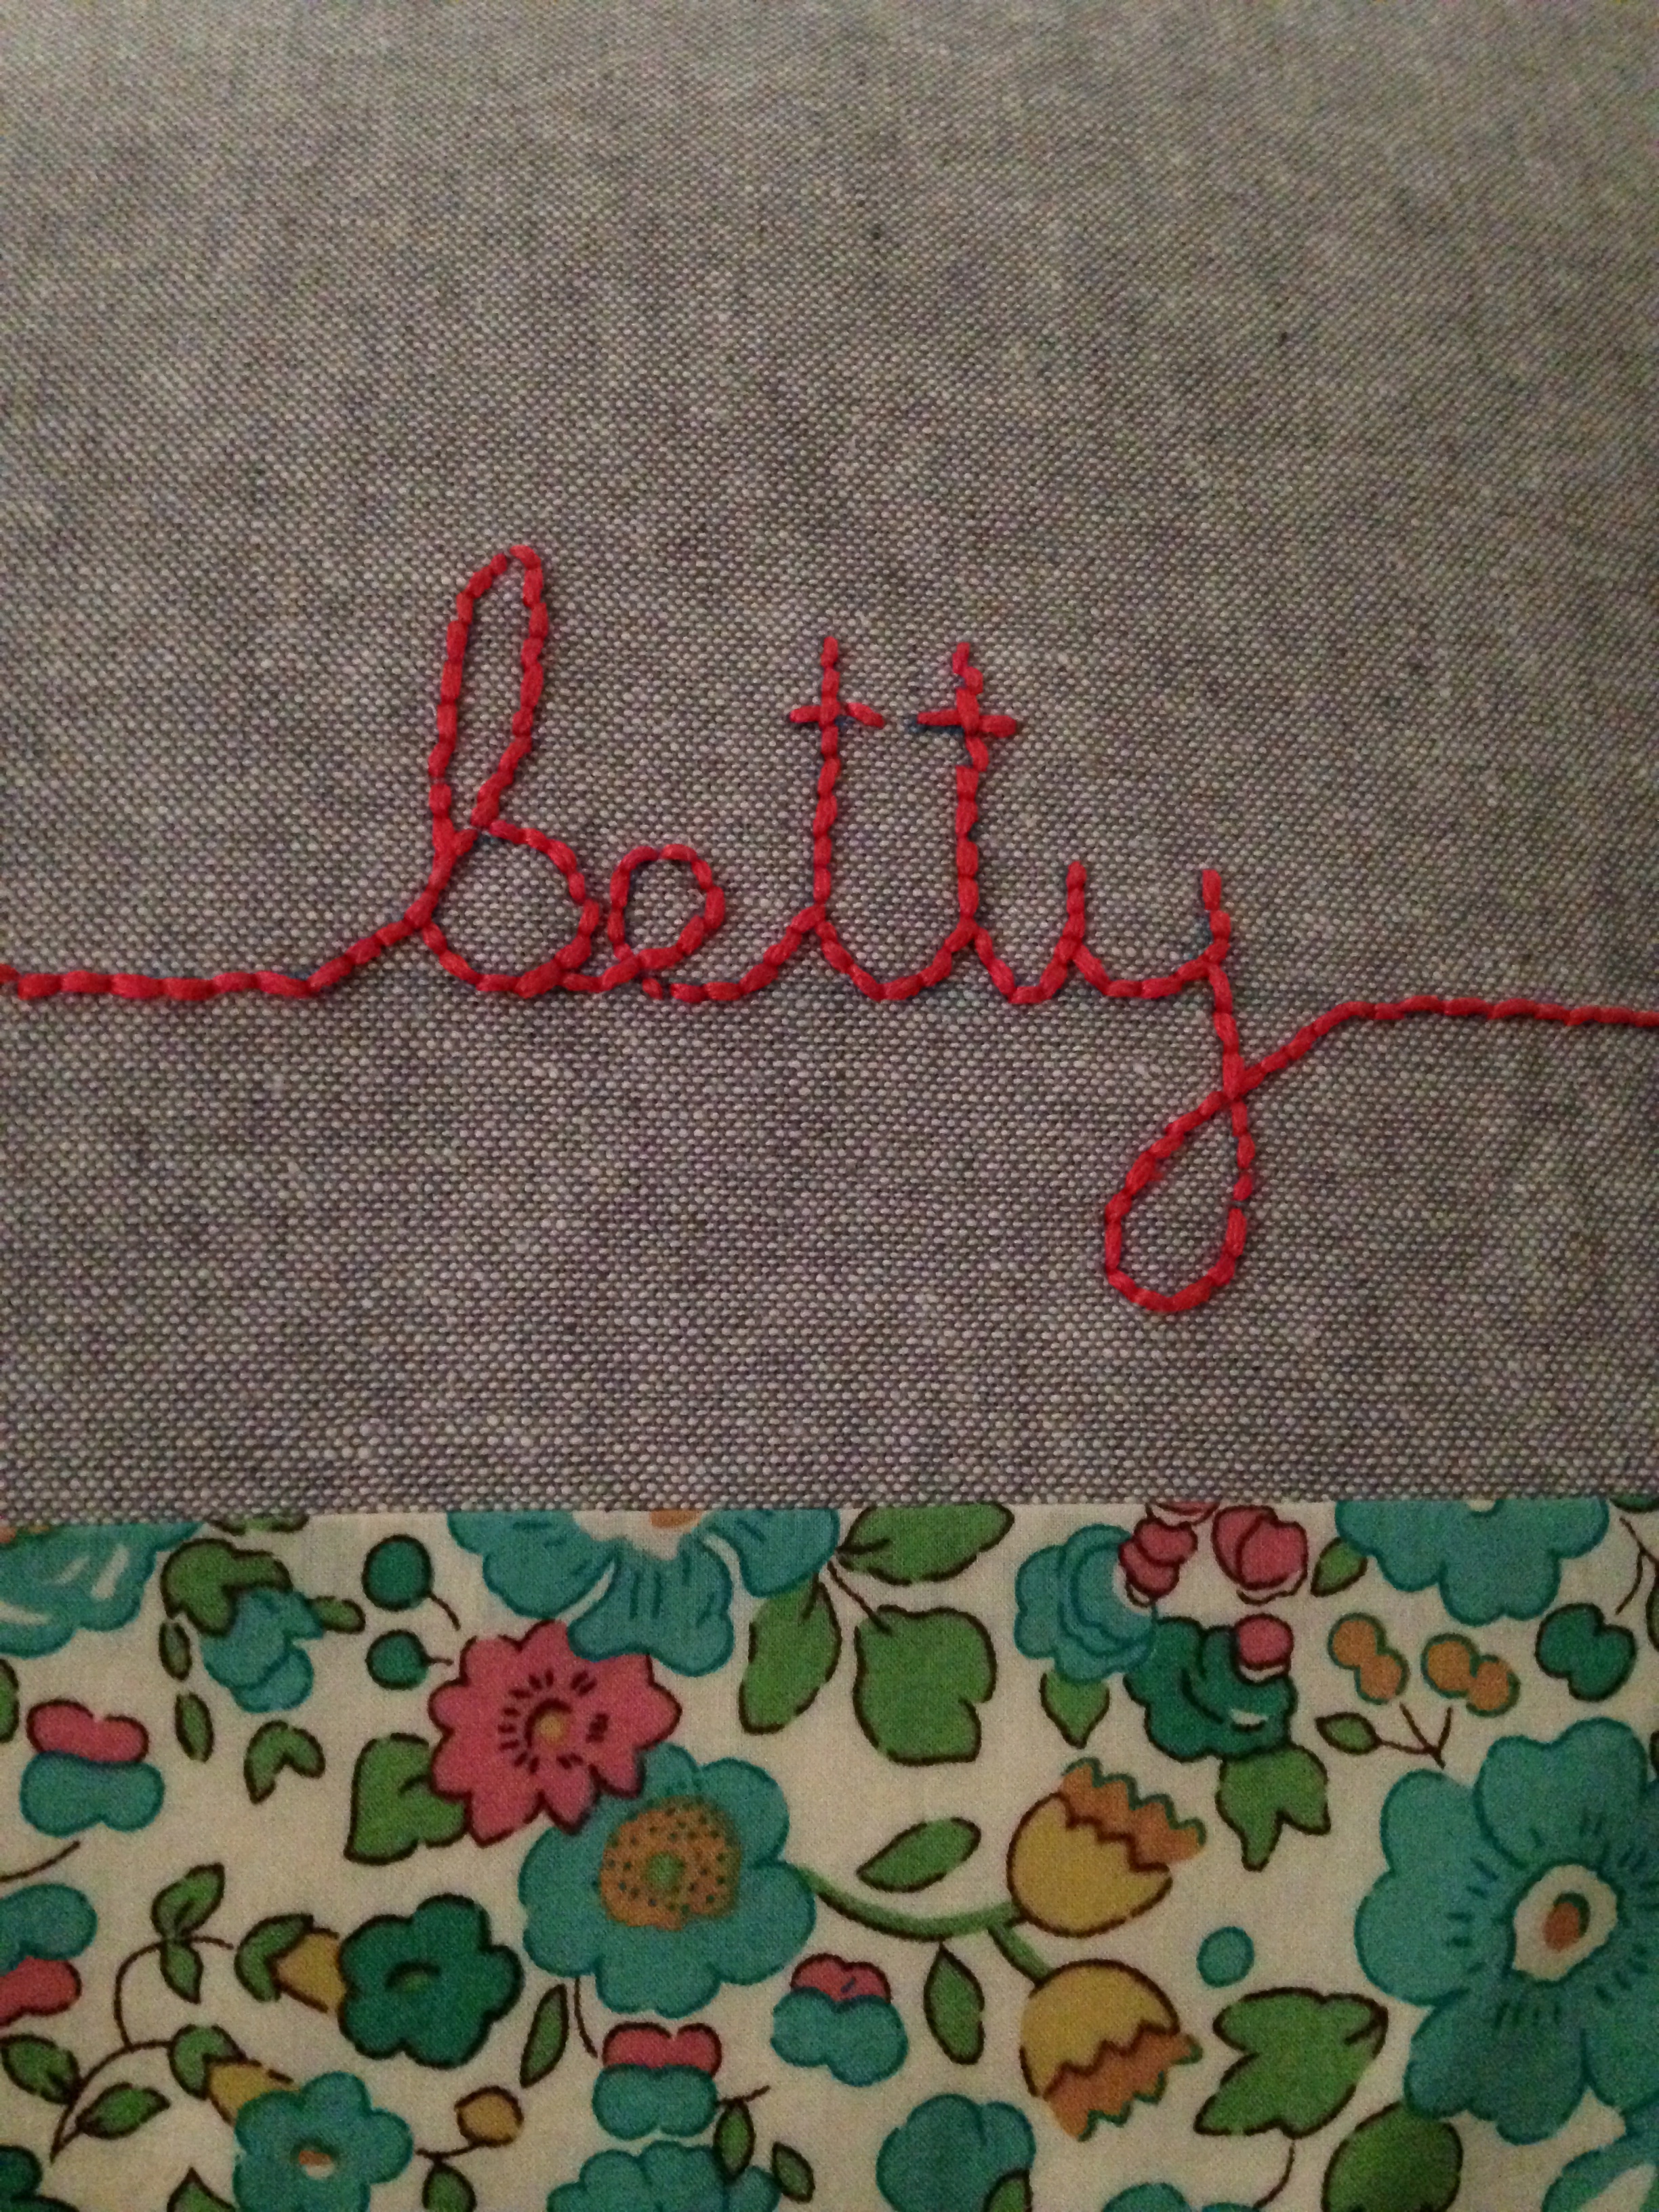
2. Use a washable marker to draw your design. I made a straight line one inch above the seam and then scripted betty on the line about two-thirds along the line.
3. Embroider the design using a back stitch.
4. Cut your muslin lining and back panels. Cut the front muslin lining 13 x 17″. Cut two pieces of your main fabric 11 x 13″ and two muslin pieces of the same measure.
5. Place your back panel and lining right sides together and stitch along the 13″ edge using a half inch seam. Turn right side out and press the seam. Pin then tack around the three other sides. Tacking the lining to the fabric makes assembling the cushion much easier.
6. Make a button hole in the center of one back panel half an inch below the seam.
7. Pin then tack the muslin to the main panel (wrong sides together) one quarter inch from the edge.
8. Next put your pieces together as follows: Front panel right side up; back panel with buttonhole wrong side up; back panel without buttonhole wrong side up, overlapping the other back panel .
9. Align all the edges, pin, and stitch together using a half inch seam.
10. Trim the corners then over stitch around the edge to prevent fraying.
11. Turn the pillow cover right side out and poke out the corners.
12. Sew on your button and put the insert inside the cover.
13. Step back and enjoy your handiwork.

I hope Betty was dazzled by her personalized pillow upon her return from “the best place in the world”! Did she come home to a brand-new bedroom?
Yes–no more lime green!
Thank you so much for telling everyone about my pillow tutorial!! I’m honored and touched, and that pillow looks fantastic!! I’m glad to have found you! ~Angela~
Thanks, Angela! Your tutorial is the best!