Report from the Armory

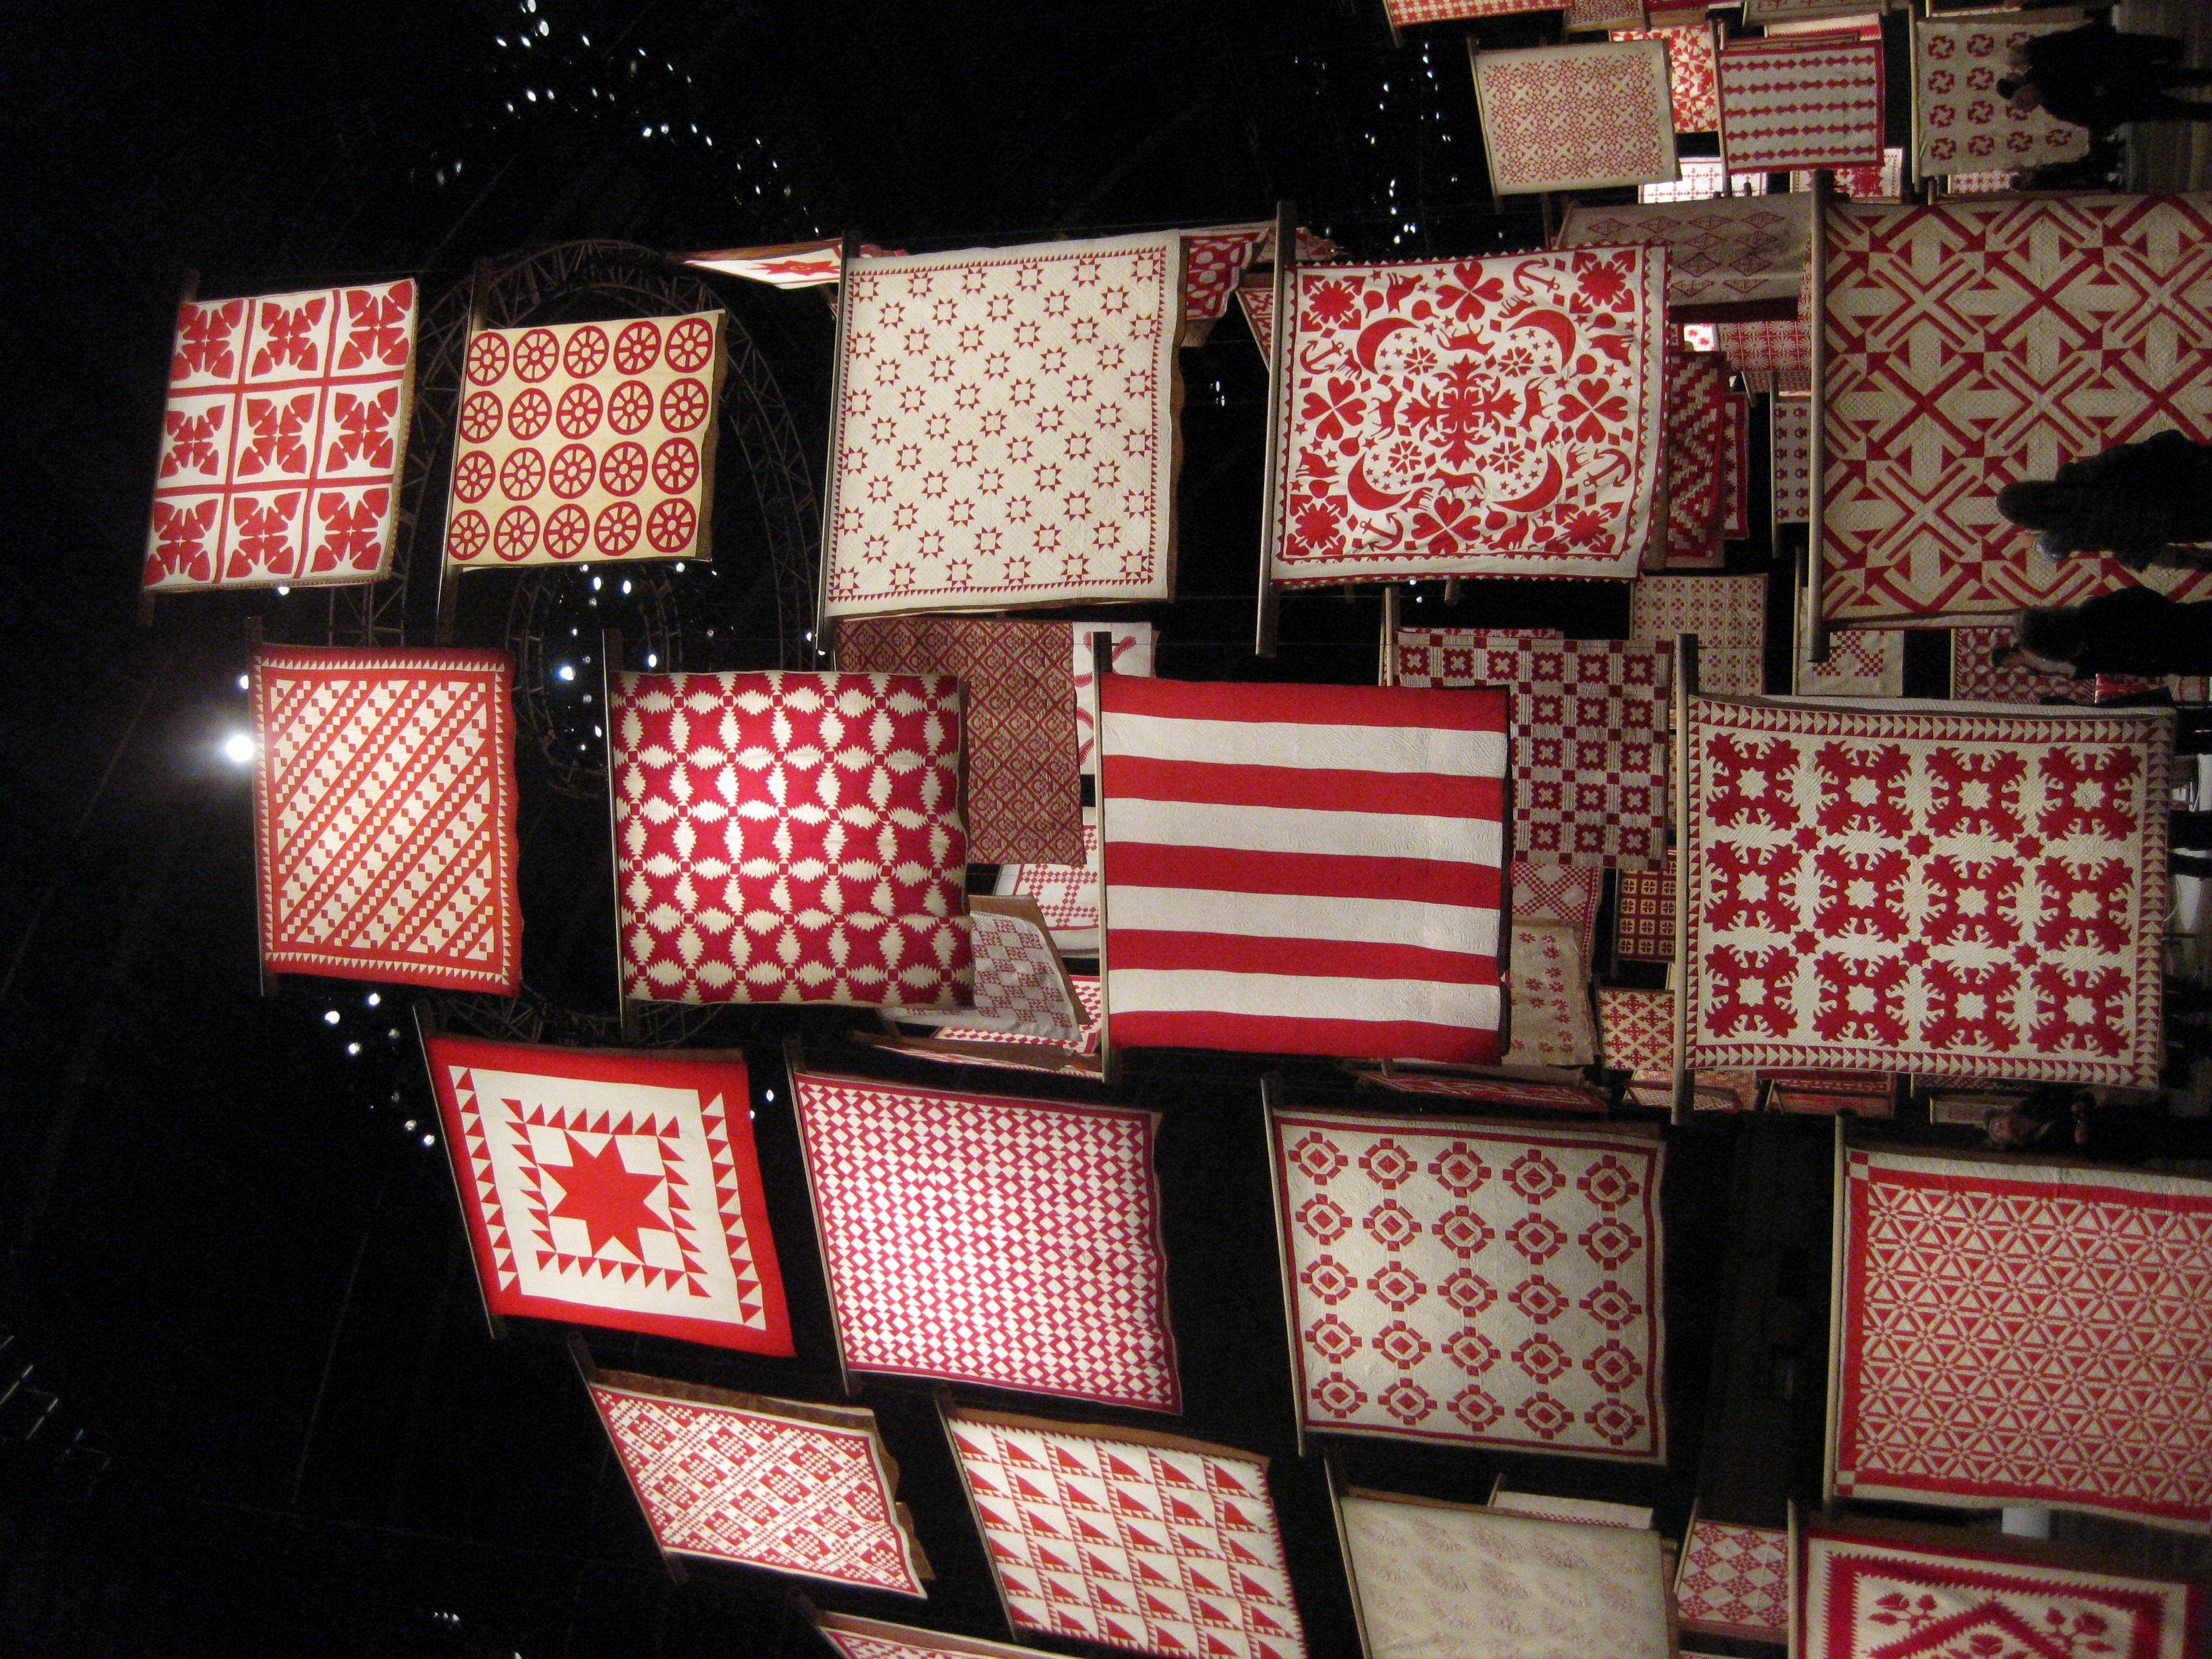
I took a day off work on Monday to go to the red-and-white quilt show at the Armory, thinking it would be a nice quiet day. I was not prepared for the busloads, literally, of ladies coming to town especially for this show. The quilts, particularly the way they were displayed, hanging back to back up to the rafters of the massive Armory, were stunning, and a little overwhelming. The curator cleverly arranged the quilts in circular “rooms” so you could also take in smaller groups at a time. Almost as interesting were the attendees. The average age was about 65, and many came as part of a tour, with their friends or quilting clubs. I overheard many women who had visited the show several days in a row. There was no idle chit chat; these women were there to talk about quilts, period.

Walking around, I felt a little bit like when I blithely signed up for swim camp in middle school because I liked to swim, for fun. I found myself swimming laps for five hours a day with all-state athletes in serious training. I came home with a chipped front tooth (racing dives) but in tip-top shape. Just like the girls at swim camp, the quilters were a friendly bunch, and they were happy to chat about techniques and patterns with us novices. One woman very kindly explained reverse applique to me and one of the very few gentlemen in attendance. I think he just wandered in, the exhibit was free after all, and found himself awash in ladies and decided to stick around.

The exhibit was true to its name; the quilts ranged from intricate to bold graphics, and there were some very sweet sailing ships, houses, and airplanes. I’ve included details from just a few of my favorites.

Freezer Paper Stencils: VW Bus Pillowcases

Punch buggy. (Or in this case, Punch bus.) Spring is here & so is the VW bus parked outside my house. (The sign in the window says: Hippies Use Backdoor.)

So in honor of the reappearance of spring and VW buses, I decided to give some old white pillowcases new life. Plus I wanted to make something for my 11-year-old who is easily embarrassed by T-shirts proclaiming anything, let alone T-shirts homemade by his mother, so I figured pillowcases were a safe zone, free from 5th grade peer review.

I cut a stencil on freezer paper from an image of a VW bus that I downloaded online. As I’ve mentioned before, freezer paper stencils are wicked easy & satisfying. Here is the complete how-to. To trim the pillowcases, I bought a half a yard of Happy Camper fabric from the Monaluna Circa 60 Beach Mod line for Birch Fabrics (available at Fabricworm). I should’ve bought a yard, but I was too cheap ($8.25 for half a yard!). It’s organic, alas.

 (The print is darker than how it appears on Fabricworm.)

No room for error. The pressure was on! I sewed the fabric directly onto the existing pillow trim (I split the seam for the trim–but not the rest of the pillowcase–to make it easier to sew). For the edge that you see on the outside of the pillowcase, I folded 1/4″ of the fabric, ironed, and sewed as close to the edge as I could. For the hem inside of the pillowcase, I folded 1/4″ over twice to completely encase the raw edge. Not sure if this is the best way to add trim, but it looks decent and adds a pleasing weight to the end of the pillow.

Freezer Paper Stencils: Robot Tees

Handsman, this silver-painted robot with the high-tech egg-carton control panel, was constructed by my five-year-old’s preschool classmates, who are studying robots this month.  Handsman looms at over 4′ (taller than your average preschooler) and sports zippy yellow rubber gloves–hence, his handy name.

[photo thanks to Pauline & Amanda!]

To show my full support for robot curriculum everywhere, I decided to make some robot tees for my little guy with freezer paper stencils. Freezer paper stencils have a high fun factor: big on reward, low on effort. Here is the complete how-to. If you fret about drawing your own robot stencil, then download an image, print, and trace. To avert laundry tragedies, don’t forget to heat-set the paint after it dries.

Robot tees!

Liesl Gibson Crafternoon!

The New York Public Library (42nd Street) hosts a crafternoon one Saturday each month. The program draws some luminaries of the crafting world, and fills the room with interesting crafty people. I went to one last year with Denyse Schmidt, Heather Ross, and Liesl Gibson. Liesl taught us how to make little sail boat ornaments out of walnut shells, provided the supplies, and set us loose. On April 2nd from 2 to 4, Liesl Gibson will be hosting again and talking about her new book Little Things to Sew. I would have already bought this book if my daughter did not have a “secret” plan to buy it for my birthday.  I think she really wants the paper doll accessories from the dust jacket (pictured above), but she is genuinely pleased as punch with her birthday surprise (as am I).

There will be supplies on hand for participants to make something. The event is free, but be sure to arrive early as the events are really popular. I bet there might just be a raffle, too. (As a side note, I enter more giveaways and online contests than I care to mention. Ask me to comment for a chance to win some buttons and I do it. My compulsion has a sort of scary sweepstakes, coupon cutting, green stamps aspect to it. Does anyone else suffer from giveaway-itis?)

Squeaks!

Yesterday, my daughter and I were in search of a fun project, so we took a look through my copy of Martha Stewart’s Encyclopedia of Sewing and Fabric Crafts. We found hand-drawn stuffed creatures and had to make one. We used wool felt in two colors, wool stuffing (which has a delicious sheepy smell) and some embroidery thread. First we cut out two pieces of felt in the shape of the body, made the ears (we added a small dart to give the ears a little shape), and made and stuffed the legs and arms. Next, my daughter drew the face right on the felt with a pencil and I embroidered the design. She cut out the tummy shape and I sewed it on using the machine. Then, we sewed the ears, arms and legs to the right side of the back facing in. Then, we sewed the front and back right sides together, leaving a hole for turning and stuffing. We flipped Squeaks right side out, filled her with stuffing, put in a little felt heart, and then sewed up the seam using an invisible stitch. We had a great time making Squeaks and were very pleased with the results!