Marimekko bench cushion

IMG_1808

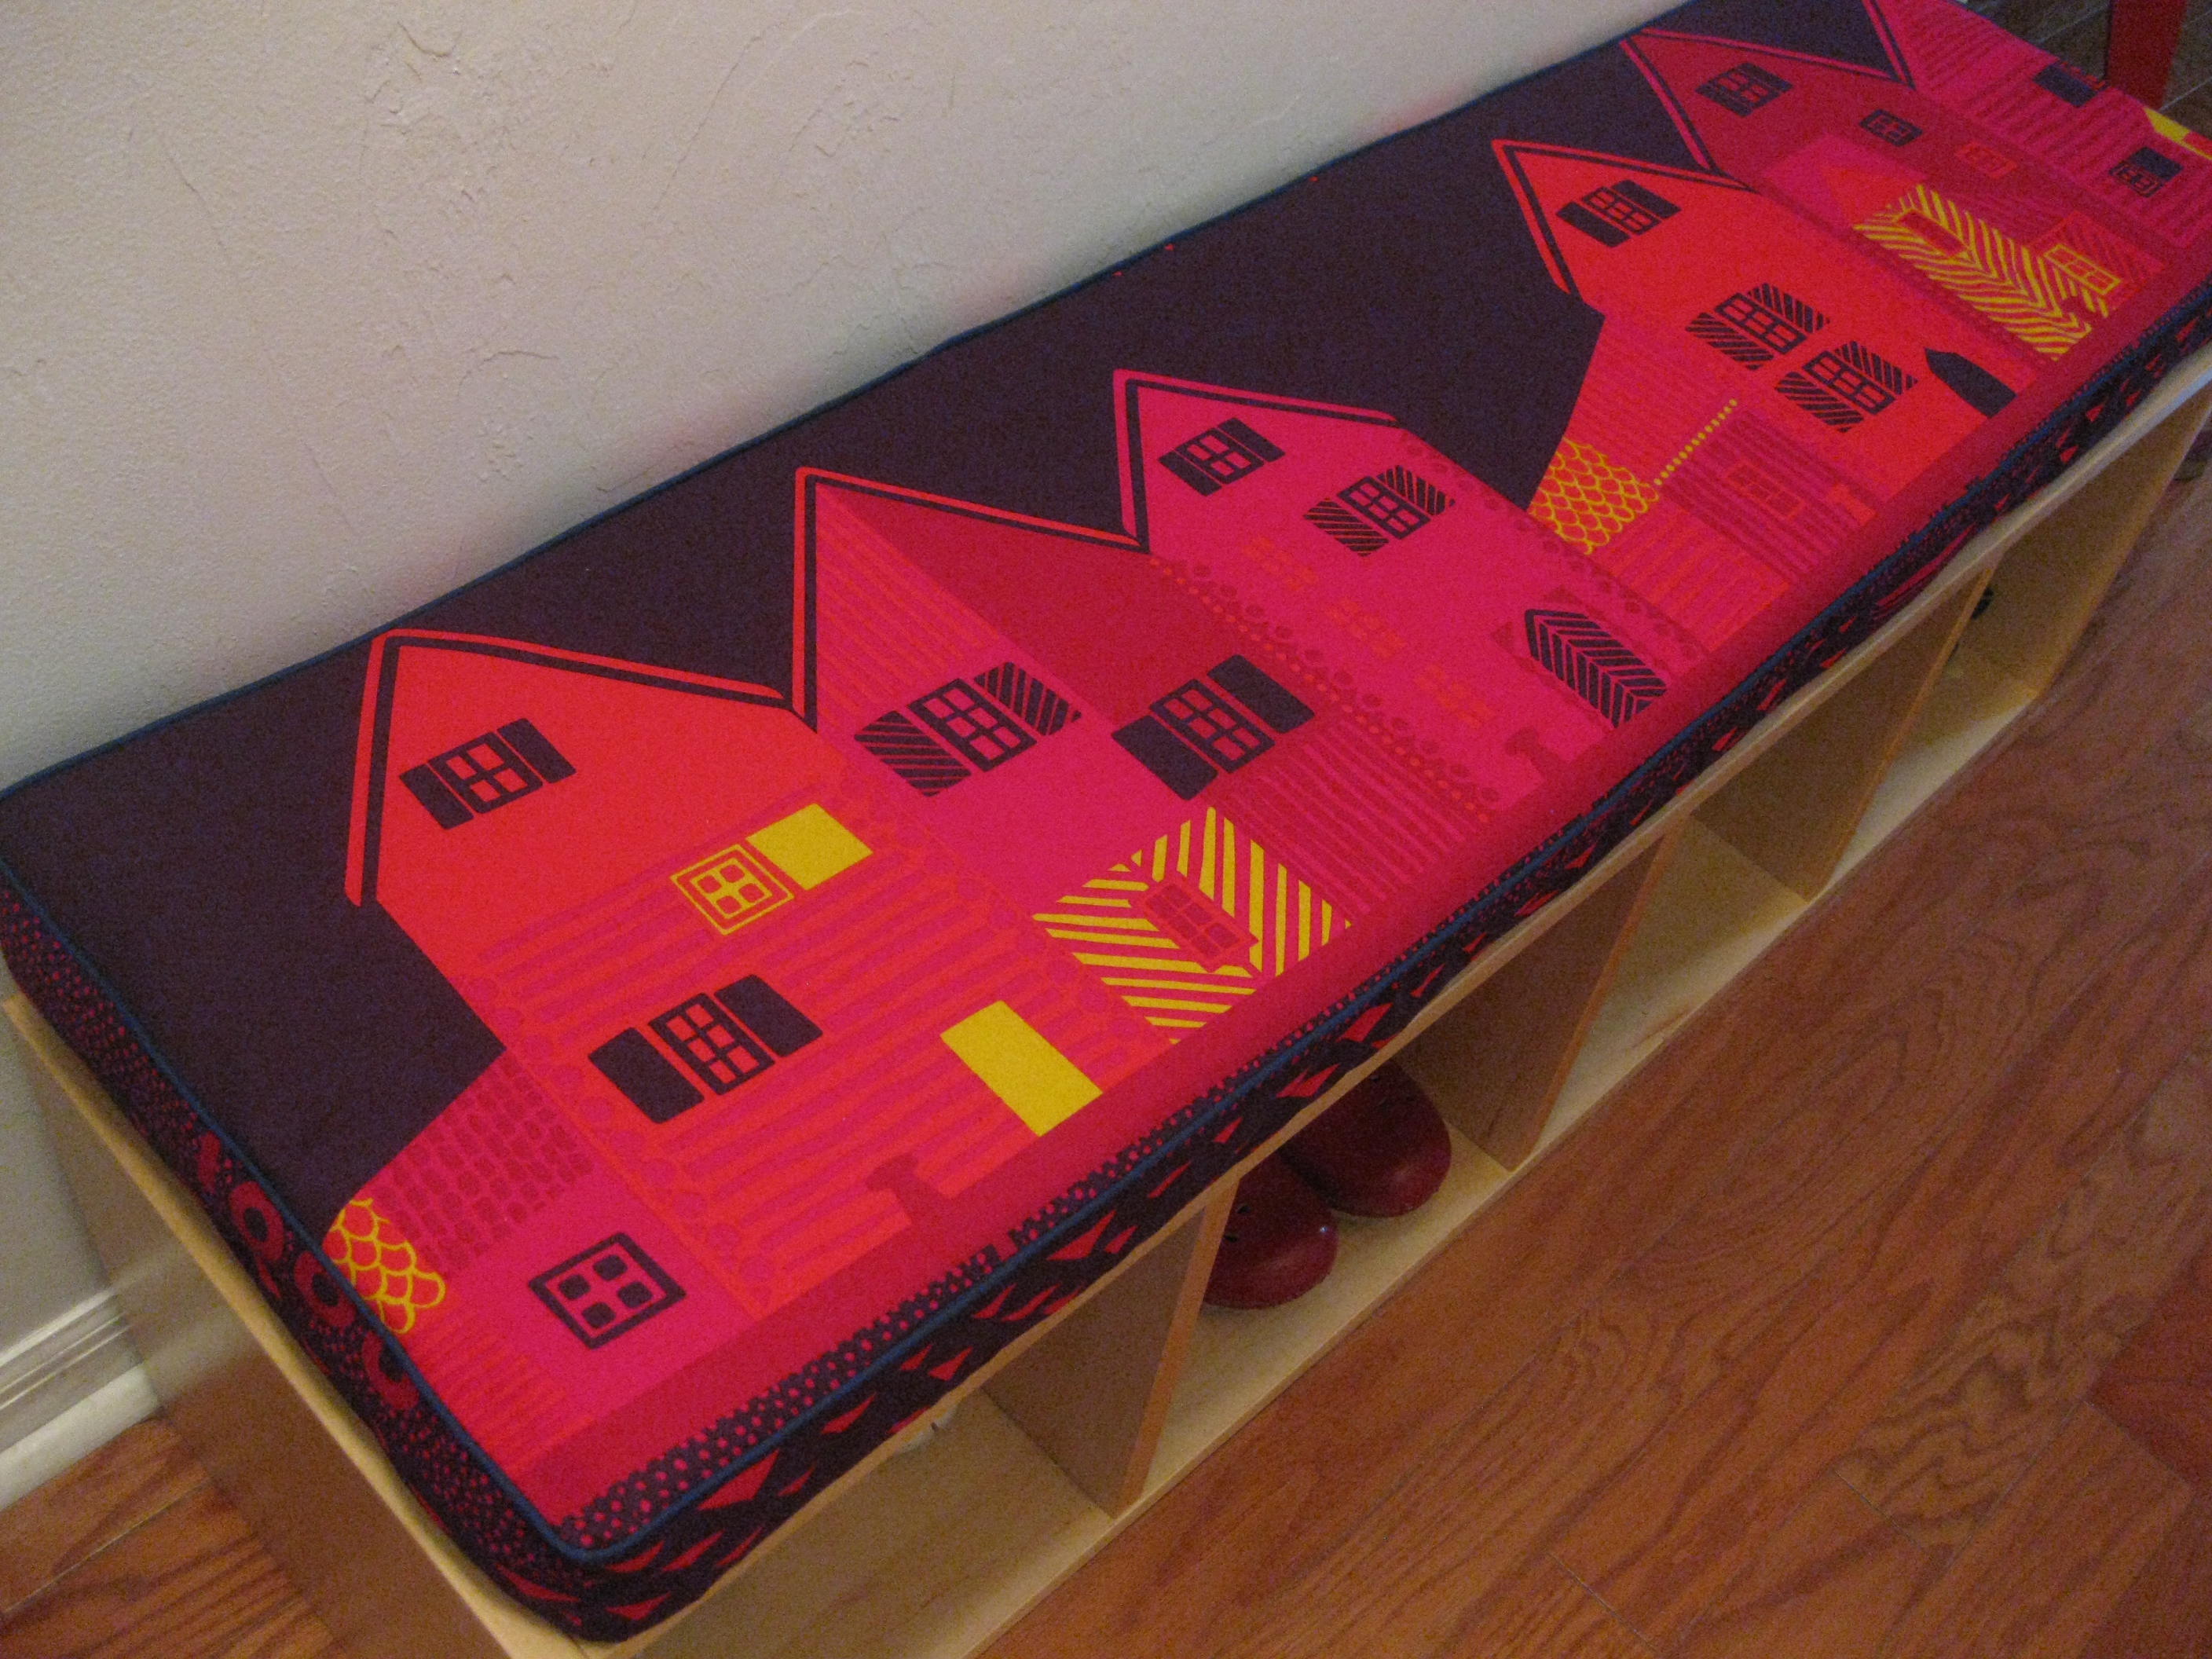
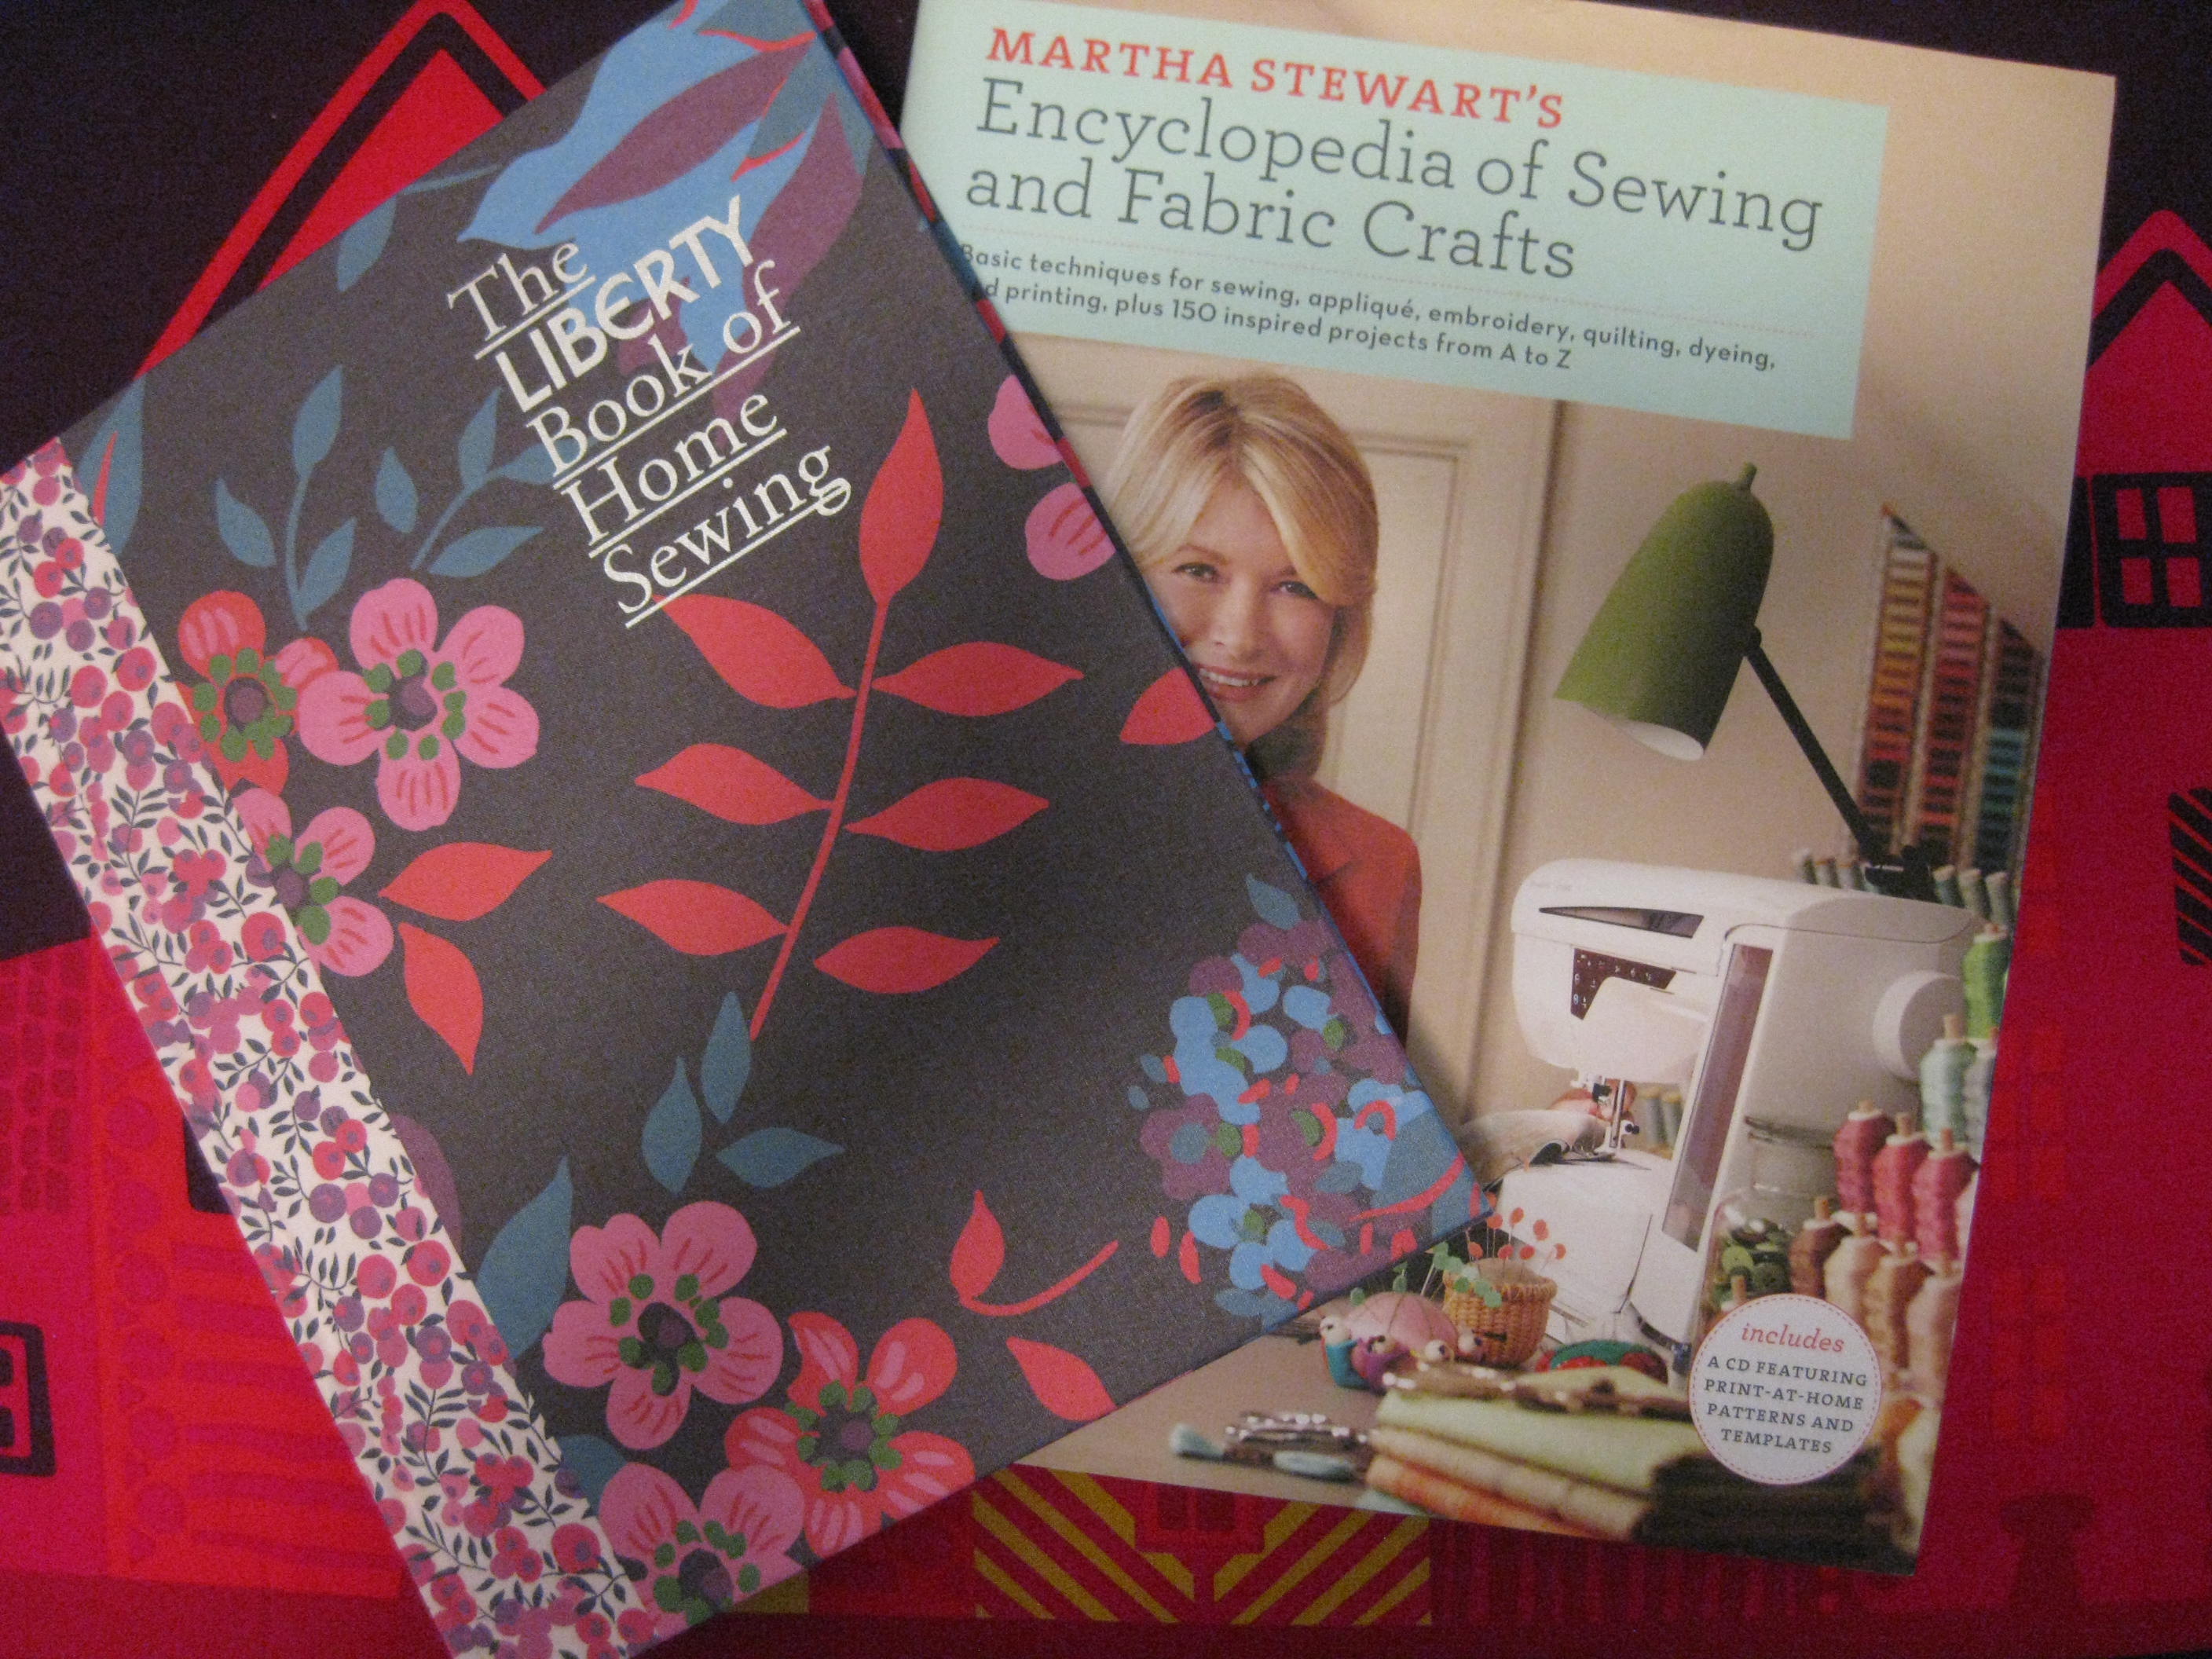
This bench cushion was (honestly, I swear) easy to make. I bought a big slab of green foam from Jo-Ann Fabrics (half price!) and then cut it to the right size with a bread knife–weird, but it worked perfectly. I wrapped the foam in cotton batting to add some softness. The little village on this Marimekko fabric fit perfectly for the dimensions of my cushion. Basically, I made a shallow box with the fabric leaving one long side open, and then stuffed the foam in–slightly unwieldy but otherwise not hard at all. Both the Liberty Book of Home Sewing and Martha Stewart’s Encyclopedia of Sewing and Fabric Crafts have excellent instructions for making a bench cushion. I decided to add piping to my cushion to give it a finished look, and to add a touch of navy. (The bench itself is my daughter’s old bookcase tipped on its side–the shelves make perfect shoe cubbies!)

IMG_1811

Chatting Crafts: Catherine Newman

My Photo(This is our first in what we hope will be a series of interviews with folks who like to make stuff).

Catherine Newman, author of Waiting for Birdy, and the Ben and Birdy blog, is a fantastic cook, jigsaw puzzler, trash-talker, lollygagger, and friend. She’s also always making something. I recently sent her some questions to find out what she’s been up to lately and learned so much about her that I may now send out questionnaires to all my friends. Try it–so illuminating! I personally feel that the homemade pube/dryer lint beads (yes, you read that right) could find a home on Etsy. Thanks, Cath!

What kind of crafter are you? Plotter and planner or just-wing-it type?

A little of both. I am a wing-it-type overall, very scrappy and always wanting to use stuff we already have in the house, and not follow a pattern and not wait too long for the glue to dry. But if there’s something I have in mind, I will try to make sure I have the materials I need.

What type of crafts do you generally gravitate to?

Oh, many, many types. Like you, I love doing tiny things. My friend Emily [Neuburger] published a book called Show Me a Story, and the signature project is something called “Story Stones” where you basically modpodge a miniature paper collage onto a rock, and I could have made those forever. I did a mason jar, a pear, a cup of coffee, and a star. I was technically only there to help my daughter, but I think she left the table long before me. (so glad I’d had the random impulse to fill a bag with stones at the P.town beach!) I also love anything that involves turning clothes into better clothes (cutting t-shirts apart to make skirts, e.g.) or that involves felting wool sweaters and cutting them up and making patchwork blankets.showmemama's

What is the weirdest thing you’ve ever tried to make? Your biggest Martha Stewart moment? Your most spectacular craft snafu?

My biggest Martha Stewart moment? Gosh. Those wool blankets are so gorgeous I can’t even be modest about them. So maybe that. But weirdest? I have made prank barf (out of glue and paint and oats). I tried to make beads out of dryer lint, and they were so disgusting, with pubic hair sticking out of them, that we couldn’t stop laughing.  Oh, another MS moment: I made the kids velvet/cashmere (repurposed fabrics) cupcake stuffies for xmas, and they came out so cute! I was copying something Birdy had seen at Barnes and Noble, only mine were nicer.

I know you are great at including kids in the kitchen–how about with craft projects? Do you prefer family crafting or a more self-sufficient, Thoreau-style “leave me alone in my cabin by the pond” type of crafting?

I really, truly like both. We have this game Modern Art–it’s a very complex board game with an auction theme–and all the art in it was so terrible. There are, like, 100 pretend paintings and they were all so ugly. So the four of us sat down and made all new tiny paintings for the game, and it was one of the best days of my life. So I love that–love sitting with the kids to make Fimo donuts, or beading together. But I also love to be just me doing something, like sewing.

What were the most mutually satisfying and successful craft projects you’ve done with kids?

Ah, please see above! Modern Art cards. Artist Trading cards, which are just little magazine collages we do on cut-up cereal boxes, then cover in duct tape. Love those.

As far as mama-kid craft projects go, what strategies would you recommend to avoid a messy end of tears and recriminations?

Ah! That’s a good question. I have surprised myself by being able to bite my tongue and not offer the kids all of my excellent advice, even though it would make their trivet or puppet or coin purse SO MUCH NICER.

Who/what is your current craft inspiration?

pinkblanketI love the book Cute Stuff for inspiration when crafting with kids, especially when we’re trying to think of presents to make people. I love Show Me a Story (above). I love Alabama Chanin for sewing, and my friends’ sewing book Improv Sewing [by Nicole Blum and Debra Immergut].

What are you making right now?

I am making Birdy a patchwork wool blanket from all of the aqua and turquoise sweaters I’ve been saving and felting for years. I made Ben a pink one. They like to say that these are their “college blankets,” which makes me want to cry.

Quilt sandwich

Here is a very quick tutorial about making a quilt sandwich–which can be super satisfying. First it is essential to clear a large space to spread out. Spread your quilt back, right side down, on the floor. Tape the edges (I use blue painter’s tape) to the floor so the fabric is smooth, but not taut. Pull off any stray threads.

IMG_1782

Next unfold your batting and, starting from the center, gently smooth out any wrinkles. The batting sticks to the fabric so you may need to lift the batting gently to smooth out some wrinkles. Once your batting is nice and smooth, trim any excess that extends beyond the edges of the backing.

IMG_1783

Then, lay your quilt top, right side up, on top of the batting. Your quilt top will be smaller than the backing and batting so you should be able to position it neatly. Again, starting in the center, smooth your quilt top onto the batting gently pushing any wrinkles to the edges. Finally, you can either baste or pin your sandwich together.  I prefer pins because I find pinning (with curved quilting safety pins) keeps my sandwich smooth. It is also faster than basting. Sometimes I baste the pinned quilt after I take it off the floor. The basting makes it easier when you are doing the quilting. Here is my quilt–all sandwiched together and ready to go.

IMG_1784

Melty Bead Mash-Up

December 2012 036I had to try this melty bead (a.k.a. Perler/Hama bead) creation after I spotted it on Sols(tr)ikke, a Norwegian blog. (I’m sure I’m impressing you with that fact, but no, I don’t read Norwegian. A couple of paragraphs are helpfully in English.) This design comes from a Cath Kidson stitch book–apparently, needlepoint and cross-stitch patterns translate well into melty bead designs. Who knew?

If your household is like mine with melty beads aplenty, here are a couple other great bead designs:

Pixel Coasters by My Poppet. This design was inspired by a floral cross-stitch pattern on vintage linens. I gave it a try–not as intricate as the the Cath Kidson and super cute.

My Little World of Hama has a zillion melty bead designs but I favor one in particular of an apple. (The site is in Spanish, which I also don’t read.)

Happy New Year, folks!

Tree topper

IMG_1768Until last year, we always traveled to Florida on Christmas Eve. Although we liked to fancy it festive to get up at the crack of dawn to zoom to JFK, jostle with fellow travelers laden with presents, and so on, it is infinitely better to spend Christmas in our own home. We can finally have a non-token Christmas tree–not only are we here to enjoy it but we can actually have a tree taller than a toddler. Resulting in a sudden need for ornaments. I’ve made some over the years and we bought some more, but we needed a tree topper extraordinaire. I made this star out of felt. I improvised the embroidery based on designs in the book Scandinavian Needlecraft. First I cut out two stars, embroidered the design on one side, then blanket stitched the two stars together. I left the side of one point open and used a chopstick to push stuffing into the points. Then I stitched a loop of ribbon into the open space before blanket stitching the star closed.  Here it is atop our tall tree!

IMG_1770