Renew: Doll Chair

Many of my teenage summer jobs involved painting. (Of walls and houses, that is. Not of high art.) Maybe that’s why my summer cravings include not just ice cream cones, lake swims, and hammock reading, but also splashing paint about. If you have the patience, painting is such a gratifying, economical way to transform something worn and tired.

doll chair

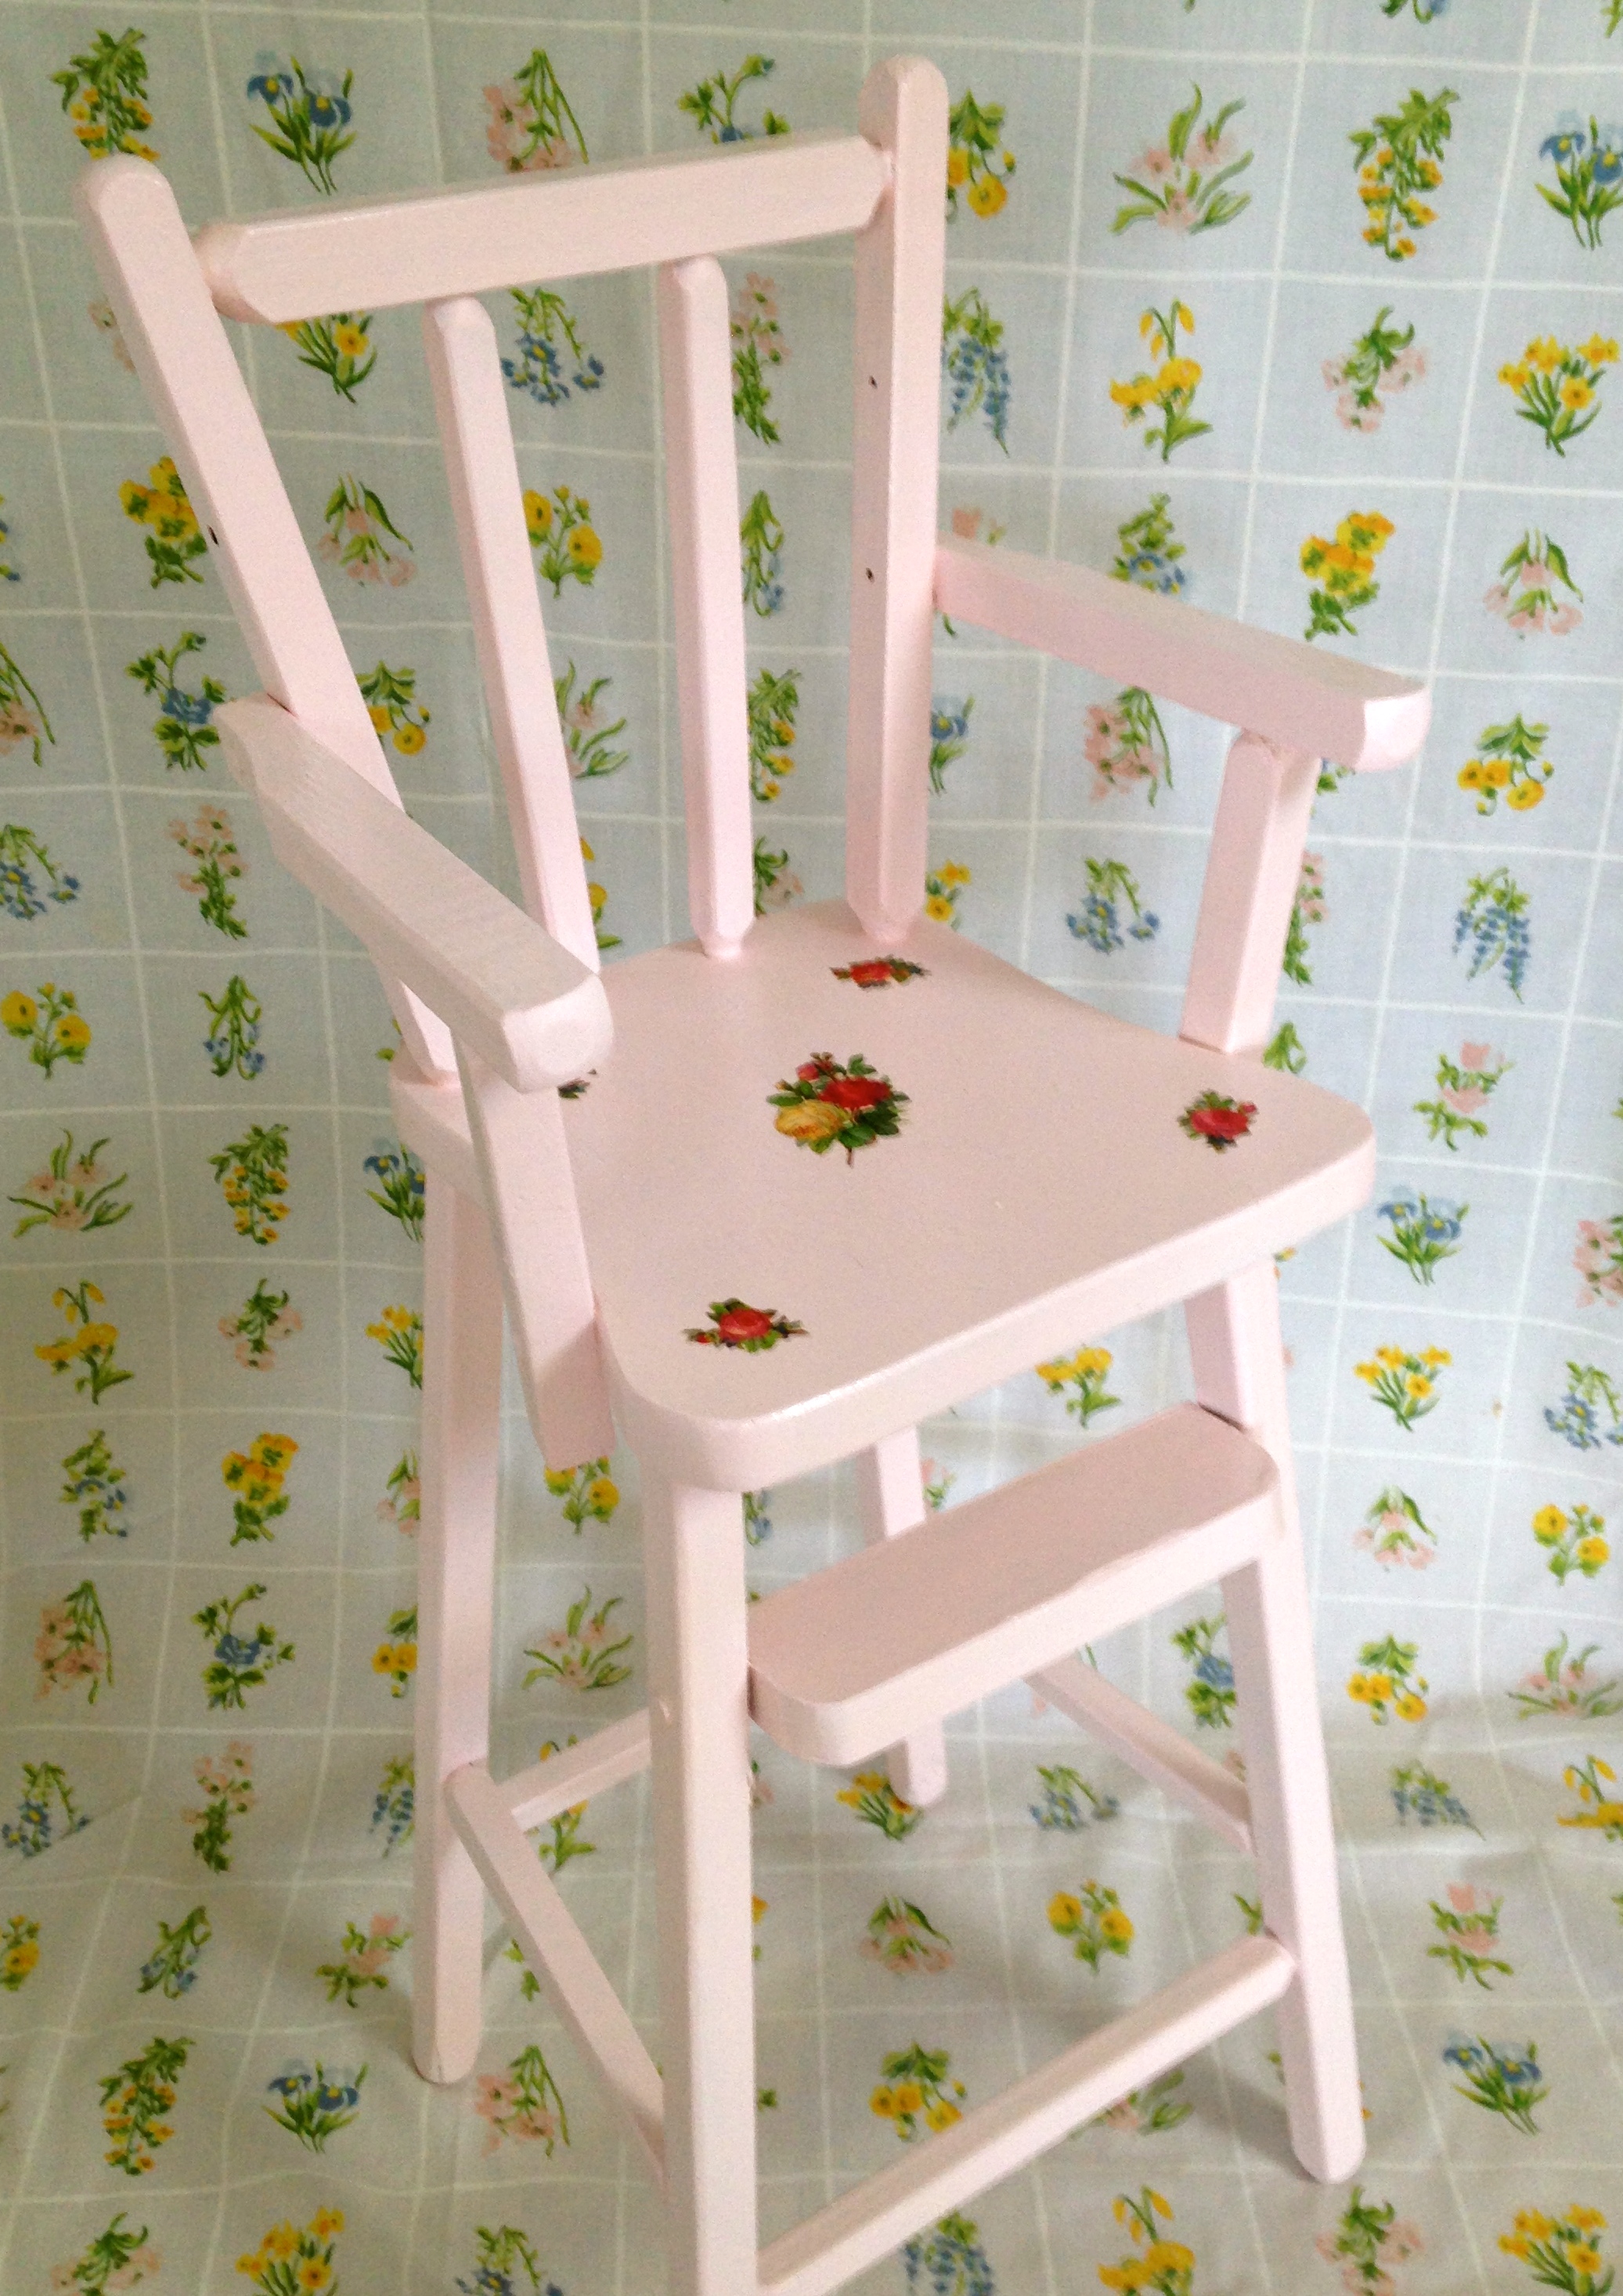
I purchased this doll chair at a yard sale years ago, and it’s been moldering in my basement ever since. Now it has the perfect recipient–my niece Lila who has recently become besotted with a doll she named Rosie. (Feminists out there: no worries, Lila is formidable and will some day rule the world.)

I had some leftover pink paint (Ben Moore Elephant Pink) from my stair project and ombre porch swing project. After a coat of this pale pink, I cut out some Victorian roses (I’m sorry! I had to!) for decoupage. I wish I had taken a before shot–the chair was formerly dirt brown!

Tried it: Matchbox Weaving

matchbox weave by homemade city

Some of you may who follow this blog know about my love for all things matchbox. In addition to tiny crafts, I’m also drawn to pointless ones. So when I spotted this matchbox weaving by Marisa Ramirez on Pinterest, of course, I had to try it. I thought it might be fun to do this with kids, but my 8-year-old son Zeke informed me it would too hard. I think he’s right, but maybe we could weave some other unlikely object, like these sticks?


7 Summer Crafts to Make with Kids

These 7 crafts should at least fill the first week of summer vacation with the kids. After that, who knows?

1. God’s Eye from the Free People blog

2. Breezy Friendship Bracelets from Molly’s Sketchbook at Purlbee

3. Popsicle Tote from youaremyfave

4. Tie-Dye T-shirts from Martha Stewart

5. Lemonade Stand from Oh Happy Day!

6. Cork boat by Inner Child Fun

7. Wooden Necklaces by Avery Rayne Designs

Quilt block blocks–part 2


IMG_2793

I got a little obsessed with painting blocks. In fact, I want to paint some more! I like this batch better than my first attempt. I used fewer colors and repeated the same pattern on all sides. I also used 2-inch solid maple wood blocks that I ordered from Etsy (snuggly monkey!), and they have a satisfying density. I think another type of paint might work better than the acrylic craft paint–maybe oil paint? But, imperfections aside, it was a super enjoyable activity. Even my daughter wanted to make a block. She normally has very little patience for crafts but declared painting blocks surprisingly fun and not as weird as it seemed. Success!

–Brigit

Felt Tooth Fairy Pillows

IMG_2604

I was under deadline to make these little pillows. My niece and nephew are now six and their milk teeth are bursting out of their mouths like microwaved popcorn. I was working fast and late at night, and although I wasn’t drunk, I was certainly punch drunk. Which proves that felt is very forgiving–as is the Tooth Fairy.

If someone you know is losing their teeth (in the cute way, mind you), whip up this Tooth Fairy Pillow and pair with these terrific picture books: April and Esme, Tooth Fairies by Bob Graham or Throw Your Tooth on the Roof: Tooth Traditions Around the World by Selby Beeler and Brian Karas.

Felt Tooth Fairy Pillow

What you will need:

  • 3 pieces of felt (not the synthetic stuff!) in 3 colors
  • Scrap of ribbon
  • Cotton stuffing
  • Sewing machine (although you could sew by hand, using a blanket stitch)

1. Trim two 6.5 x 4.5″ pieces of felt in contrasting colors. One piece will be the front of the pillow, the other the back.

2. Trim one 3 x 3″ piece from the third color of felt. This will become the pocket.

3. Sew the ribbon to the pocket, making sure to wrap 1/4″ of ribbon over each side to hide the ends of the ribbon.

4. Place the pocket right side out on the front of the pillow. Align the bottom edge of the pocket with the bottom edge of the pillow, centering the pocket across the width of the pillow. Edge stitch the sides and the bottom edge of the pocket to the pillow. (Leave the top open for tiny teeth and cash!)

5. Place the pillow front and the pillow back wrong sides together and machine stitch with 1/4 ” seam around the edge of the pillow leaving about a two-inch gap.

6. Stuff plumply. Machine stich the gap closed.