VW Beetle Pillow — Planning Stages!

IMG_2492

I’m working on a stencil of a VW beetle–to print on fabric and make into a throw pillow for my son’s window seat. A VW bug is trickier than a VW bus–it’s less obvious which parts should be negative/positive space. Right now, I’m leaning toward the image on the right (the parts shaded in purple Sharpie will become the painted areas). What do you think?

Here is the neon green fabric paint and the groovy orange-pink print I’m considering for the pillow. At the fabric store, I told the folks at the checkout counter that I was aiming for the opposite of tasteful. “You’ve done well,” they assured me.

IMG_2515


DIY: Bunny ornament

IMG_2721Just in time for Easter! This little felt bunny is perfect for your Easter trimmings or a super cute addition to an Easter basket. With minimal supplies and basic sewing skills you can make one, two, or a whole litter of these cuties. A complete pattern with bunny templates is attached to this post. Let me show you how easy these are to make!

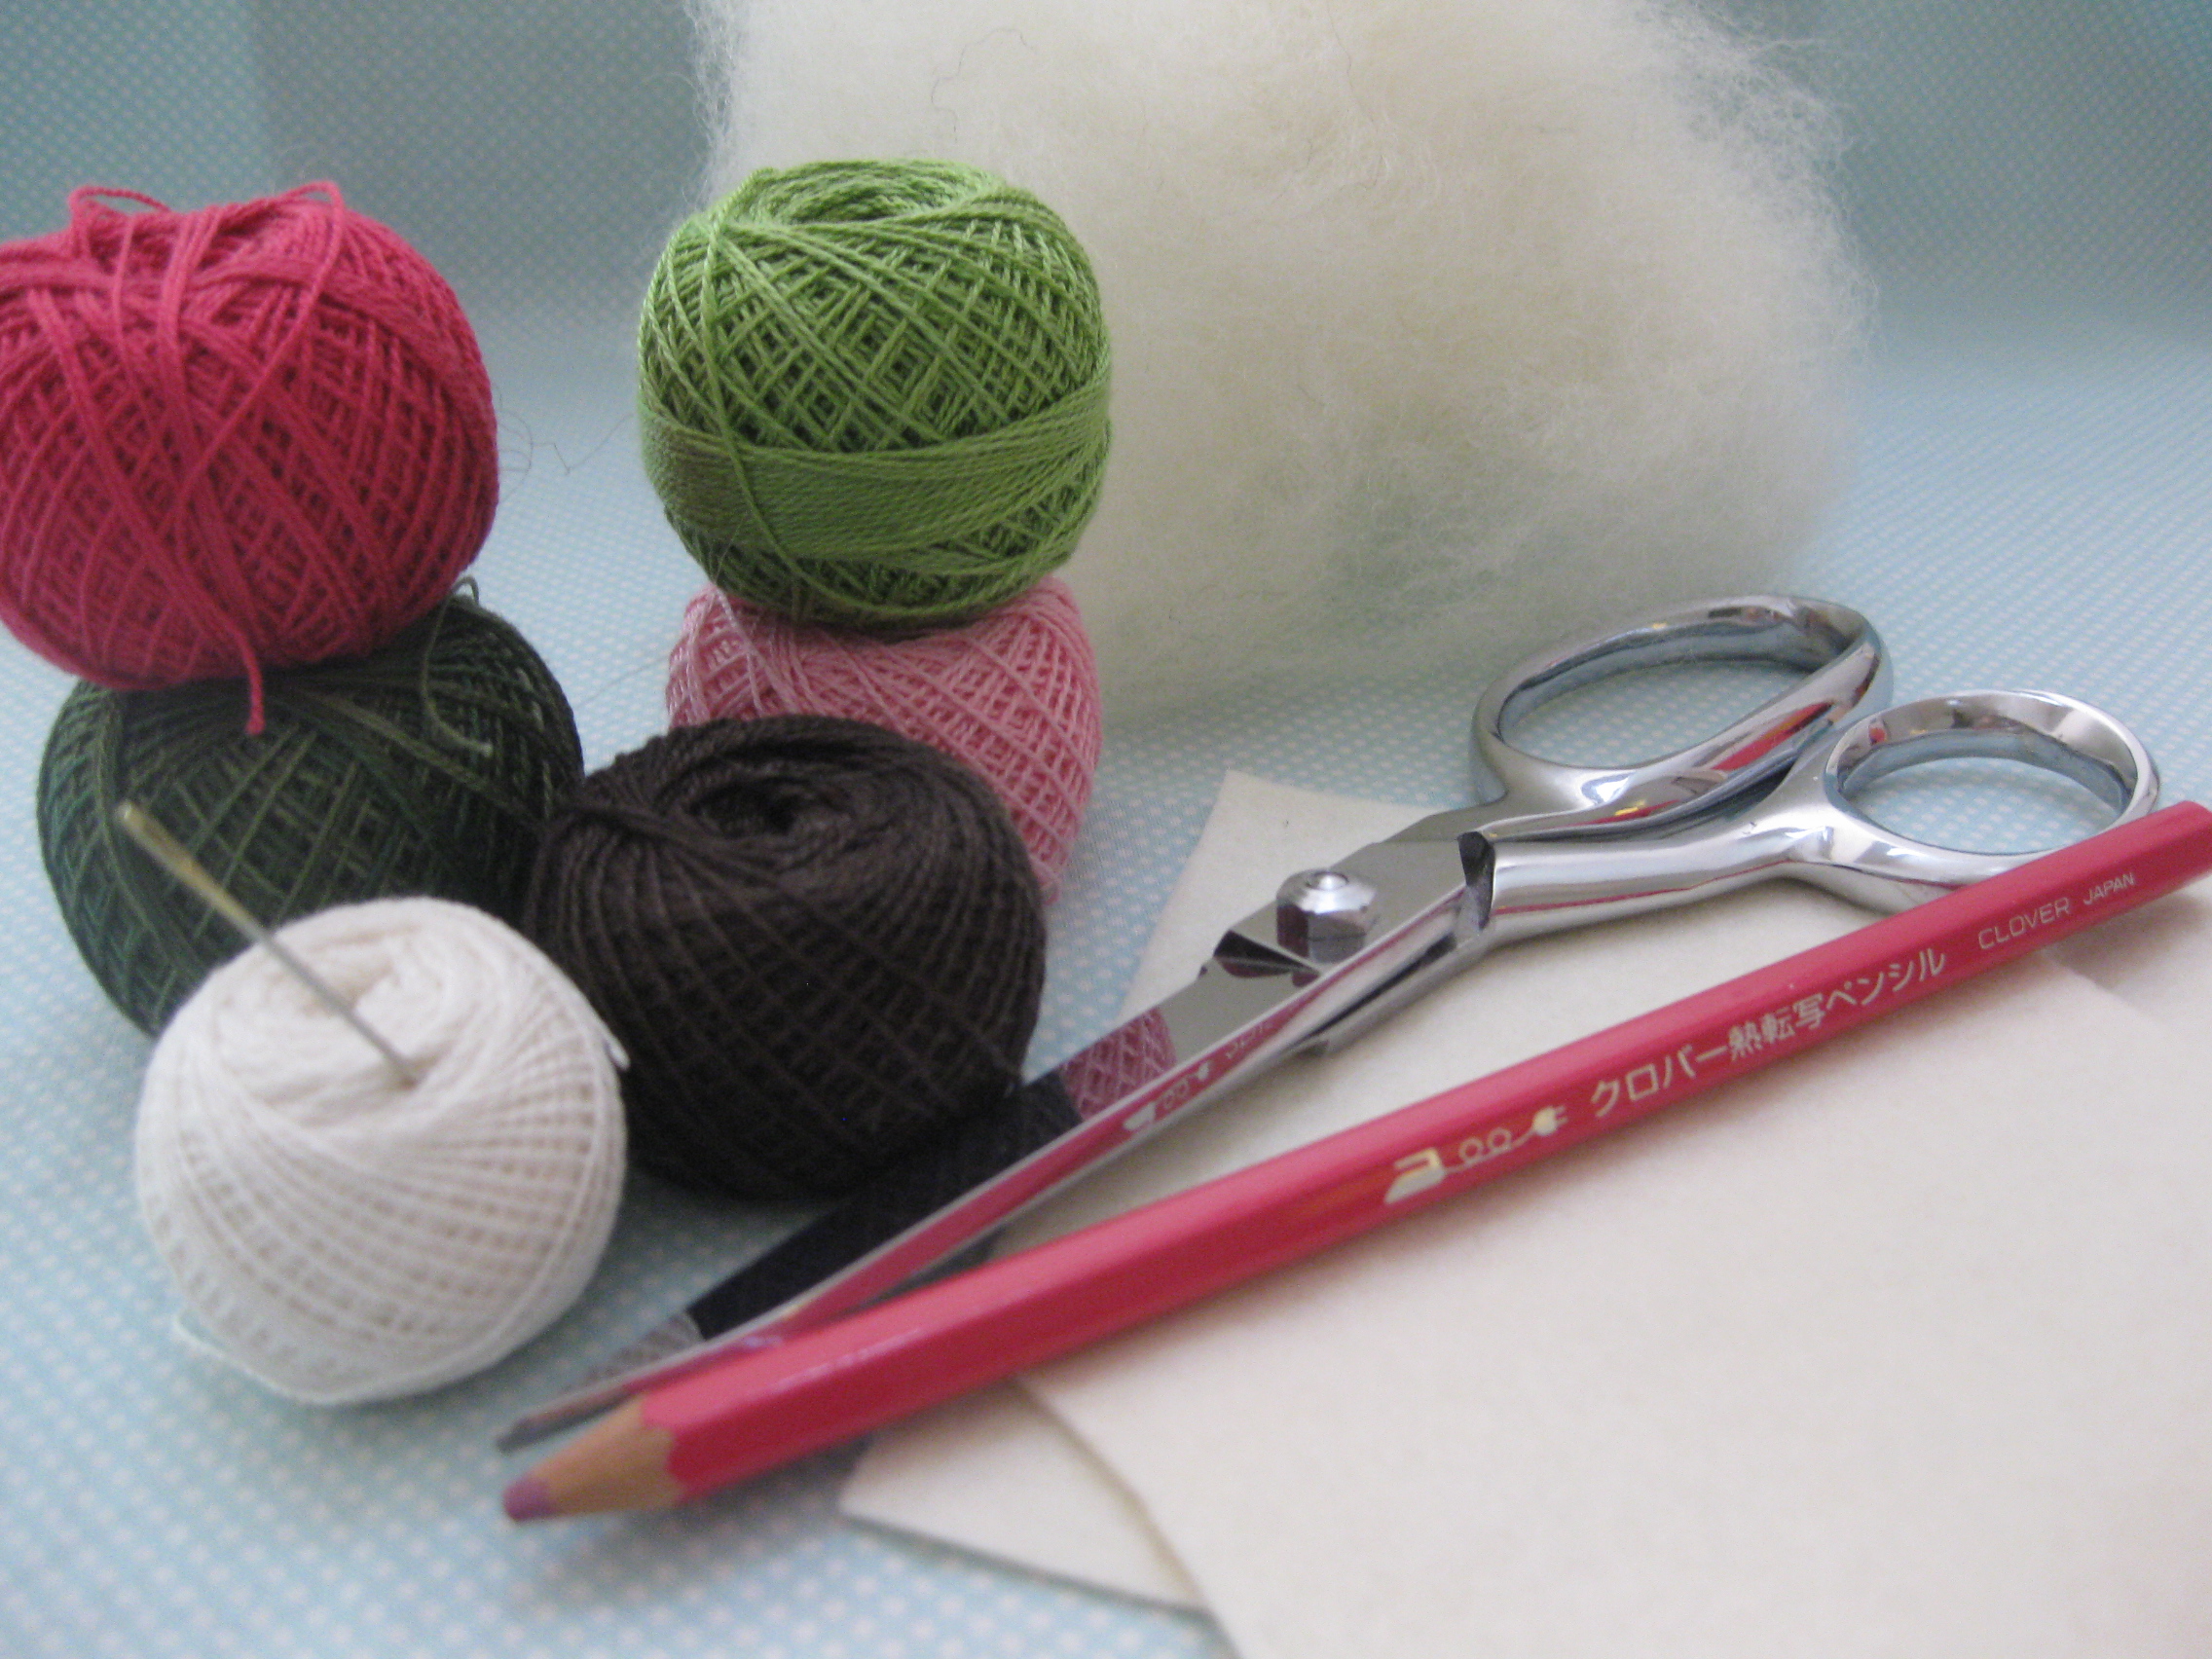
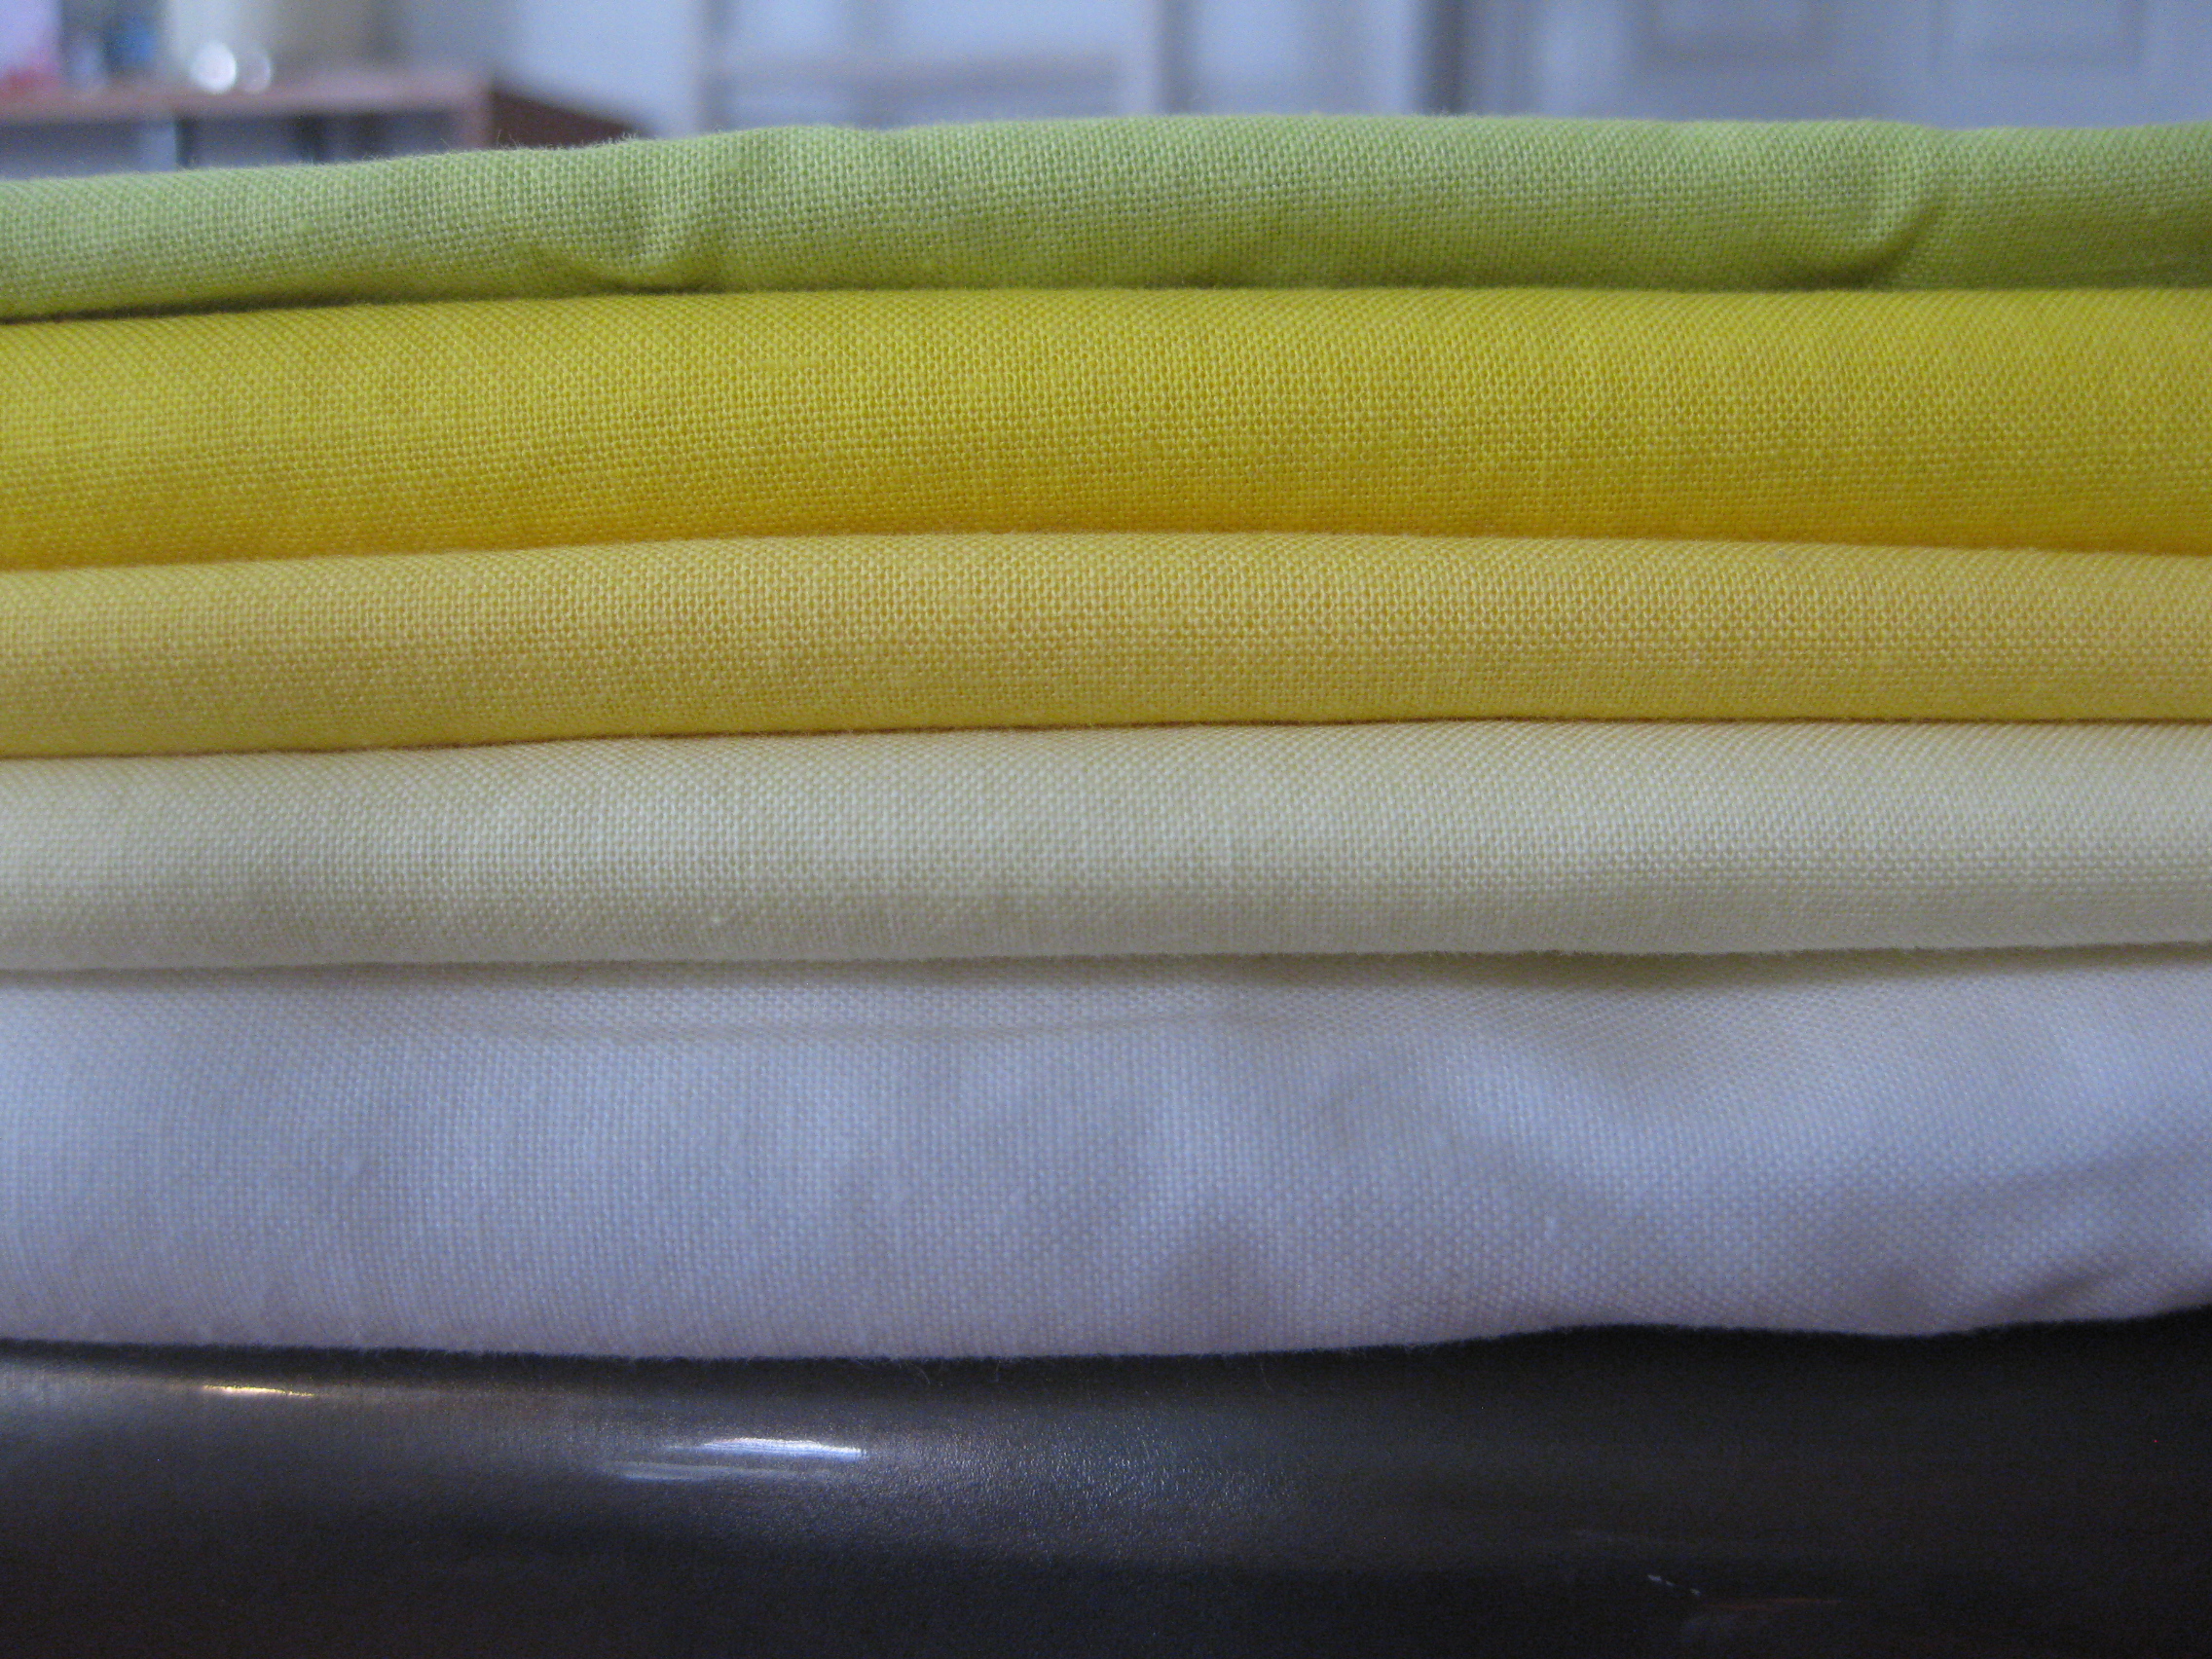
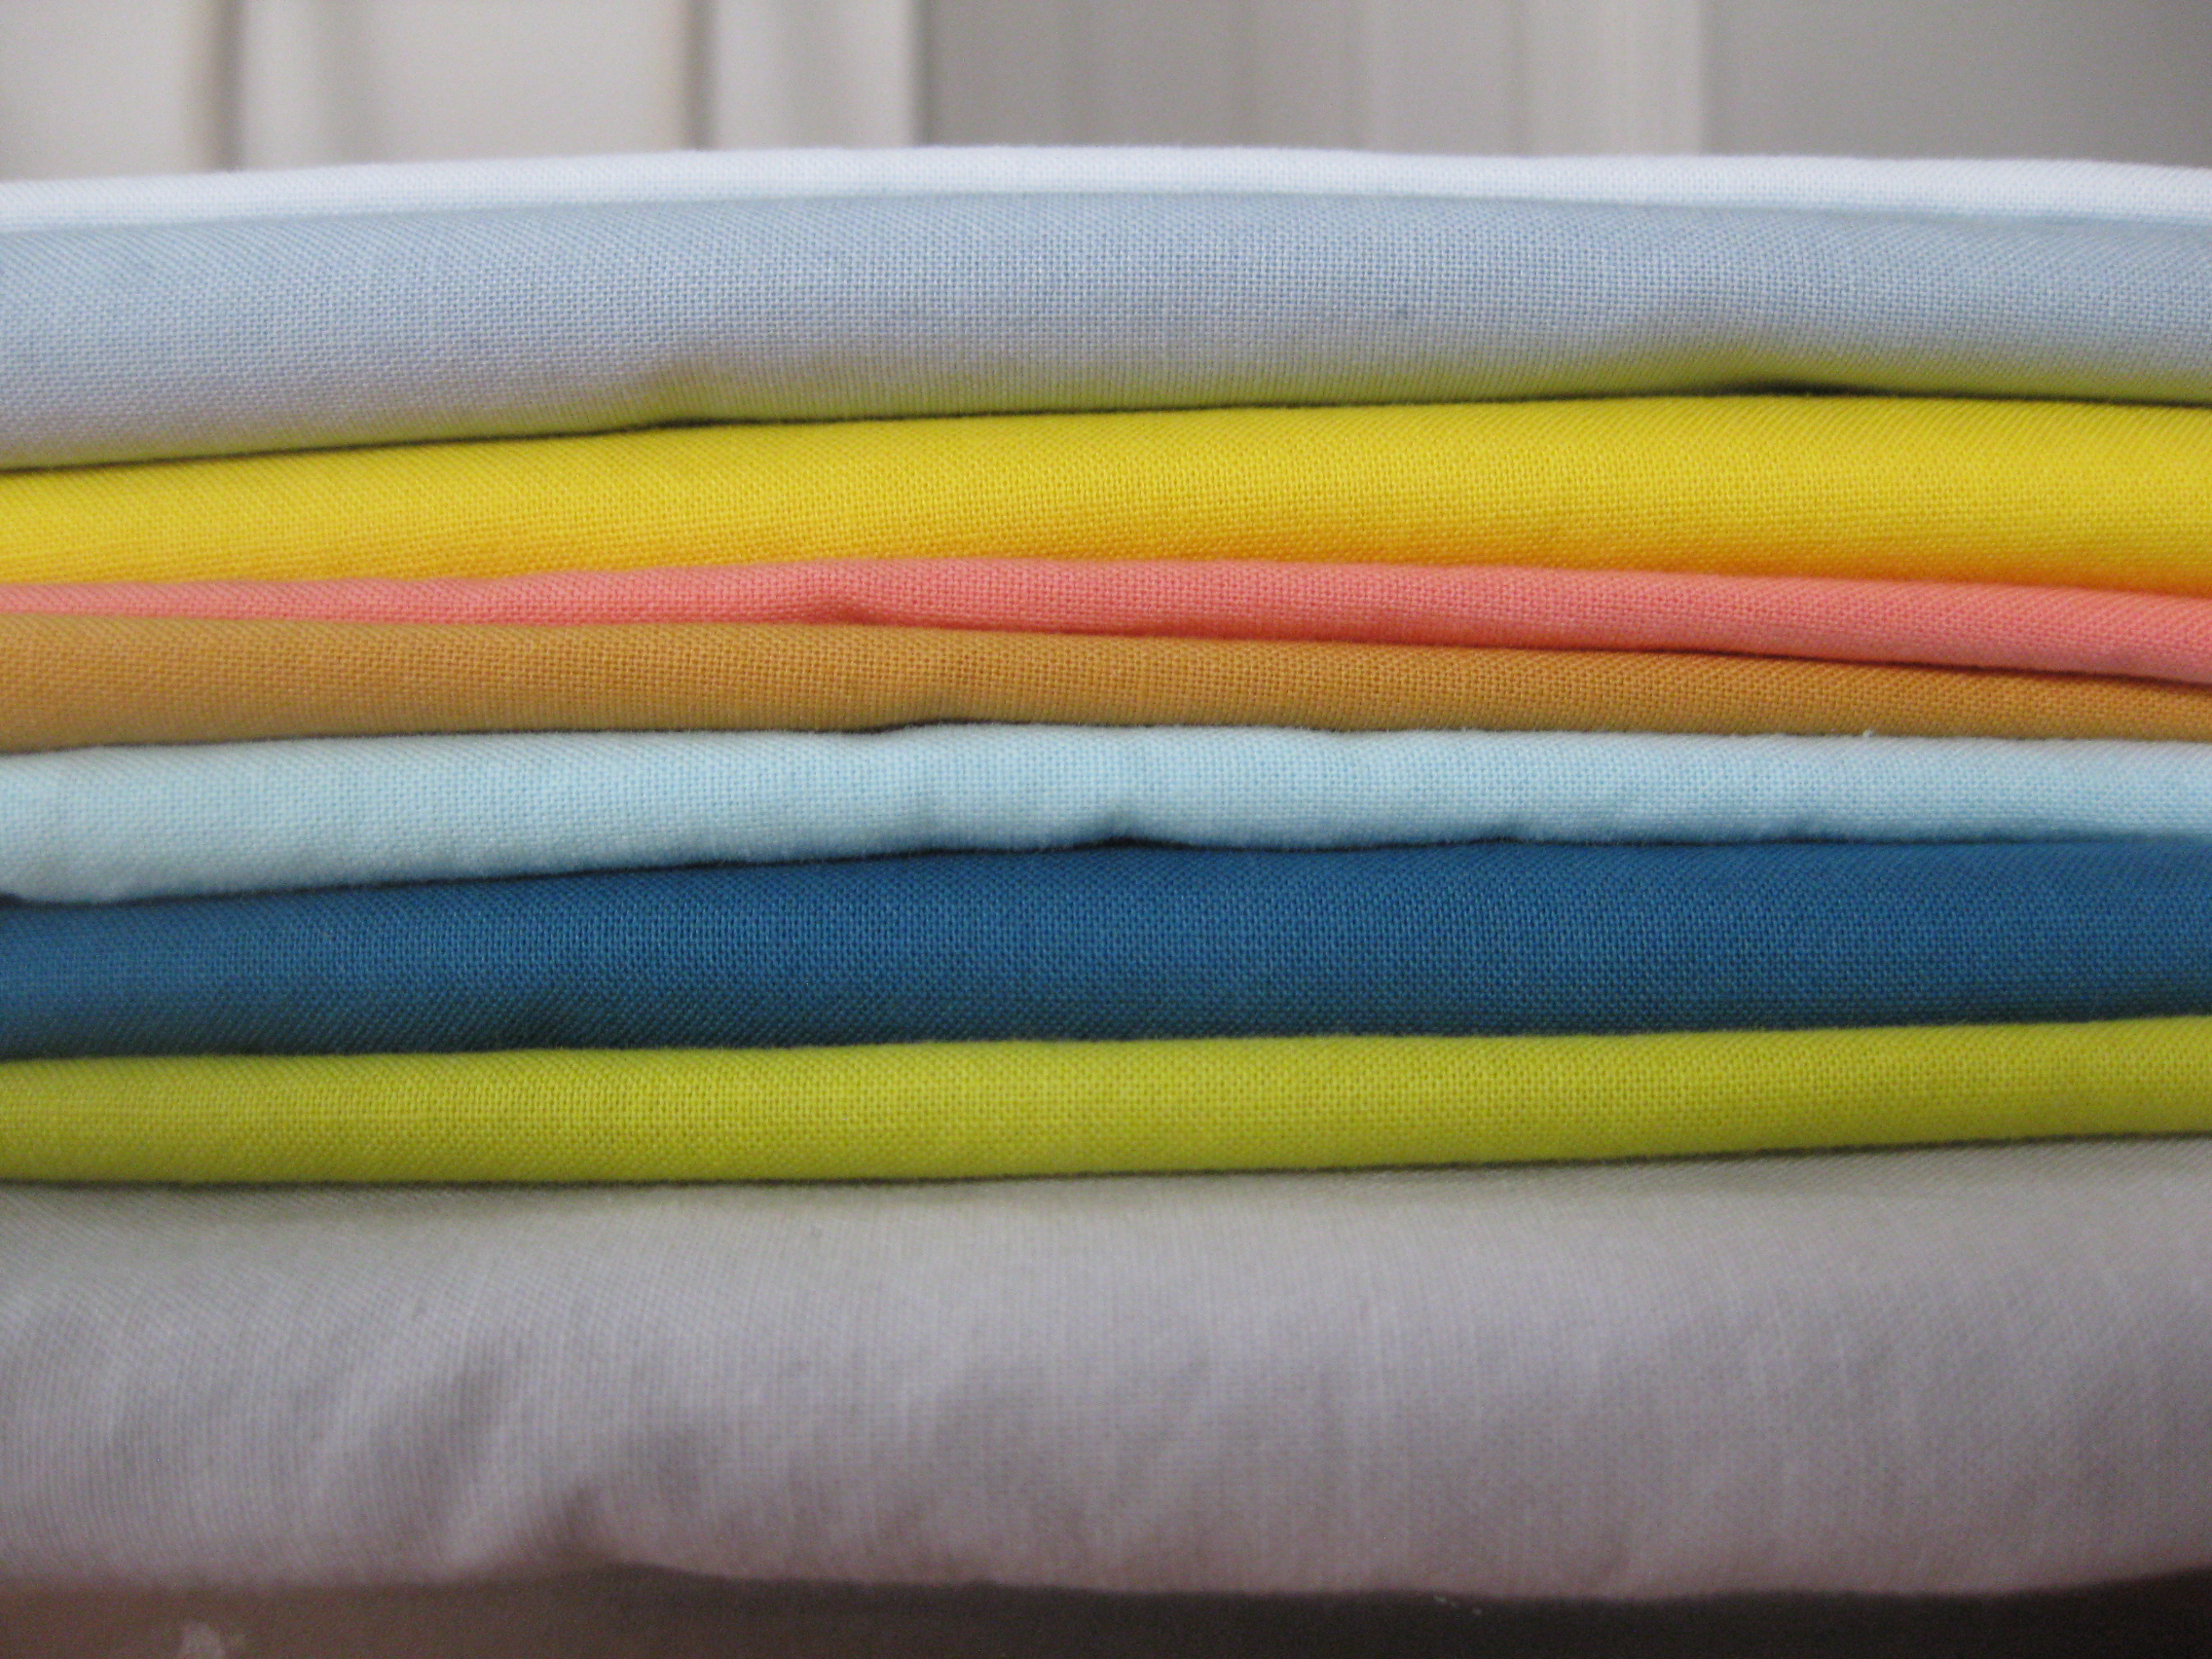
Here is what you’ll need: wool felt, embroidery thread, stuffing, and some basic sewing tools.

IMG_2691

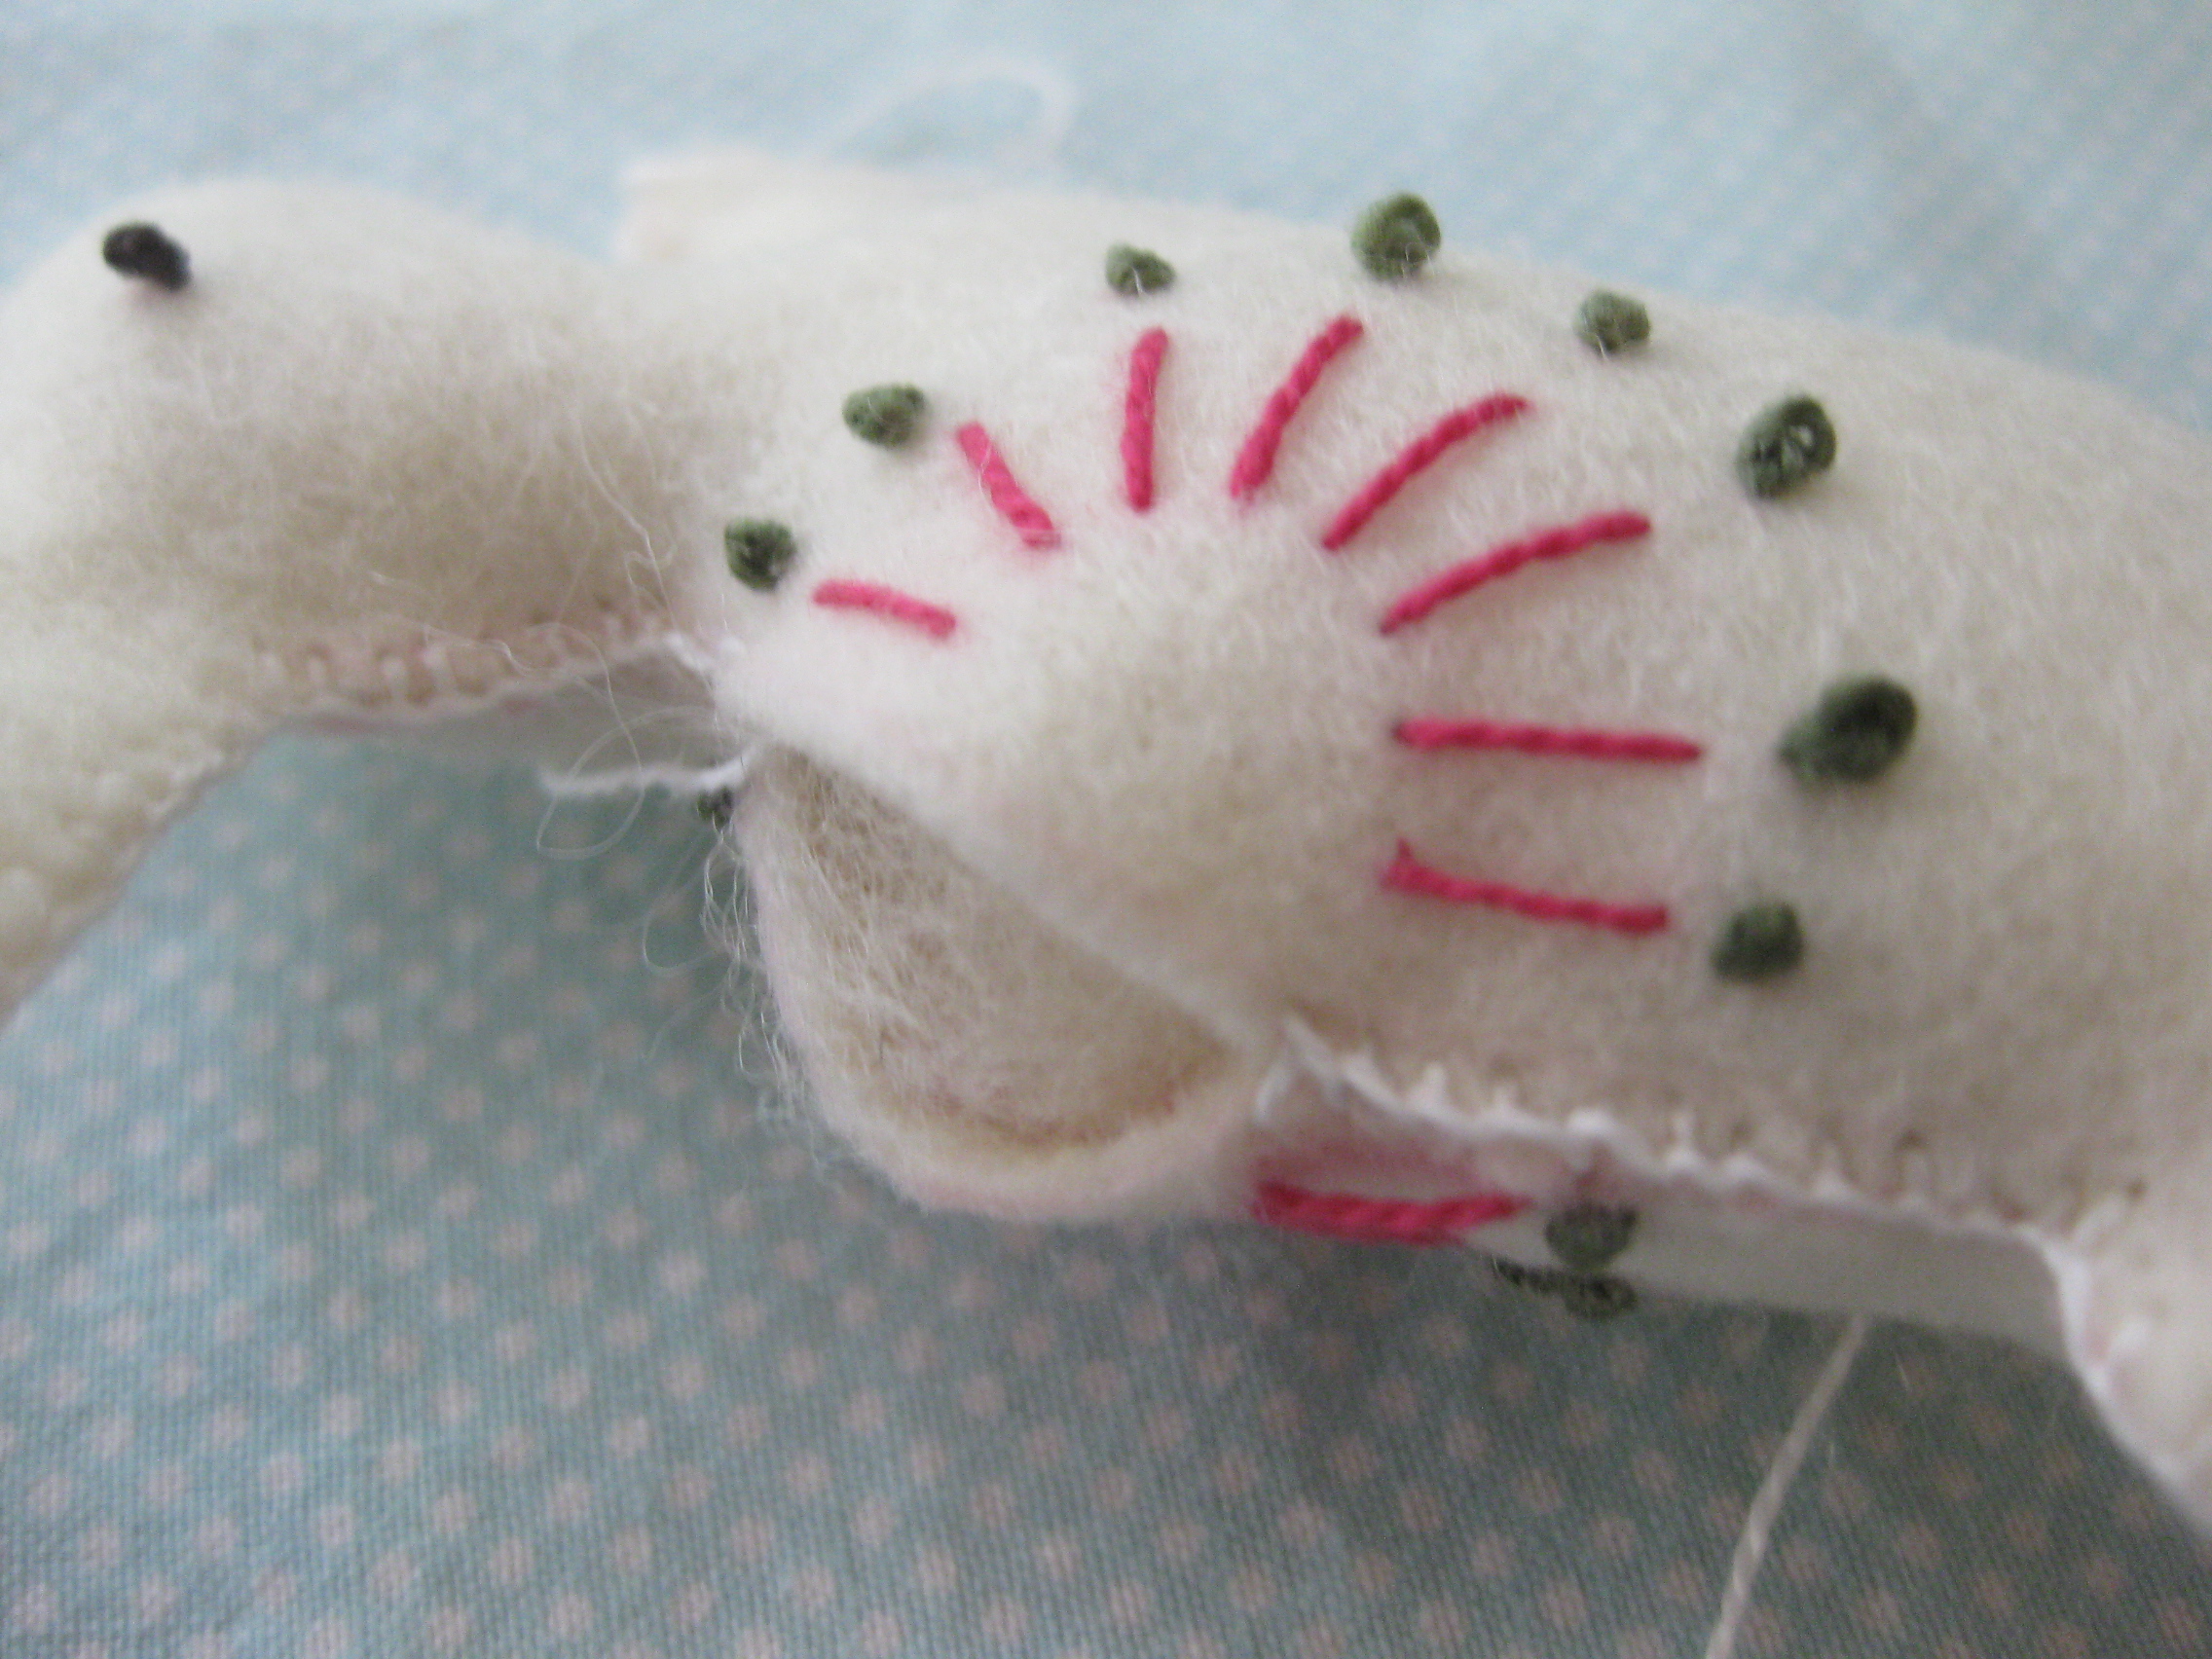
First, you transfer the pattern to the felt using a transfer pencil. Draw the transfer outline outside the pattern lines and then cut the bunny just inside the transfer lines. (See below that I did not do this, so my bunny has a slightly pink edge.) Also, make the lines as light as you can. I recommend testing your transfer line on a little scrap of felt. Then, cut out two bunnies and embroider the pattern on each one.

IMG_2695

After you embroider the pattern, just blanket stitch the two bunny pieces together.

IMG_2697

Leave a one-inch gap so you can add your stuffing. Then, close the gap using the same blanket stitch.

IMG_2699

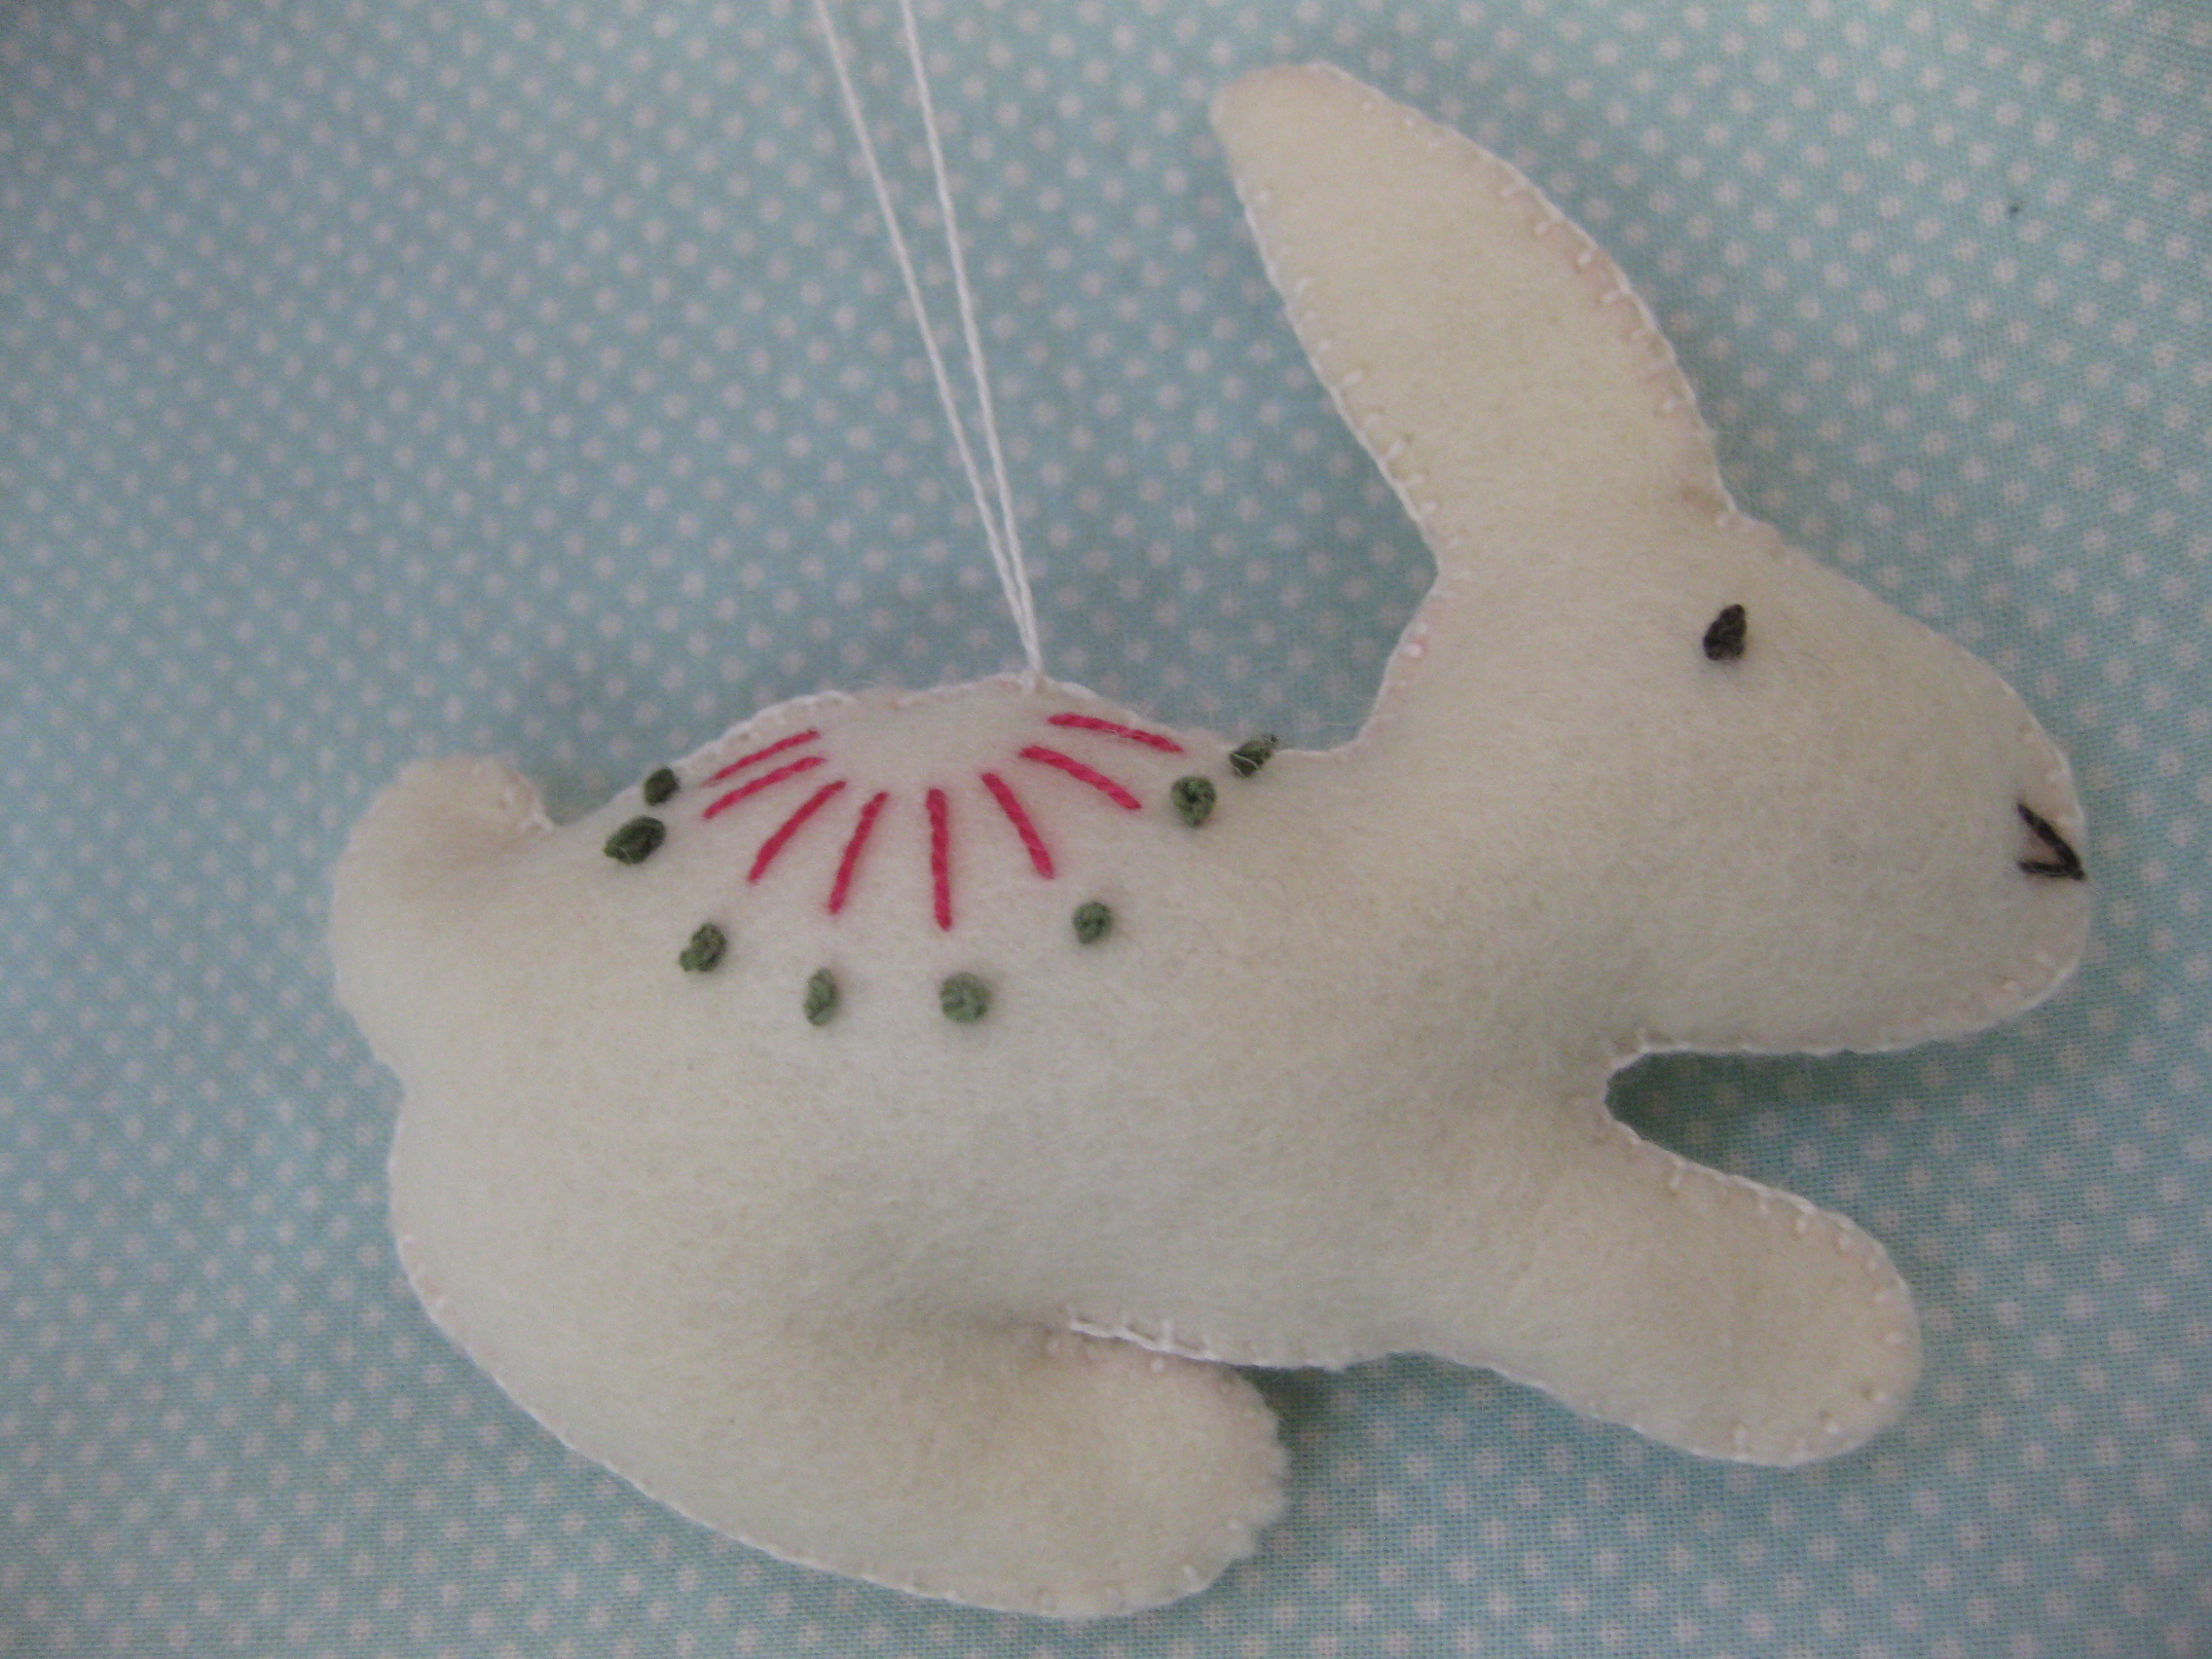
And here is your cute bunny.

IMG_2706

Click the link for the complete instructions with the pattern pieces.

Bunny Ornament Pattern

(The bunny at the top of the post is an alternate version with applique ears instead of embroidery.)

VW Bus Pillow, Part 2

VW bus pillow complete! Since I only had a fat quarter of border fabric, I patch-worked the backing. Serendipity! I like the way it worked out. The pillow looks a little lonely on that window seat, though. Don’t you think it needs a friend? A VW bug pillow, perhaps?

DIY: VW Bus Pillow, Part 1

After many pleasant minutes ogling fabric online for Zeke’s VW bus pillow, I ended up with a print I grabbed at whim at Gather Here (370 Broadway, Cambridge). The print is geometric & groovy, flower-like without actually being flowery. But I only found a wee scrap–a fat quarter! I don’t care. I’m forging on.

I considered using linen for the VW bus print, but fabric paint is tricky stuff, and I wasn’t sure how it would sit on linen’s bumpy texture. Instead, I went for Kona natural cotton and neon orange fabric paint.

Is it boastful to say that I found my VW bus stencil from a couple of years ago helpful? I printed it out and cut the freezer paper stencil following my own instructions (you are being kind and optimistic if you think I could have retained this information unaided). I will post the complete pattern for the pillow when I’m done (for future me!).

Fabric stacks for new projects

I have a green bookcase in my bedroom that I am really not fond of–what possessed me to buy a translucent green plastic bookcase? But I’ve decided to embrace the green and make cushions and a quilt with yellow, green and blues. Here is a stack of colors for a yellow cushion. I am thinking of a simple squares of color around a center of off-white. All these Kona cottons were purchased from Marmalade Fabrics–my favorite online source for solids.

IMG_2673

And here is a stack of colors for a quilt. It’s practically spring here in Florida (sorry New Englanders!) so these colors are perfect for a room refresh.

IMG_2670