These paper snowflakes are the miniature version of the kind I’ve seen kids make at elementary school. Instead of 8.5 x 11 office paper cut into a square, I used 3 x 3″ origami paper in many colors. My smaller rendition does require a little extra dexterity and teeny tiny pieces of tape but it is also very easy. Even though the little coils look intricate, they are deceptively simple to make.
Materials:
3″ origami paper
Scotch tape
mini stapler
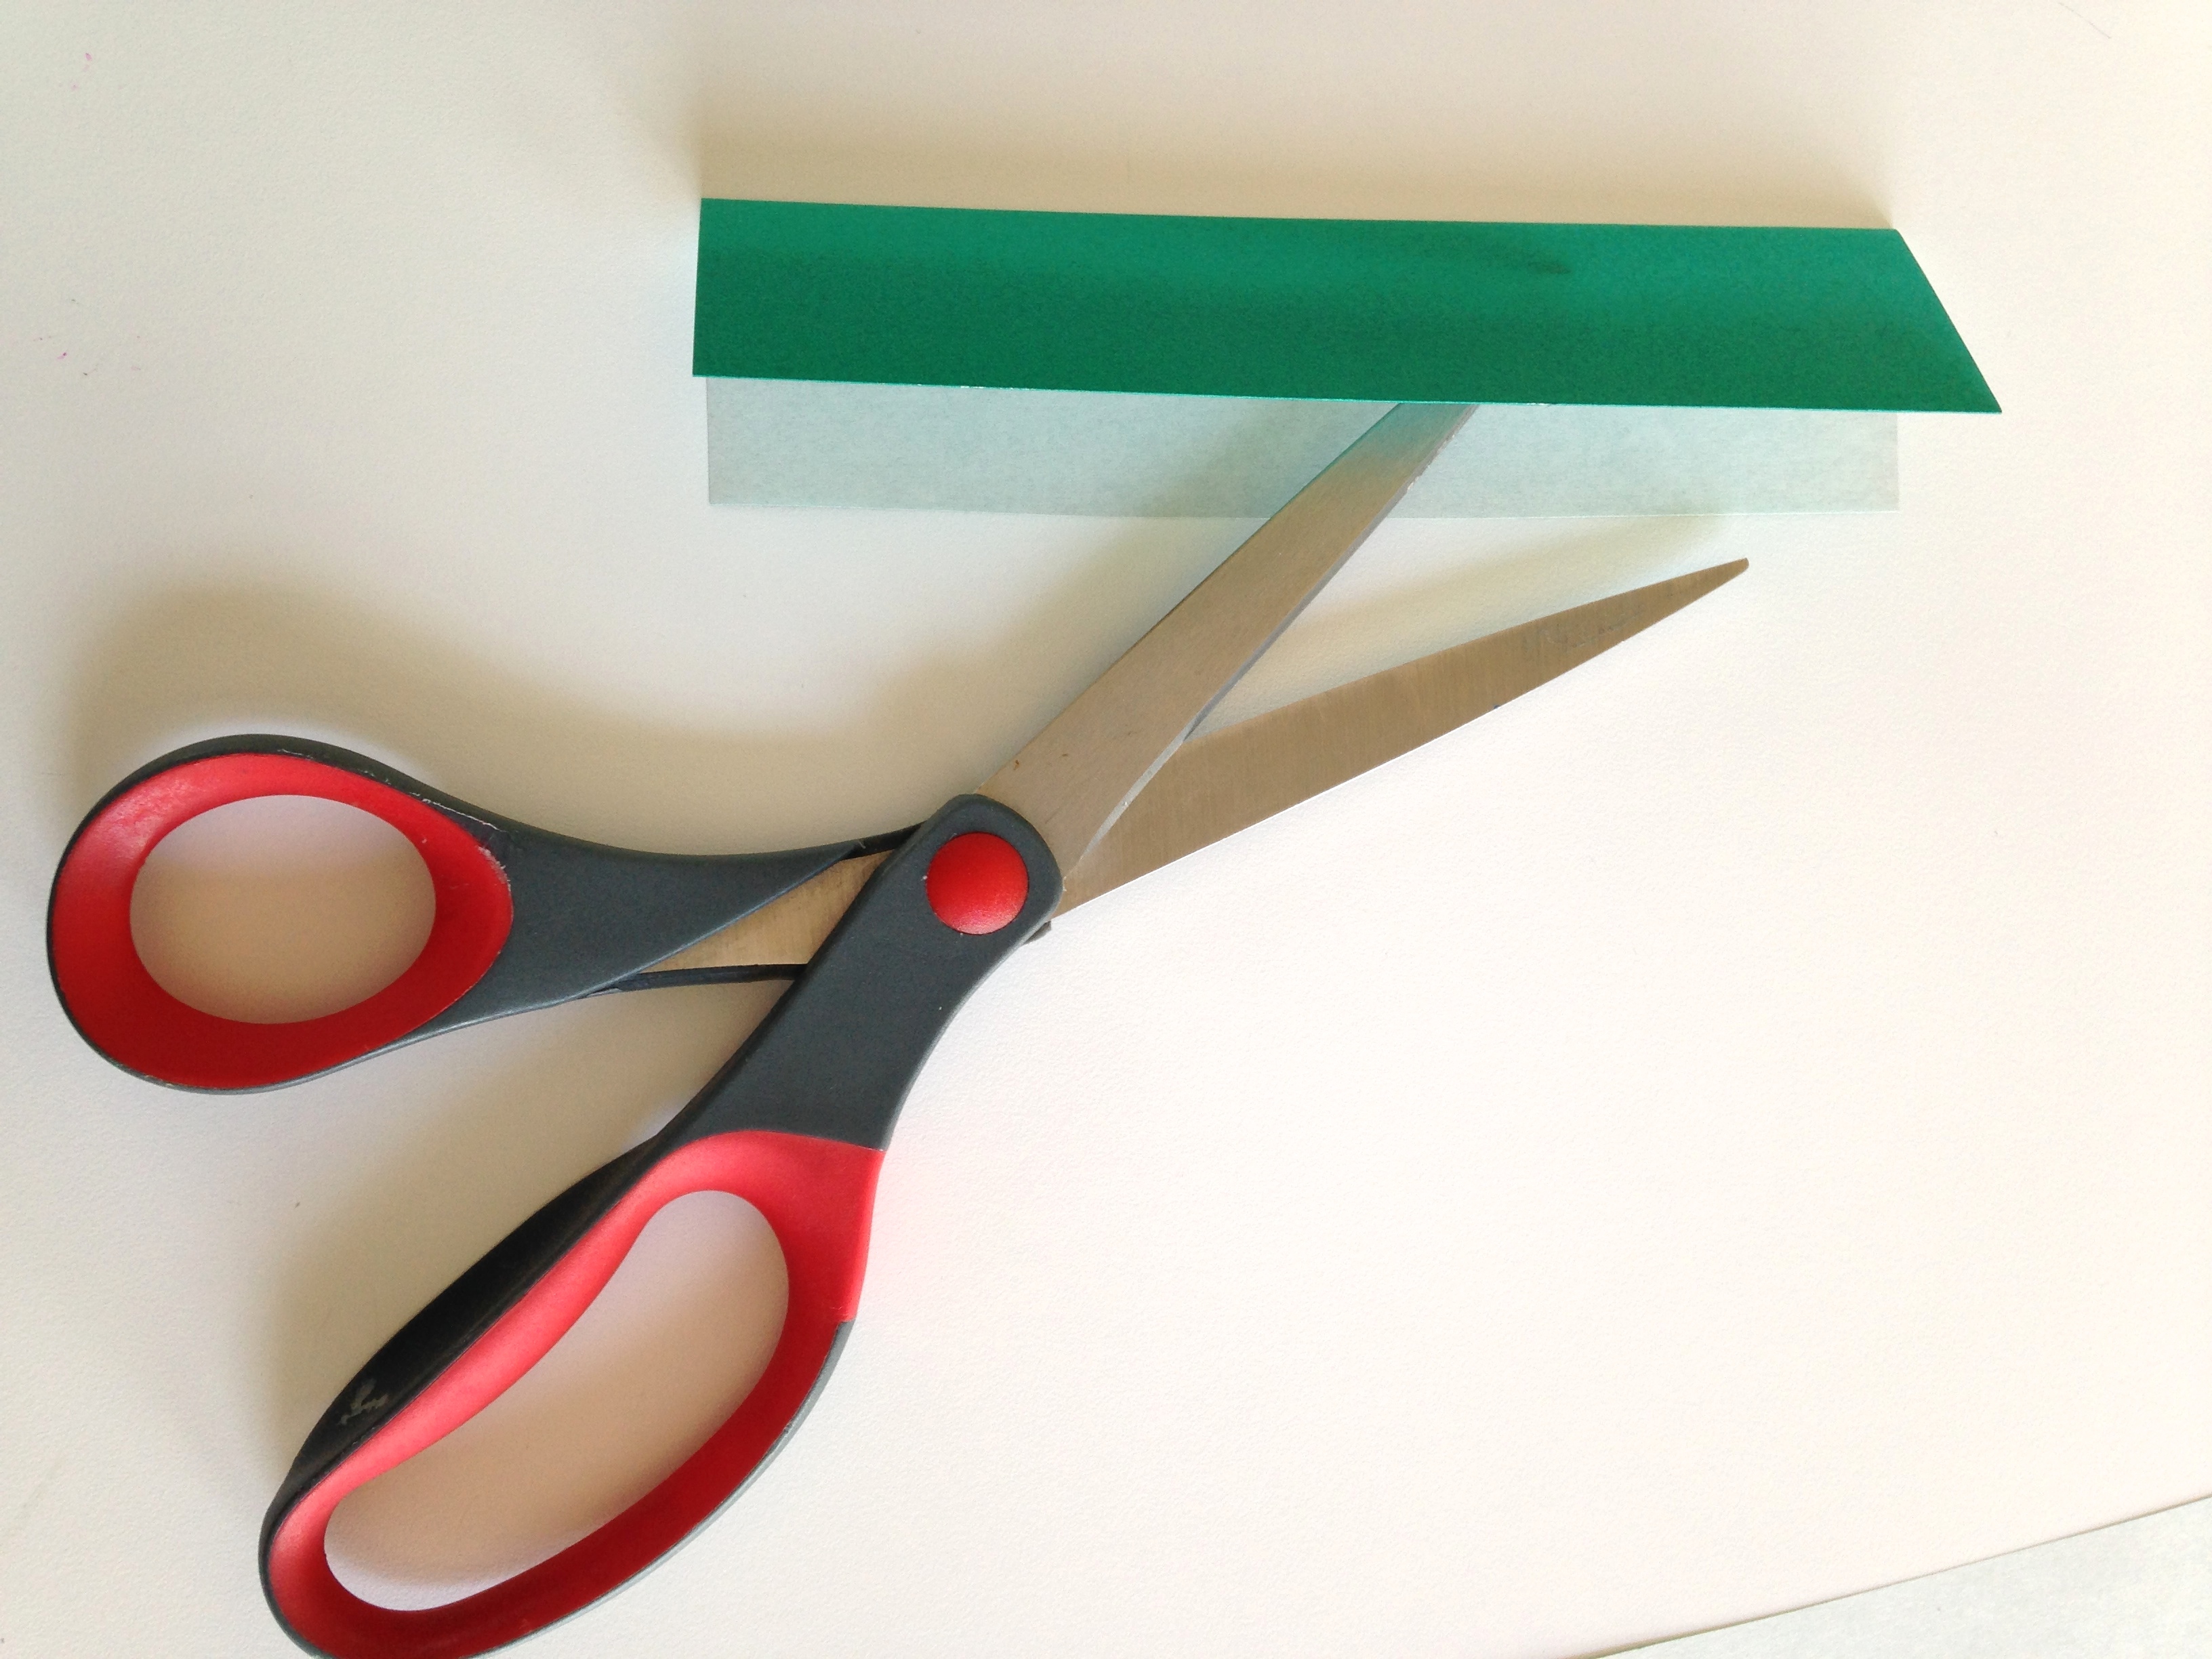
scissors
Step 1:
Fold the 6 squares of paper in half to form a triangle, and then fold again into a smaller triangle.


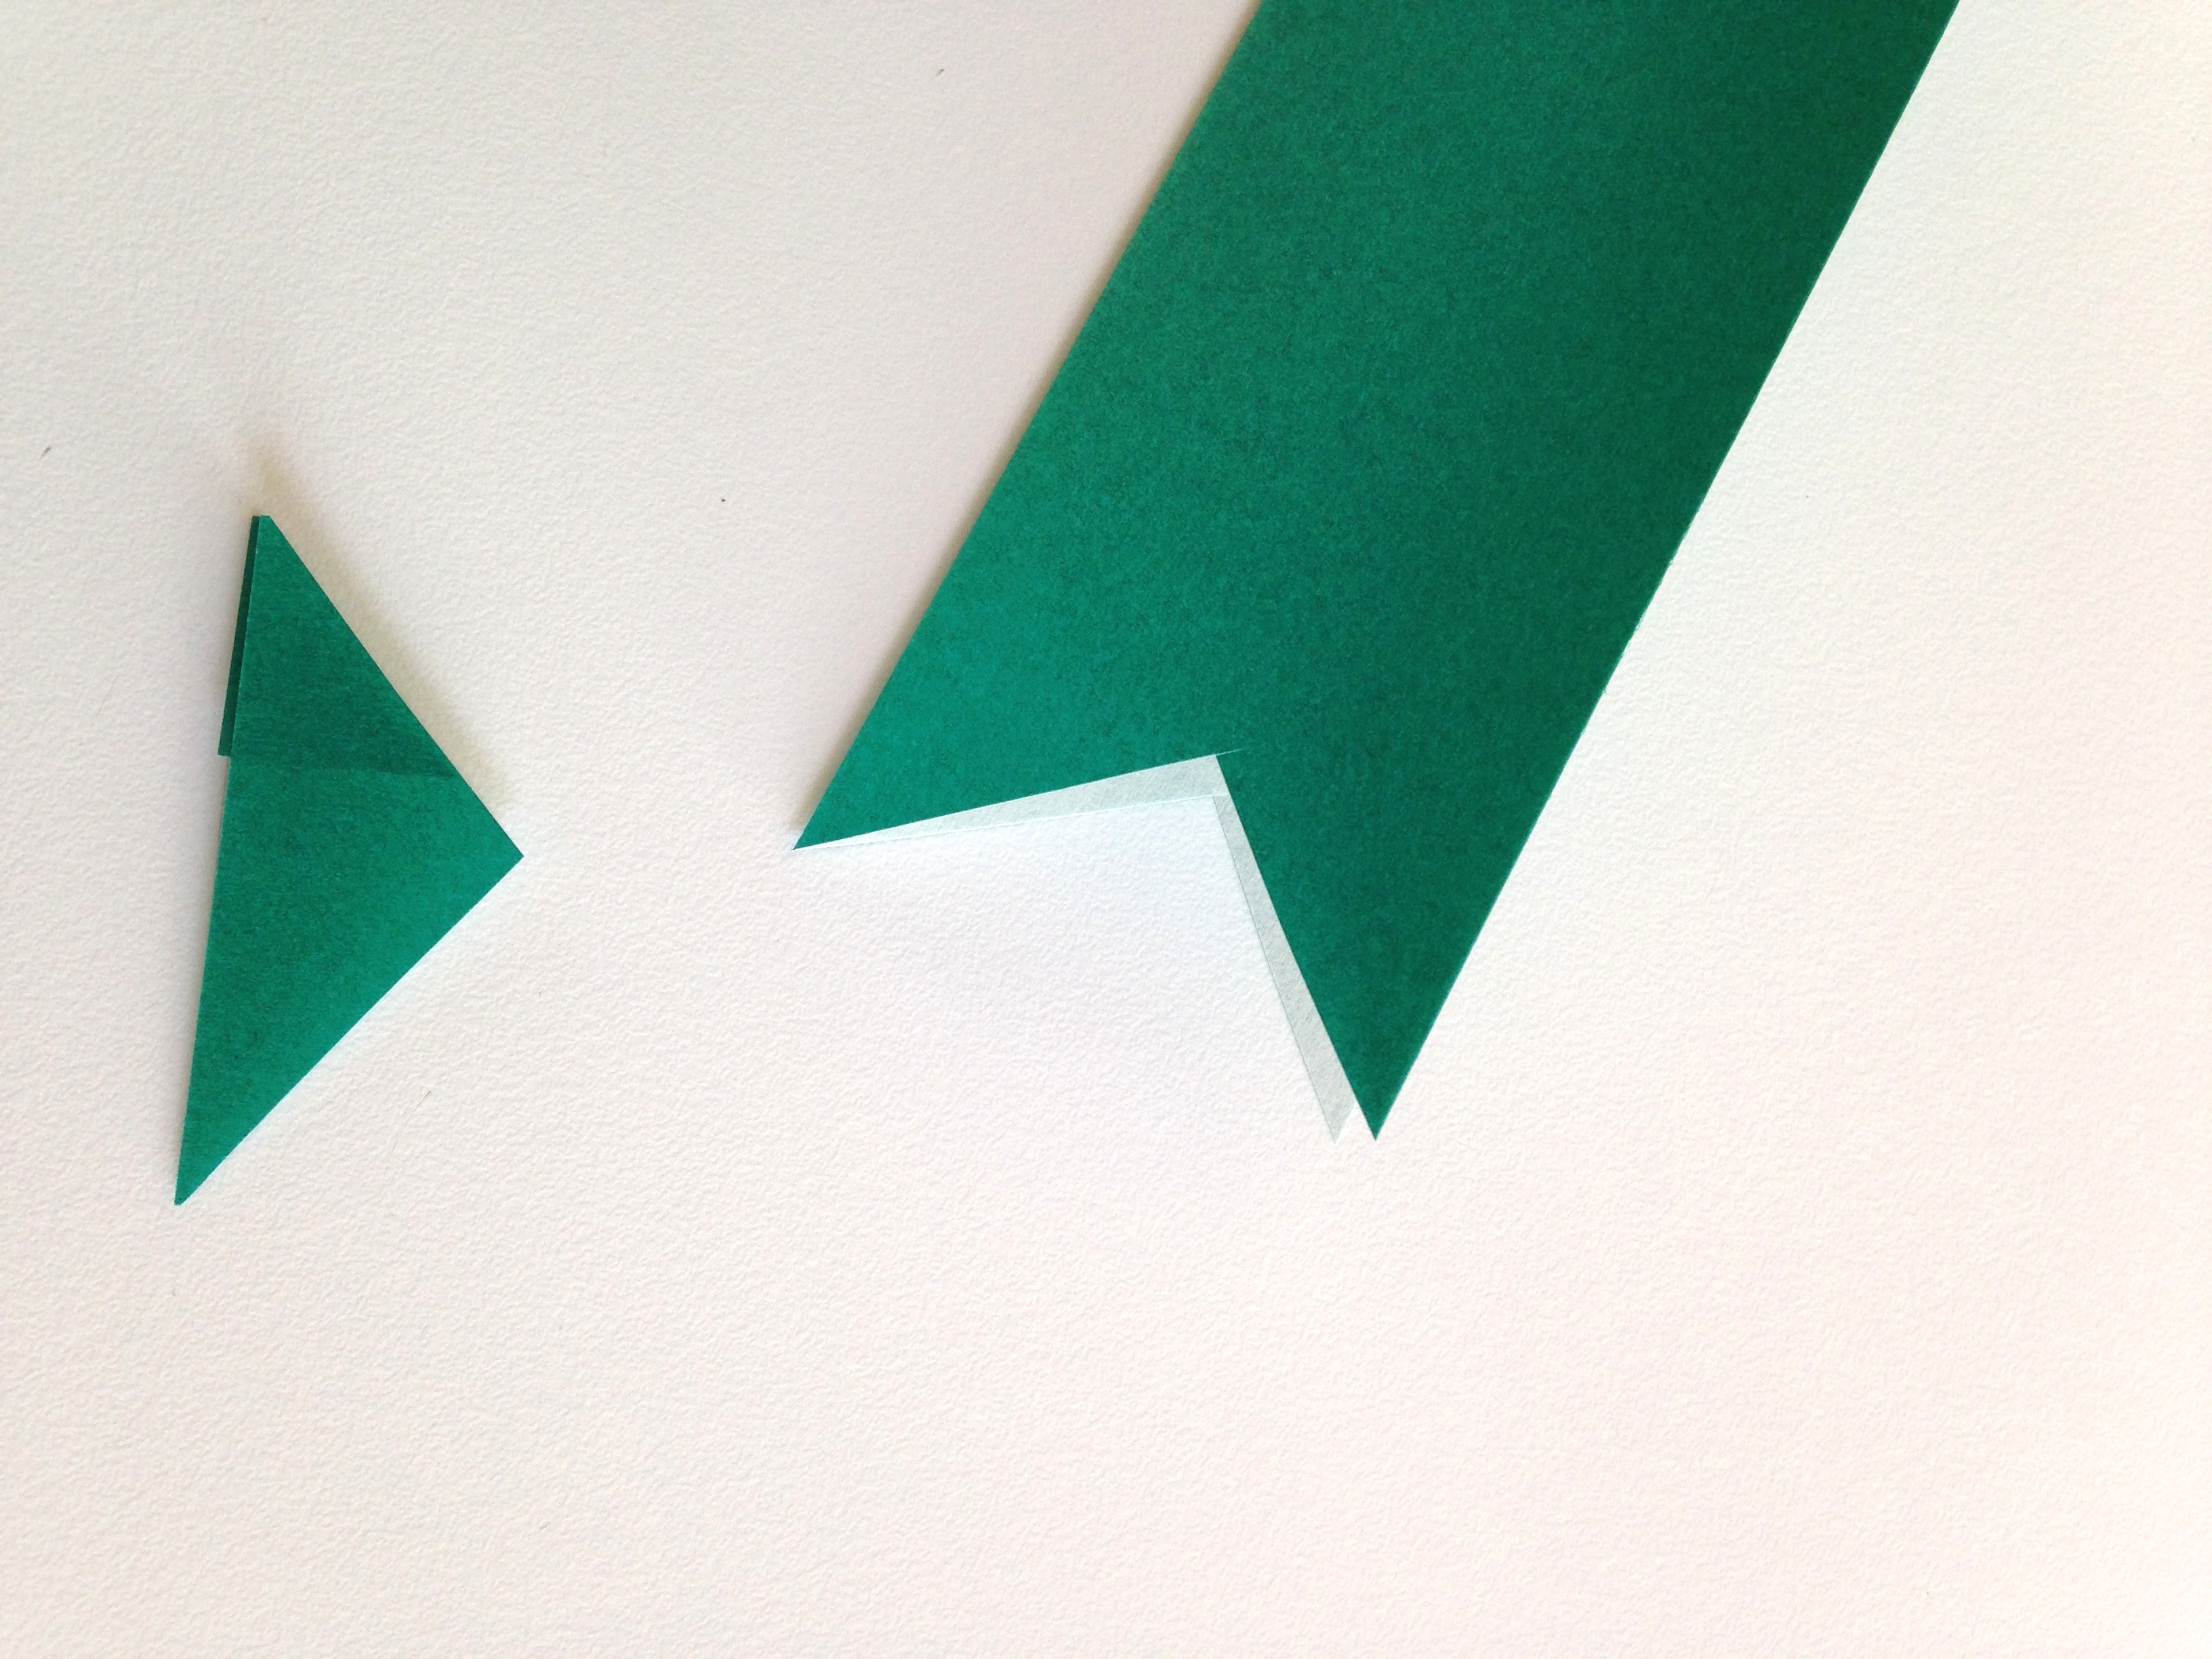
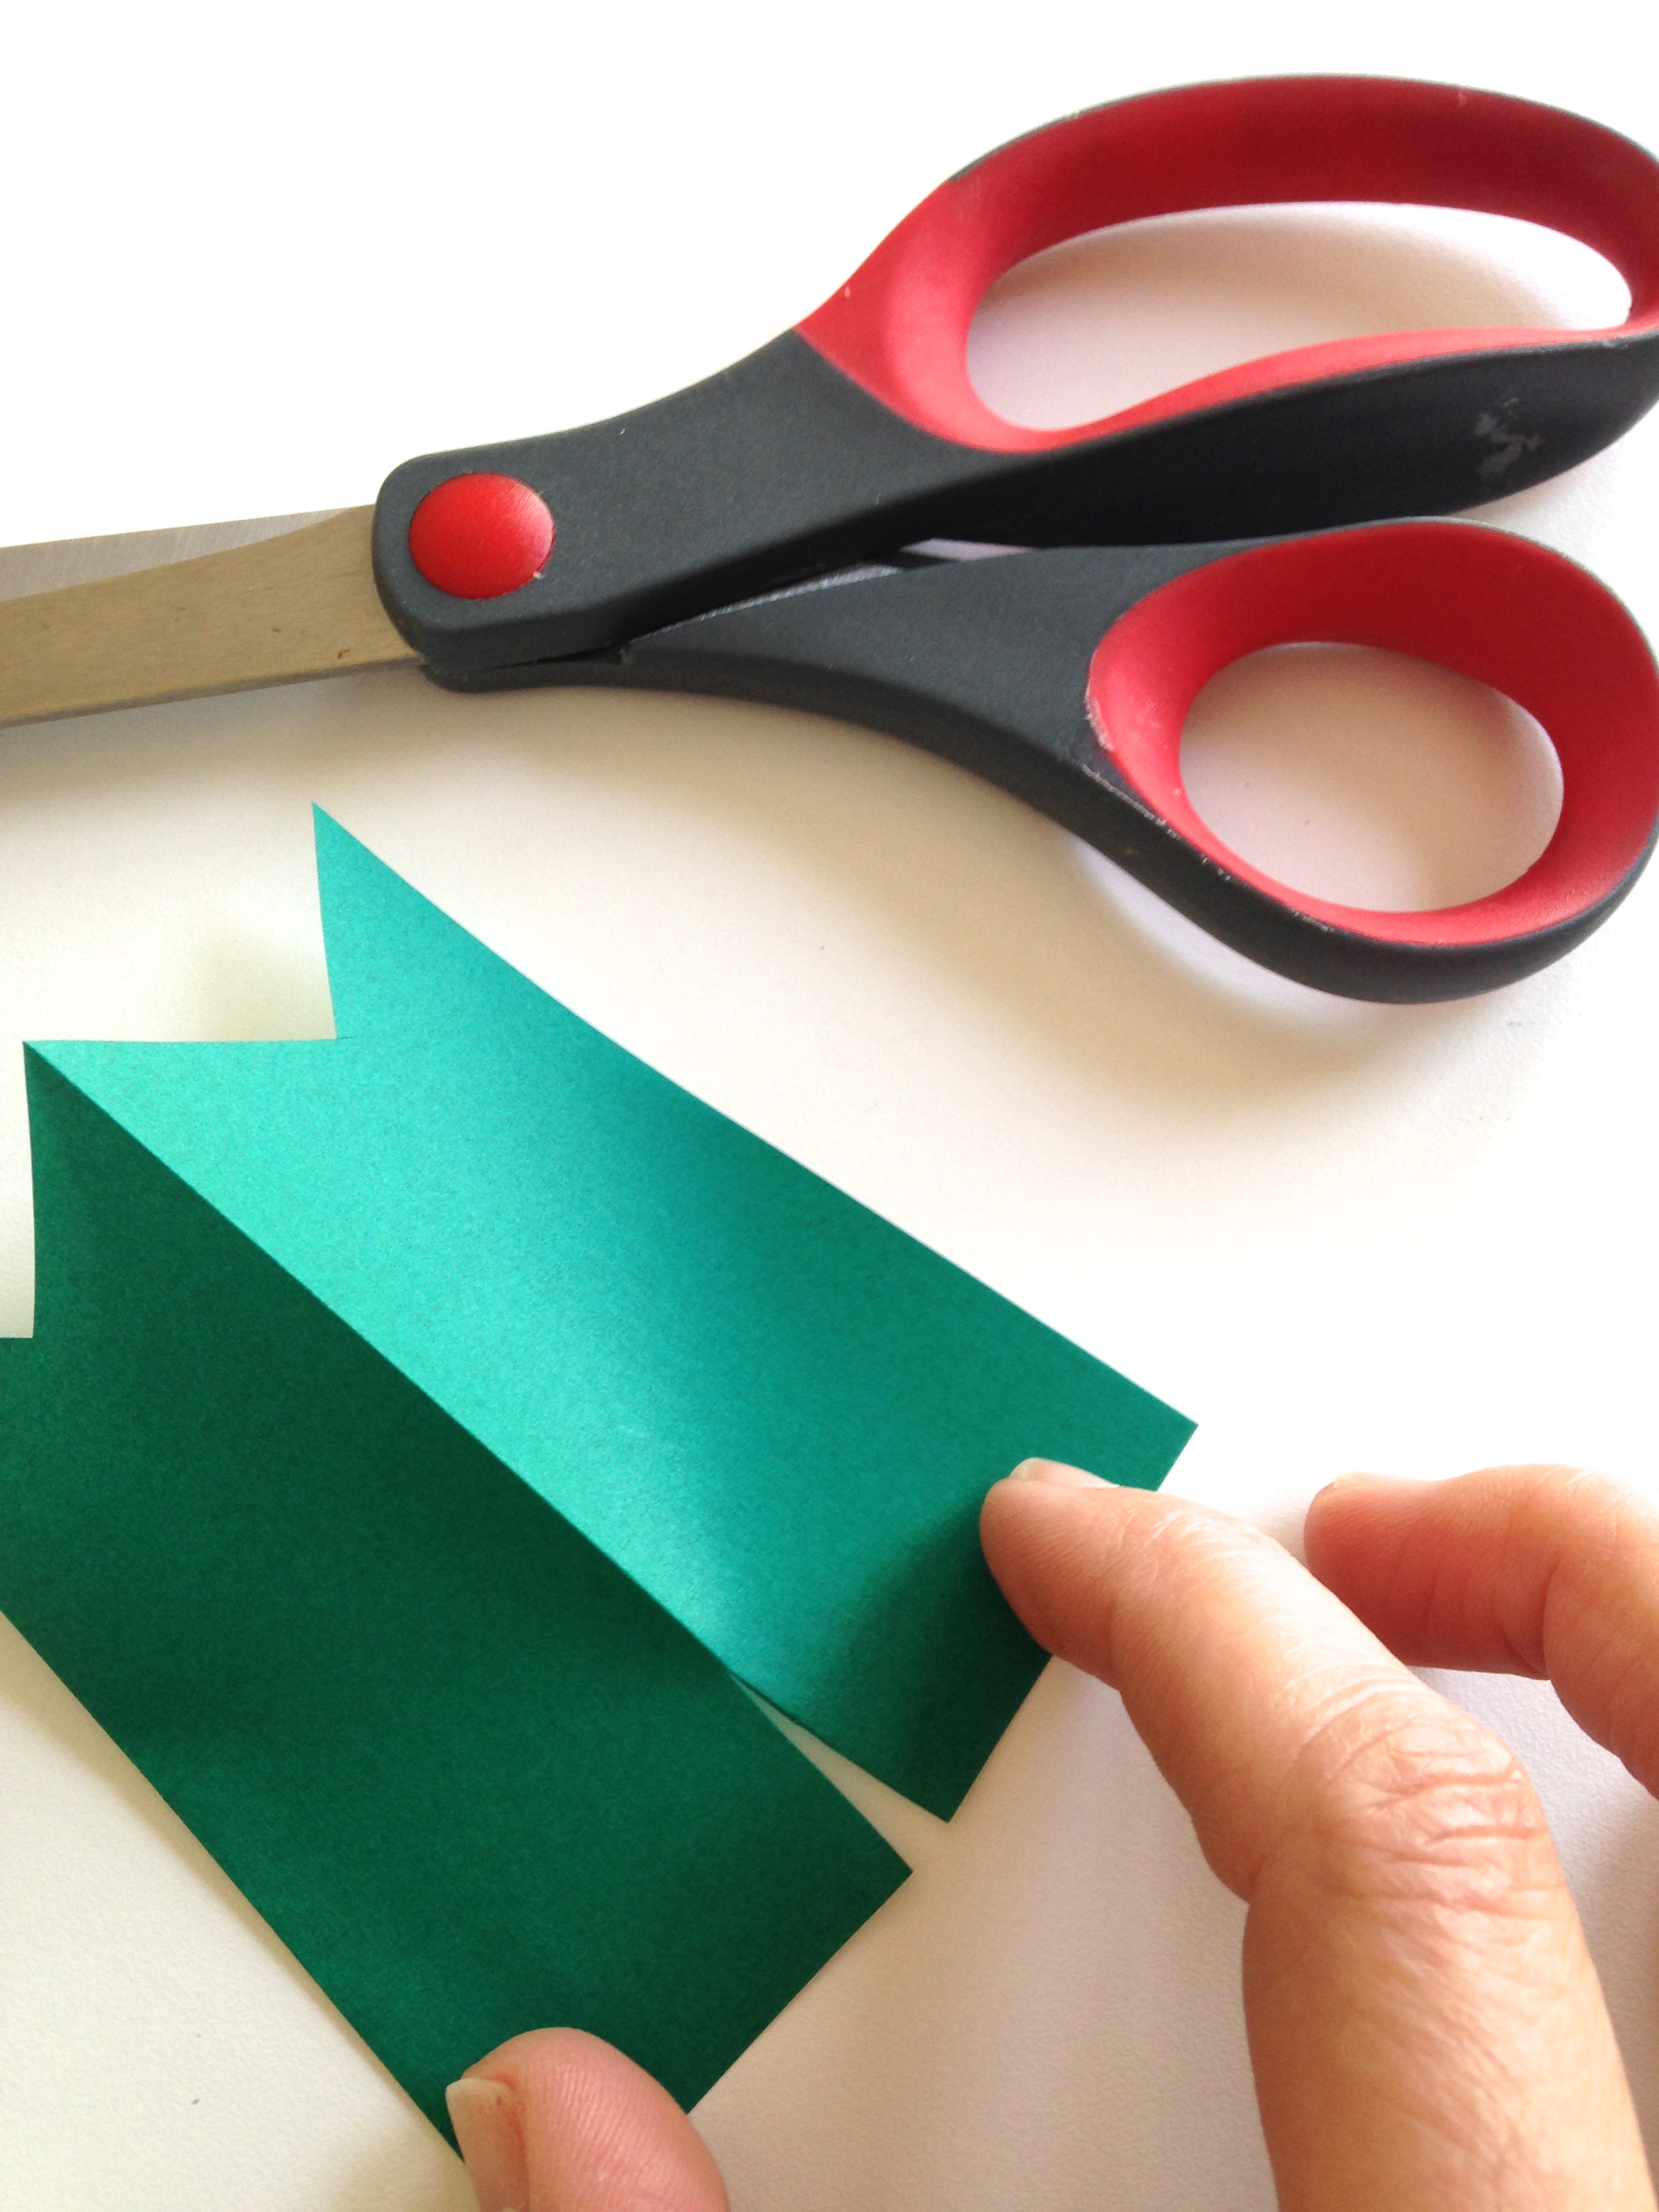
Step 2:
Make three cuts into the folded bottom side of the triangle, each cut parallel to the diagonal edge. Cut almost to the top, but leave a little space intact.


Step 3:
Unfold back to a square.

Step 4:
Roll the innermost corners together and tape.

Step 5:
Flip your square over and roll the second innermost corners together and tape. Repeat (flip and tape) until all of the corners are rolled together. Complete this process with all six pieces of paper.


Step 6:
Join 3 coils together and staple. Repeat with the remaining three. Then staple the two sets of three together in the center. Some instructions suggest that you also staple each coil together, but I found that because these stars are small and compact, I didn’t need to do that step.


String and hang in a window!