Renew: Before and After Card File Drawers

I’m not patient enough to take a Before Photo. Once I have a project-induced adrenaline surge, I can barely pause to snap a decent photo or two. So here’s my best:

IMG_3692

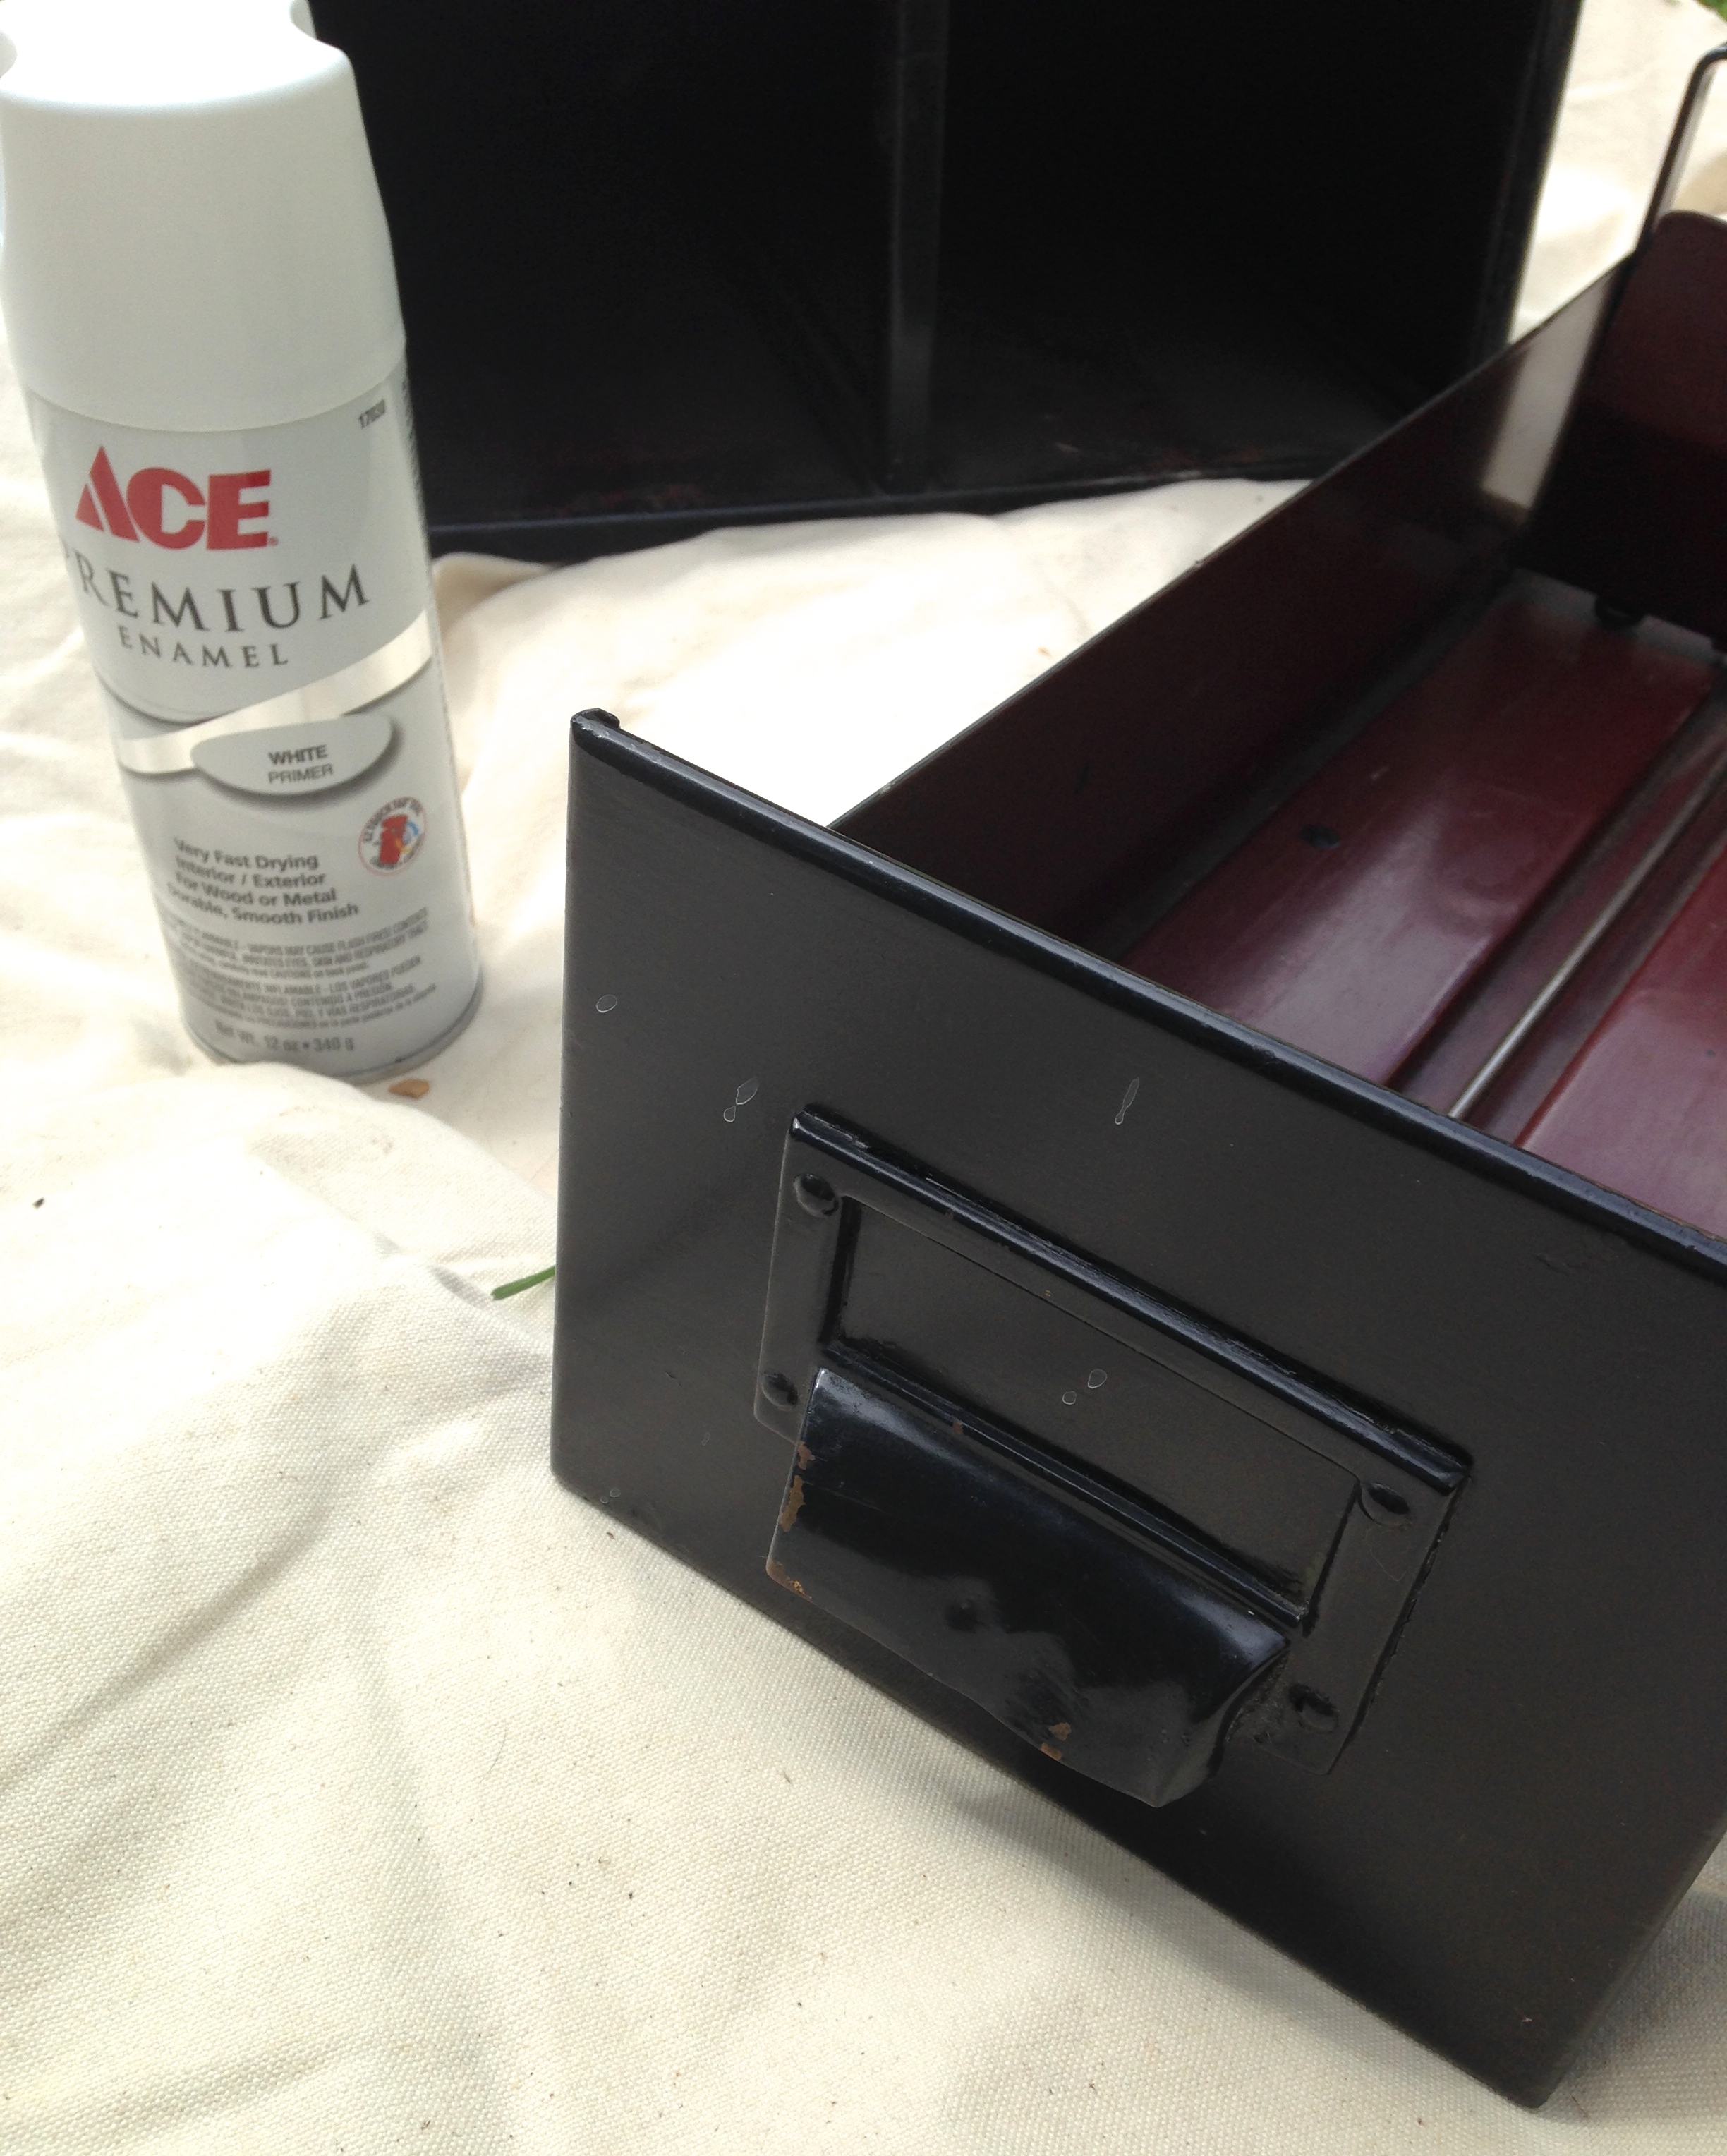
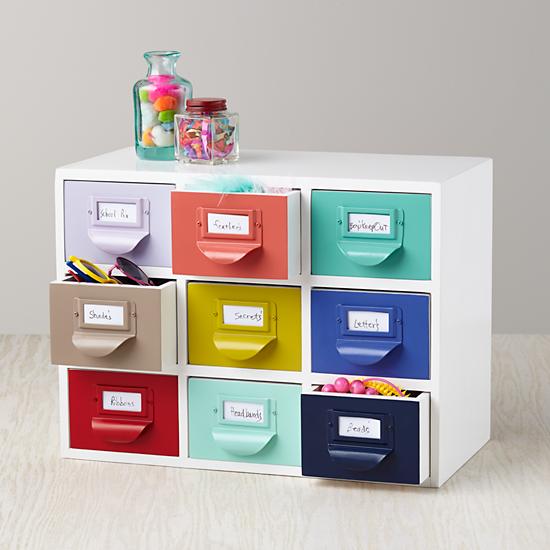
You get the idea. Vintage black card file drawers. Actually, I think they were originally army green, and I painted them black a while ago when my husband and I were going through a “drag any old discarded file cabinet off the sidewalk” phase. Does everyone go through this phase? Is it developmental? It’s definitely a pre-kids condition. Anyway, I was inspired by this Land of Nod item to dig the old thing out of the closet and give it some new paint.

color-reference-drawers

After spraying the file drawers with enamel white paint (and then laying down for a while due to resulting asphyxiation), I got to work on the fun part. I used tiny bottles of model paint to color the drawer fronts.

The After Photos:

I don’t know if you can tell but there are actually two different file boxes with two file drawers each. The top box is made of wood, the bottom of metal. They sit on top of each other nicely though, and their differences add to a general funkiness, I think. I haven’t quite figured out where to put the drawers–they are 17″ deep!


Creative Kid: Miniature Still Life

still life fruit

Still Life with Fruit. Or Fruit Series #1.  Or Strawberry on Blue. I’m not sure how best to describe these mini masterpieces. These petite paintings were a product of a craftathon weekend with our cousins. Our fruity theme inspired a modeling-clay cornucopia of summer produce as well (and one slice of pizza, above).

Except one cousin, a true artiste, who went his own way. May I present to you: Man with Scythe.

IMG_3497

I bought the 2 x 2″ canvases at my local craft store, but you can get them online here at Blick Art. The canvas comes prepped for acrylic paint (or oil paint if you have a lot of chutzpah/hubris). You can also purchase little easels for display–very sweet.

tiny easel and canvas


Creative Kid: DIY Easy Printmaking

This is such a fun, easy craft for kids–and it’s doubly rewarding because you get to use something from your recycling box! You know those little foam trays that your grocery store uses to keep your veggies comfortable? Trader Joe’s, in particular, seems enamored with the excess packaging. Anyway, wash that foam and save it because now you’re going to need it.

Zeke and I spent a happy morning making prints. Make sure to cover your work space (I used paper bags–more recyclables!) because kids love to roll the paint around, and things can get messy. Also, if you want to write words in your design, remember to write your letters backwards. We actually used a hand mirror to make sure we were successfully mirror writing.

DIY Easy Printmaking

Materials:

Recycled foam trays

Roller

Washable block printing ink (you can substitute acrylic paint, but the block printing ink is thicker and works better)

Blunt-ended pen or paintbrush

Scissors

Paper


Step 1: Cover your work area. Printmaking gets messy!

Step 2: Trim off the curved edges of your foam trays so you have a flat surface.

easy printmaking by homemadecity

Step 3: Plan your design (remember words need to be written backwards). Draw your design, pressing into the foam with the a blunt end of a pen or paintbrush.

easy printmaking by homemadecity

Step: 4: Pool some paint and run your roller through it a few times so that the roller has an even coat of paint. Now roll paint over your design.

Step 5: Invert your design onto a piece of paper. Roll the back of the foam, evenly pressing your design into the paper.

easy printmaking by homemadecity  easy printmaking by homemadecity

Step 6: Gently lift your design. Voila! The roller and the foam should easily wash off with water.

Zeke print by Zeke

Creative Kid: DIY Tie Dye


It was cousins’ craft weekend at the lake cottage–a well-timed event considering that it rained (monsooned) half of the time. When the cousins weren’t performing as members of the Awful Music Band (really, truly awful), we were painting, sculpting clay, printmaking, and getting our hands stained if not dirty with a tie-dye extravaganza. If you’re interested in making tie-dye a summer tradition too, here is my unofficial guide, with kid-friendly steps starred.

DIY Tie-Dye

1. Buy a 3-color tie dye kit. I usually use the Jacquard Funky Groovy Tie Dye kit, which includes everything you need: the dye already in squirt bottles, rubber gloves, rubber bands, soda ash, and good instructions. Have extra dishwashing gloves and rubber bands on hand. This kit makes about 5 t-shirts.

2. Collect white cotton clothing. If it’s new, make sure to pre-wash. Don’t forget to tie-dye some socks–always a crowd pleaser!

2. Set up an outside work space and cover it in plastic.

*3. Create your design by folding and using rubber bands. Stripe designs, sunbursts, and traditional circles are simple enough for kids to make. Several easy patterns are included in your dye kit. It’s okay to improvise, too!

4. Soak t-shirts in soda ash for recommended amount of time. This enhances the dye’s vibrancy.

*4. Apply dye with squirt bottles. Kids should wear aprons/old shirts and rubber gloves. Remember that yellow + blue = green. Red + blue = violet. Yellow + red = orange. Keep clear of combos that make brown! Brown is not a groovy tie-dye color.

5. Place dyed shirts in plastic bags and let them sit overnight. The next day, rinse very well (I use an outdoor hose and bucket) and then throw them in the washing machine.


House: Painted Adirondack Chairs!

Does the chair mirror the sky, or the other way around? Either way, Benjamin Moore’s Blue Lapis is a delicious, summer hue. According to the company’s website, it’s the color “favored by Cleopatra.” Have I mentioned that I’d love a career as a color copywriter?

I painted two unfinished Adirondacks in blue lapis to add to our chair collection up at the lake. The others are painted in Orange Juice, Tequila Lime and Pink Raspberry. (We weren’t aiming for subtle.) After priming, I used less than a quart (plenty for two chairs) of exterior latex paint in semi-gloss.  And then I painted a matching tiny version (photo on upper left) that I found at my craft store!